Cheap Style Tips & Savings

It's time...Thrift Whores...

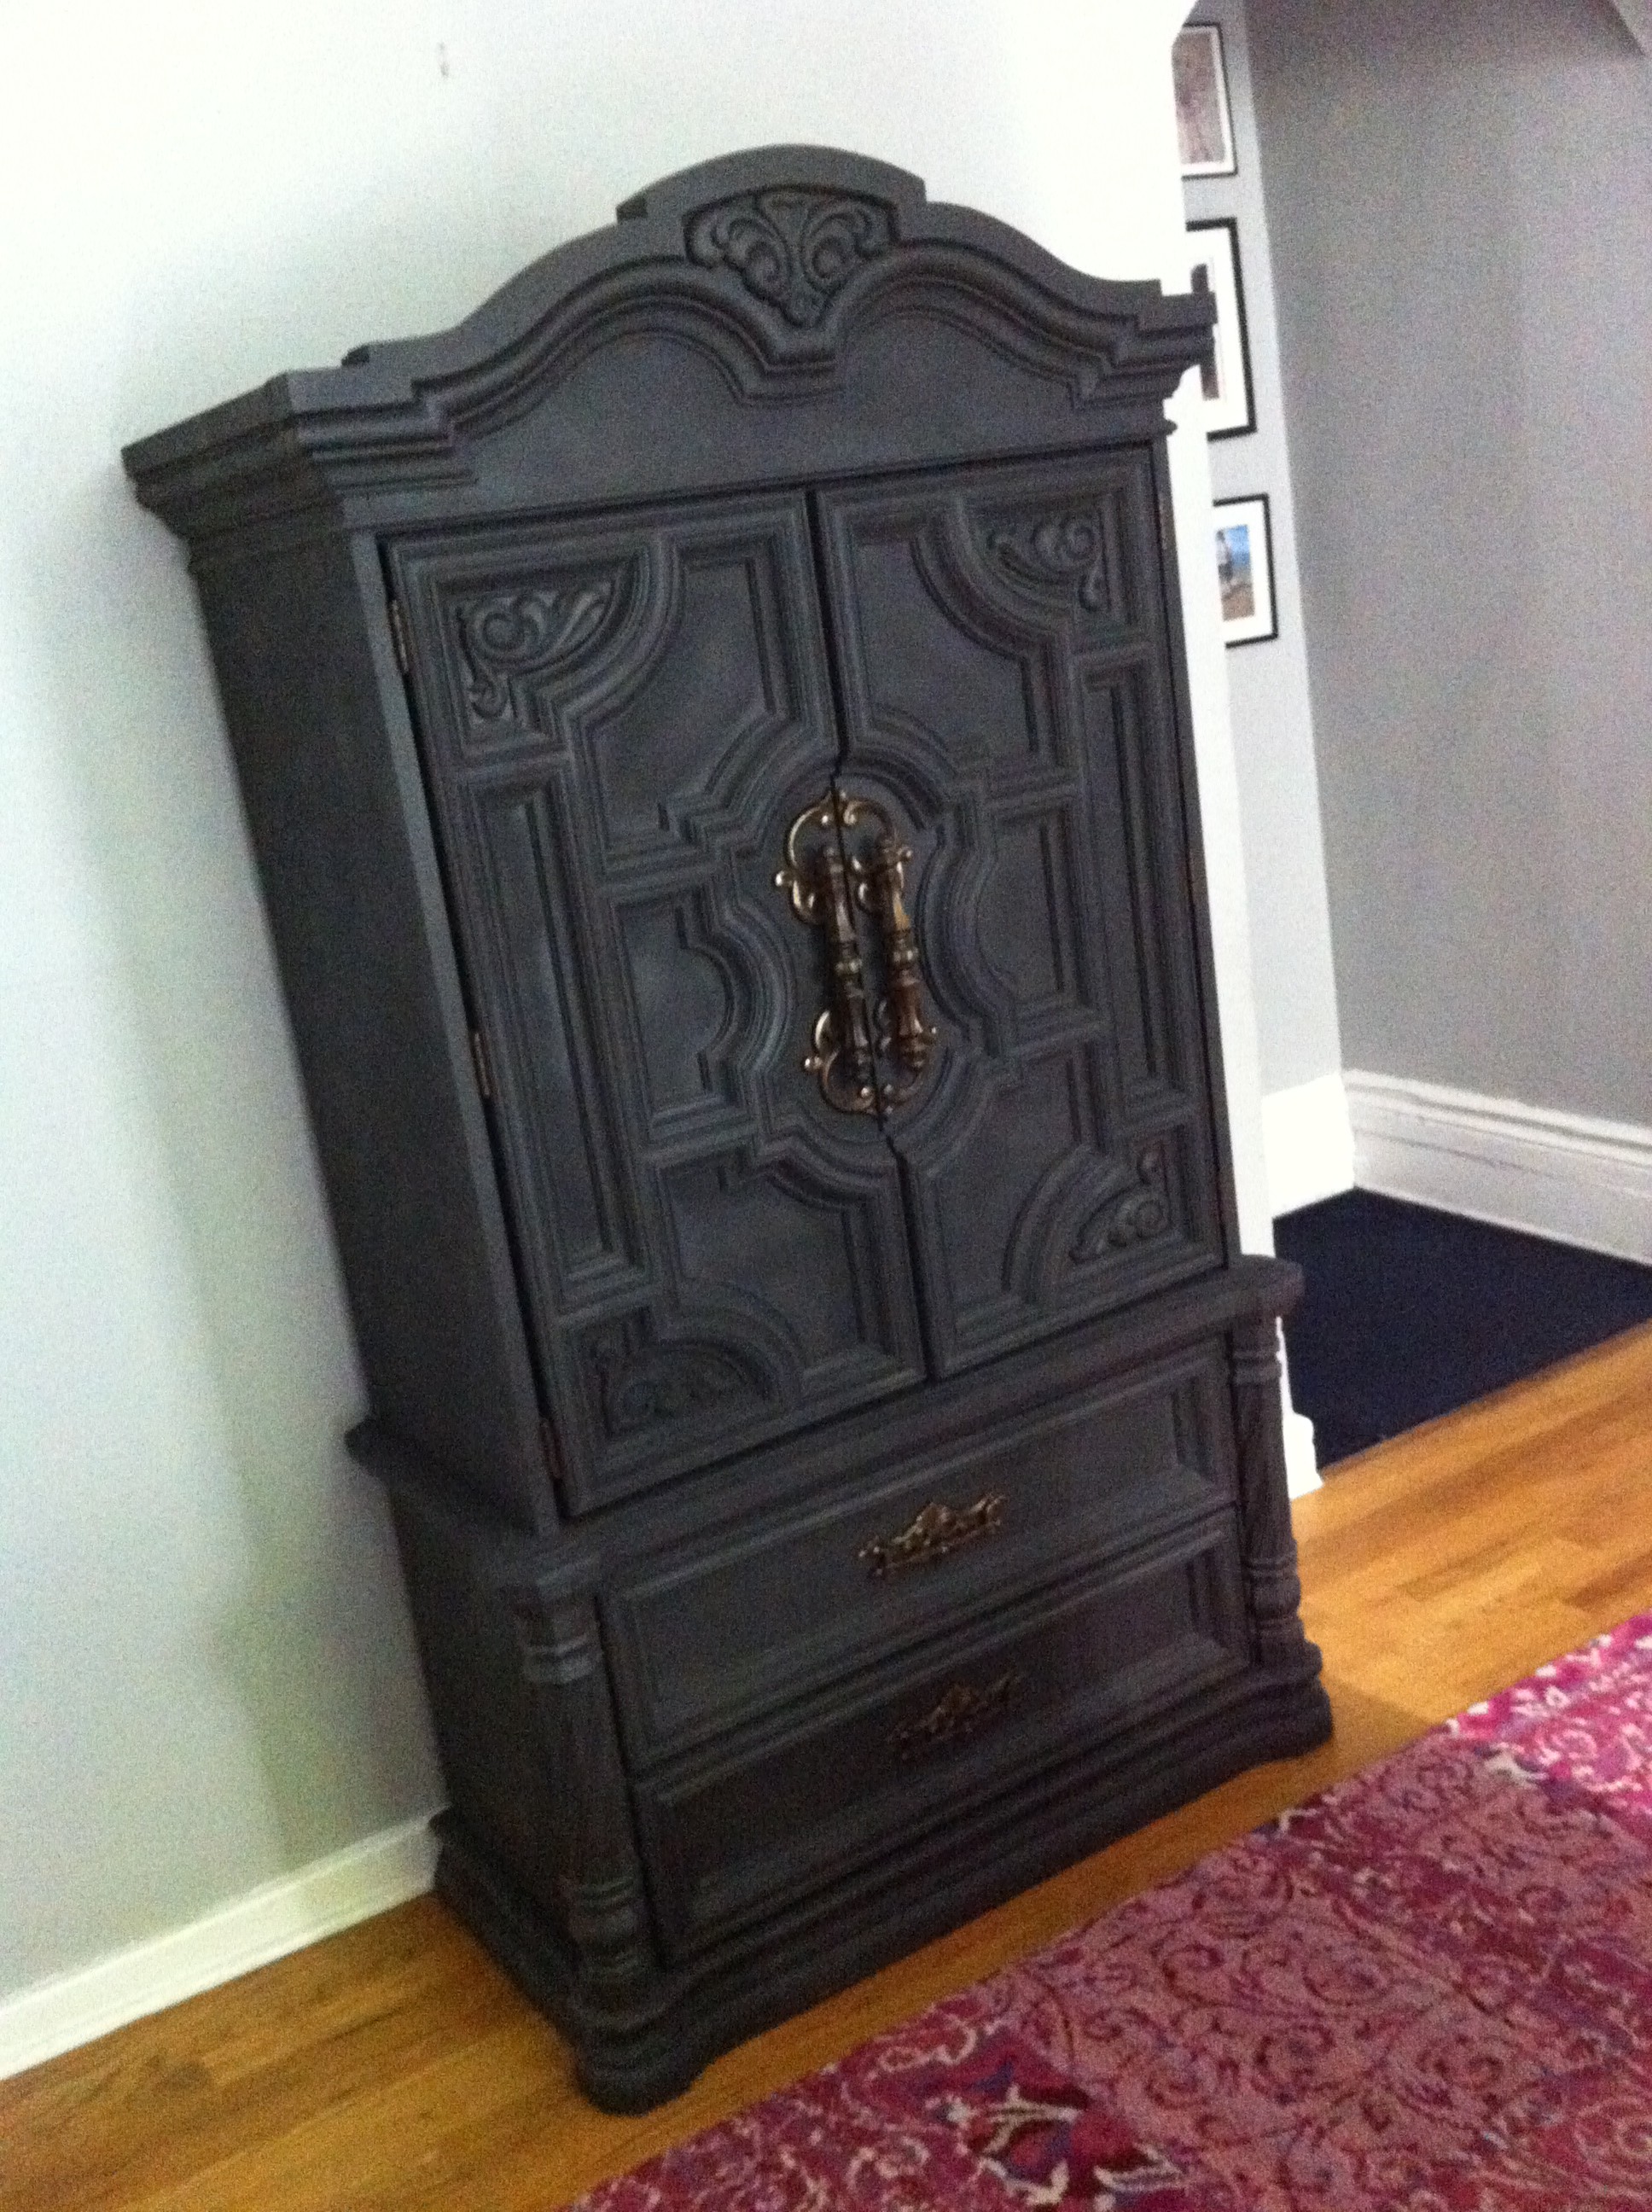
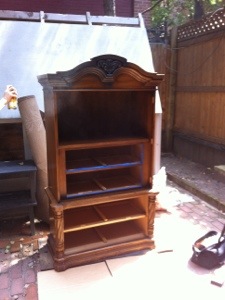
For some HOT Before and After action up in this 'dazzle, what...THRIFT WHORE THURSDAY!?!This thrift store armoire was scored for a client while out whoring weeks ago:

An image of an armoire from the Salvation Army

Don't be shy babydoll, we need to see the goods:

Interior pic of a thrift store armoire

Here's where we are today:

AFTER shot of the thrift store armoire

And:

Another AFTER shot of the thrift store armoire

YES, y'all! This armoire has been totally tricked out: new paint job, drawers lined in pink felt, custom mirror added to the inside back topped off with some interior lighting chic-ness!

A pic of the interior of the repurposed armoire into bar

A close up shot of drawers lined in pink felt

Birdseye view of armoire turned into bar

The client is just thrilled beyond belief with how this turned out and so am I...just goes to show y'all what some good honest thrift whoring can do for your lives...happy whoring!

The stripping has begun!!!

Y'all, I've started to strip the nasty finish off my new bed frame that I scored last week while out Thrift Whoring...check it:

20120918-165412.jpg

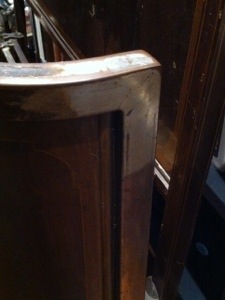
I'm using a liquid paint & finish remover called, Zip Strip, which is probably highly toxic beyond belief, but damn it sure does eat that brown finish right off...look:

20120918-165612.jpg

I'm brushing the liquid on with a craft brush, letting it set a bit, then wiping off with an old rag. I've had to repeat this process a couple times in certain spots, but it's really easy:

20120918-165844.jpg

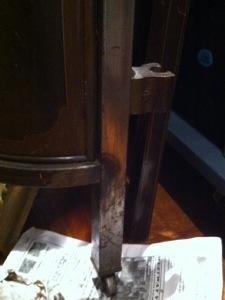
Y'all can see the stainless steel showing through! There's some blemishes here and there in the steel, but y'all know we're all a little imperfect and I think it adds even more character! Imagine how chic this is going to look when totally finished? And remember, this frame cost me $20!!! After its all been stripped, I will seal it with butcher's wax or a matte polyurethane to prevent rusting...stay tuned, y'all!!!

Armoire Amour!!!

Y'all here's a quick update on the armoire makeover:

20120910-150901.jpg

20120910-152148.jpg

Refresher: I'm repurposing this thrift store armoire into a bar & additional dining room storage for one of my clients. It's a beast of a thing, and has been soaking up paint like a sponge, but we're getting there...

20120912-152638.jpg

I just can't gush enough about this idea-- I'm forever seeing these old wardrobes/dressers, entertainment centers, or even china cabinets, at the thrift stores, for next to nothing-- our dude being tricked out here was a mere $69!!! How appropriate! Scandal!!! With some elbow grease and creativity, y'all can totally customize them to suit the task at hand...my client wanted to be able to shut away the bar & be able to store entertaining extras so if the need arises, they'd all be close at hand...these drawers ought to help her with that, especially when they're lined in this amazing hot pink felt:

20120912-154102.jpg

I simply used spray mount on drawer bottom and carefully smoothed out the felt towards drawer edges. Next, i slowly trimmed along grooves with exacto knife and scissors, tucking any frayed edges into drawer seams...felt realness:

20120912-154204.jpg

One down, three more to go!!! I've also got some plans to make the bar nice and glam...Check back for HOT after shots soon!!!

It's 5:00 PM somewhere!

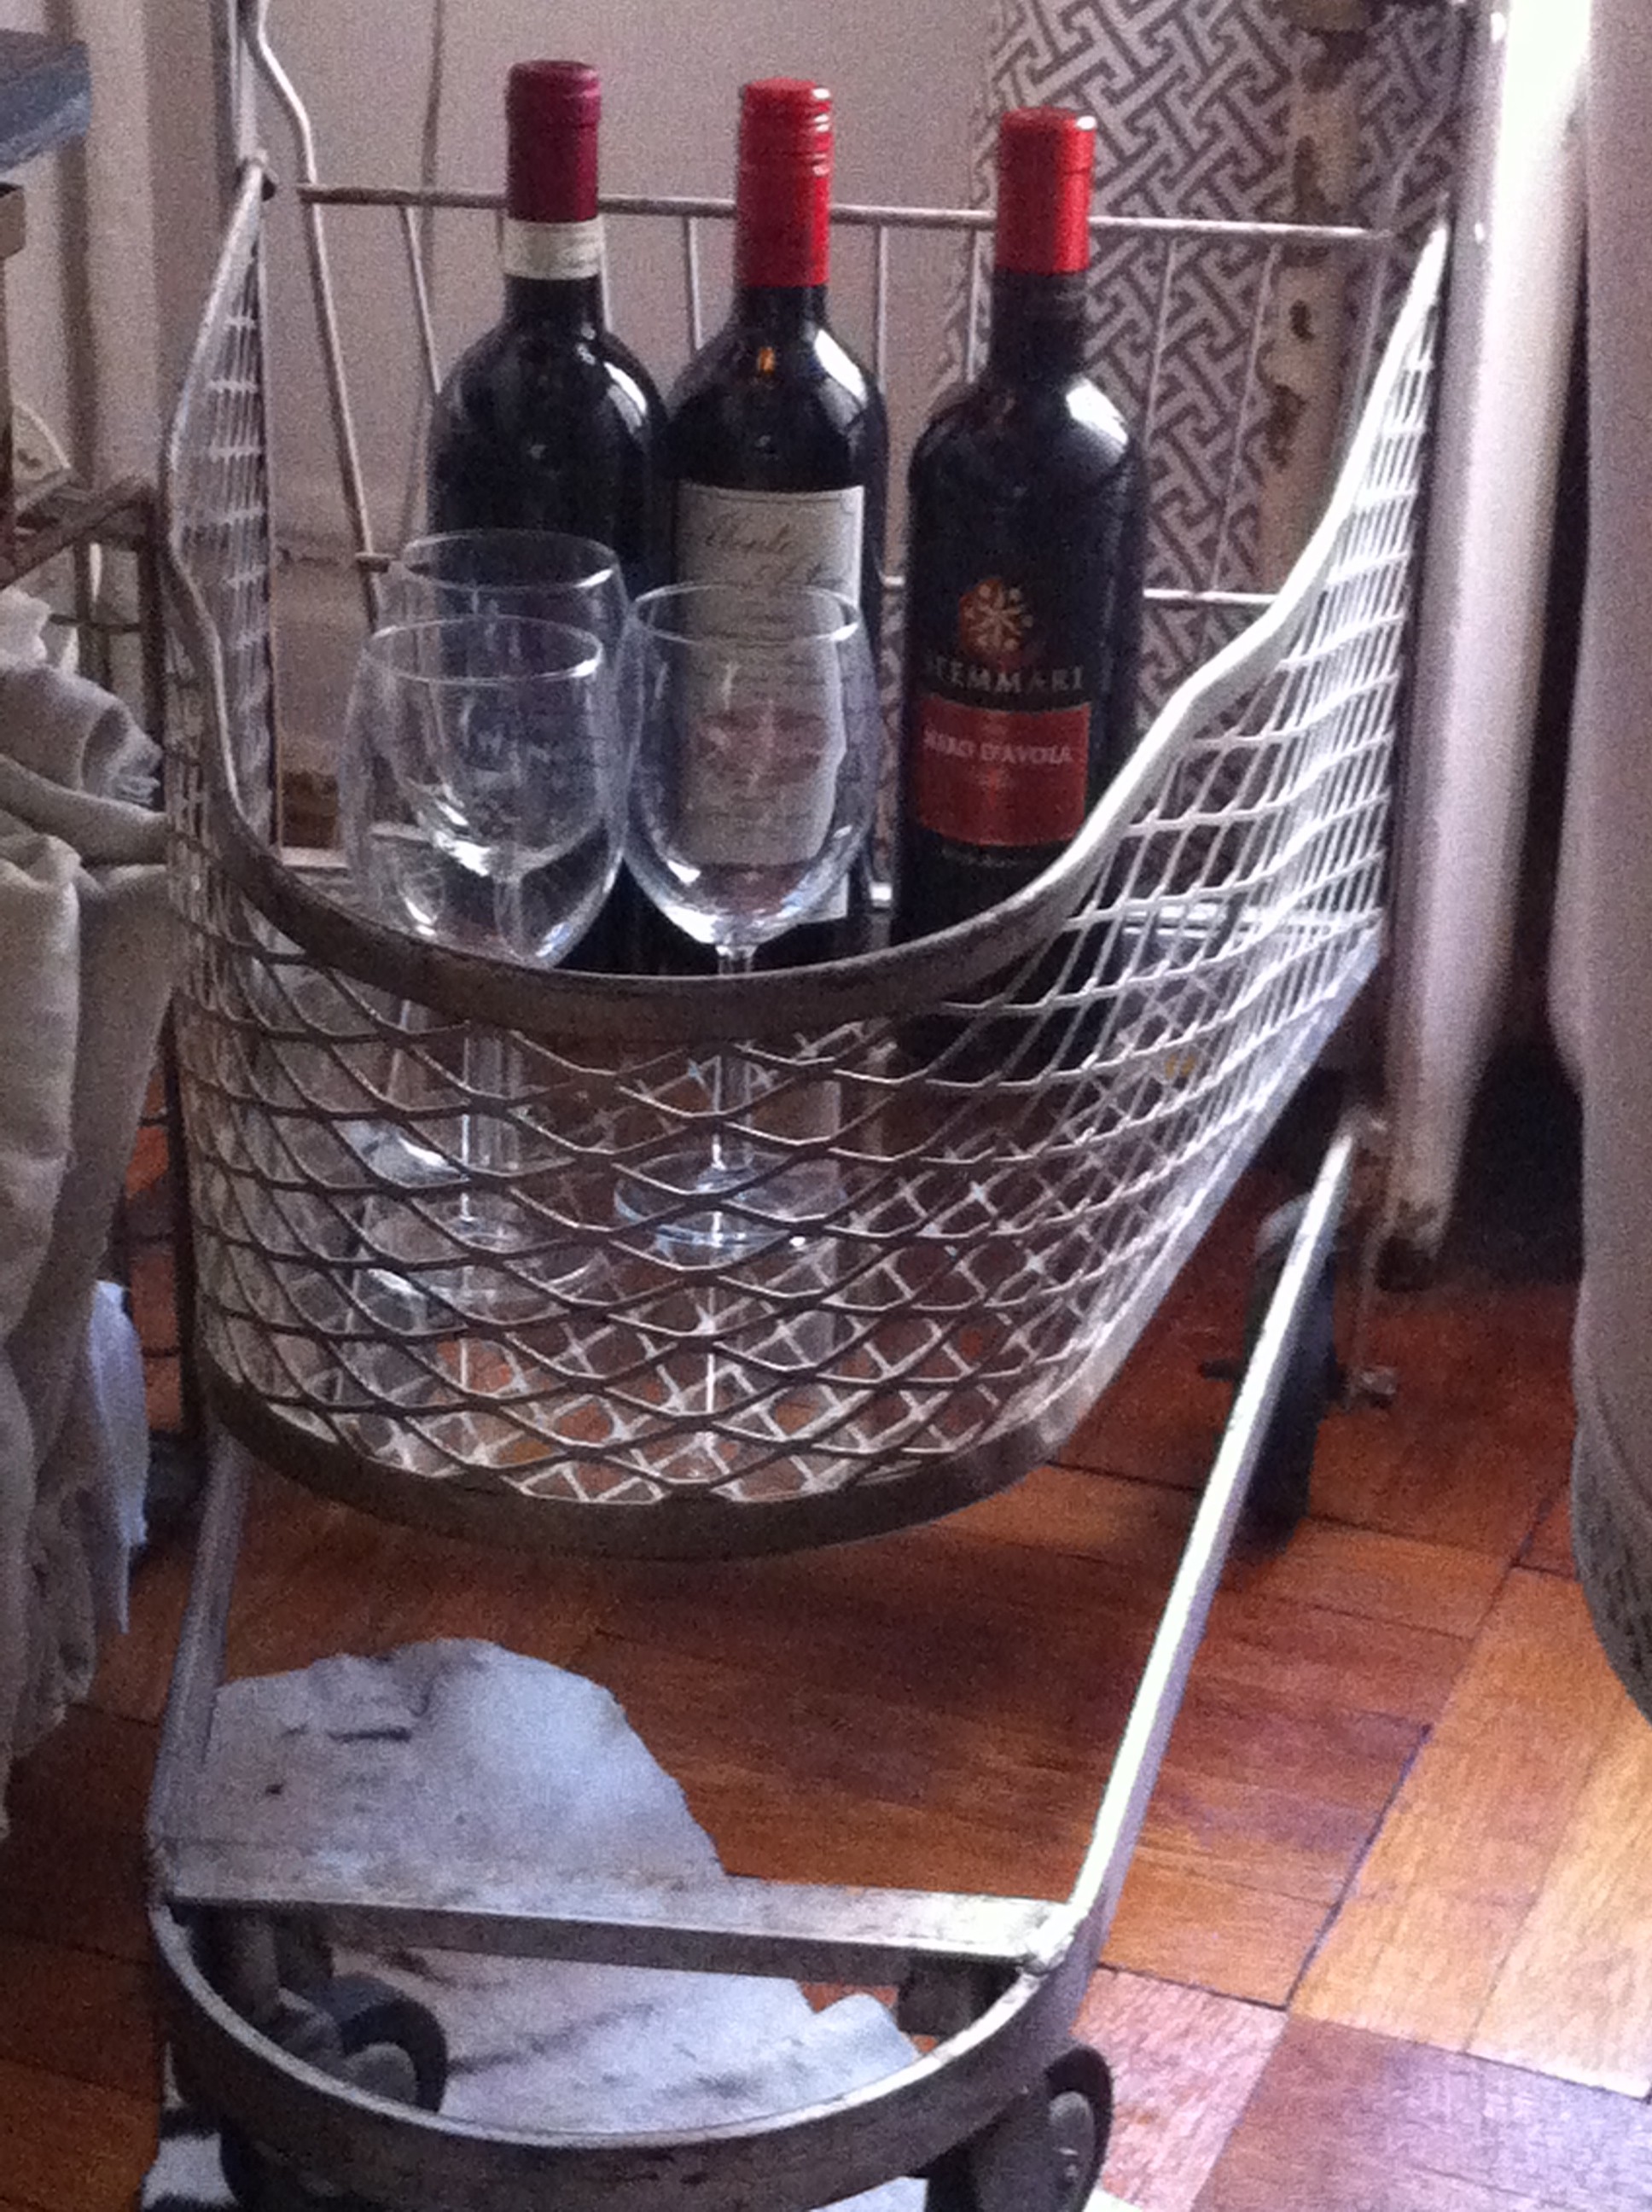
An extreme close up of bar cart So y'all know what that means? Time to get your drank on!!! And it just so happens that I'll be enjoying mine from my new bar cart! Oh shiot, lookee here...warning...HOT AFTER ACTION:

An after pic of a grocery cart turned into a bar cart

This is probably one of the easiest diy's I've ever done! And I just j'adore how it turned out...It's amazing to me how you can completely transform something from it's intended purpose into something else entirely-- with the easy addition of some custom cut glass.

A close up shot of the top tier of repurposed bar cart

A pic of the lower tier of the repurposed bar cart

Here's how I made this all happen...

*Create a template for the area that you wish to put glass atop/on. If you're blessed to have a cart with a square or rectangular situation, then this project is even EASIER and you're a biotch! BUT, if, like me, you have an irregular shape that you're working with-- pear, rotund, obtuse c'ankle-- what have you...then y'all have to make a template for glass cutter to work off. I made mine out of craft paper.

*Next cut a rough approximate shape from paper. Holding that shape firmly in place, trace the underside/bottom edges of the basket where your glass will eventually sit inside of. Make sense? This allows ya'll to get the exact shape of the area you want glass cut for.

*Lastly, trim off about 1.5" more from the tracing line you just made in the paper edge with scissors to allow for some clearance of the glass, so it won't scrape against the metal of the cart, once cut. Now you've made your template, which should look something like this:

A pic of the paper template being held to underside of shopping cart

A pic of the paper template fitting perfectly into the base of basket

A close-up of the top tier glass being lowered into bar cart

Close-up pic of glass being fit into bottom of bar cart

And there y'all have it! Remember to always measure twice (or even three times) and cut once. Also, as a back-up back-up, if you're just nervous as all hell to trust your template-making skills, you can always bring your cart to your glass cutter. Y'all want at least 1/4" thick glass with a safety edge. My two pieces ran me about $60/each...so, not dirt cheap, but not cra cra either. And this little lady may not always be just a bar cart in my space-- she can now become a side table or console of sorts, etc...so the minimal investment has yielded double and potentially even TRIPLE value, y'all...and that's not something we take lightly here at Blog-A-Dazzle!!! Triple Value!

Closing pic of repurposed bar cart. Cheers!

Are you a T.W.?

Do you suffer from being a T.W.? Are you constantly trolling neighborhoods looking for your next score? Seeking gratification and fulfillment from some poor lost soul, who, you just know will be the perfect fix...even though your friends and family and EVEN strangers keep telling you to stop...enough...you're out of control? Well, then biotch...OWN that shiot, 'cause you're nothing but a Thrift Whore and today is YOUR day!!!! Thrift Whore Thursday, y'all! I stumbled upon this little gem on 5th Ave in Bklyn, called Bnai Tekuhnah Thrift Shop (um, I'm sorry...what? Who?):

20120823-083130.jpg

Love that their sign specifies "Cloth/Furniture"...y'all know I like me some good Cloth!

Look what else is good here:

20120823-083652.jpg

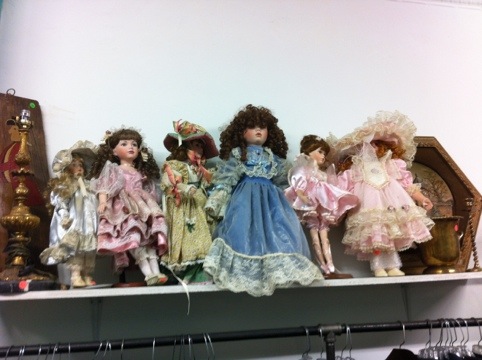
As evidenced by the storefront shot, it was raining like hell outside when I paid a visit to this place...and inside, it was a deluge of creepy ass Victoriana dolls, lined up on a ledge-- damn!

20120823-145928.jpg

Y'all, this might be hard to see clearly, but it's some kind of primitive wagon /carriage light fixture straight off the Pony Express, no doubt, (so, naturally it wound up at Bnai Thrift Shop)! But, can it be resuscitated with some paint in a fun color?

20120823-150732.jpg

These lovely gals are jumping off the shelf with color!!! Slap them both with some chic drum shades in white or linen and just shut the fu$& you, already!!! Cloth!

20120823-151043.jpg

PANDA! if it's got a panda on it, just buy that shiot, y'all, don't even ask...

Tenderness abounded within upon seeing this and I knew that some how, some way, ALL would be alright in the world...that I, PJ, am a THRIFT WHORE...and I'm OK with that...happy whoring, y'all!:

20120823-151356.jpg

And Cloth!

Grocery Cart Goes Glam!

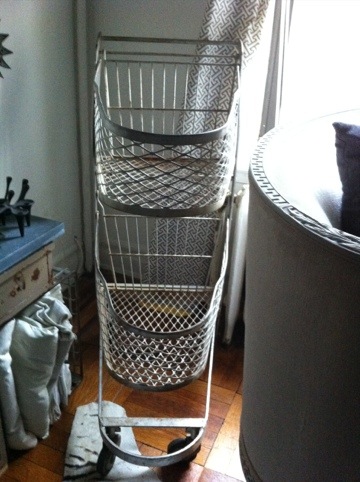
Y'all, I've had this amazing vintage shopping cart for almost a year:

20120815-152625.jpg

Such an amazing score!

And honestly, she's just so chic, AS IS, sitting all side table-like in the corner of my salon-- uh huh, I typed salon-- but that's just way too easy for the likes of me. This gal is becoming our new bar cart! Oh shiot, y'all were just style-slapped!!!

20120816-130440.jpg I'm going to have glass custom cut for the bottoms of each of the basket levels, so they become usable/level surfaces from which to get my drink on. Bottoms? Basket? This post sure is gettin' good, y'all-- damn! And I'm not even done yet!

20120822-072834.jpg Once I add my bar (bottles, ice bucket, maybe some glassware, cocktail napkins, etc) and viola...it's happy hour!!! This is probably one of the easiest repurposing projects I'll ever do...so, naturally it's taken almost a year to get done, but whatev's...it's going to be amazing, so stay tuned to get some hot AFTER reveal action, y'all!

Hot Thrift Whore Action!!!

Trust that I've not forgotten what day it is, Dazzlers! No no! But I must confess this week's Trift Whore Thursday is a little different than the usual shenanigans...I stumbled upon this little man in my local Salvation Army for $69! HOT!:An image of an armoire from the Salvation Army Damn! It just so happens that I'm working on a new interiors project where I'm in need of some additional dining room storage. Now, most folks wouldn't look upon this armoire as something that could do much for a dining room, but hear me out, y'all after you get a peek at what's happening inside:

Interior pic of a thrift store armoire

This dude has drawers for days! And that giant open space is just begging to become a bar! YES! With the easy addition of a mirror glued in back, some under mount lighting and some spray paint-- what damn time are drinks SERVED?! Yesterday, whores!

Y'all, I see these types of armoires ALL THE TIME when I'm out Thrift Whoring...they're like workhorses that you can customize for any function...and they're most often dirt cheap, so with some TLC and a little creativity, you can get a one-of-a-kind piece for minimal $$$. I love that this armoire has all this amazing wood pattern detailing on the front...it adds to the character, and again, when this is painted out in one color, it's going to look stunning. The drawers are just amazing as is, for obvious reasons...who in hell doesn't have a drawer they can't fill, so my client is gonna j'adore having four in this baby...Another great feature with armoires is that when you don't want to look at all that stuff anymore, you just close it away and you're left with this clean, chic, self-contained jewel box!

So stay tuned y'all, for the transformation of this Thrift Whore score into a amazing style slap! And happy whoring!

Thrift Whores, it's Thursday!!!

Get a load of all this yummy from my local Salvation Army, it's on Thrift Whores! An image of the housewares shelves at the local Salvation Army

A close up image of more shelves in the my local Salvation Army

Concern turned into pure joy upon spotting this:

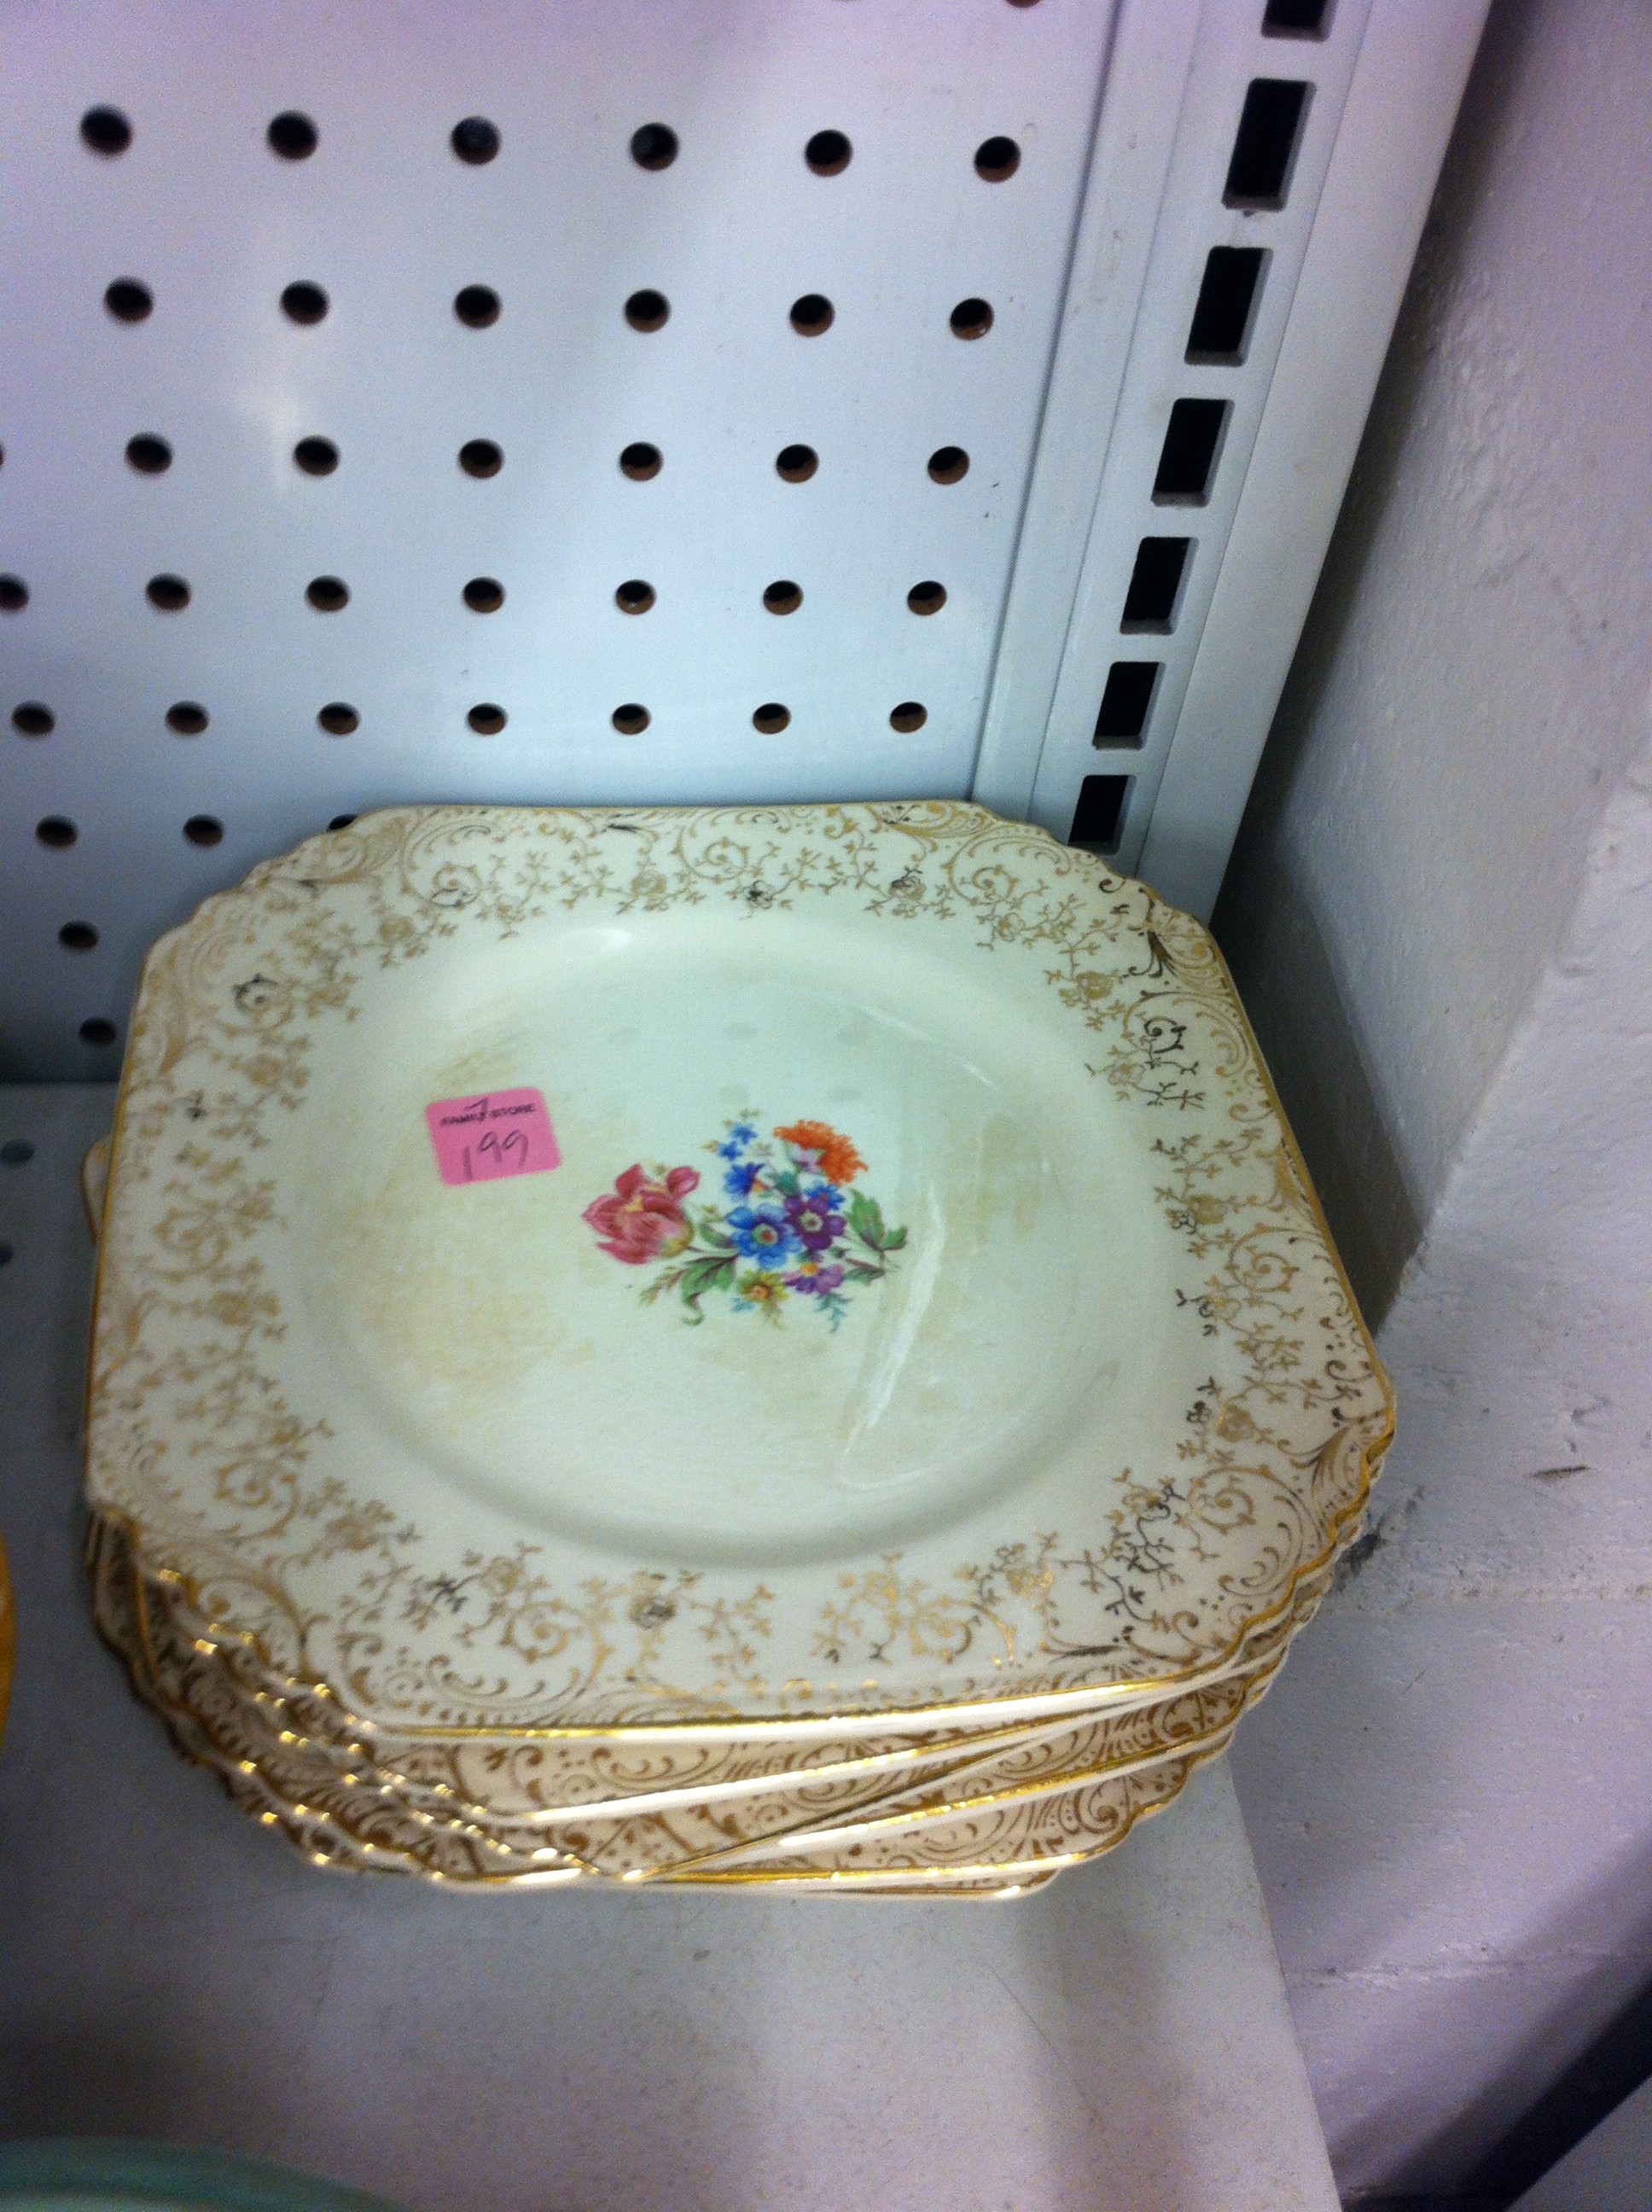
Value weave...YES! Of course, she was nestled inside this box of potentially glamorous china...naturally:

Camerooooooooooon! Regalia!

Cameroooooon! Regal Real!

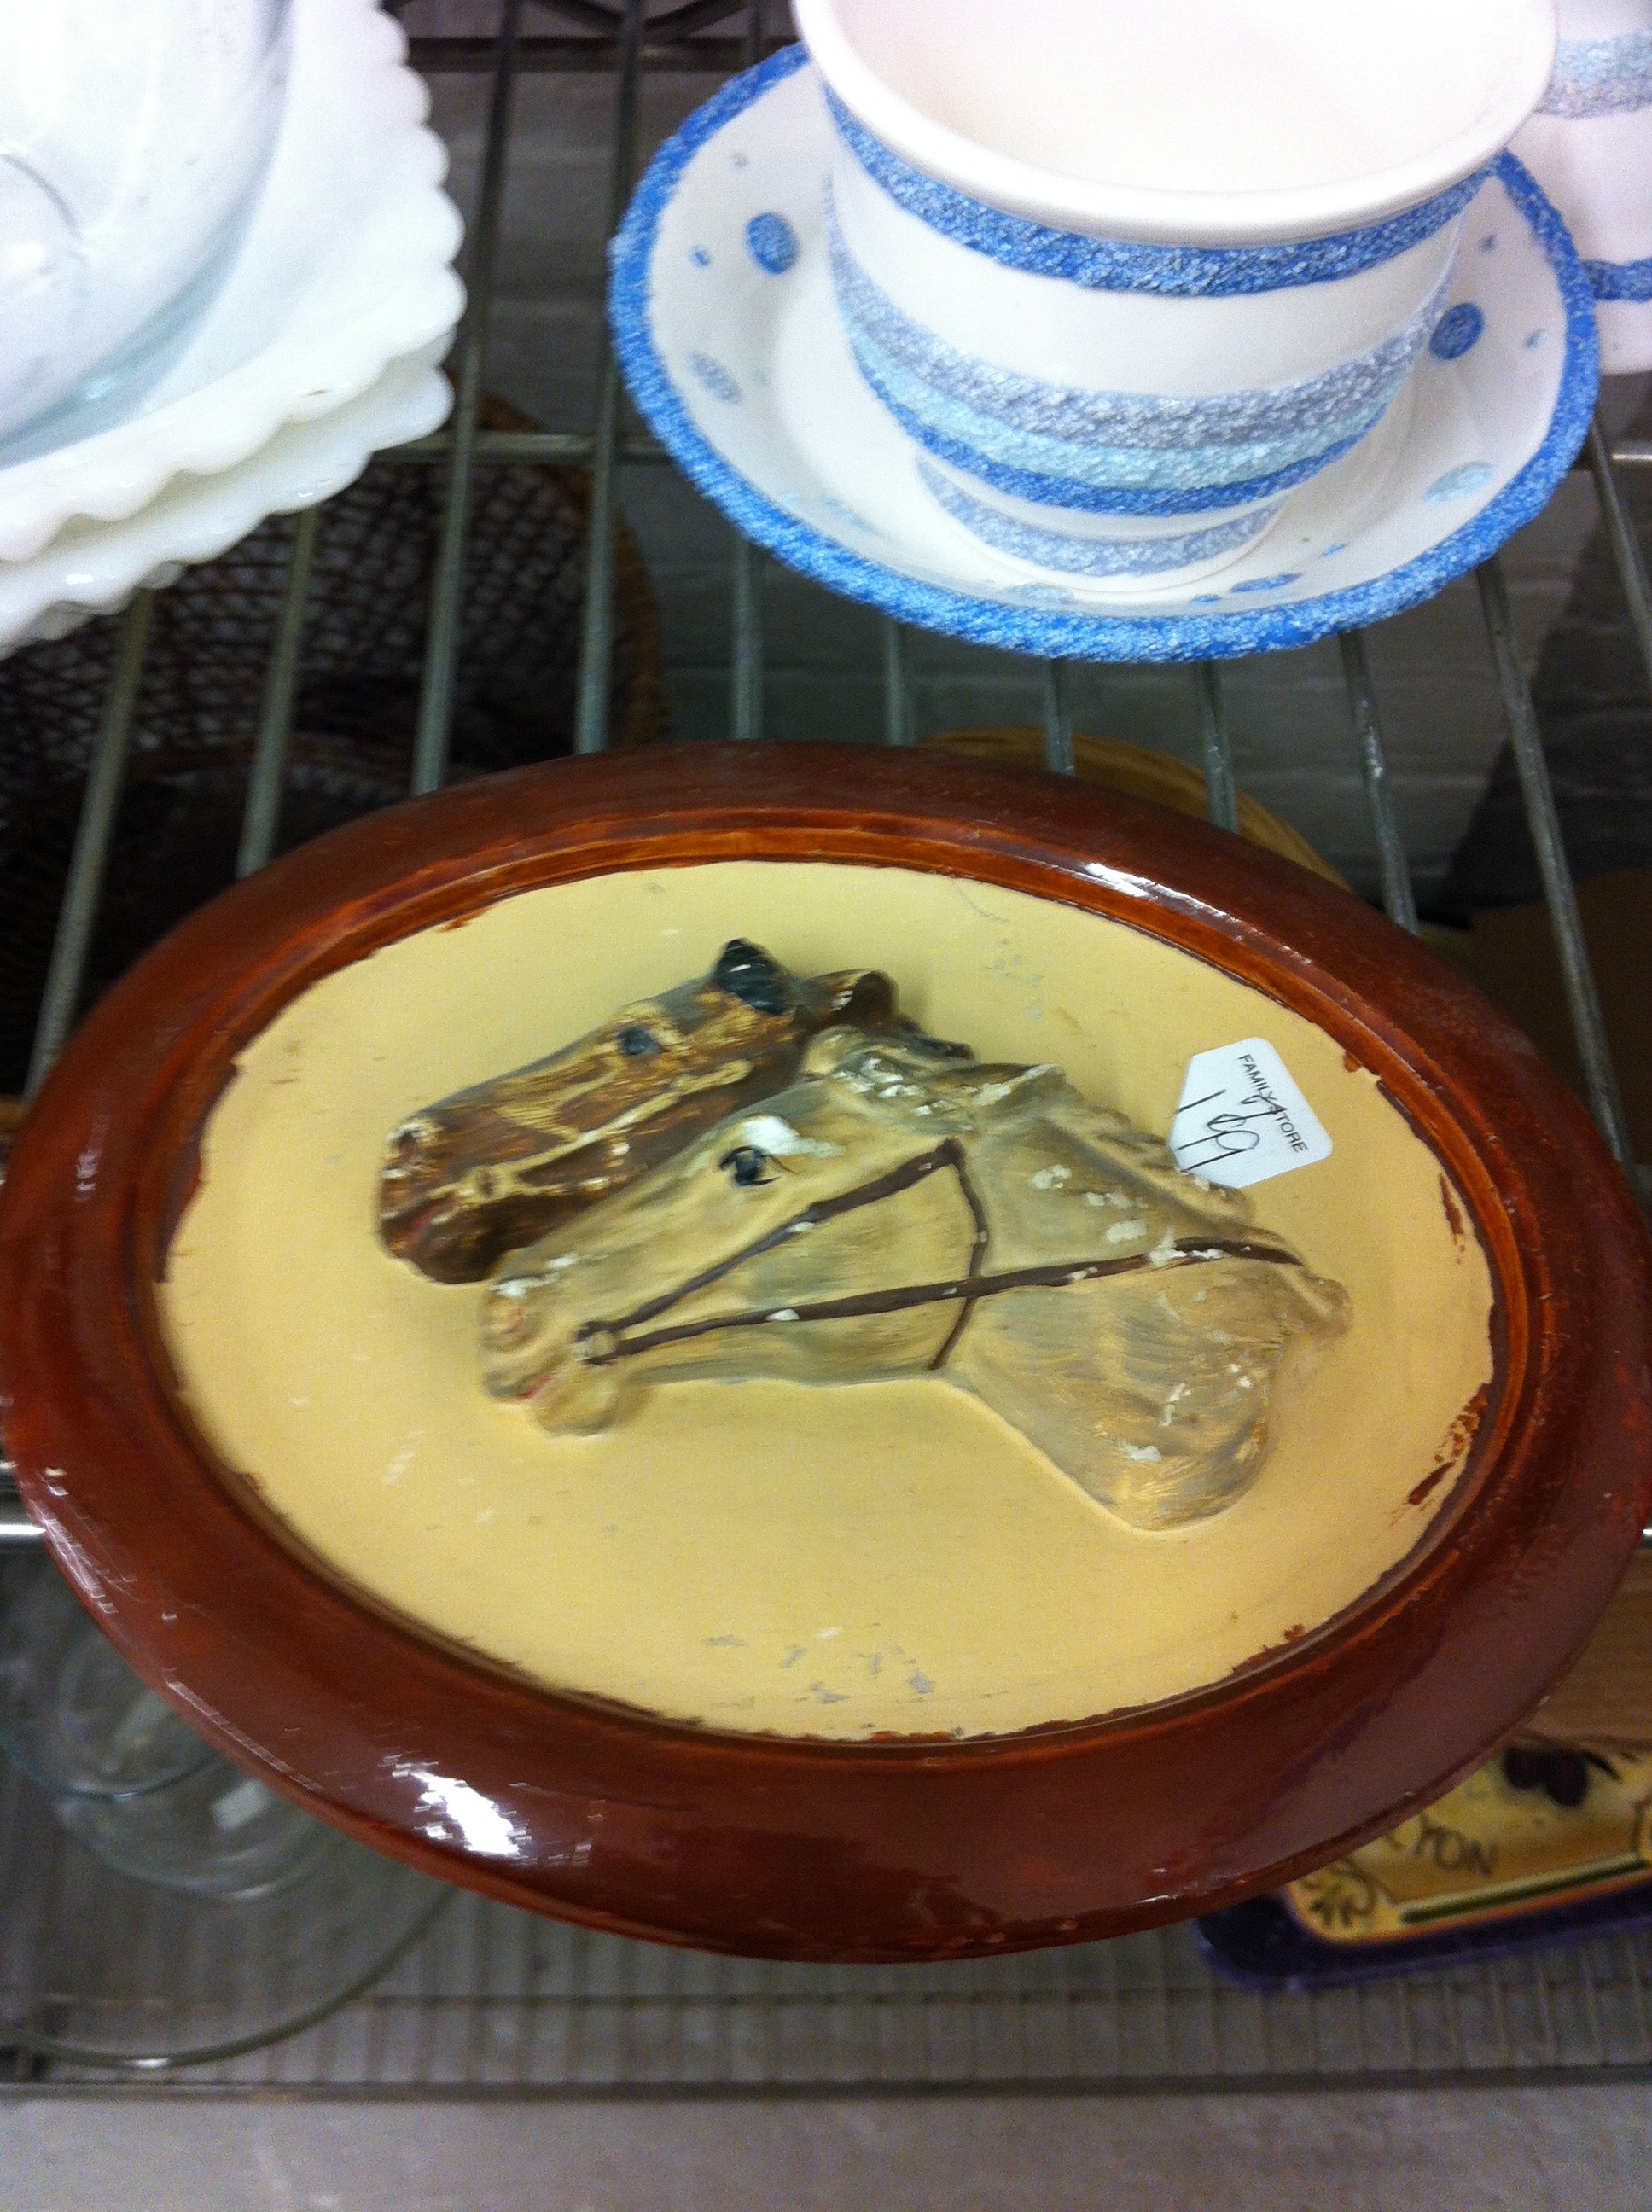
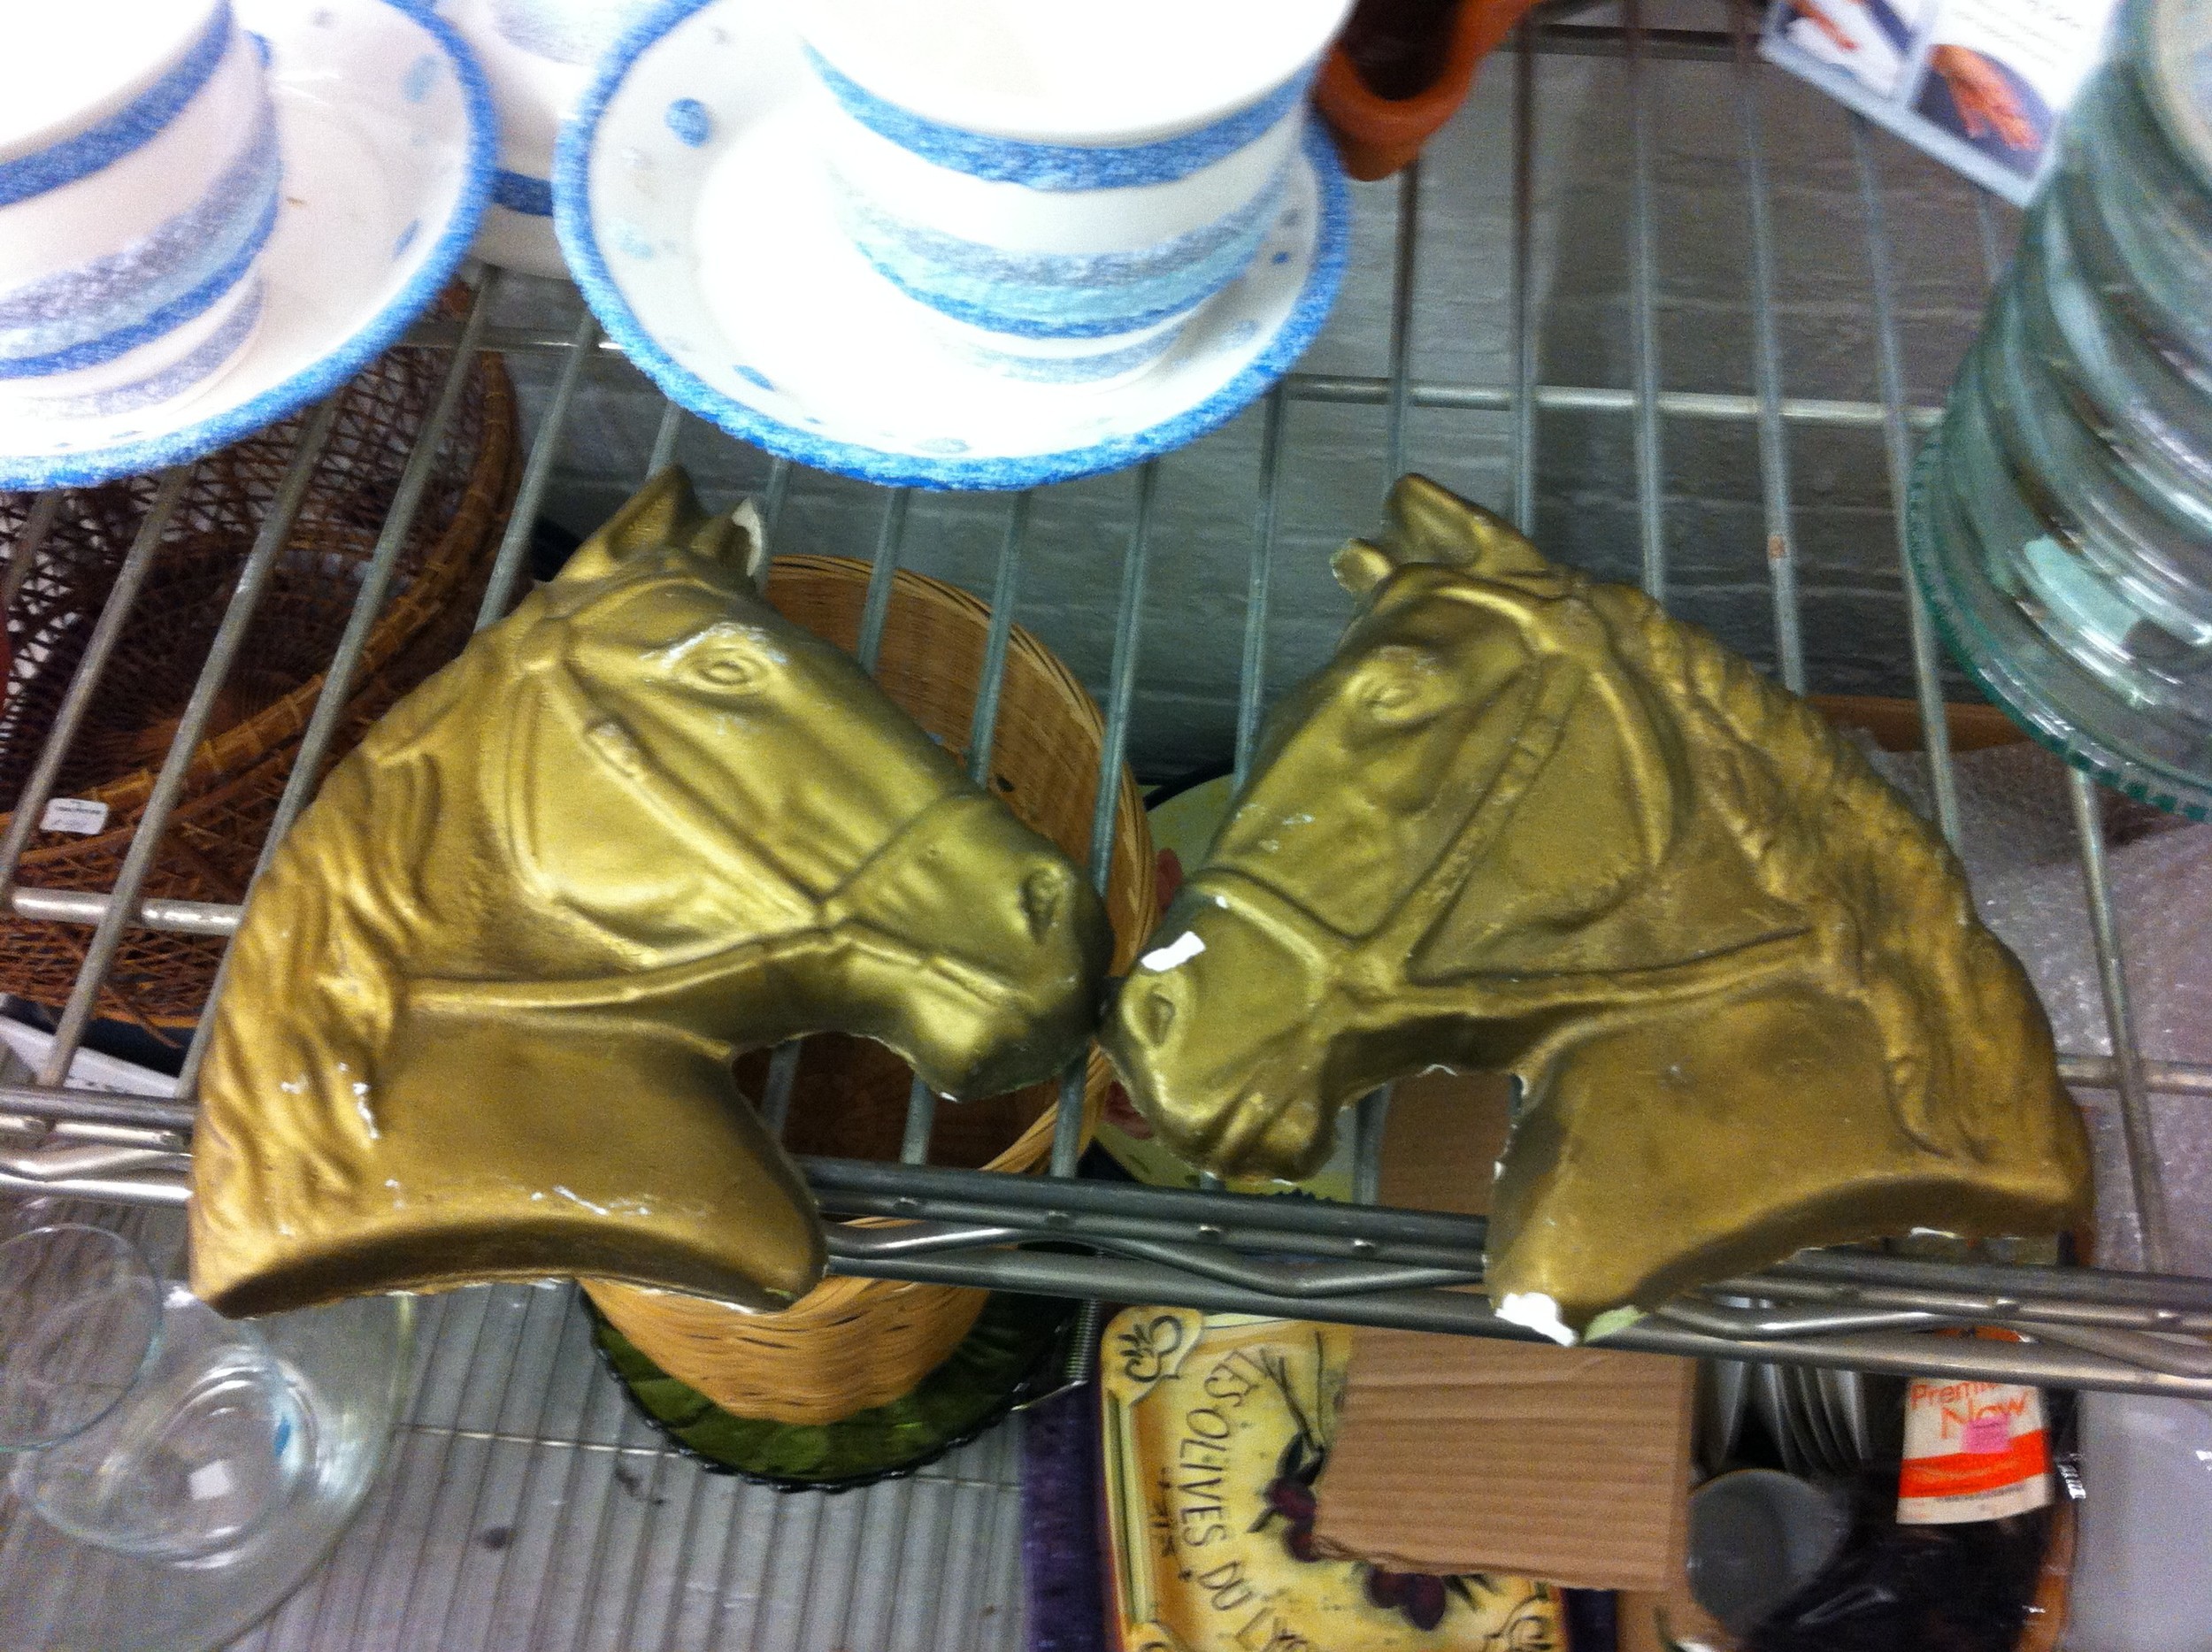
Equestrian Ecstasy Experientia:

Disa up in the house, y'all...what! what!

This is for my girl, Disa! What! What!

The sun has officially come OUT today with this:

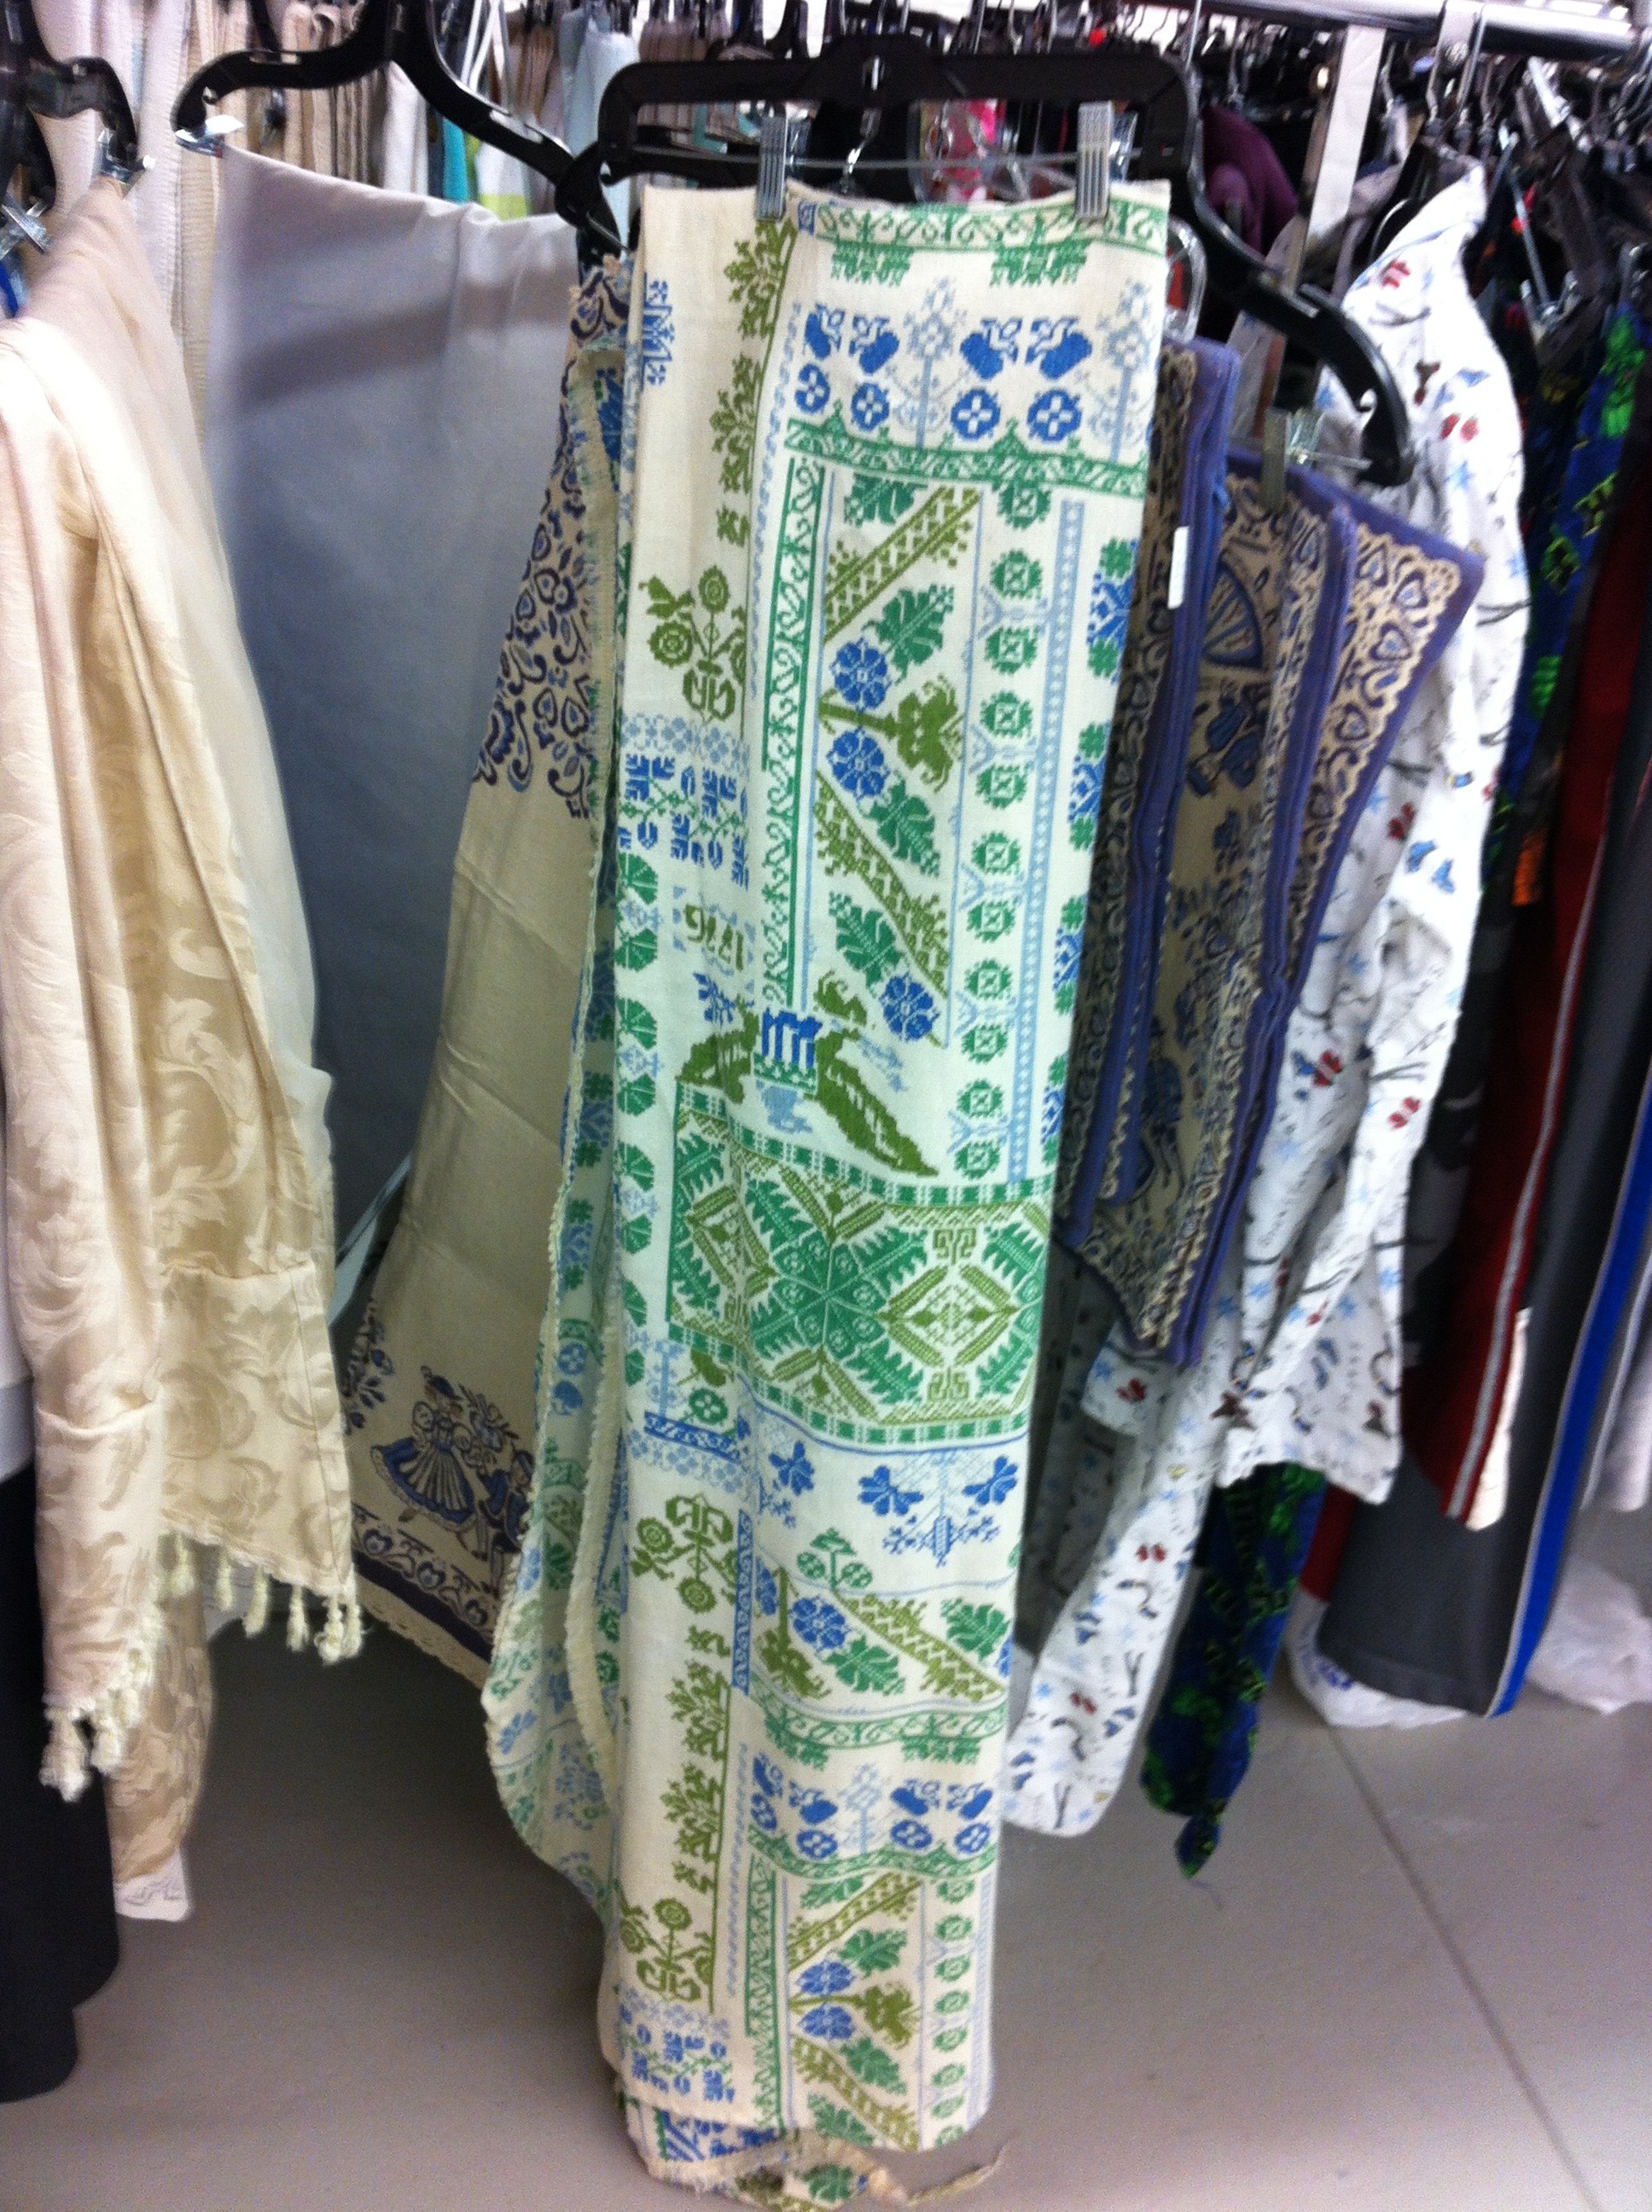
Don't forget to scavenge through the fabric/towel/bedding areas y'all...there's goodness to be found for all kinds of d.i.y. projects...like this granny gone chic bedspread, which slayed me on the spot:

Consider this Thrift Whore Thursday a success! Happy whoring, y'all!

A settee worth saving!

An image of a wood framed settee in the garbage... Y'all it just tears at my style heartstrings to see that someone left this poor girl out for the garbage! Hopefully someone snagged her up, 'cause she's a find! The turned legs, the slightly curved arms...wouldn't take much at all to get her back to a place where she can serve up some style-- proper like!

Another pic of the wood framed settee discarded in the garbage

Once the webbing was re-attached, I'd most likely refinish the frame with some laquer in a fun color or maybe even just black...then I'd do two large cushions...one for the base/seat and one for the back...the cushions could be in one of these amazing fabrics from Fabric.com:

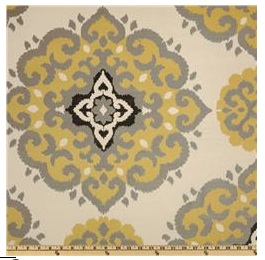
An image of a yellow and black medallion print fabric

Paired with this:

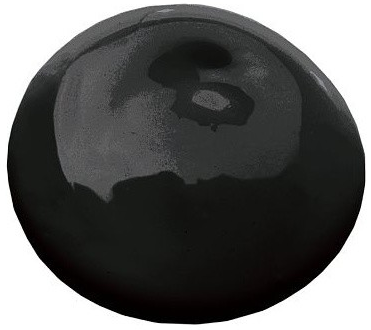
A pic of a black paint blob

Or these: An image of a yellow paint blob

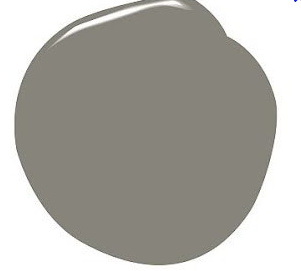
An image of a grey paint blob

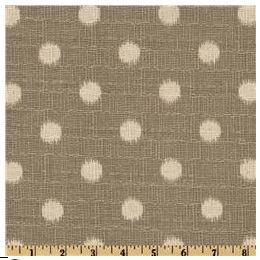
Which could all work with this too: A pic of an ikat polka dot in a grey color

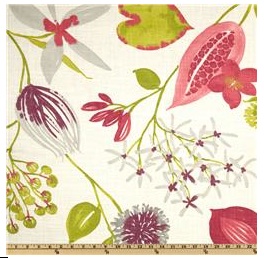
But maybe we get all botanical-bonanza with this fabric:

An image of a pink and purple botanic print

And this fun paint: An image of chartreuse green paint blob

This could be great too:

AN image of a bold green and blue patterned fabric

Paired with this paint: An image of a blue paint blob

I could go on and on here with fabric and paint combos to fulfill y'all's dreams for days...point is, don't be so quick to dismiss that discarded furniture--- you could end up with some chic beyond belief! Get IT!

Hello Thrift Whores...It's Thursday!!!

While out on a recent style hunt, I stopped into this gem of a thrift store, called Life Boutique Thrift, in Park Slope, Brooklyn: Pic of Life Boutique store exterior shot

Ok, maybe it's called Life Boutique-N-Thrift? Hmmm...

A close-up exterior shot of Life Boutique-N-Thrift in Brooklyn, NY

Well, whatever in hell it's called, get my back, biotches...I'm goin' in!

And brace y'all-selves for the situation I've just stumbled upon:

A ceramic bust of a girl reading and an 80's side table...

Glorious 80's side table realness partnered with a bust of a woman reading! Oh, Tangy! This one here just needs some polish and some chic chandelier shades and she'll be ready to SERVE y'all full-on style...

A picture of a chandelier in need of some TLC

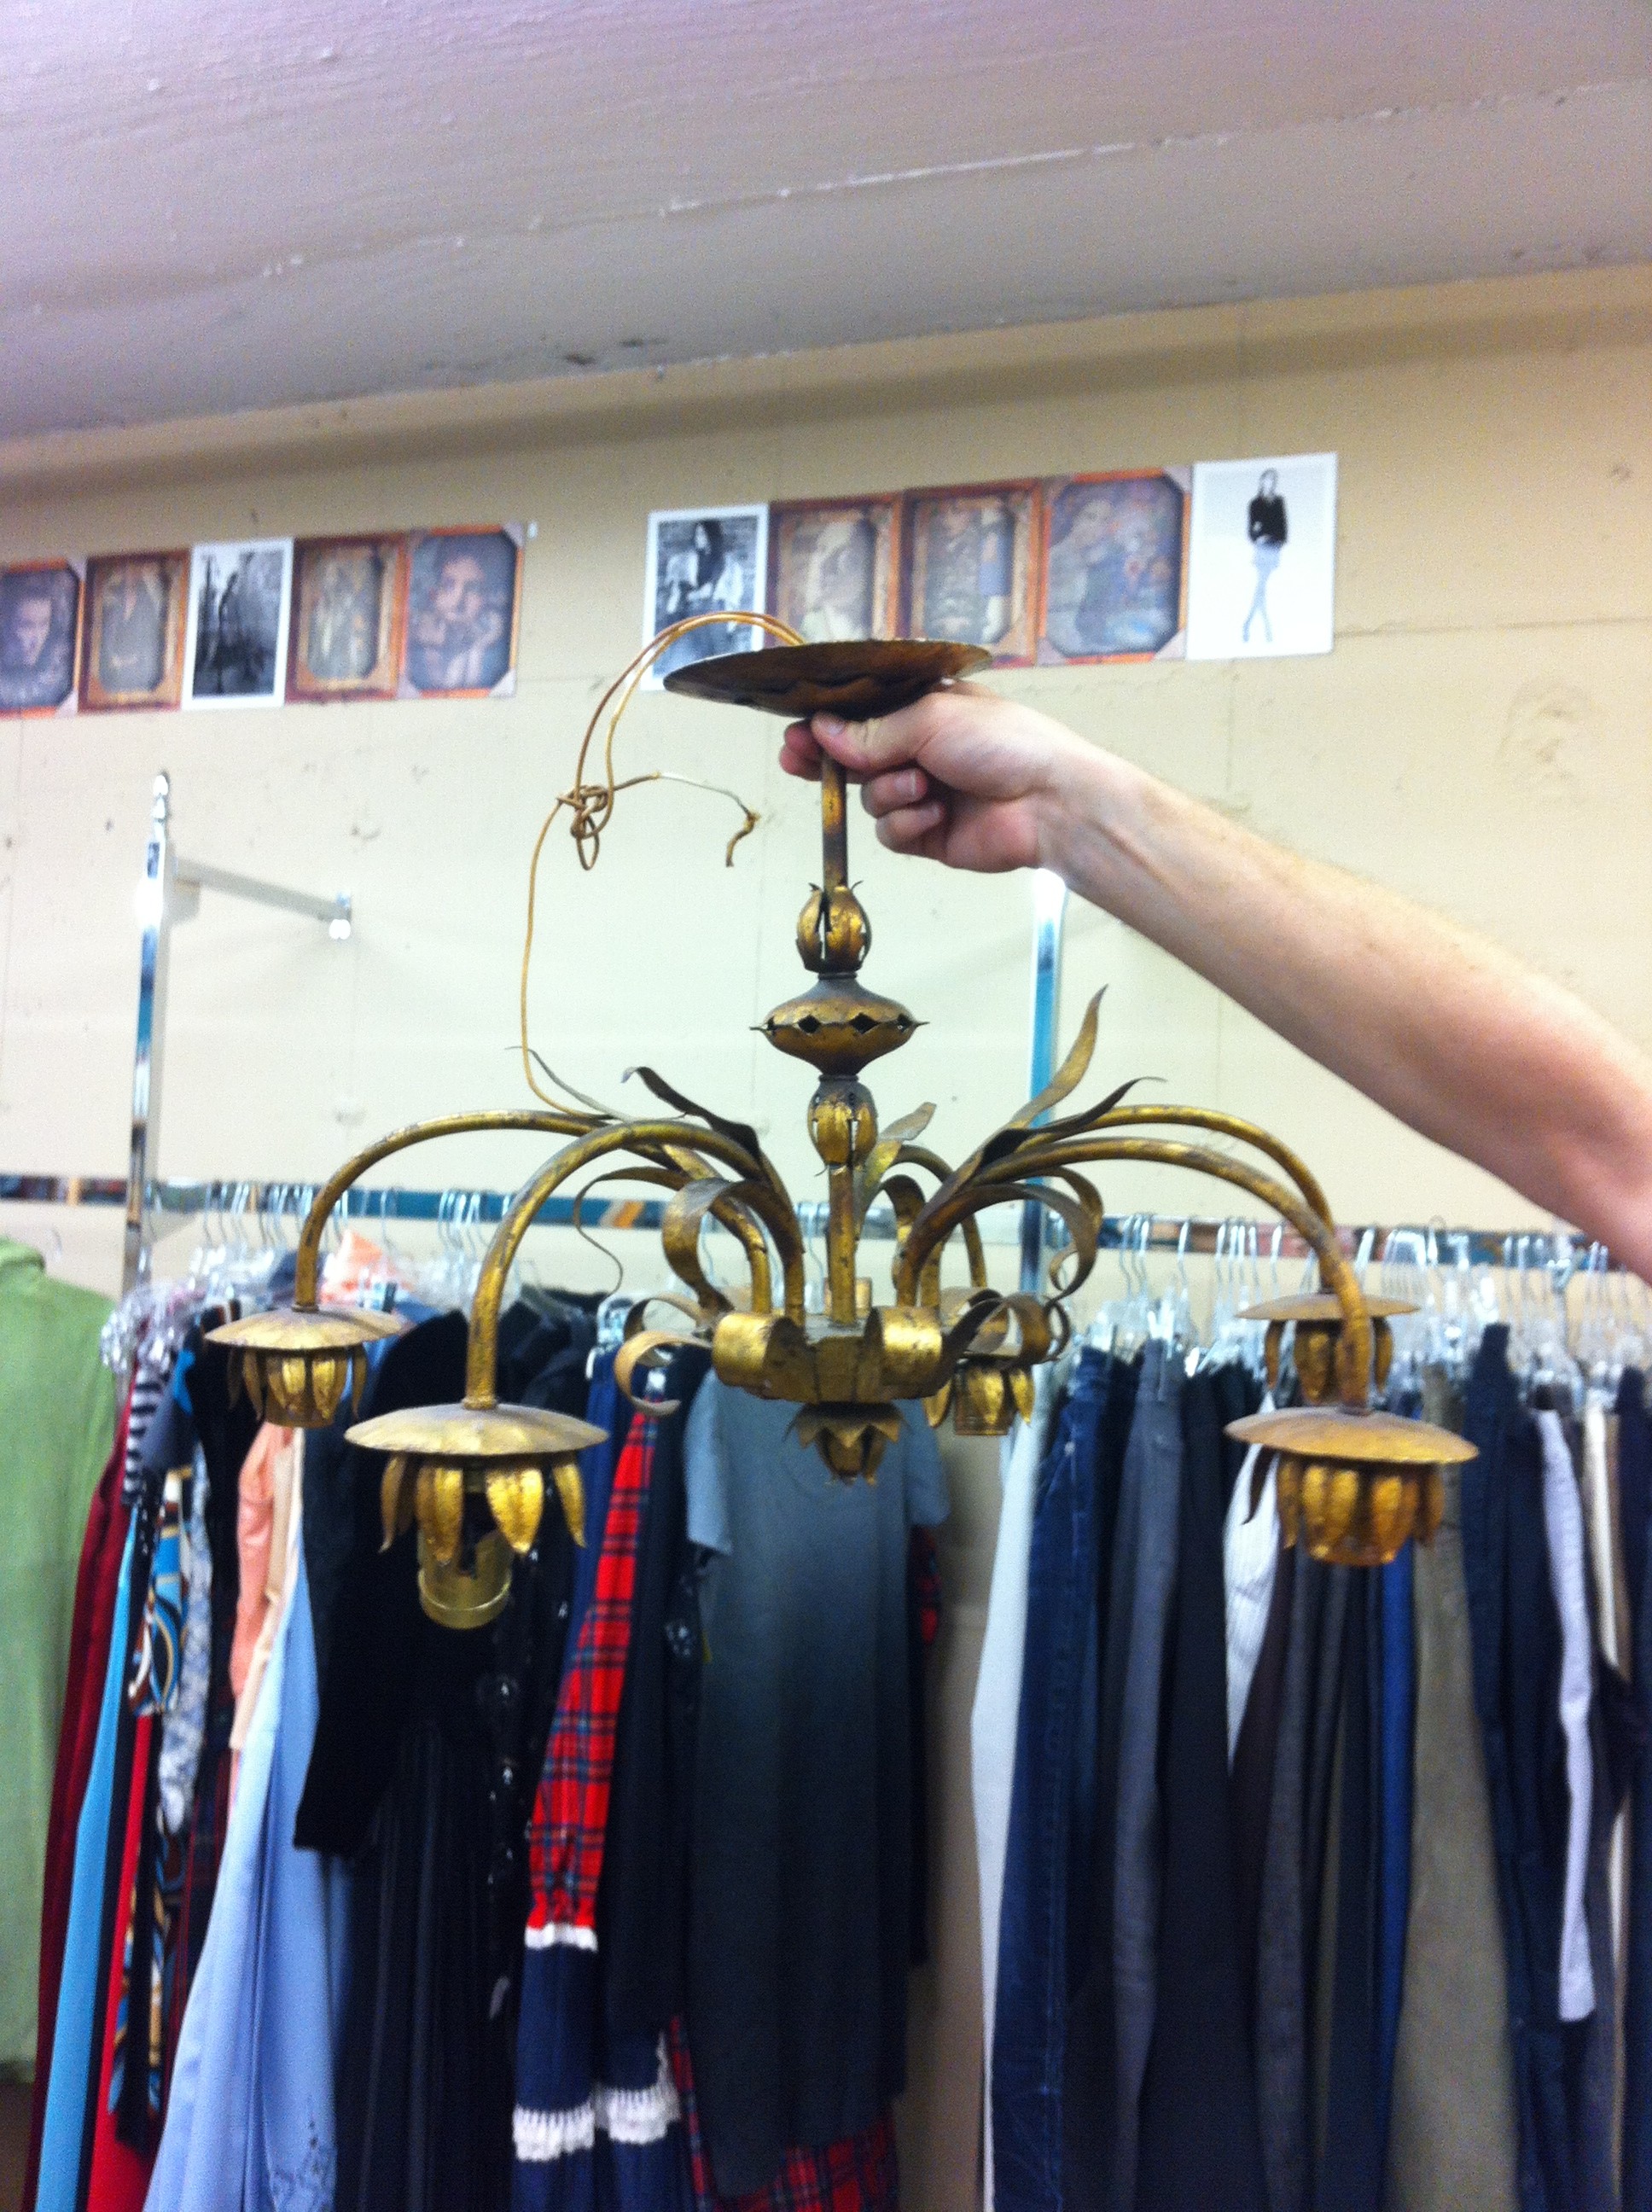
And don't overlook Ms. Hollywood Regency here who's convincing y'all that she deserves a spot in your house...

A tole metalware chandelier from Life Boutique Thrift store

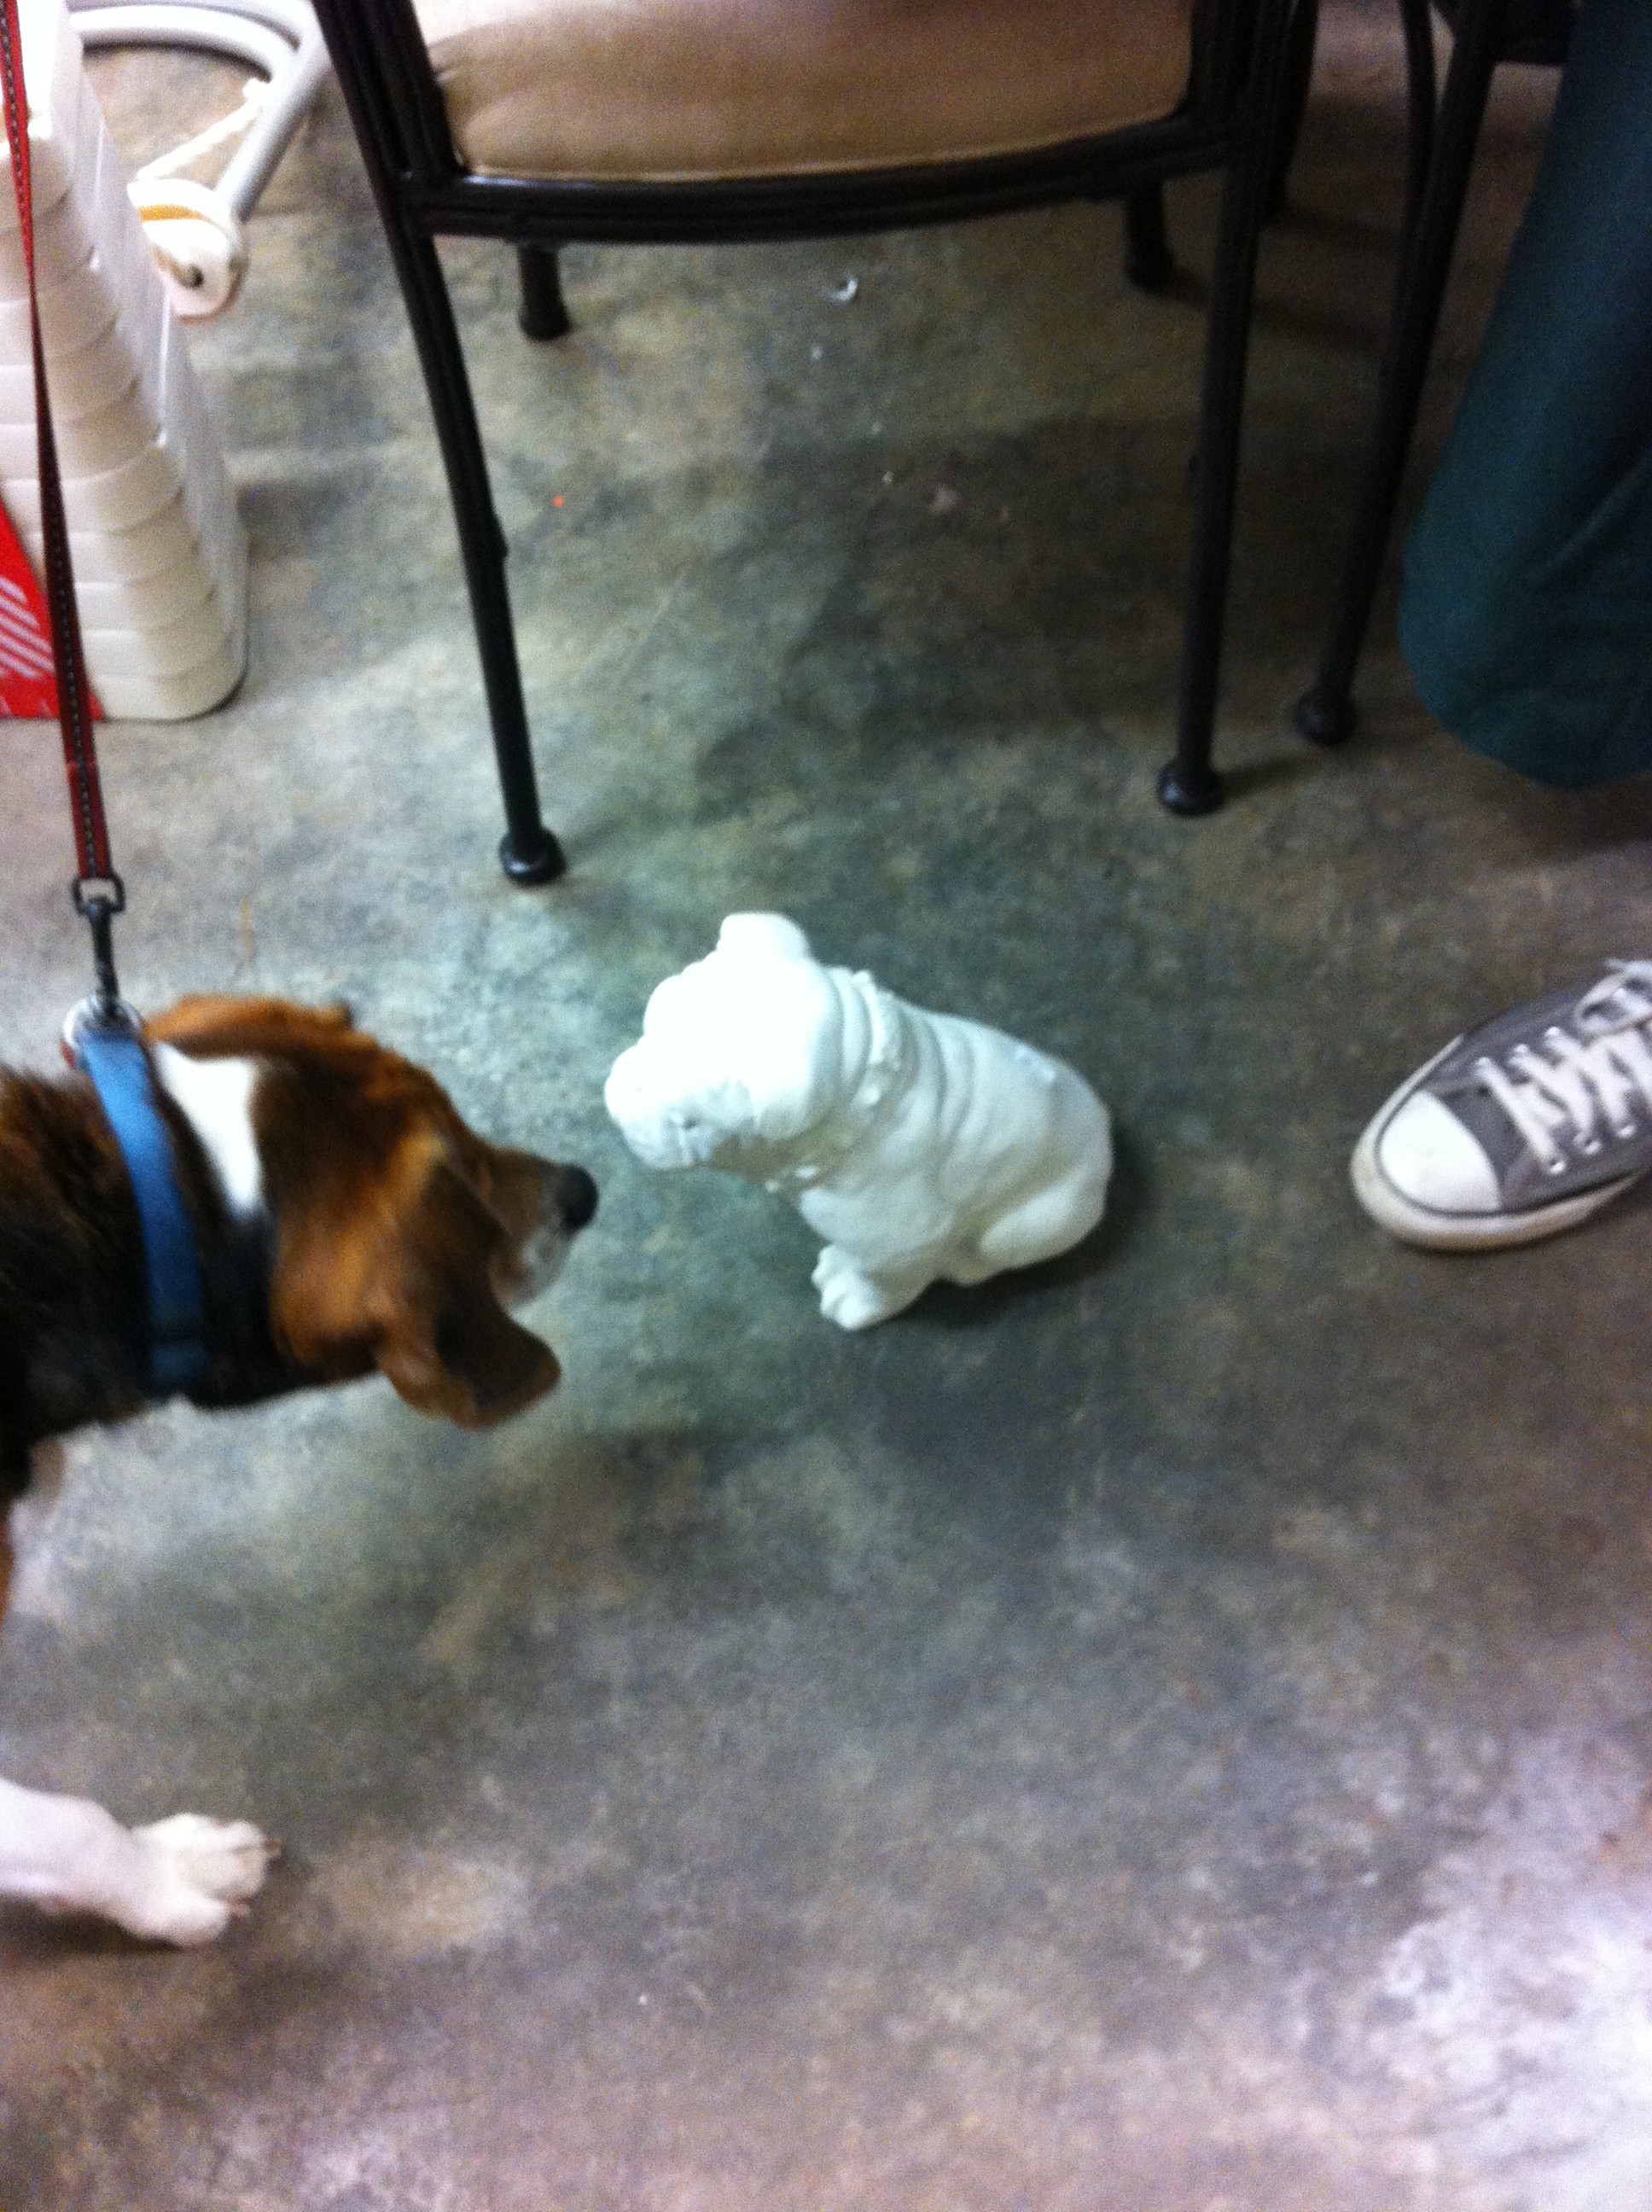
A beagle sniffs out a bulldog statue in the thrift store

This incredible mid-century footed glass style slapped me at the check-out counter, when I was told it was half-off the sticker price! Guess who bought three more to make it a 4-set?!

Footed glassware from thrift store

So I grabbed even more glassware from the half-off hideout:

Image of three colored glasses from thrift store

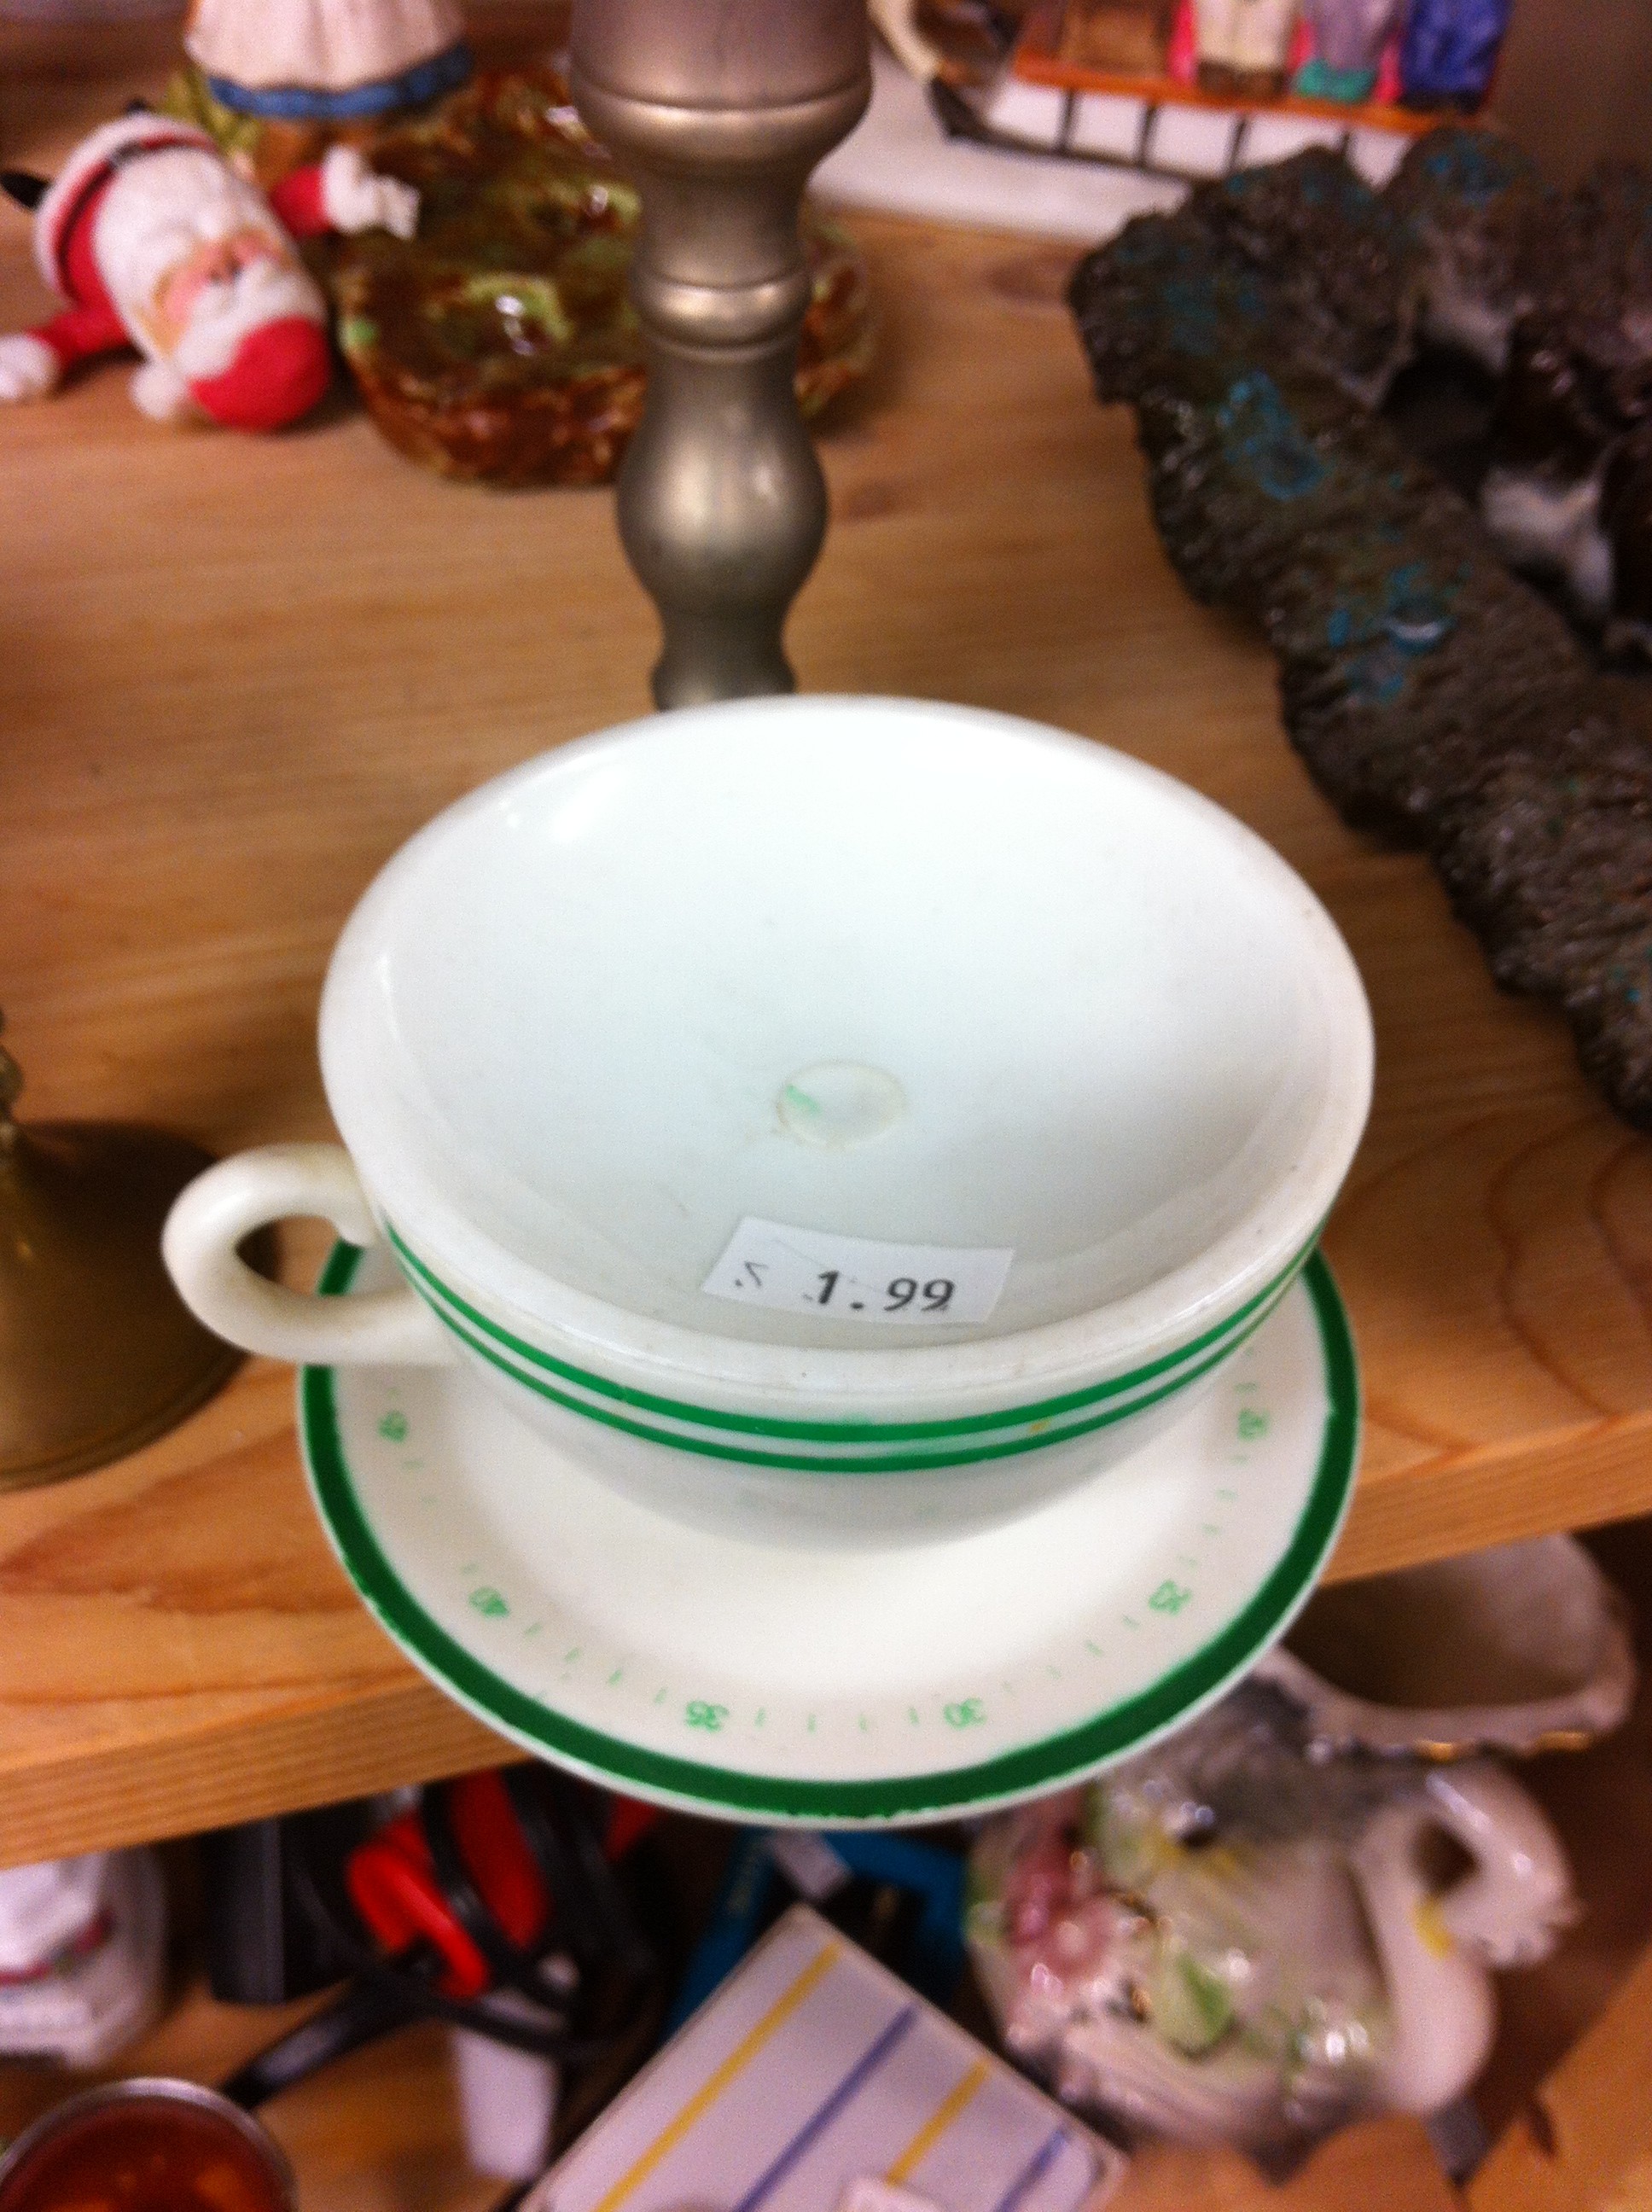
And this precious Grandbaby is actually a kitsh-chen timer, y'all....oh $1.00 ecstasy...she was half-off too:

A pic of a plastic kitchen timer shaped like a teacup

Y'all, this week's thrift whoring has worked me over...just the way I like it! Savor IT! The staff at Life Boutique was super friendly and really helpful..they even brought out water for Brandon! Precious dollbabies! The best part is the store is chock full of awesome treasure waiting to be discovered...go out and get your thrift whore on already!

Repeat Progress Report

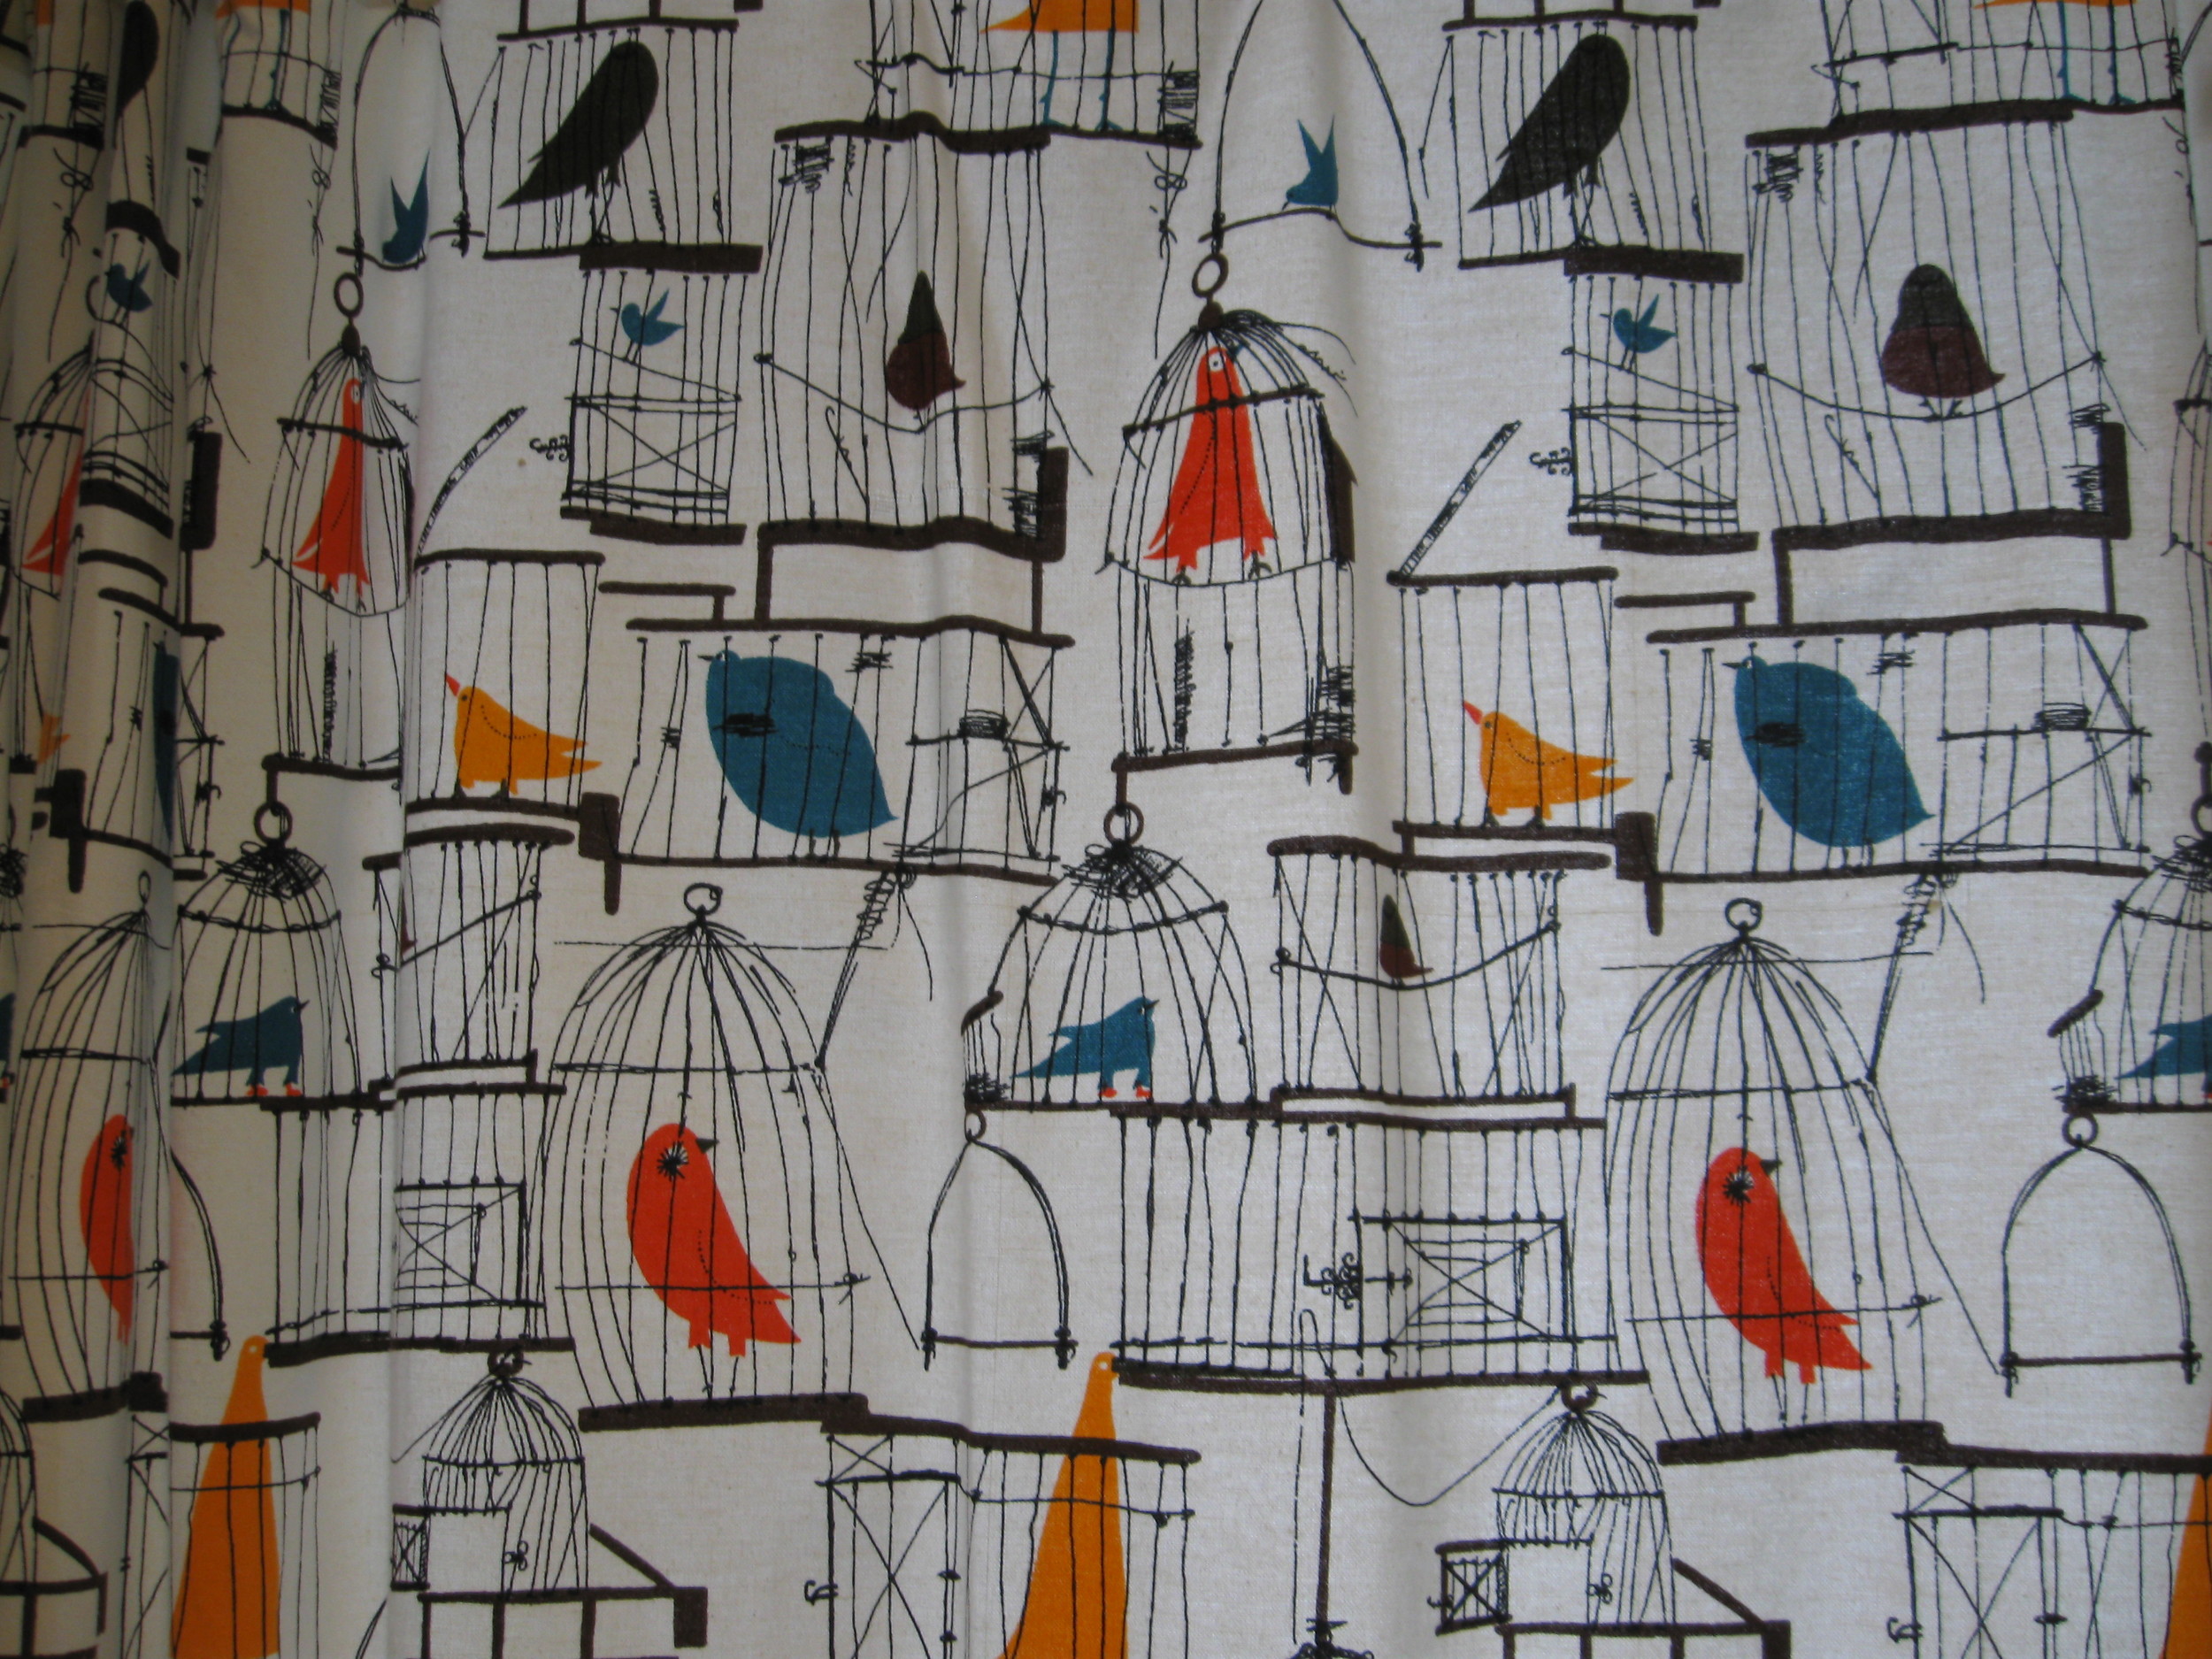
Earlier this week I'd posted about repetition of pattern and how I was going to apply this technique in my own bathroom, gettin' all kinds of D.I.Y.-dirty on y'all...here's the pattern I'm working from:A pic of the bird patterned shower curtain

Here's what bathroom looked like: A photo of bathroom wall that will be painted in a fun pattern seen in shower curtain

Here's where it's at now: A pic of the bathroom after being painted in stylized pattern

And:

Obvi, I decided to play with scale here, so my bird cages are a lot LARGER. I also deliberately left the birds out for fear of it going way too juvenile and I think this really works. Plus, this makes it much more conceptual, overall, since me and Dyl are now the 'birds' in these larger than life cages...and who doesn't like to get some cage play once in a while?! Chirp! Chirp!

I'm doing all this painting by hand and though exhausting, it's also fun b/c the pattern has a real line drawn/illustrated quality about it, so I can't really make any mistakes...well, I can and have, but they're easily corrected. Basically, it doesn't have to look perfect...it's interpretive of the original and it's super-quirky! My plan is to paint the other three walls in the same way, so check back for more progress updates and more detailed how-to action!

Happy Thrift Whore Thursday, y'all!

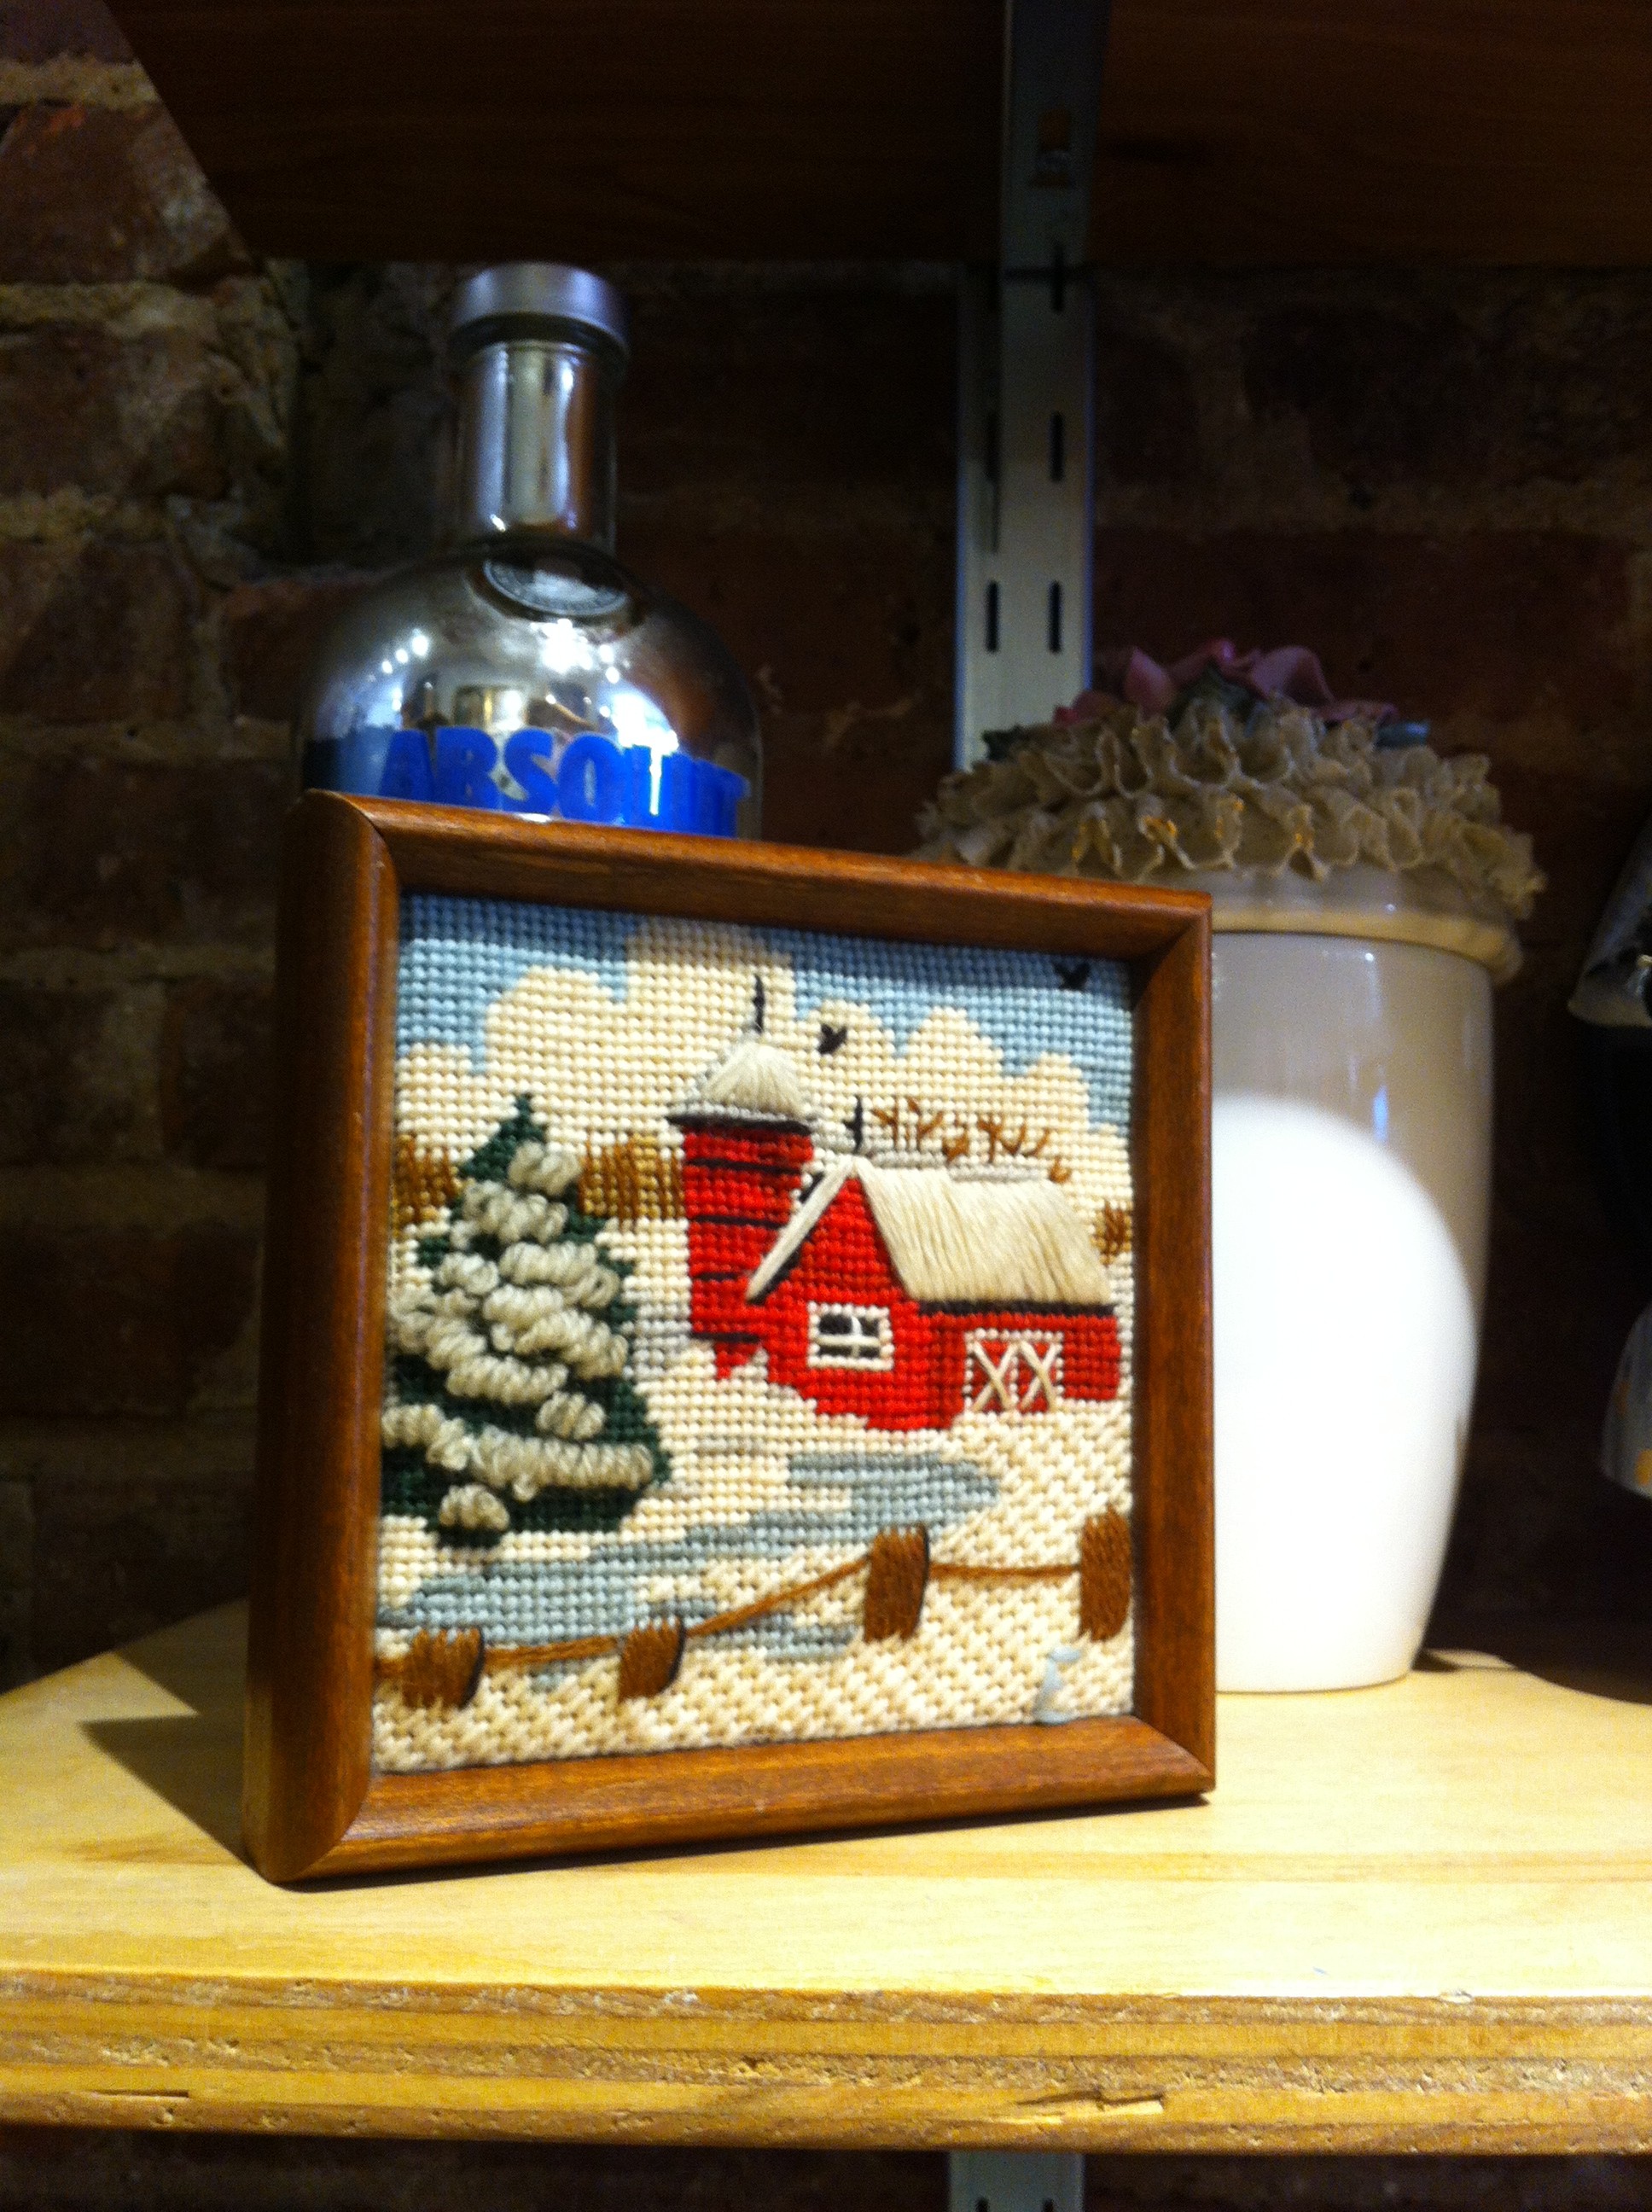
An exterior pic of the local HousingWorks Thrift store HousingWorks has worked me OVER with these stylish goodies:

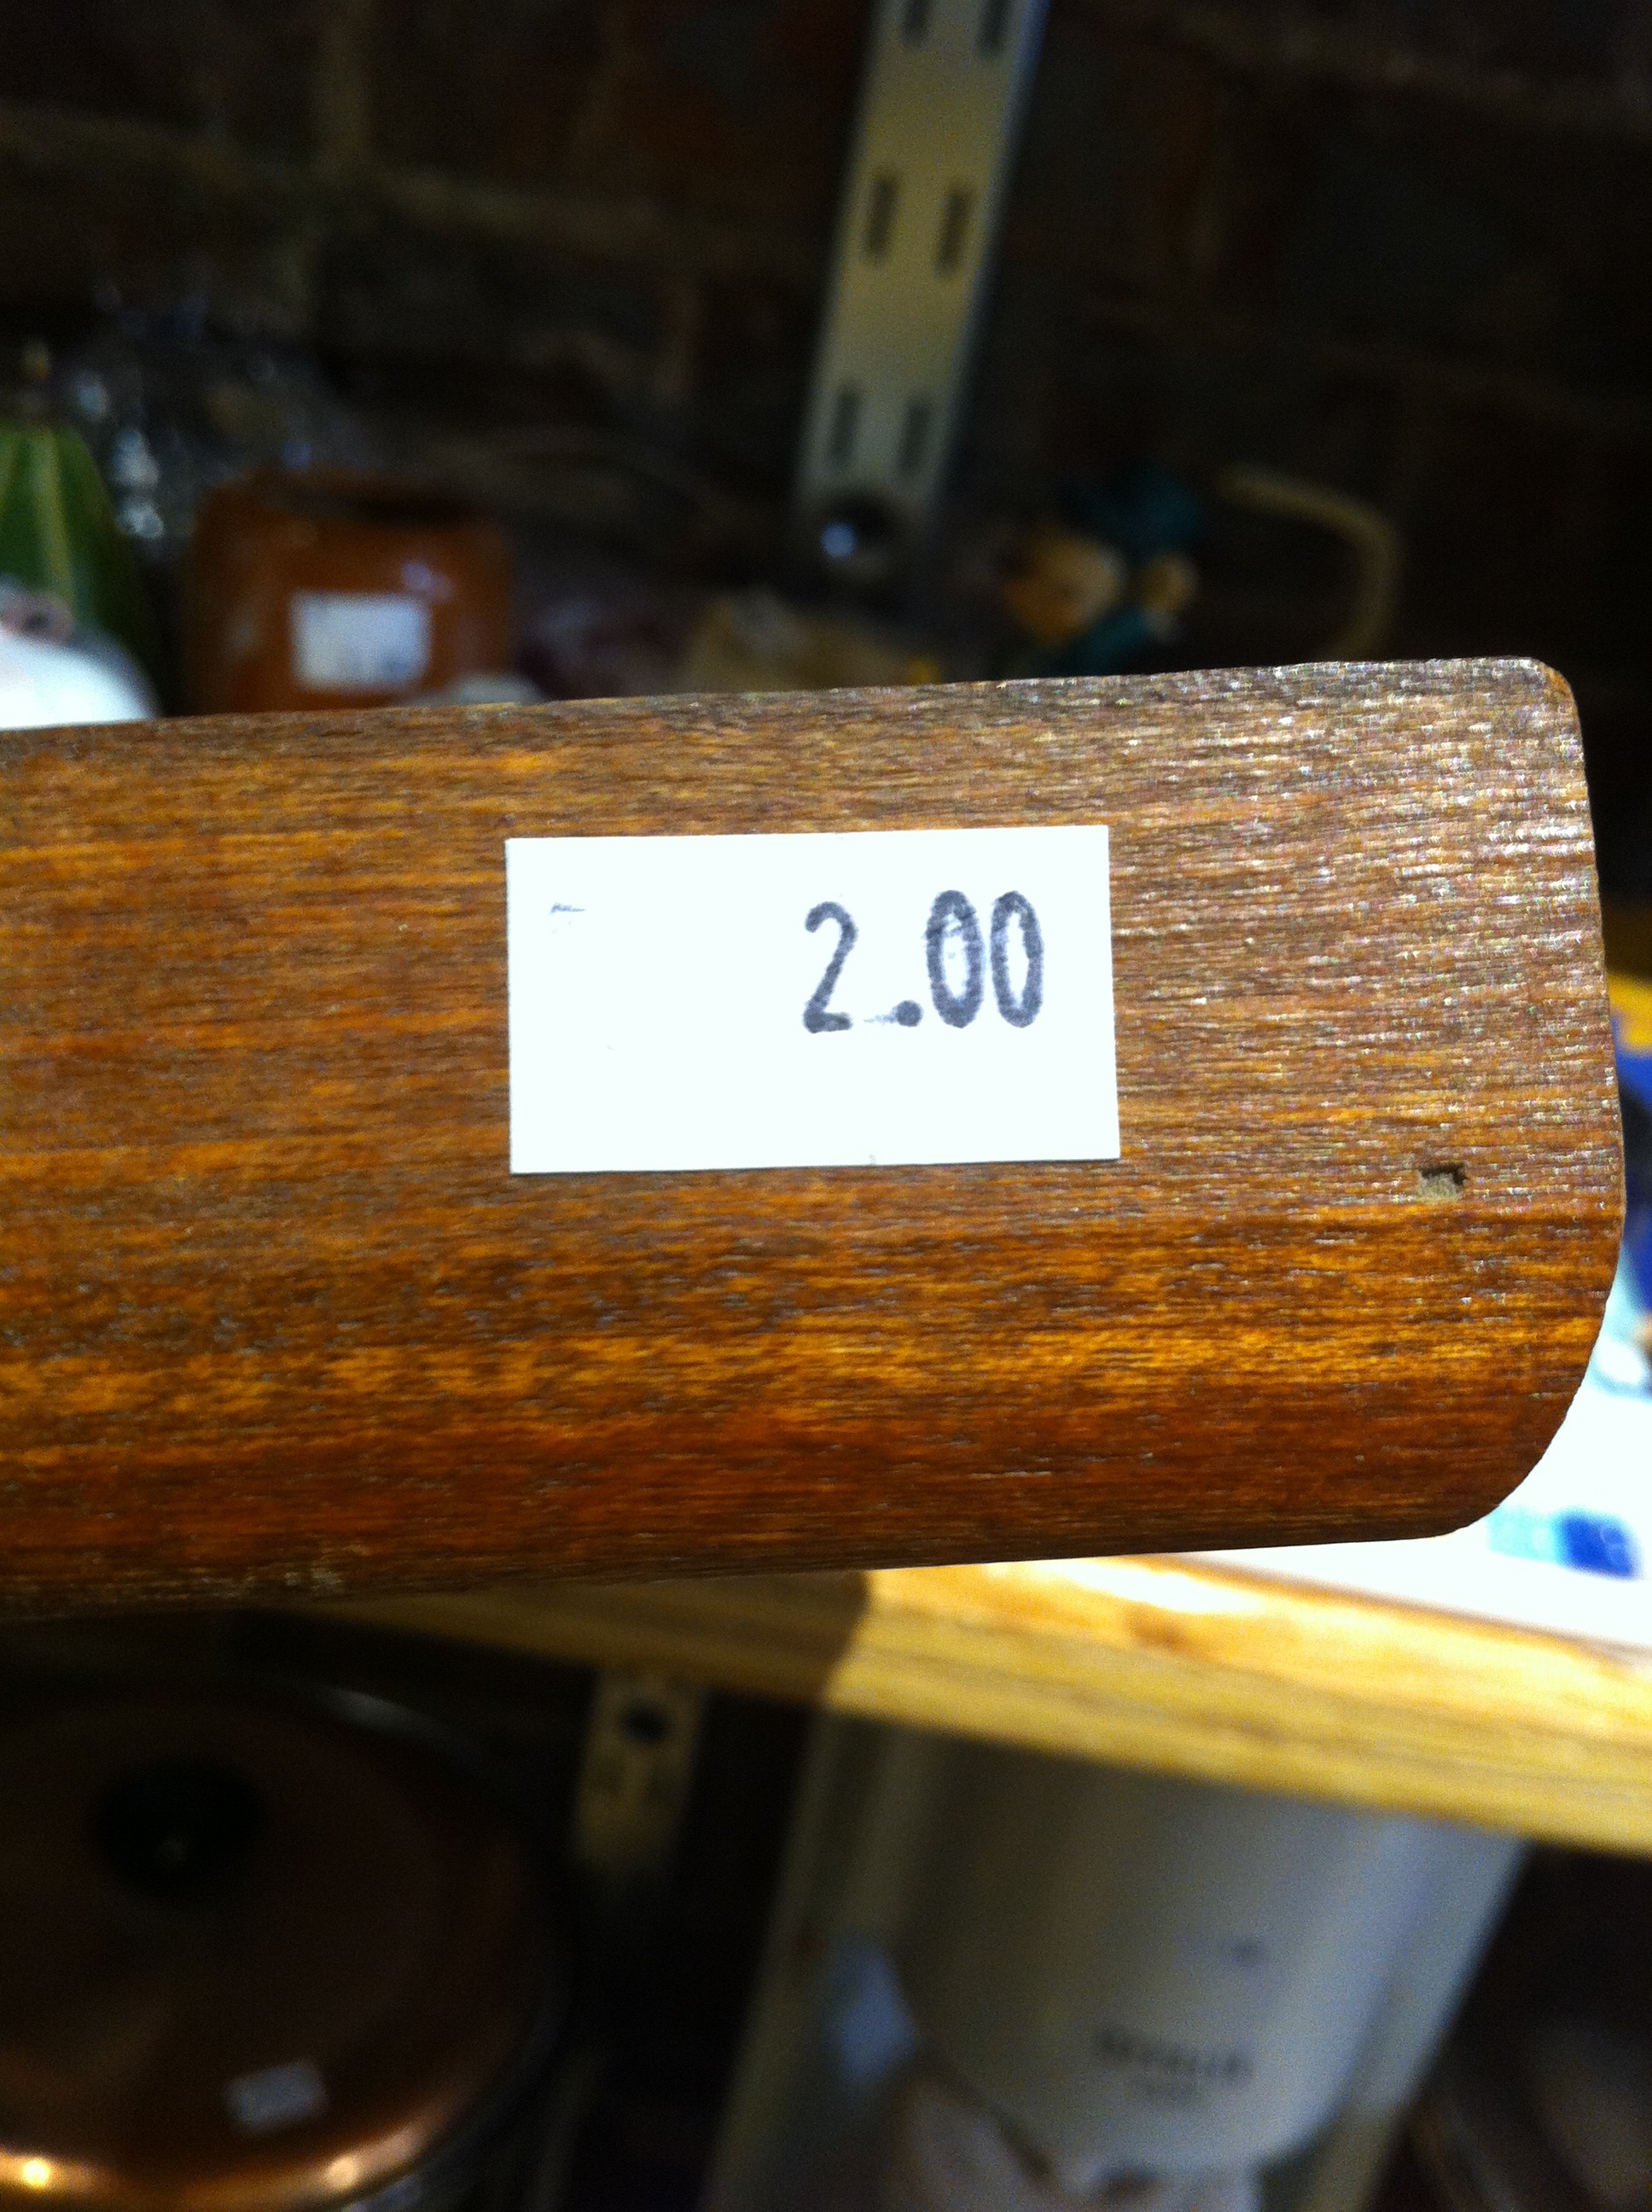
A pic of framed vintage yarn art from the thrift store

A pic of the price tag on a wooden framed piece of artwork

But WAIT, there's more... Pic of a cherry blossom wall sculpture from thrift store And what do I spy hiding out under here, hmmmm? Well, for $2, whatever the hell it is, it's also coming home with me...now, y'all this is what being a Thrift Whore is all about-- fast, chic, cheap style! Yummy! Now go out and get your hunt on, Whores!

Sidewalks of Style...

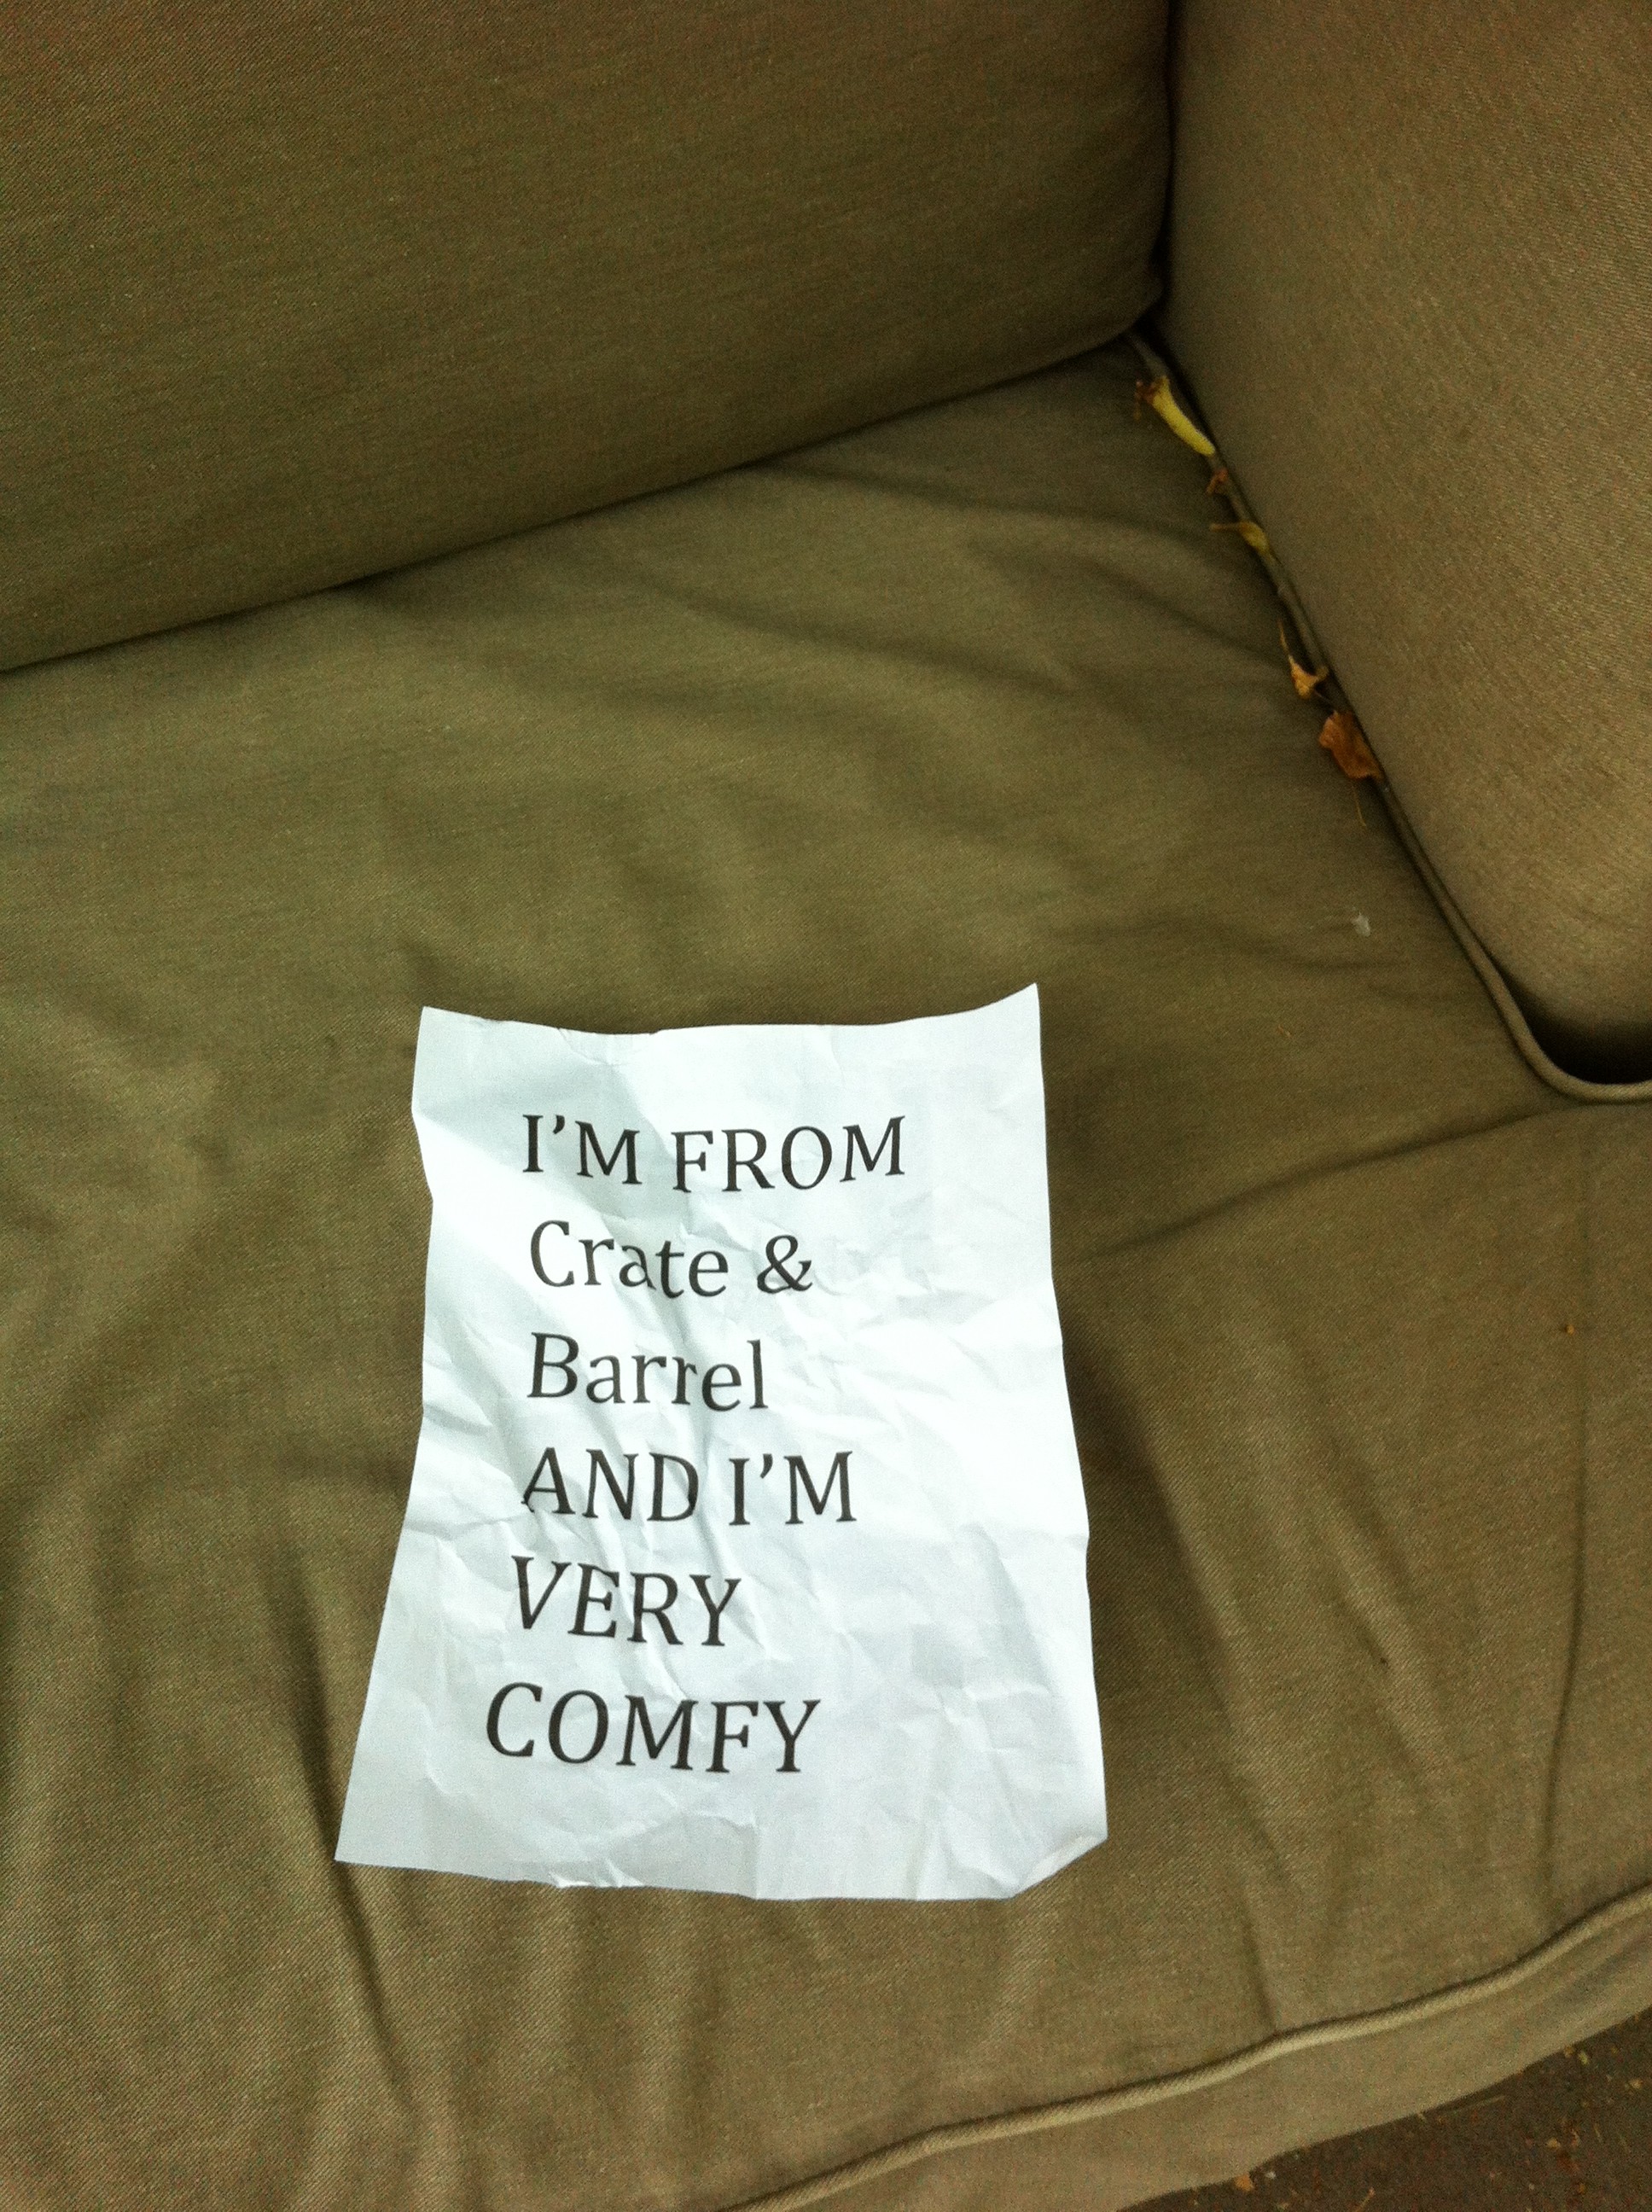
Another reason why I love this town:A pic of a chair from Crate & Barrel on the curb in NYC

For a Style Scavenger like me, a simple stroll down the street can be an adventure...and in a town like NYC, where most folks just deposit unwanted items right on the curb...it's like finding treasure without having to do much digging! And let's be honest here y'all, sometimes you just don't want to have to work for your style. This chair has clean lines, even though she's a bit of 'big gal'... and she's probably harmless, but I tend to avoid curbside cast-off upholstered pieces b/c Lord only knows what kind of party is raging under that fabric! Though, I have scooped up some winners-- my sofa was rescued from an East Village street, but she got completely rehabbed...bless her! Always scavenge with caution! Anyway, my favorite thing about this chair...the sign: A pic of a sign in the seat of the Crate & Barrel chair

I love that some thoughtful soul took the time to type up a sign for their chair! And even better still...it looks as though that sign has actually been sat on! Genius! Oh, just another afternoon in NYC...I'm going to the dry cleaners and oh, wait, let me try out this free chair...I've been needing something for the living room...y'all some of the best things in life really ARE free!

Repeat=Chic

Y'all, here's a HOT tip...repetition makes for one stylish space, if done in the right way. No, this isn't some ancient technique passed down by the decorators of yesteryear...it's really current and makes a huge impact in a space...what is it? This:Black and White toile patterned bedroom designed by Anthony Baratta designs

By taking a pattern, whether it be a wallpaper or fabric and repeating it on multiple surfaces in one space, you get repetition (this also applies to well-edited collections/collectibles, btw). Sometimes you also get a massive migraine too but there's pills for that...ingest, y'all! This treatment can be a chic way to really amp up the glamour and drama in a space, particularly one that's smaller or has peculiar architecture, like an dormer room. I know it seems counterproductive to completely envelope a tee-niny room in a cra cra pattern, but when executed well, the endless repetition, tends to erase the physical structure & boundaries of the room, so you're left with a seemingly vast expanse of space. Are y'all keeping up?

I use repetition a lot in my work, but have never gone full-on immersion like the above genius example...until now. Our bathroom is a cute spot and will make the perfect place to have a pattern blow out! YES! Here's what it looks like: A photo of bathroom wall that will be painted in a fun pattern seen in shower curtain I have this amazing shower curtain that I scored from Urban Outfitters, that sadly enough, is no longer available on their website: A pic of the bird patterned shower curtain So since I can't buy more shower curtains to use as fabric for the wall treatment (which depending upon the specific application, isn't a practical thing in a bathroom anyway)...I'll be painting this pattern, by hand! Uh huh, I'm an absolute d.i.y. dork that way and I enjoy self-torture! But, since it's so organic and hand drawn-looking as it is-- I feel confident that I can re-create it, even if it's not perfect. I'm also going to play with scale of the pattern, just to give it more dimension when it's on the walls...and since I have existing tile work partly covering every wall, I don't have to paint as much...holla! If y'all were to tackle a similar project, remember you don't have to go to such extreme lengths by hand painting a pattern b/c there's a ton of fabrics that are also available as wallpapers or some fabrics can be used with spray starch and made into wallpapers as well...check out my former co-worker and friend, Kristin Appenbrink's post about it on Real Simple's Simply Stated blog, here. And check back soon for progress posts on this project! You're forewarned-- It may take a minute, y'all!

It's Thrift Whore Thursday, y'all!

There's very few things in life that delight me more than a thrift store. Or whores. So put the two together and throw in a thursday and you've got a situation as 'licious as when peanut butter met chocolate. Yummy!At a recent stop into Goodwill I spied all kinds of treasures that just had to be shared... A photo of Britney Spears on a mug

Another pic of Britney Spears on the reverse side of the same mug

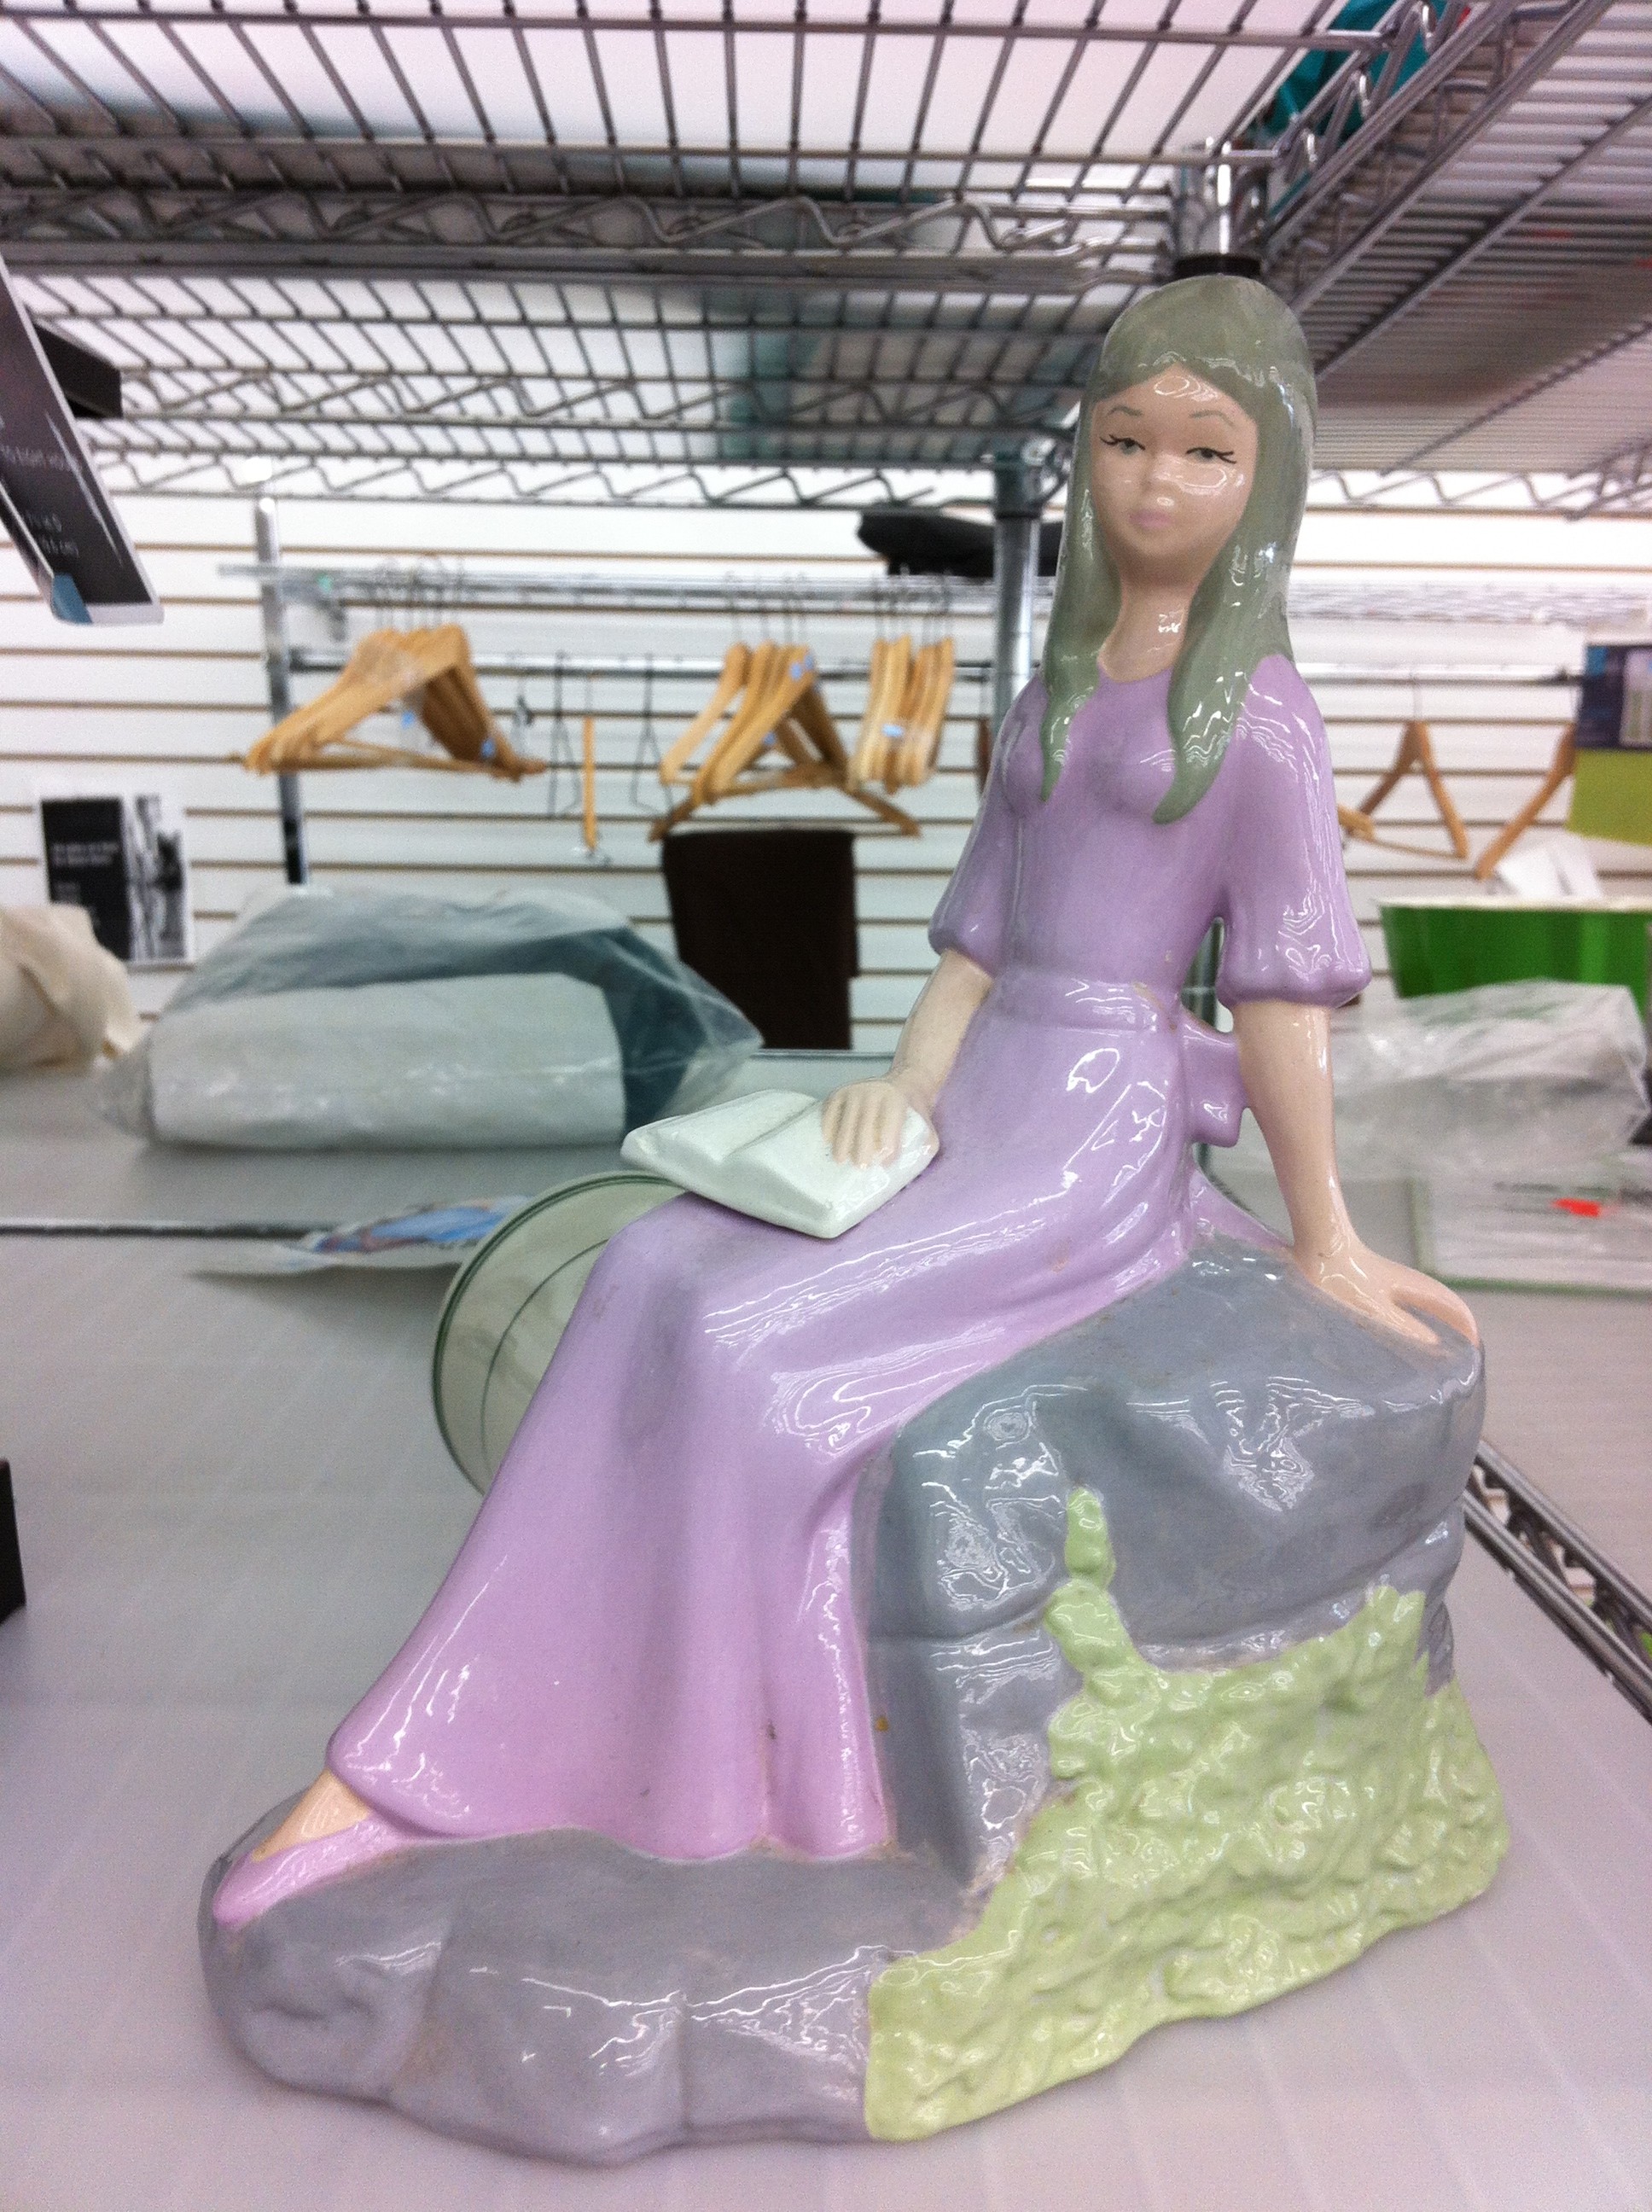
A ceramic statue of a woman in a purple dress

Some things have real potential, like this: A pic of a vintage black enamel fondue set

Cute enamel fondue set, $8.99? Well, shut the fu%$ you!!! And this poor soul is either just lost in heinous forever or, with the right paint treatment and modern shade will style slap us all into America-Home-of-the-Free-liberty-realness! Ding a ling and spray her with some paint already! A pic of a liberty bell under plexi glass that's the base of a lamp

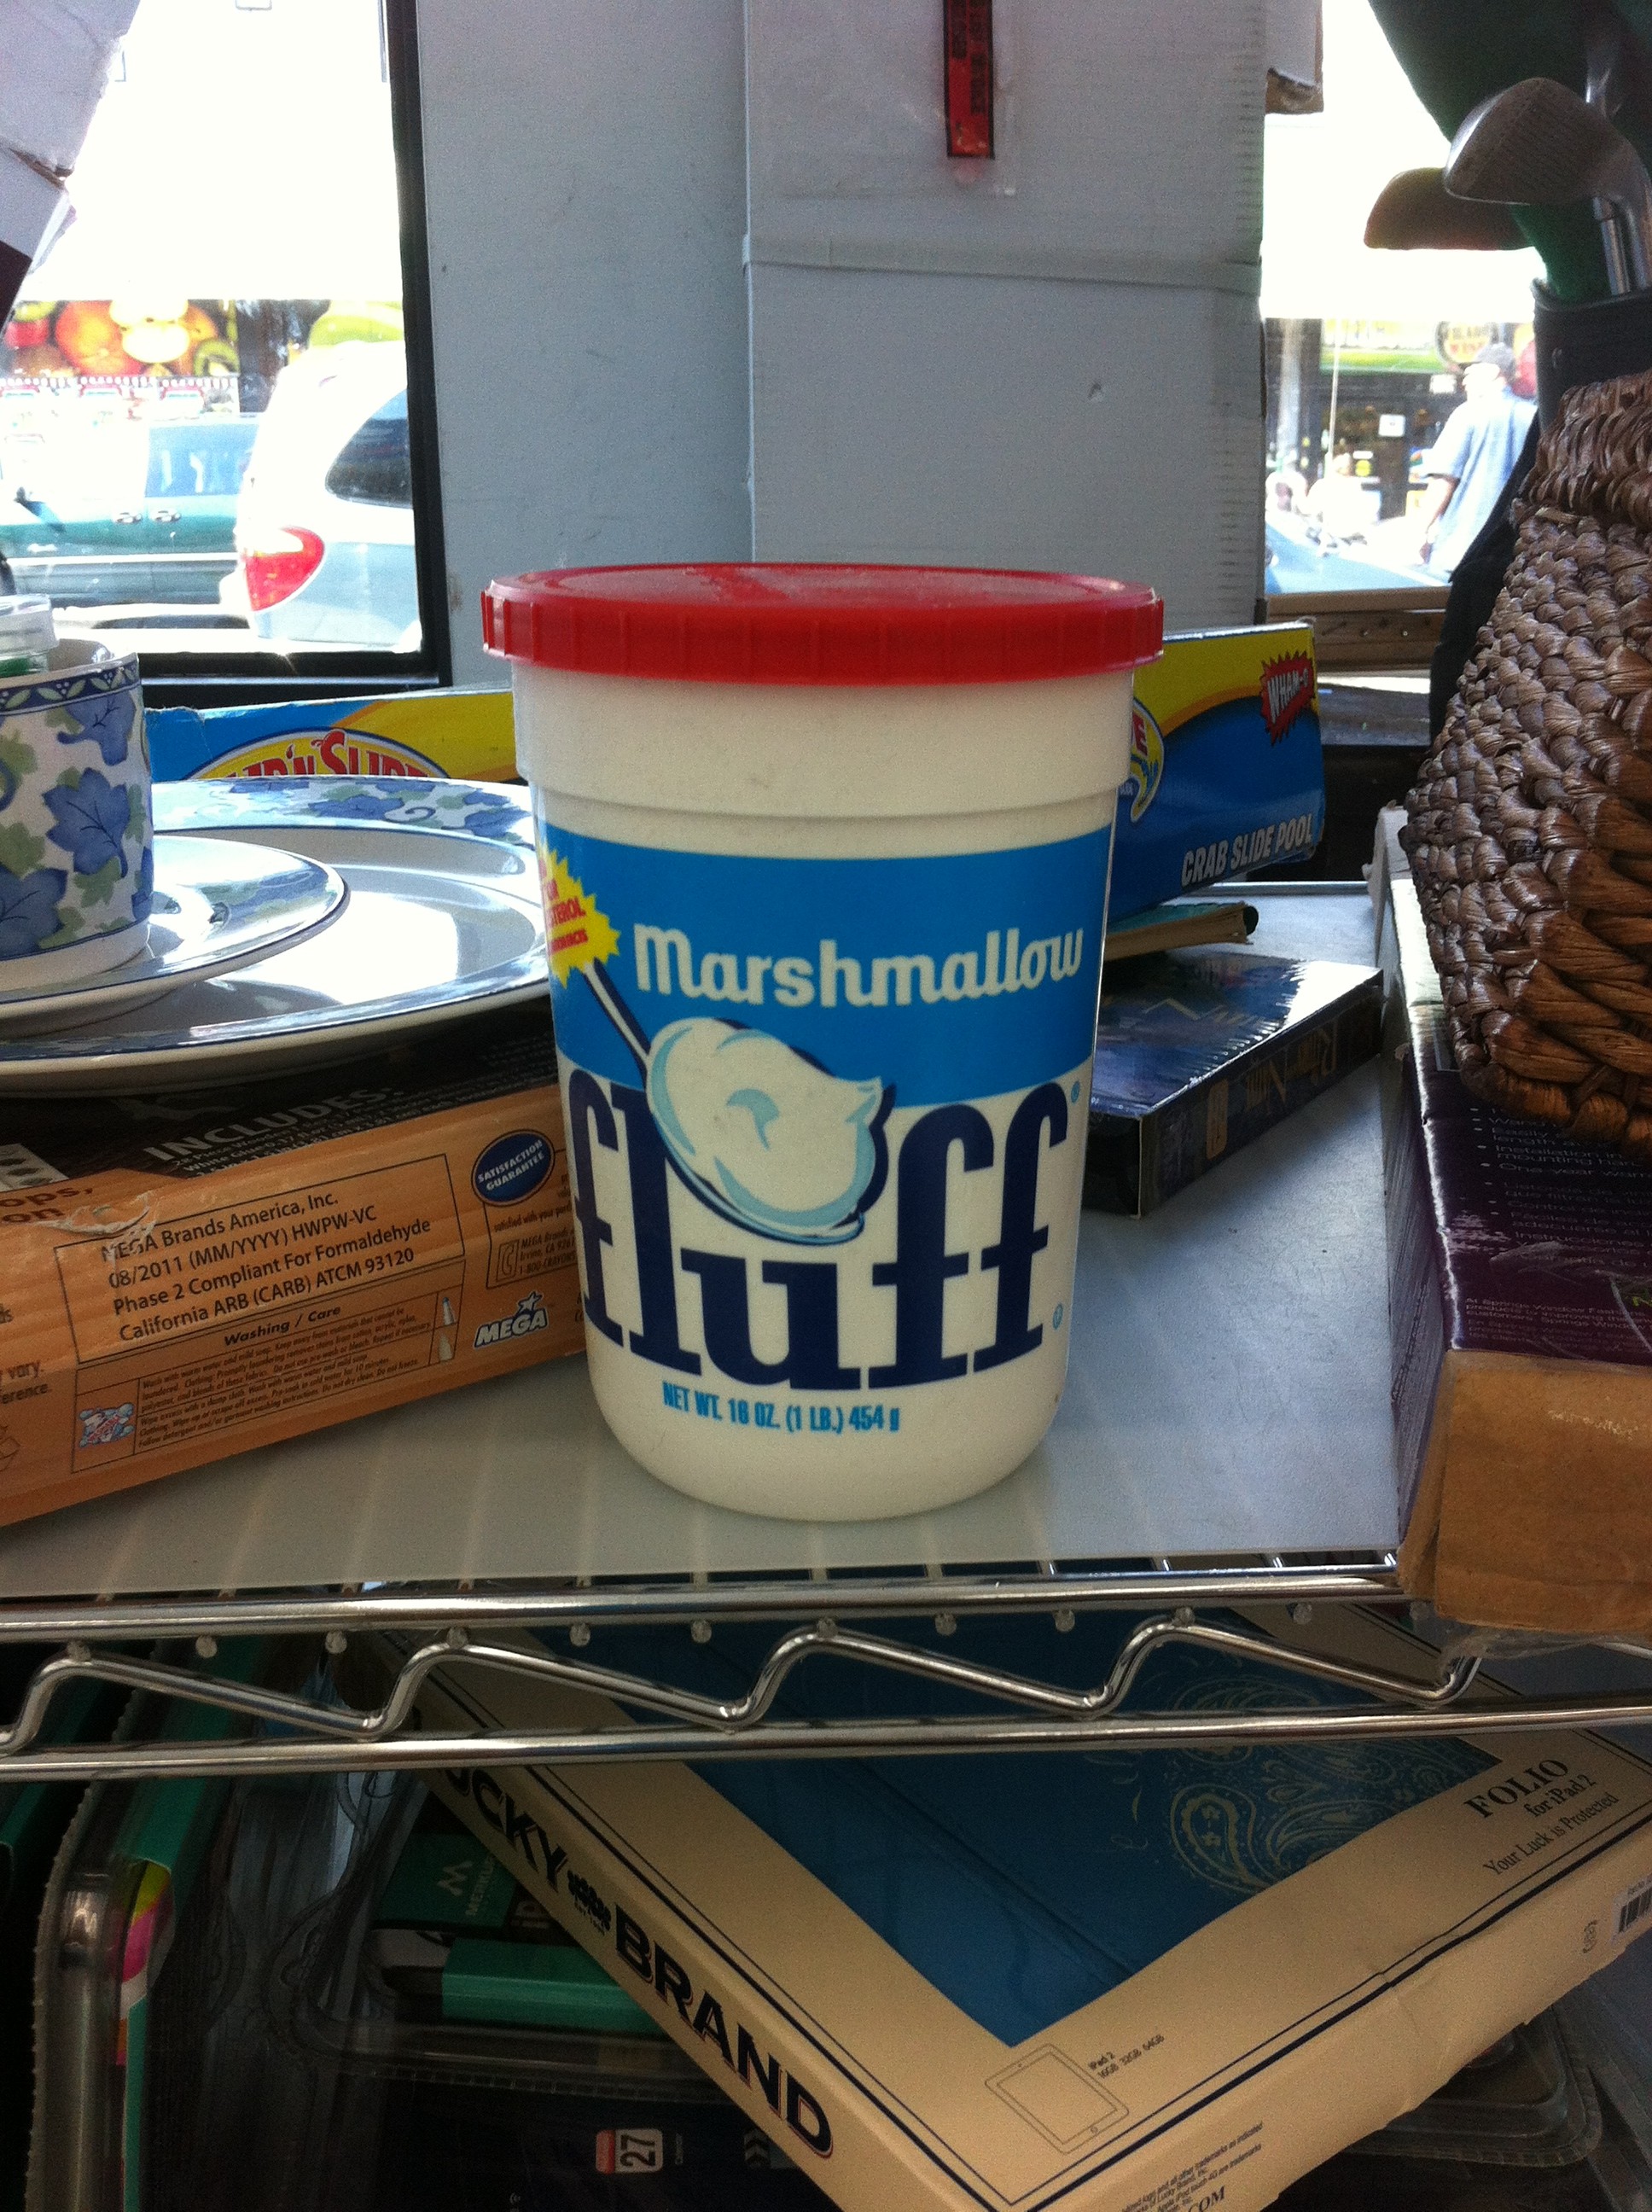
That must be a dinner bell going off, 'cause look who's at attention right here: A pic of a tub of Marshmellow Fluff in the thrift store

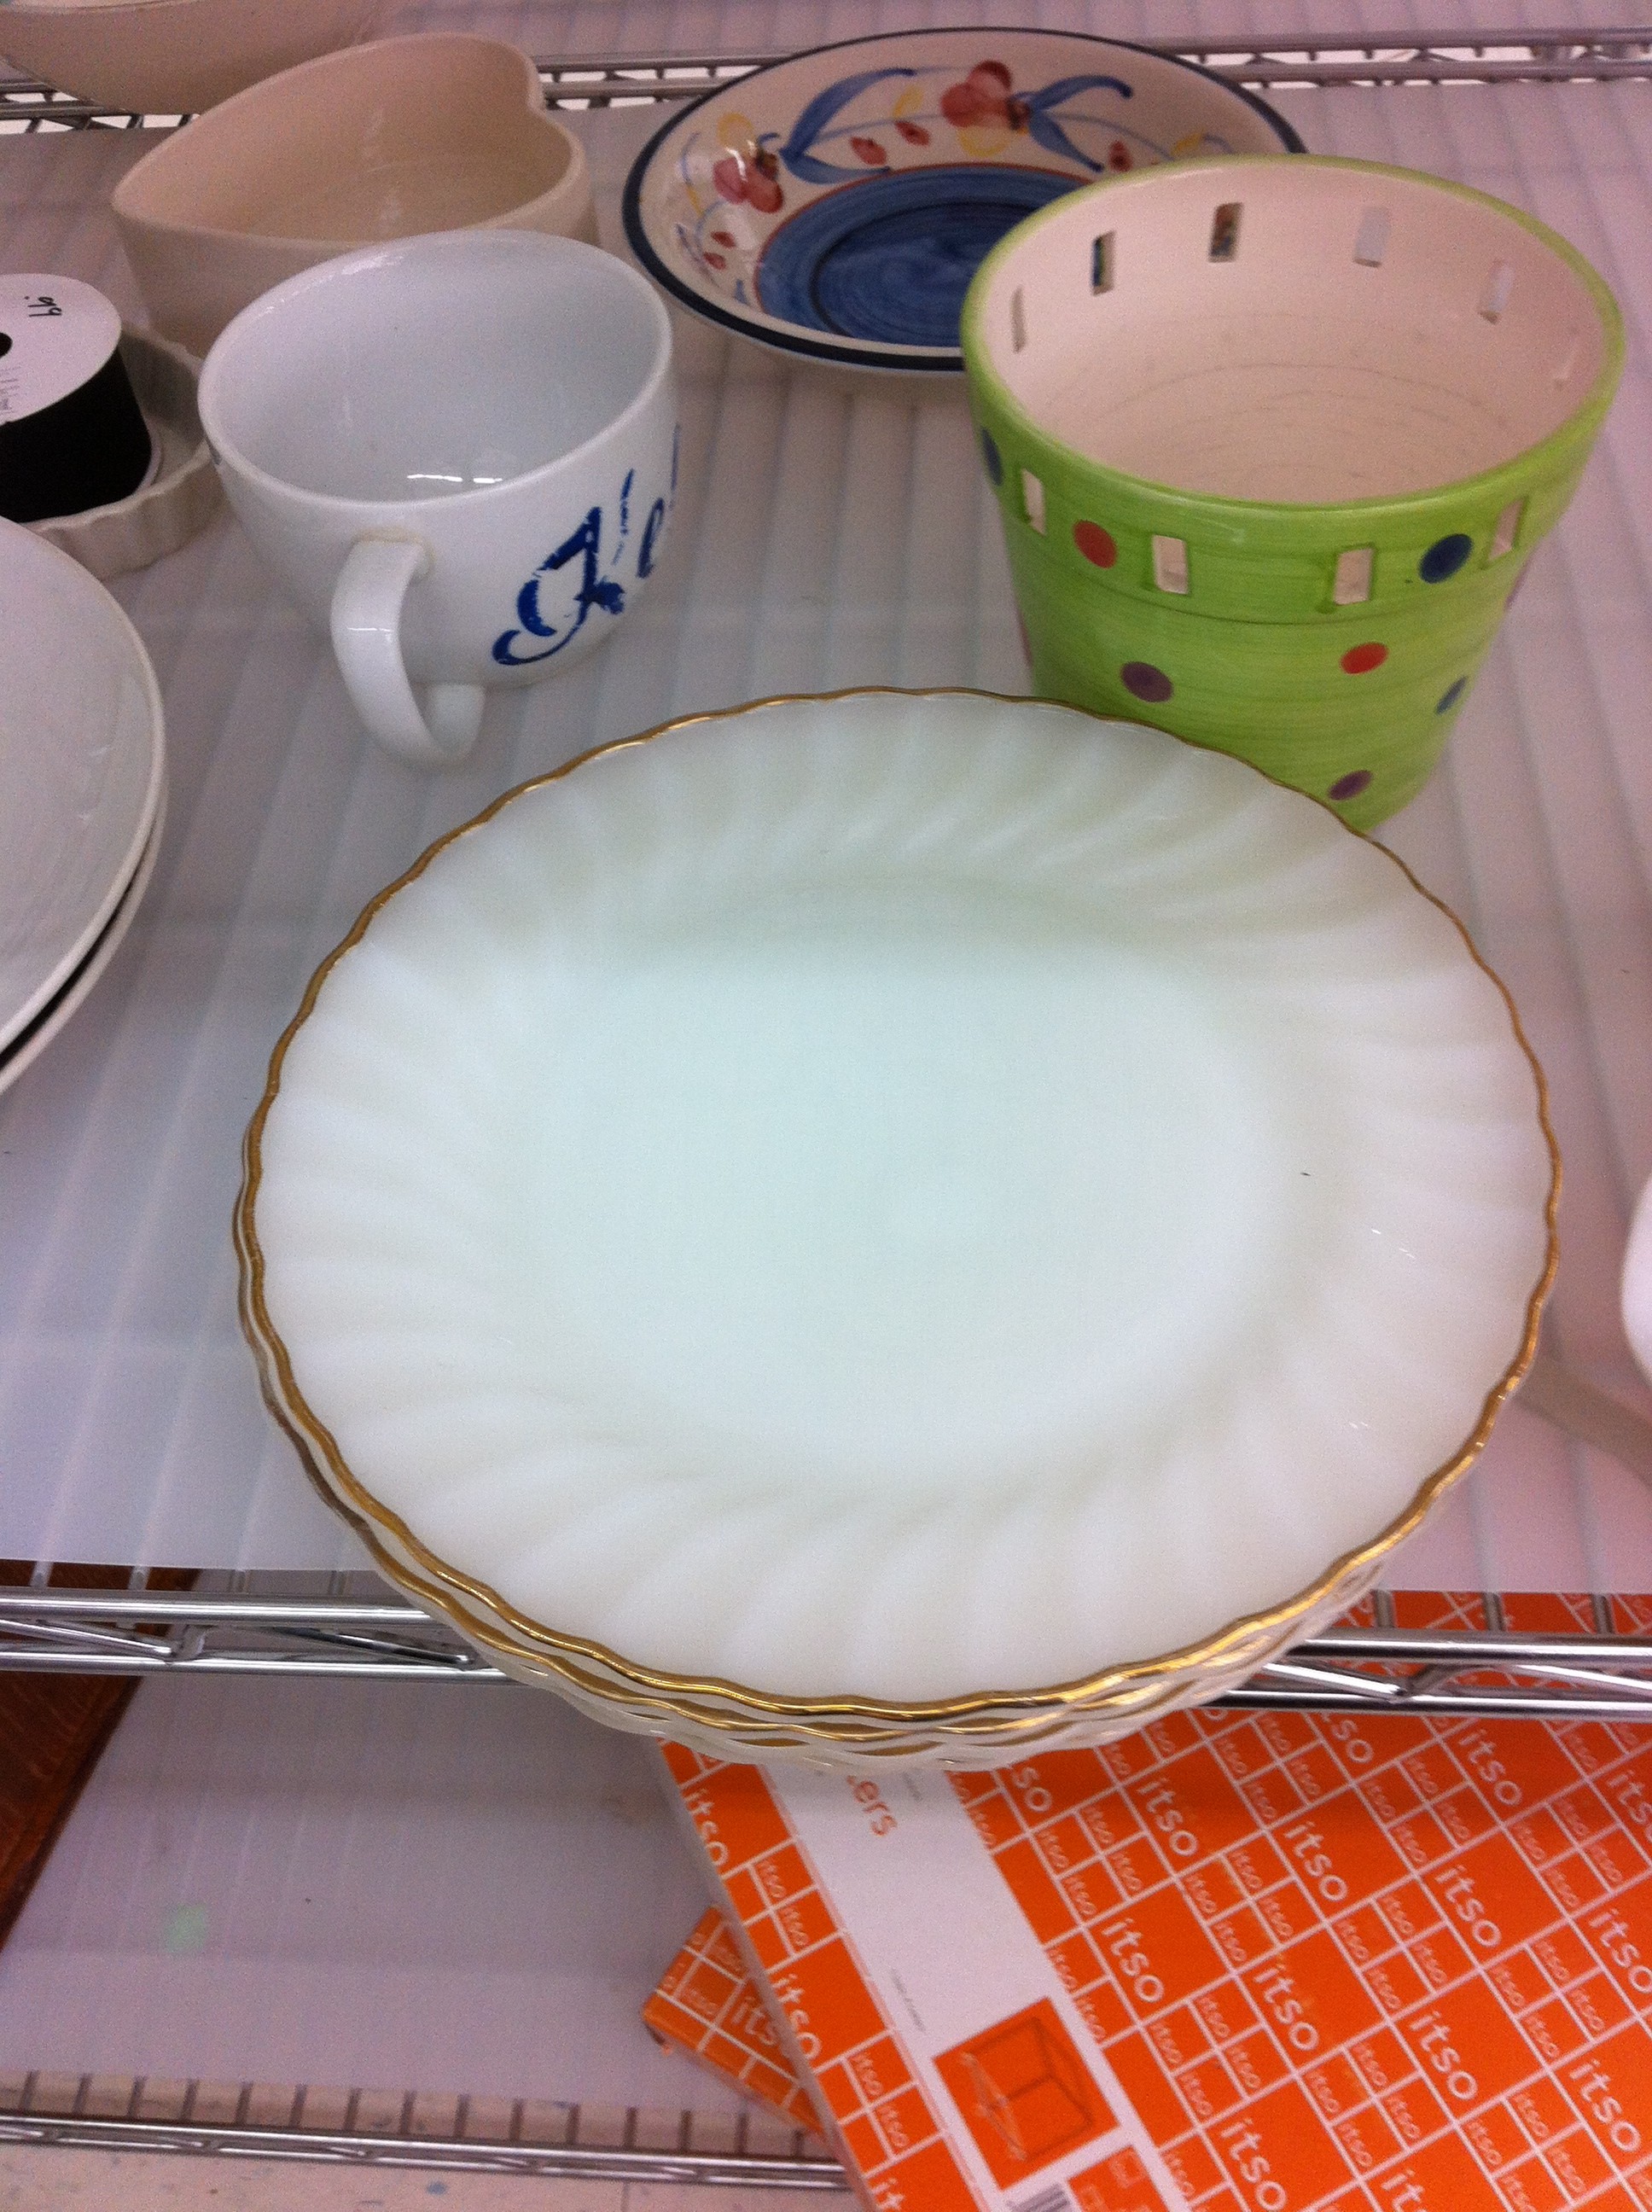
But don't fluff, er fret, y'all 'cause these babies are a score: A pic of vintage milk glass plates with gold rims And this just screamed at me, she's so cute: A pic of a vintage green and purple argyle patterned glass from thrift store Creating a stylish space is about having pieces that truly reflect the unique people who live in it. So, whether y'all are looking for kitsch or class, I hereby style slap y'all to take a minute and stop into your local thrift shop. They're like a value candy store filled with treasures, inspiration/ideas, and hiliarities...you just have to keep an open mind. Plus your purchases usually go towards a good cause, which is never a bad thing. Happy hunting whores!

REVEAL! Office! Dreams! Destiny!

Y'all, it's time to get some full-on eye candy! The office is complete, woohoo, BUT before any hot reveal action can occur, have to let y'all know about a slight curve ball with the design plan/furniture solution. I'd found those awesome Ikea desk/combo units (see previous post for pic) which my client was totally on board with. But then she wasn't liking the fact that when configured in the space, they would partially block the inspiration boards that would be retrofitted over the existing soundproof windows. And baby just can't have ANY kind of blockage...ok? Y'all know that's right...flush IT! So, with some slight design adjustments, each worker will now get to rock these as their desks...

Desktop: A picture of an Ikea table top turned desk top

Base 1 (right side): A picture of the right side base unit that will also house the computer tower

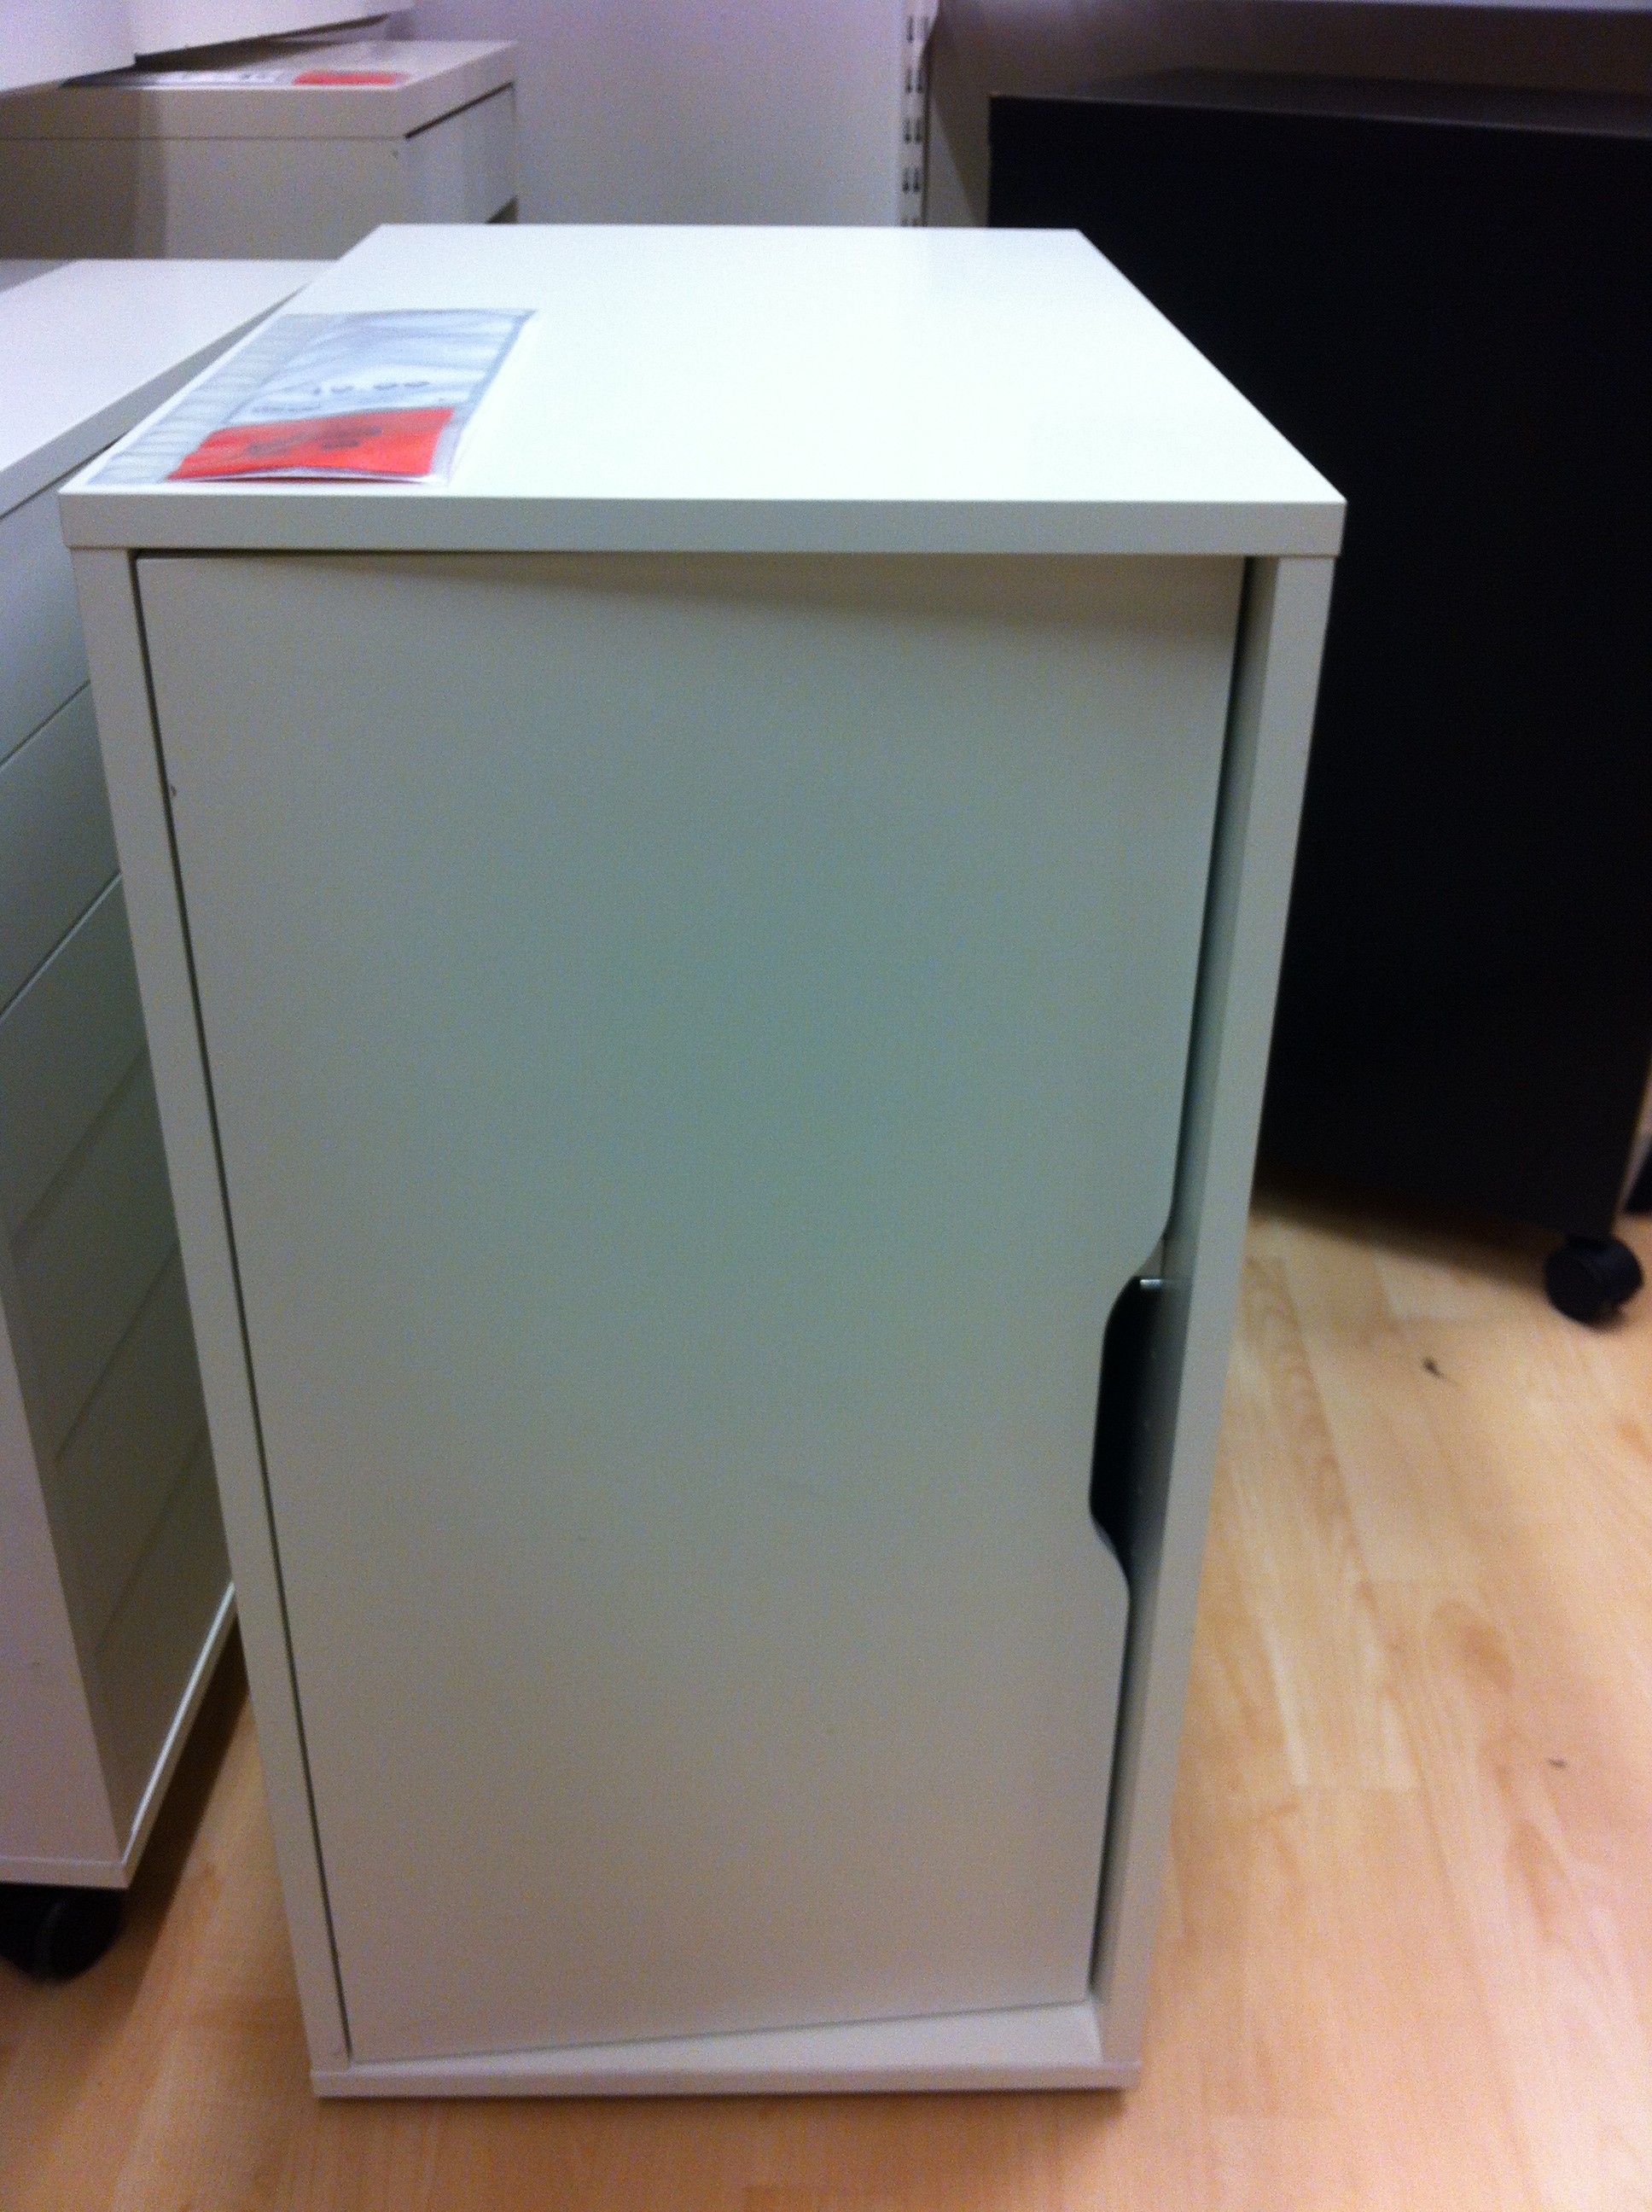
Base 2 (left side): A picture of the left side base unit for new desk configuration

I love this new solution! The butcher block desk tops will give us warmth...the bases will serve us lots of yummy storage (hide those computer towers whenever y'all can, biotches!)...mix them all together and you've got yourselves some kind of sassy-chic-home-away-from-home PR/communications office realness!

And just so y'all know how hands-on I am with all my projects...take a look at this mini mountain that I was pushing around Ikea: An image of two carts overflowing from Ikea with new office purchases

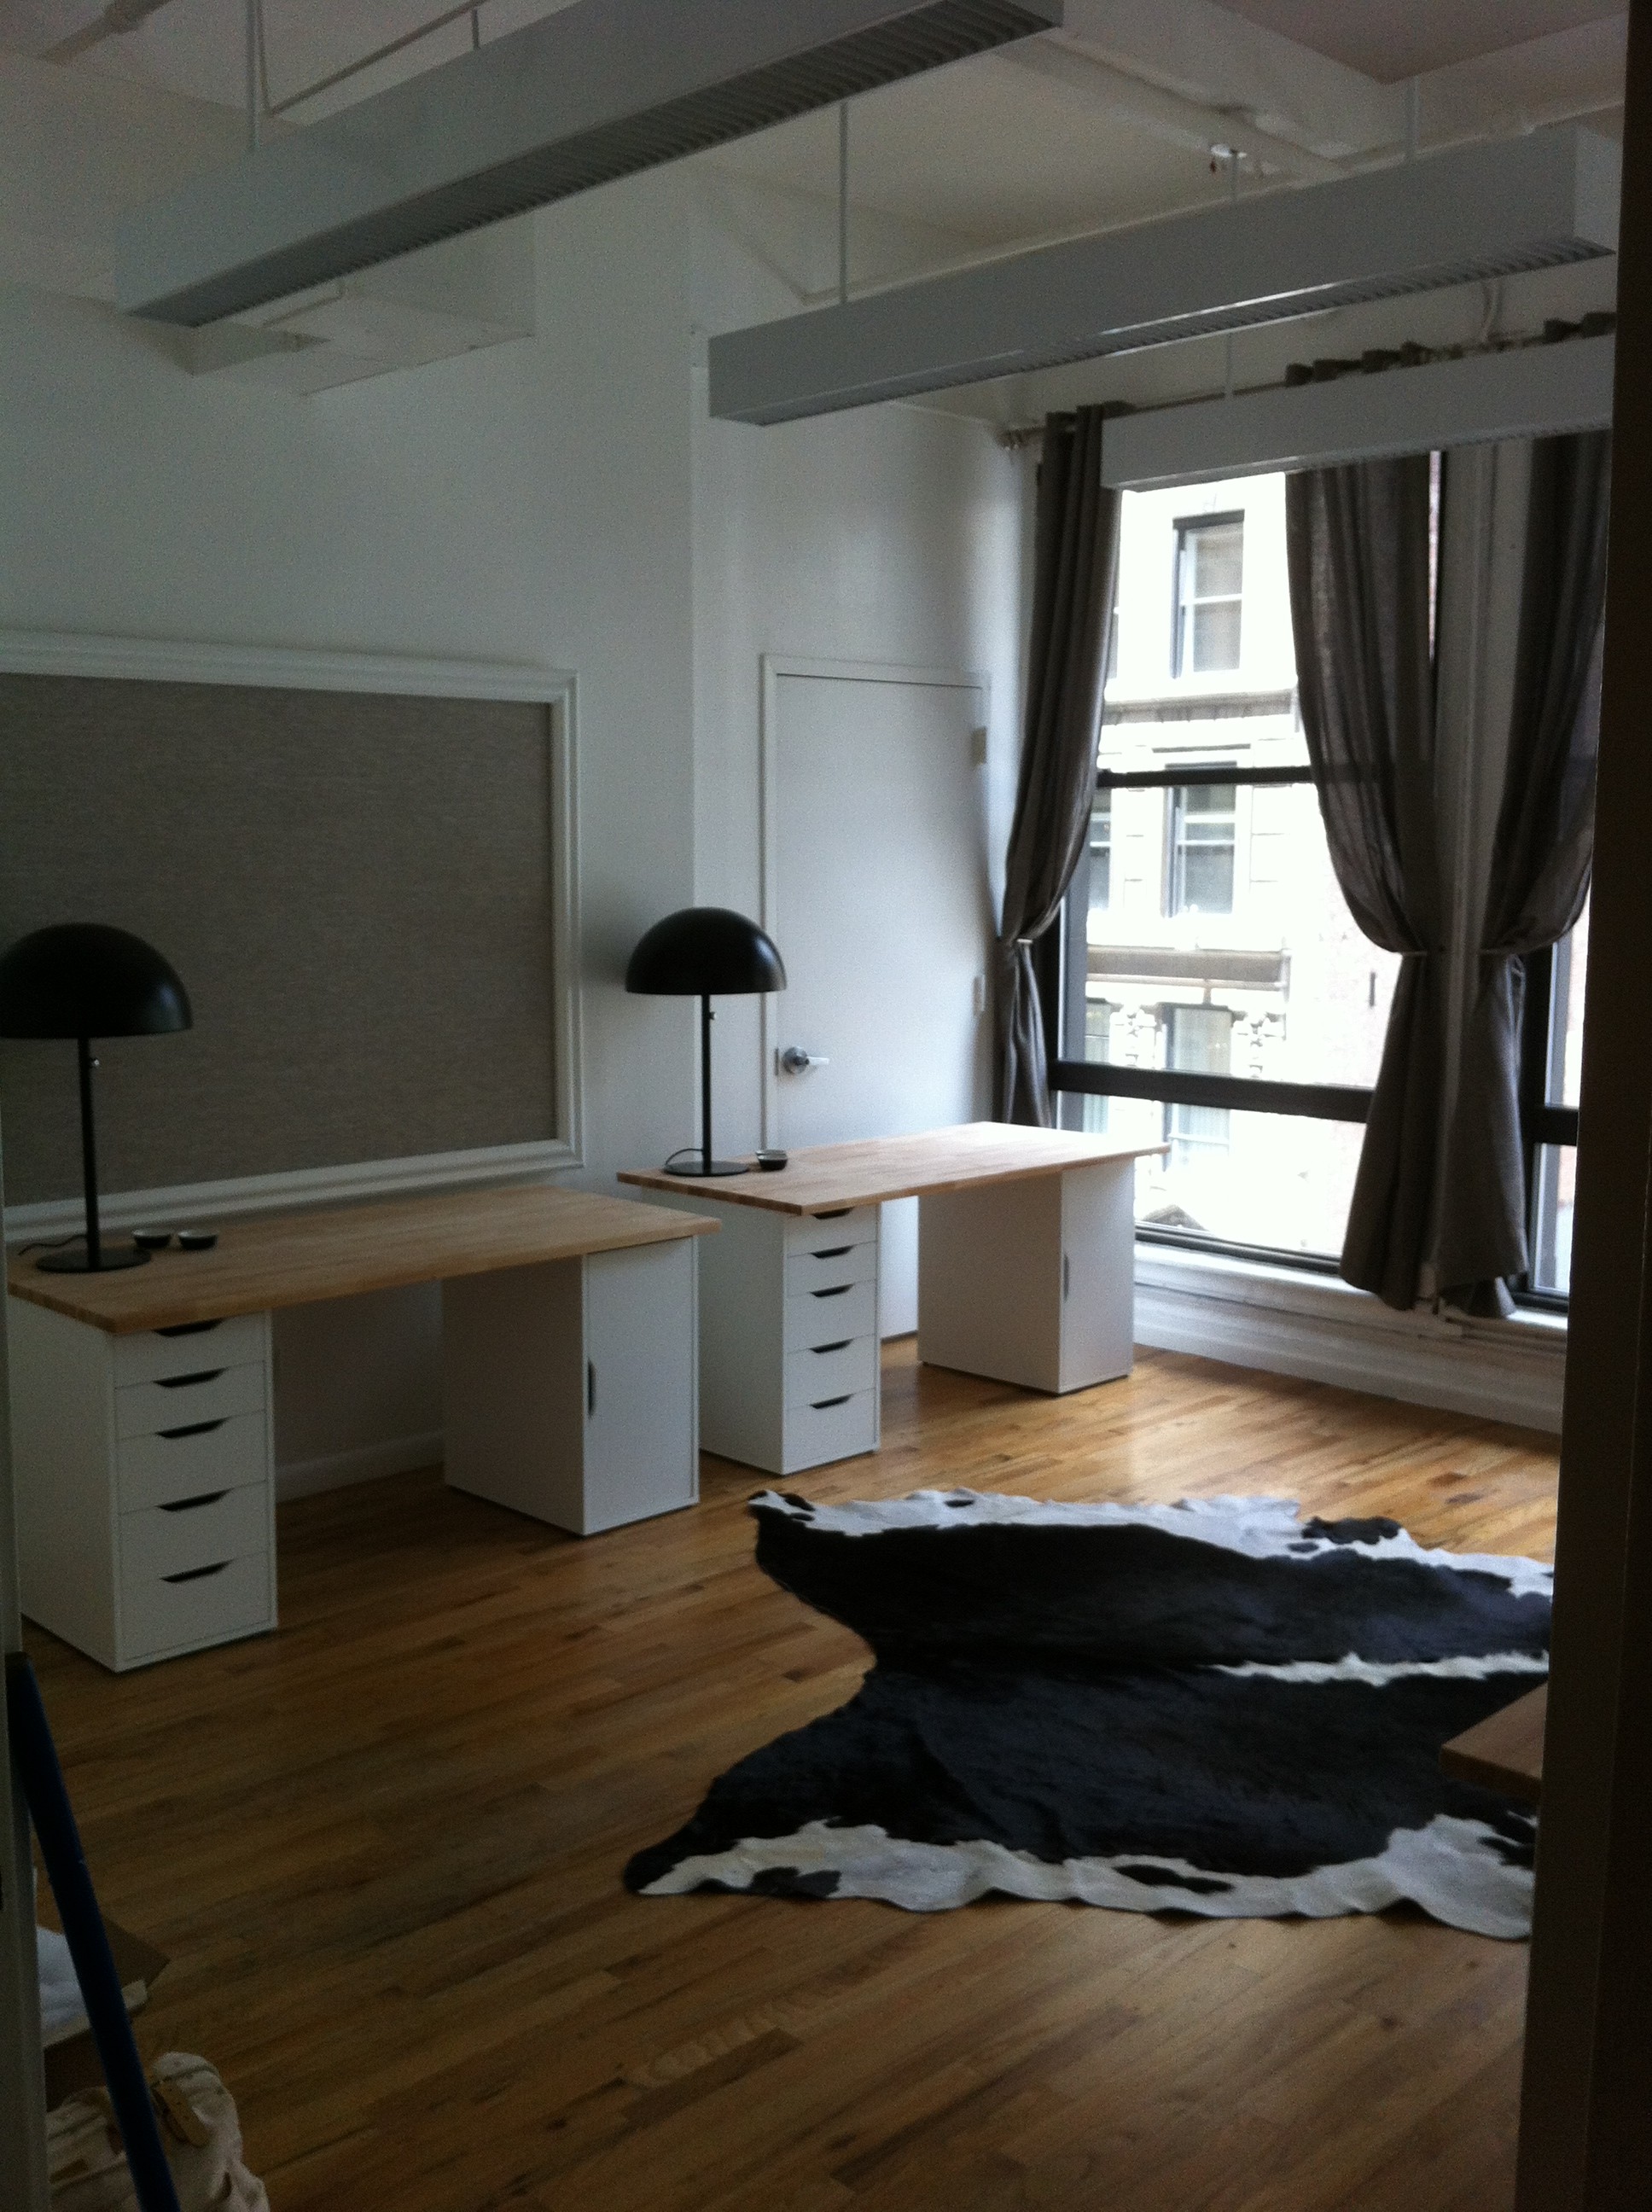
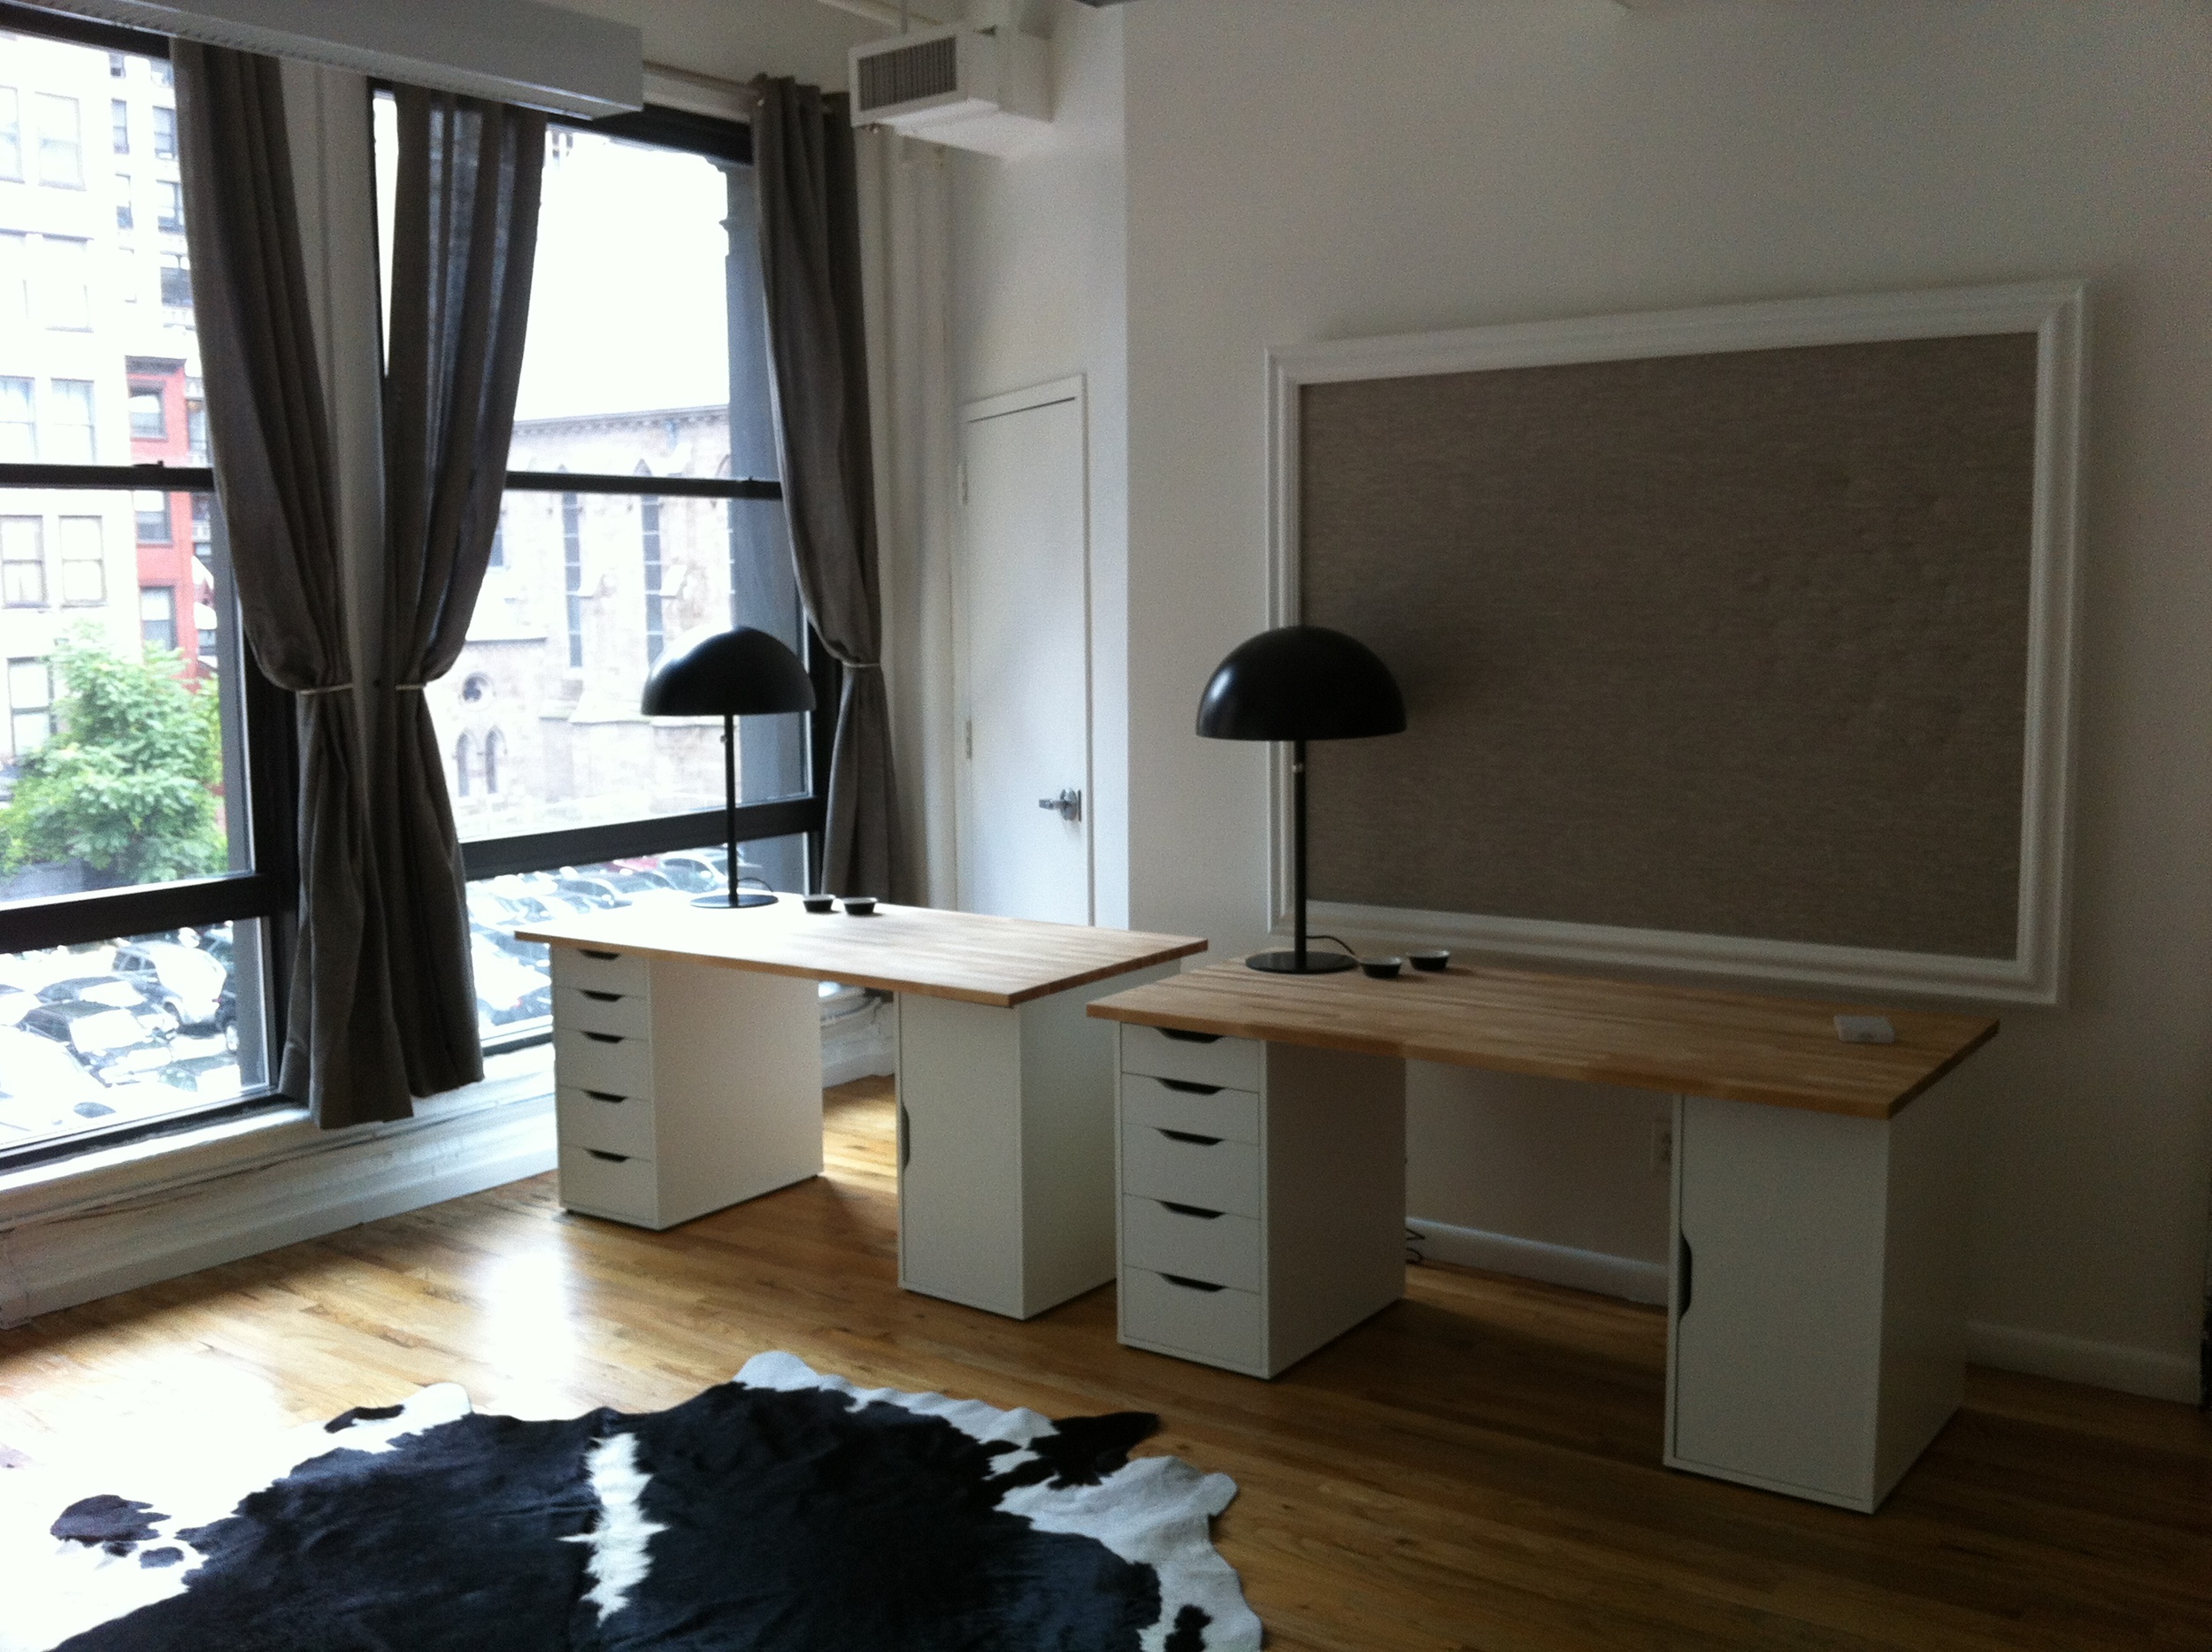
But trust that mountain was conquered and an office was born, y'all: A pic of the new office AFTER makeover, one side of room

A pic of the other side of the new office room

A detail pic of heinous interior window as inspiration board

Additional pic of the other side of new office

A pic of the desk nearest main office door

Obvi, chairs will move in along with computers and the other inevitable office trappings, but this baby is ready to rock and roll! I'm really pleased with how it turned out and more importantly, my client (& her staff) have had their new office dreams AND destinies fulfilled! What more could I ask for in life, y'all?

Office Plan

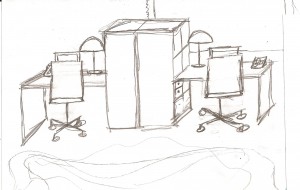
My client threw me a conundrum, or tried to anyway, when she tells me that she needs me to decorate her new office. For a staff of four. In one room. Short sentences with periods equal drama. The pics are in the previous post...here's my plan of attack: A sketch of new office workstation by PJ Mehaffey

If y'all can't tell what in hell is going on with my sketch, here's the actual product sheet:

I love these cool Ikea desk/bookcase combo units! The lamps are just tres chic, no matter what day of the week it is. Cute cork and metal desk organizers. Clients' existing office chairs are gorg, so they're being re-used, which we love, not only for the environment, but also for the budget. And can we all just writhe around all over that cowhide rug? Go ahead, y'all writhe!!! YES! Clearly, I'm going for a very black and white/neutral color palette. Client is in PR/Communications...she's way hip and way savvy. I wanted to keep her workspace light and airy and unfussy. Let the color come in with her custom inspiration boards...oh, wait...I didn't mention those yet?

So, y'all saw the pics of the atrocious interior soundproof windows...I'm proposing we retrofit them as giant inspiration/bulletin boards! Made from what? C'mon y'all...HOMOSOTE!!! Call back! That's right, we're gonna just cut some homosote to size and take those odd windows and make them work for us! I'll upholster these with a nice neutral linen and frame them out with some chunky molding/trim...and since there are two windows in the space, this new office will score double bulletin board value so client can pin her PR & communications for days on end!

We'll just re-use the existing window treatments and give that space a fresh coat of white paint...and voila-- new office! Stay tuned for more process shots as it all comes together!

Ready...Set...Office!

One of my interior clients needed a new office-- fast and cheap (like my lovers)! As most of y'all know, that's a challenge I'm always up for...sassy scandals! Oh and this room has to comfortably accomodate four peeps...here's the new spot:A pic of the new office space for client Uh-huh I've always taken issue with interior windows in spaces, but actually, y'all, this is a former recording studio, so those are actually pretty standard fare. It's soundproofed and hung on a weird angle, that you can't really see in the pics, but I've got a plan for that mess...here's more BEFORE office eye candy: A second pic of the office BEFORE shot A third picture of the new office A fourth picture of the new office highlighting the interior window A fifth and final picture of the new office Stay tuned to see my design solution(s) on how I'm going to make this space really sing!!!

Bring me my bulletin board 2- Boards!

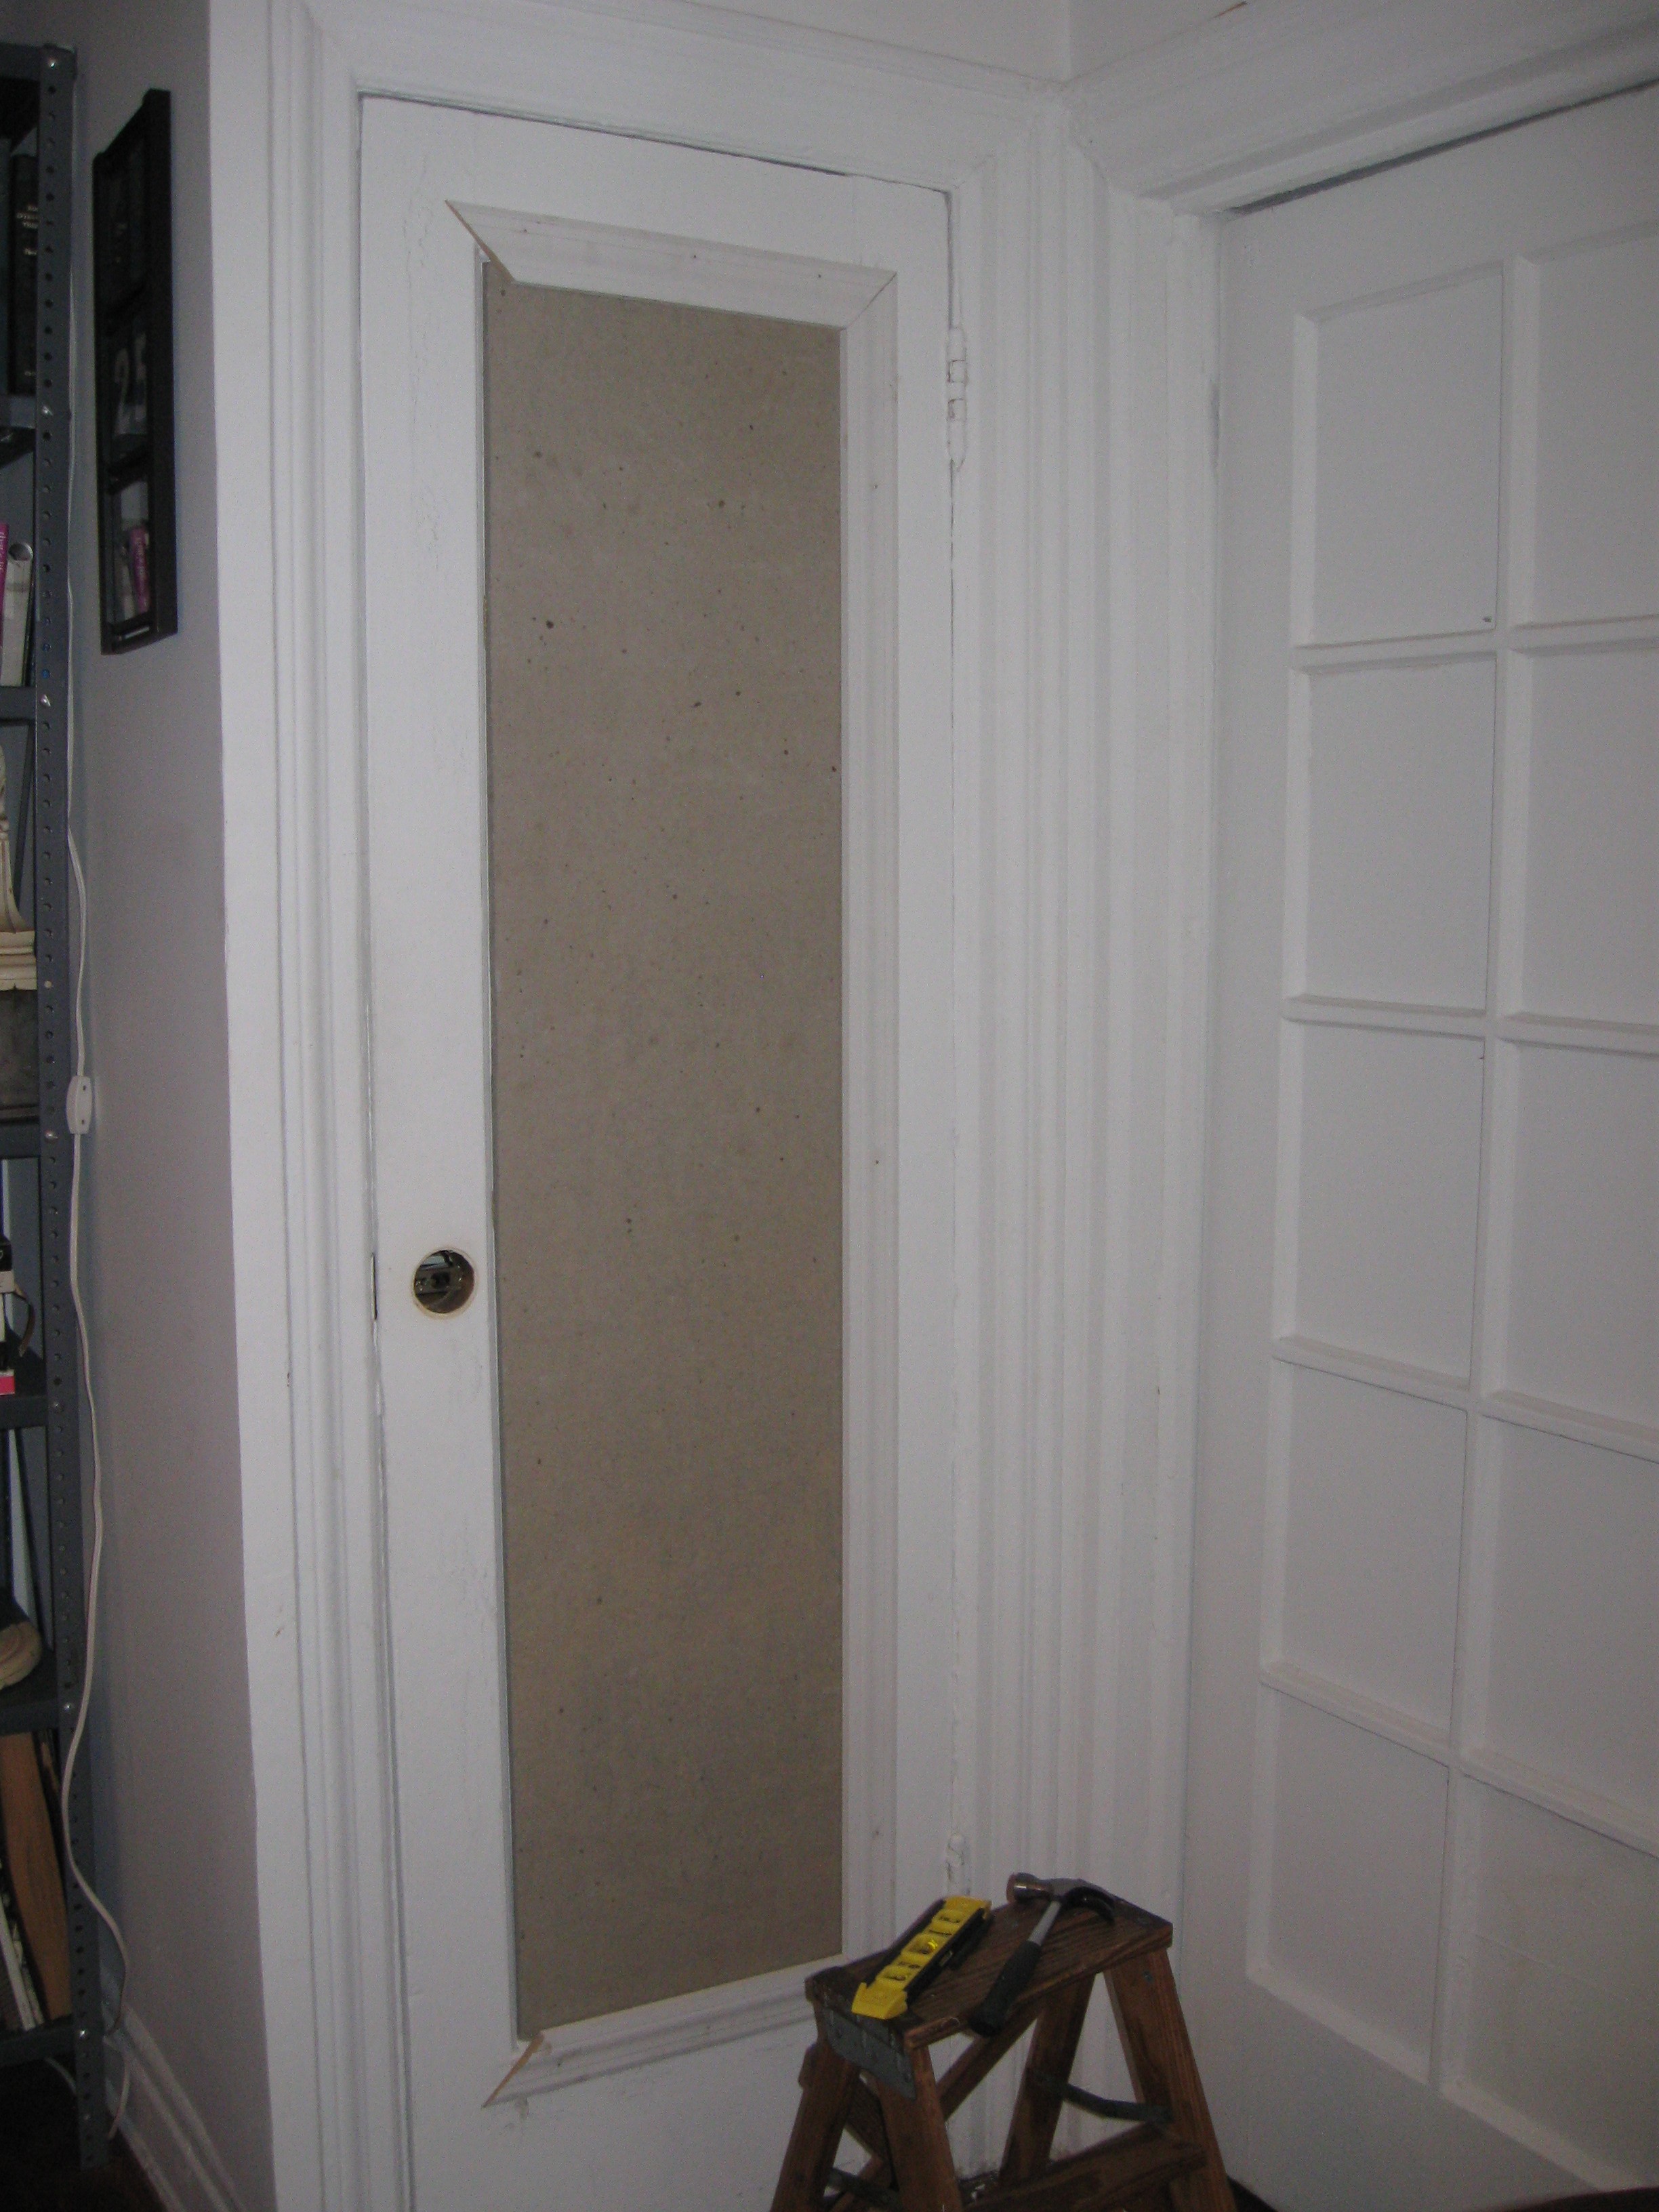
It's time to get down and DIY dirty, y'all, with some hot bulletin board action...here's what we're making, in case y'all are too lazy to click to the last post:A door that has a custom bulletin board added to inset panel
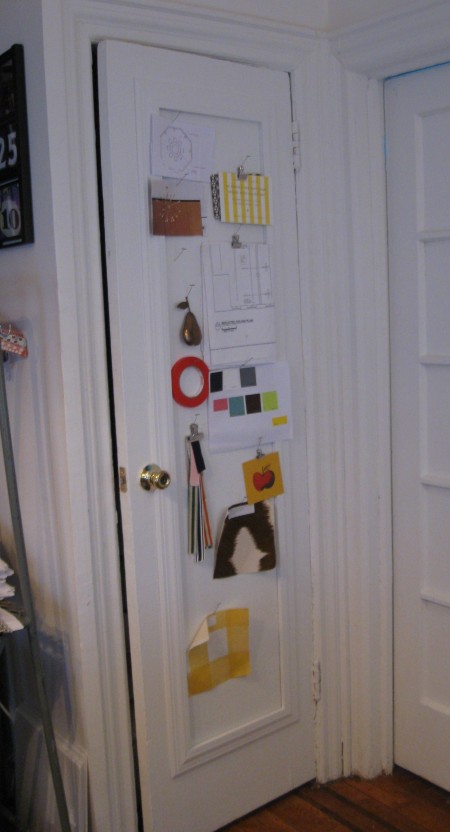
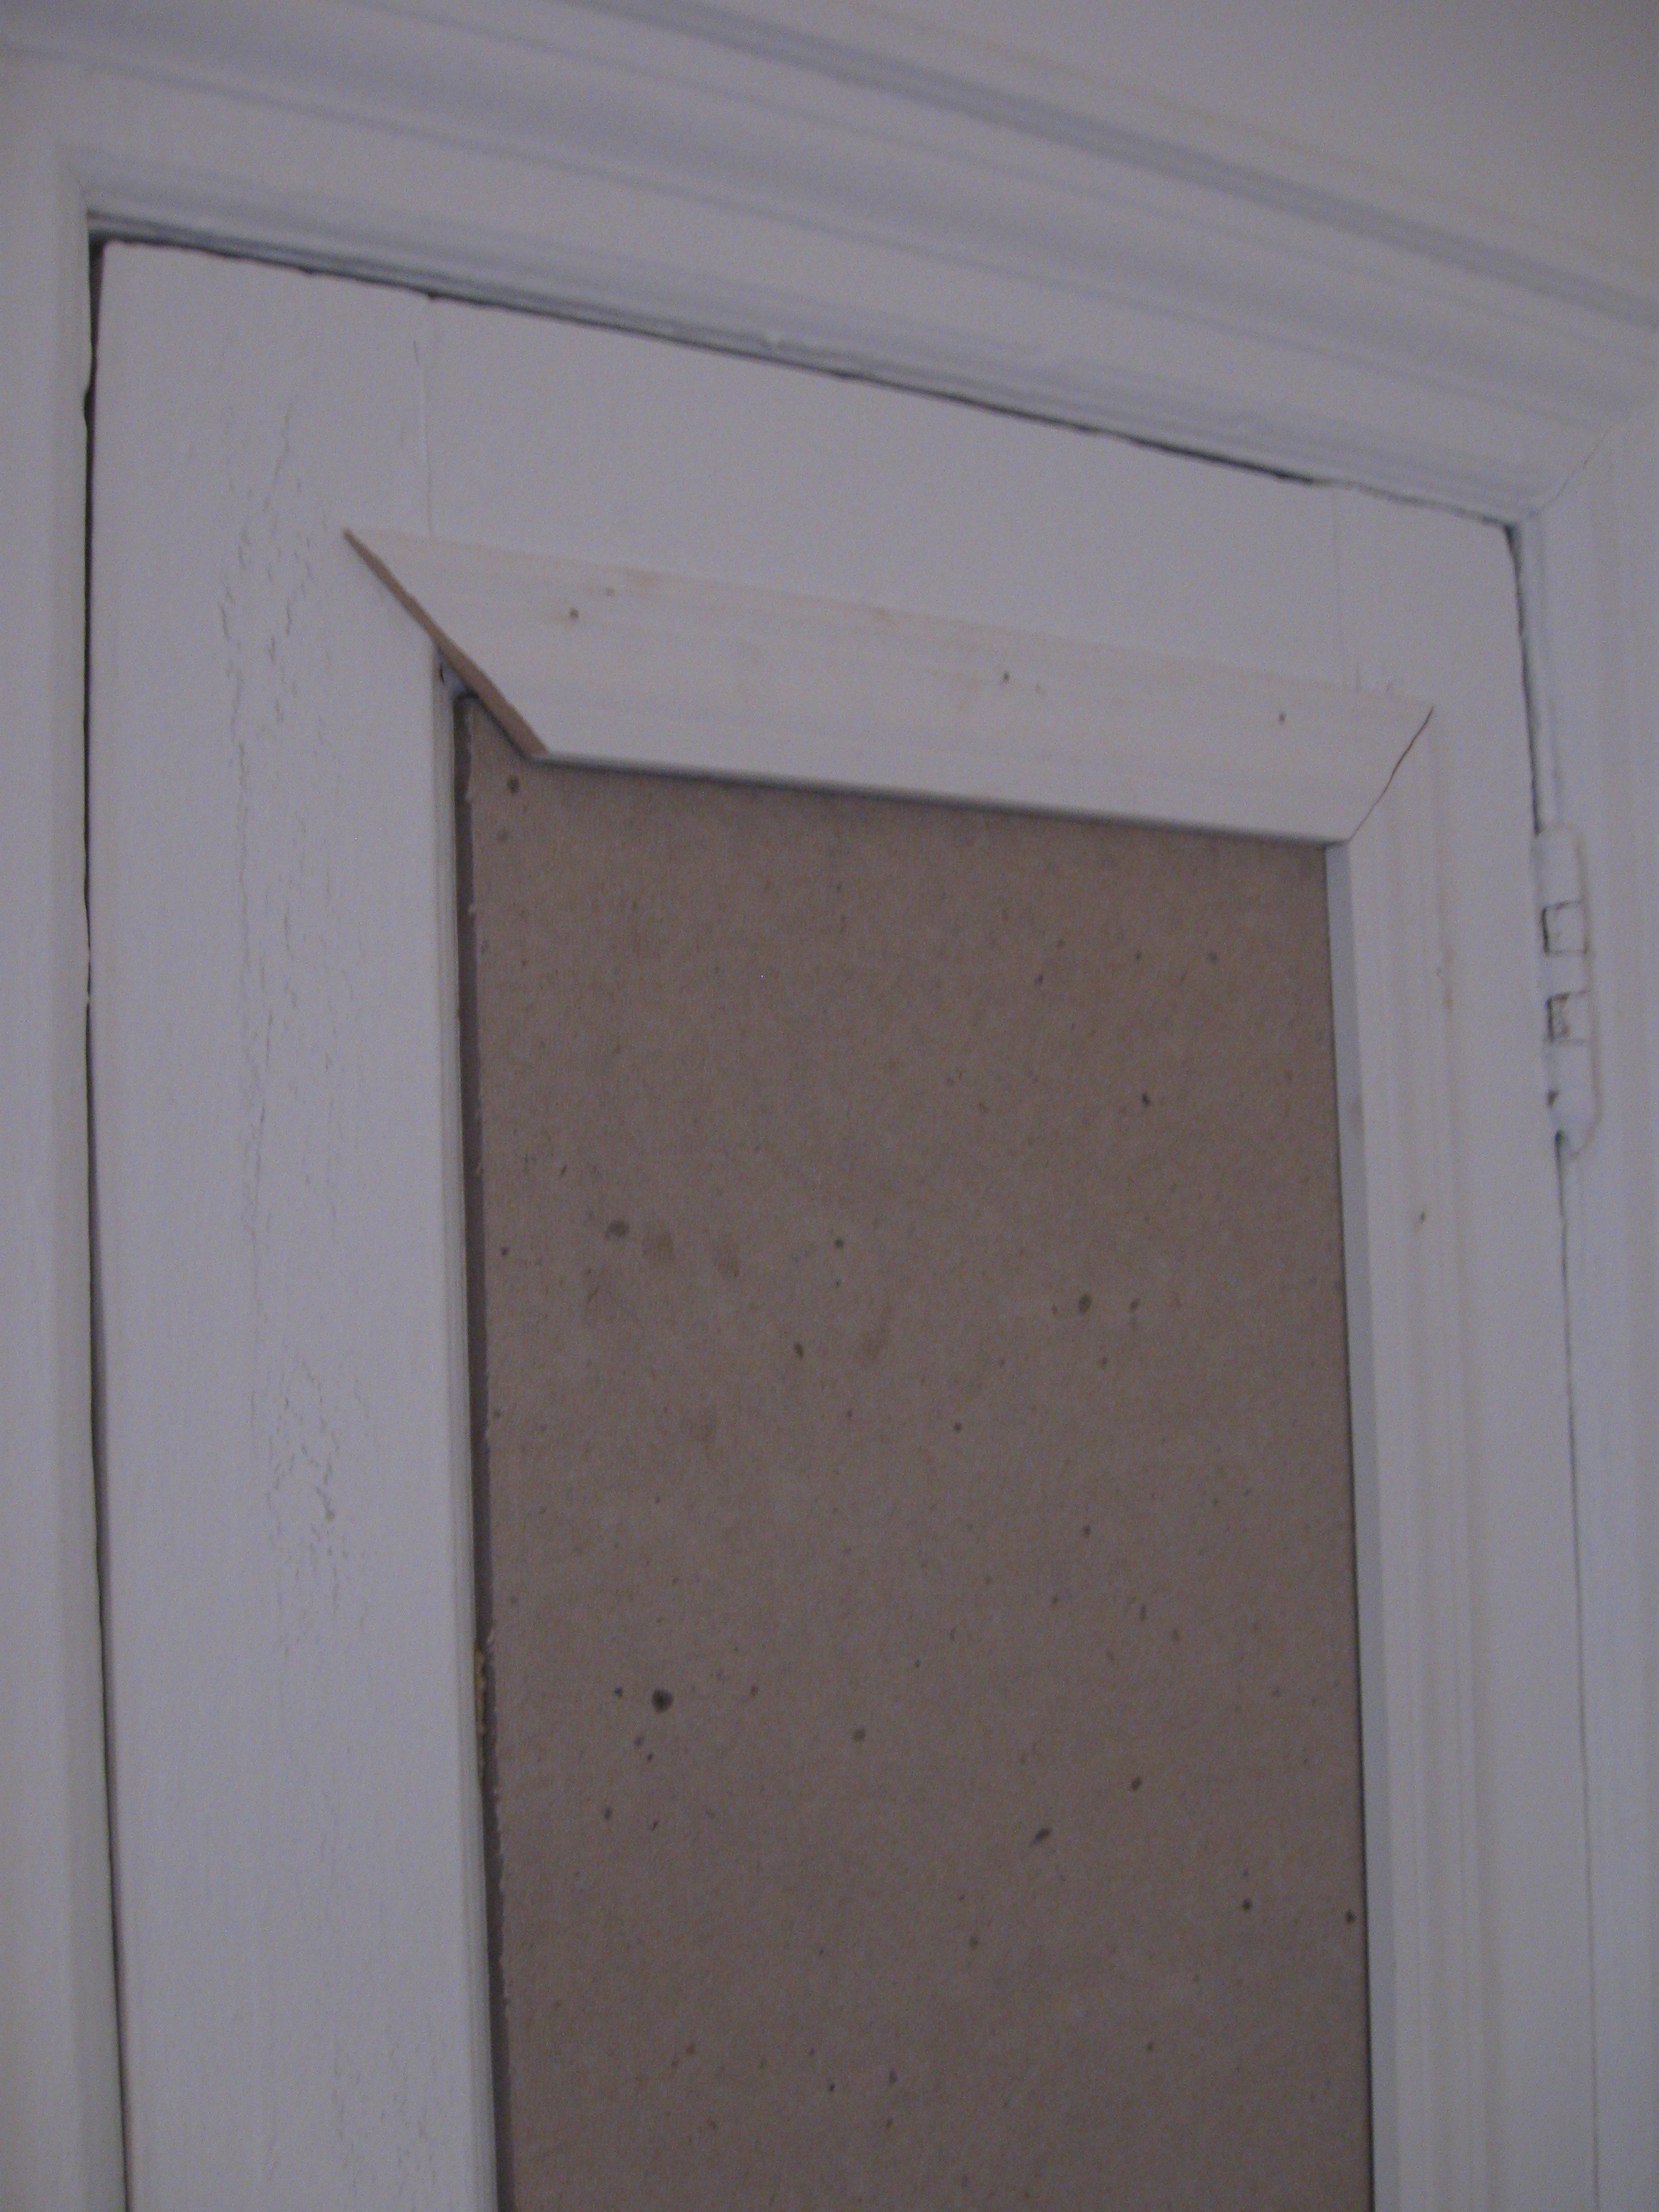
Here's what y'all need to do: -measure out your inset panel, height and width, or whatever area you want to create a bulletin board in...and then measure it again...of note: this area should be at least 1/2" deep, if you plan on insetting a bulletin board into it and then framing it out...this will make more sense later, keep reading... -get yourself to a home center or building supply store to purchase the following: * homosote (hee, hee...I typed HOMO y'all!) This is the material that will become your bulletin board. It's normally used for soundproofing and it comes in 4' x 8' sheets (1/2" thick) for around $25-$30 per sheet. Homosote is a great material for bulletin boards b/c it's cheap, extremely durable and can be painted or upholstered to suit your style. Check this guerilla footage of me cutting my homosote right in the Home Depot PJcuttinghomosote, shot by the uber-talented genius, Chris White Here's what I ended up with: A piece of homosote soundproofing material that's been cut to size for installation *molding/trim- y'all can get as fancy here as you like, I chose a more classic, simplistic profile to stay in line with the existing architecture of my apt so the look is more seamless when completed: White wooden moulding that will frame bulletin boardTrimming your bulletin board out isn't necessary, but it will give you a much more polished look. You're basically making a picture frame for your bulletin board, like this: An image shot overhead of white wood trim that's been positioned as a frame
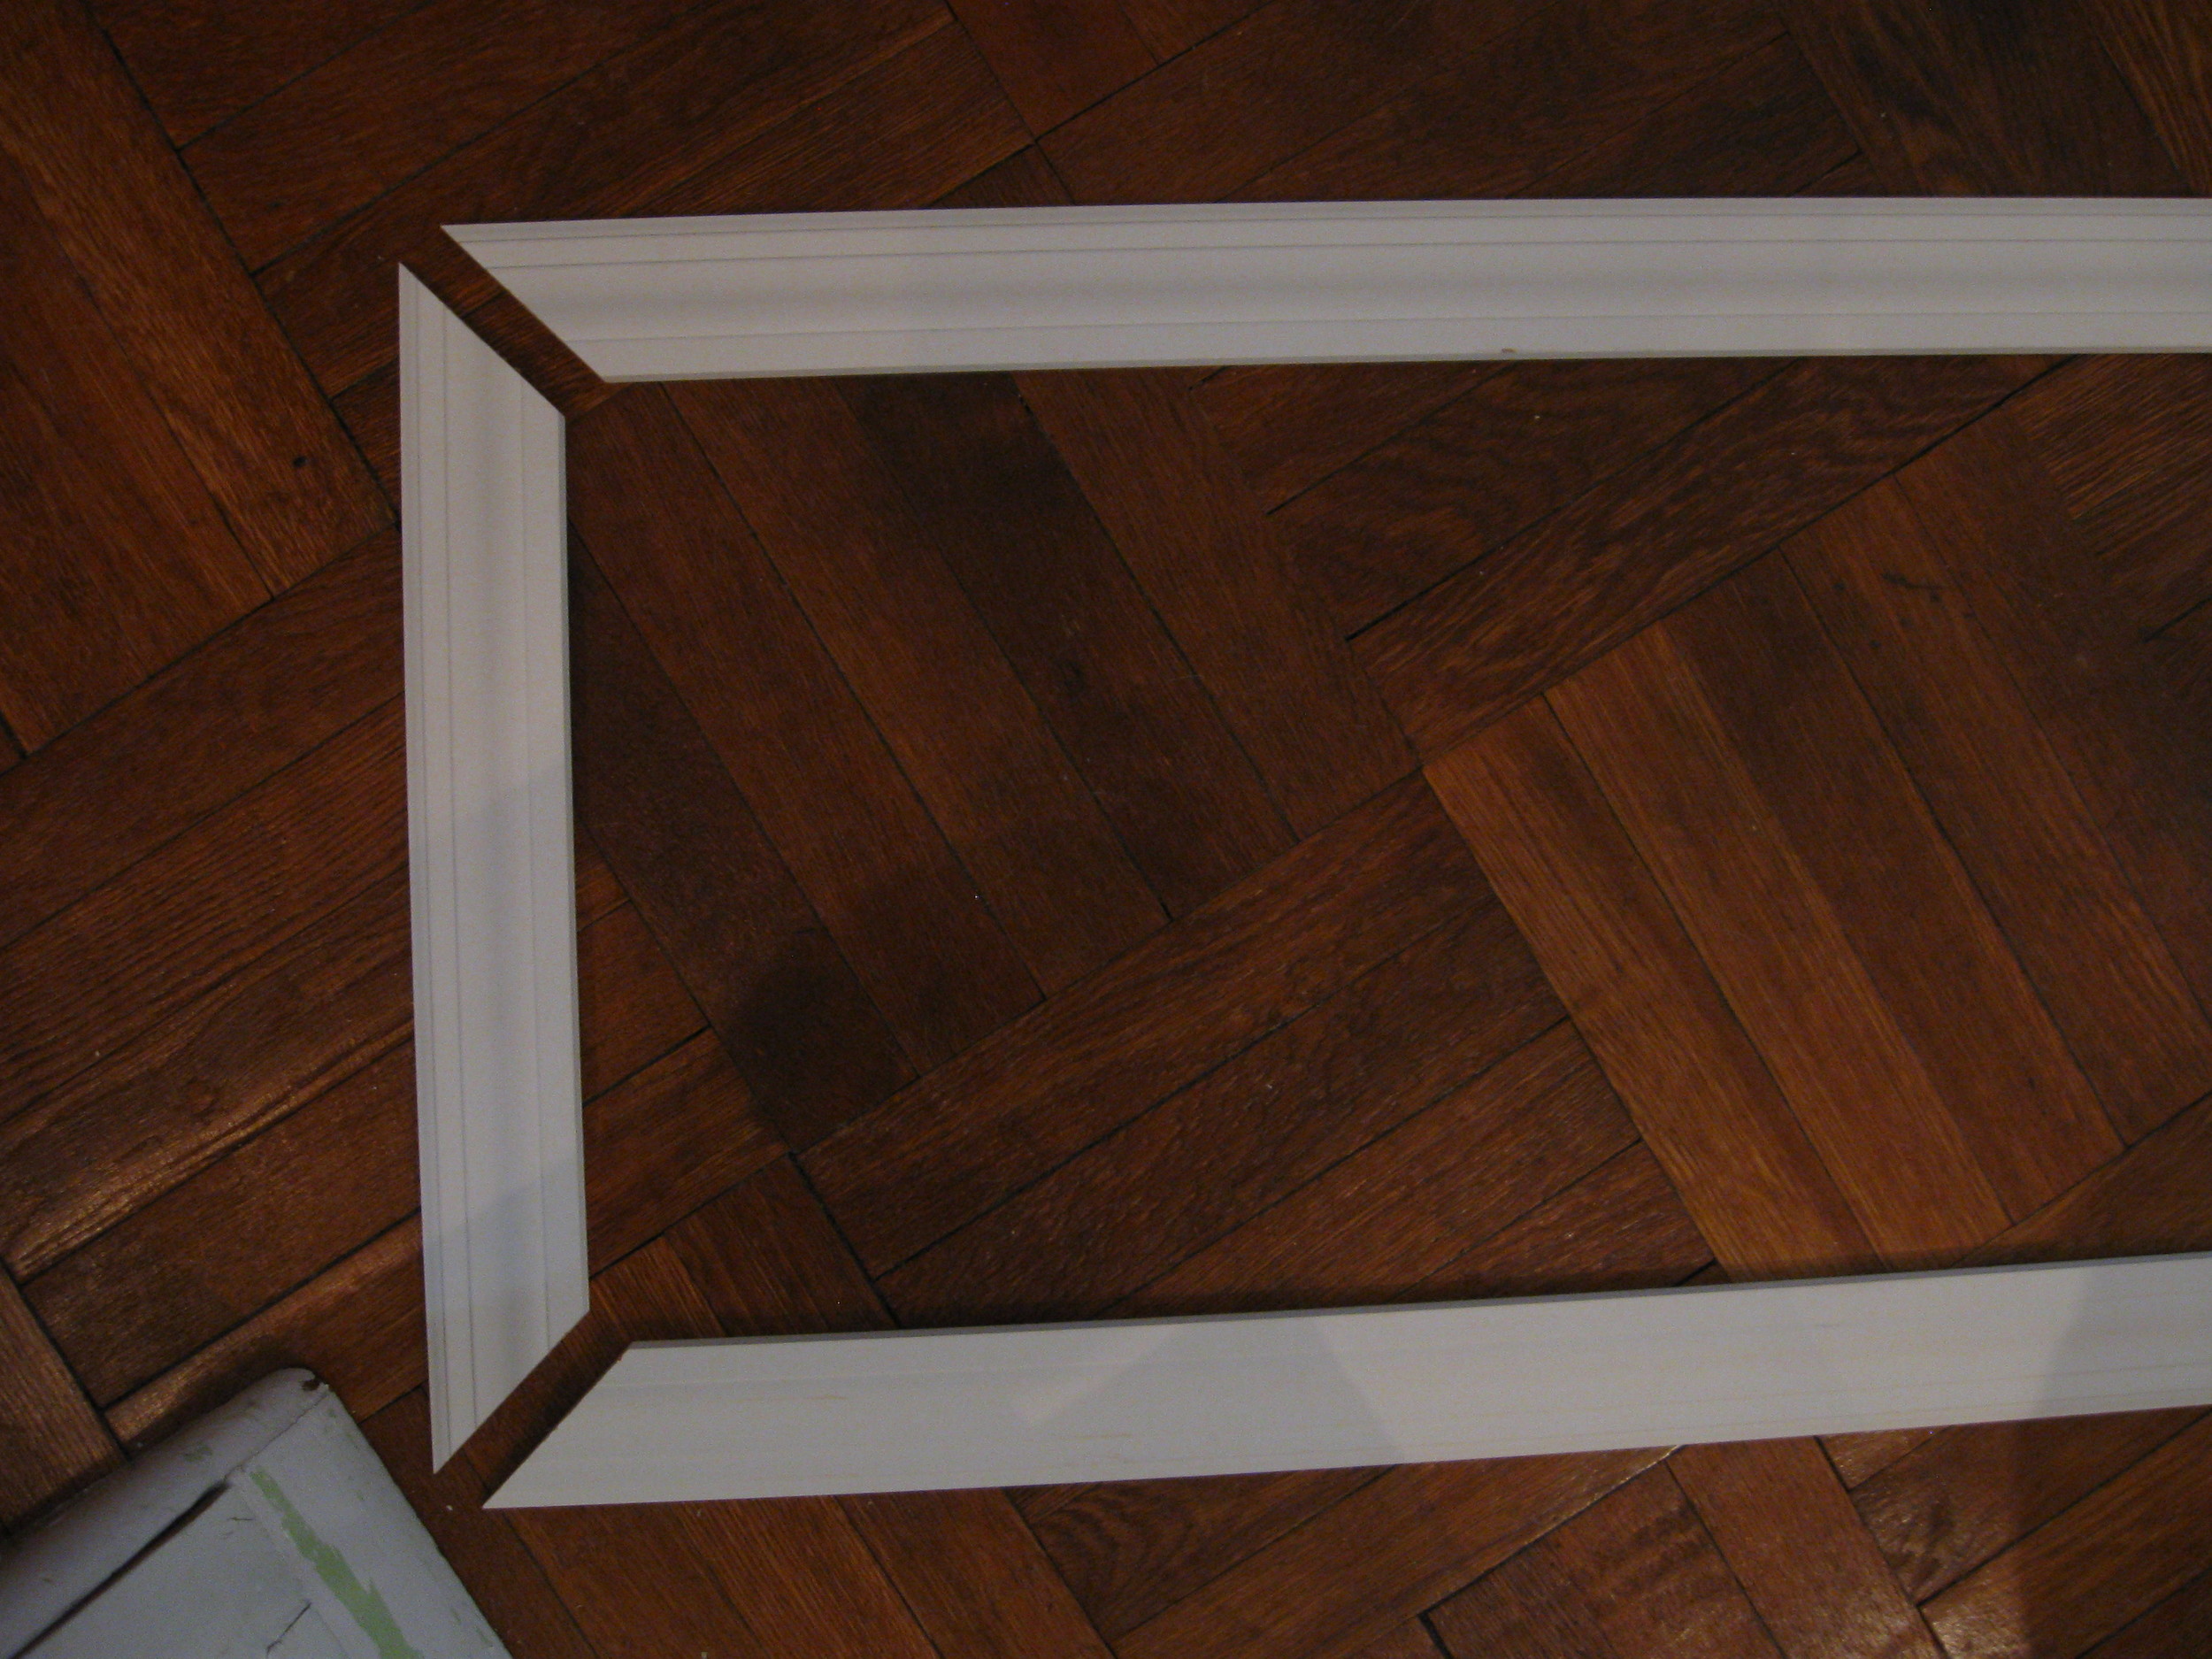
This requires cutting the trim using a miter saw. If you aren't comfy doing this, see if you can bat your eyelashes or push up your 'girls' or 'boys-- whatever you're rockin'-- and persuade an associate at home center to cut trim for you in the dimensions you need. You can also purchase a miter box and handsaw kit that's really easy to use and less drama than a power tool.

*construction adhesive

*finishing nails,countersink & wood putty

*hammer

*level

*paint and/or fabric & batting, staple gun

Once you've gotten your goodies, it's time to get your construction on.

*Apply small dime-sized blobs of adhesive to the inset area on door. Next place your piece of homosote carefully into the panel and hold firmly for a good 20 to 30 seconds. Kind of run your hands all over that shiot to make sure the adhesive blobs spread out and begin to work their sticky magic. *Next, line up your pre-cute molding/trim to one side edge, the trim should slightly cover part of the cut edge of bulletin board AND the door. Be sure the length of molding matches up to the length of the seam you'll be covering...test that the top piece of molding fits at a perfect 90-degrees when held in place to the side edge molding piece. An image of the molding/trim being installed framing the bulletin board A full view picture of the bulletin board installation If y'all have a doorknob that you want to cut around, carefully remove the doorknob. Holding your piece of molding in place on the front side, carefully trace the curvature from the backside-- through the existing doorknob hole-- make sense? Cut away curvature from the trim. Now, nail your finishing nails every 12" or so, through the molding into the door. Countersink them. Fill with putty, let dry and sand. Fast tip: y'all can use a drywall spackle in place of wood putty for filling the nailholes-- it dries faster, and it's paintable! Here's what I've got: An image of the bulletin board installed with trim, painting If y'all don't want to paint your bulletin board, you can upholster it...you'd do this BEFORE you install your trim. Wrap your board with batting, then your fabric of choice and staple. Super easy. Now this is what I call a BULLETIN BOARD!!! (Note: I use t-pins in place of more traditional push pins b/c I like how they look and since they're so long/strong, I can pin up a lot of shiot without them popping back out at me!) A door that has a custom bulletin board added to inset panel I love how it turned out and the fact that I have this much more space for my pinning pleasure is incredible! Remember, I also did the same project on the backside of my closet door, here's what that looks like: An image of the backside of closet door with competed bulletin board I'm not gonna lie to y'all, this project will take a minute, but it's totally worth it! Remember to always measure twice and cut once! Now go get your bulletin board on!!!