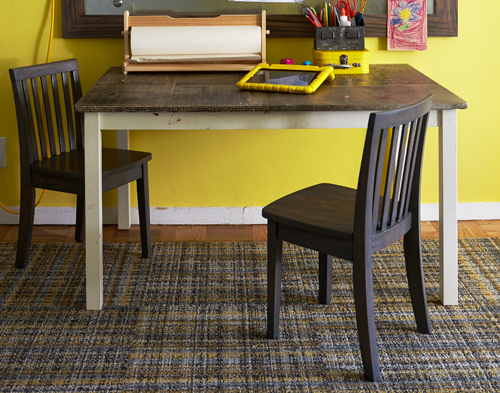
Y'all, this kids' activity table got all dressed up with a new decoupage dreamzzz treatment:
Lurving her! Though, this is what she looked like when I entered the scene:

Yep. And this:
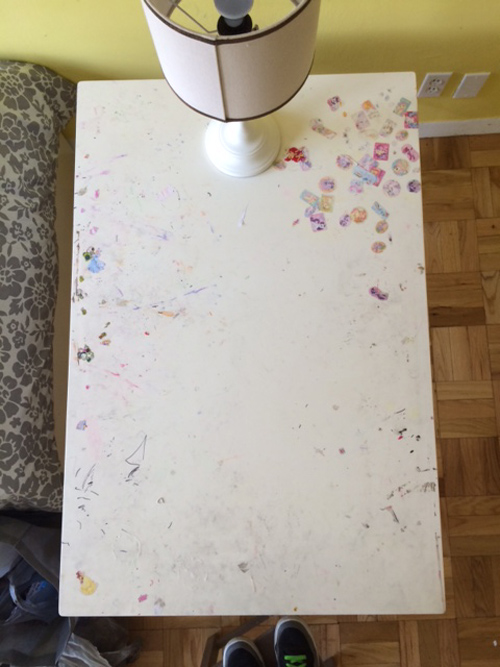
Clearly this lady got LOTS & LOTS of STICKER LURV! Bless! So, here's how y'all give your own table (...or chair, or dresser, or credenza, etc.) your very OWN decoupage dreamzzz makeover:
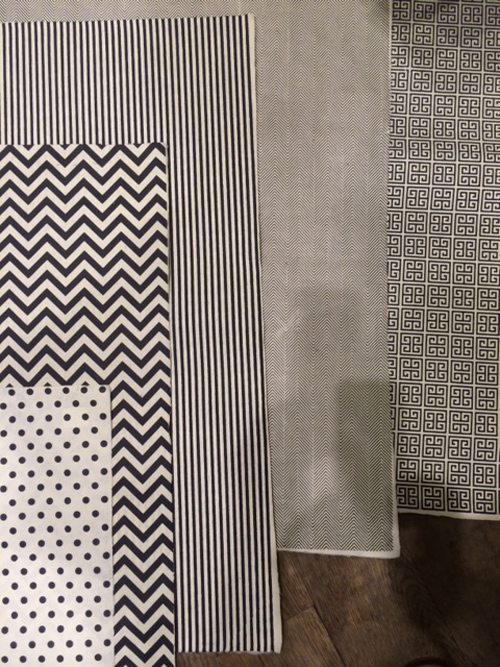
*Pick out decorative, or other paper that really gets you revved up. I chose really heavy art/gift wrap/paper from Paper Source in fun patterns but all in the same colorway...these averaged about $6/sheet:
*Grab some Mod Podge. This is clear acrylic sealer used in all kinds of craft 'liciousness. Looks like this:

I prefer the matte finish, but they also make it in gloss too for those of y'all feeling like you need some gloss in YOUR LIFE RIGHT NOW. Shimmer, betch.
*Get yourself a squeegee. That looks like this:

And some paint brushes (or foam brushes), scissors and scraper-- if necessary.
*Once you've hunted and gathered all your supply REALNESS...and have selected the furniture piece that your about to turn out, clean the surface to be decoupaged. And obvi, scrape any stickers. Next, lay out your paper(s) in the way you'll want to arrange and eventually adhere them to the furniture surface. Make sense? This can be in whatever arrangement you want. I chose a very simple/graphic grid situ. But, like life, the possibilities for paper arrangement are endless. Y'all are basically creating a collage with your paper(s), so it's totally up to you how intricate or simple you want that arrangement to be. And besides, this step is really just so you have some kind of general idea of how you want your end result to look, overall, so when you're in the midst of decoupaging, dripping shiot all over the place, you're not in a complete manic panic.
*Next, use your paint brush or foam brush to apply the mod podge directly to the clean furniture surface. Don't overdo it here...just an even coat will do. Rather quickly, lay your paper on this coat, as smoothly as possible. Smooth the paper using your squeegee. Don't over sgueeg, y'all-- you don't need to rip yo shiot here, it's paper. Next, brush on another coat of mod podge ON TOP OF the paper you just smoothed out. Don't let this step scare you...yes, you're covering your precious paper with liquid and yes, it will dry...completely CLEAR. Repeat these steps for the next section or layer. This is where your paper arrangement is uniquely yours. For this activity table, I overlapped my papers, so between each sheet I had to apply the mod podge and smooth out.
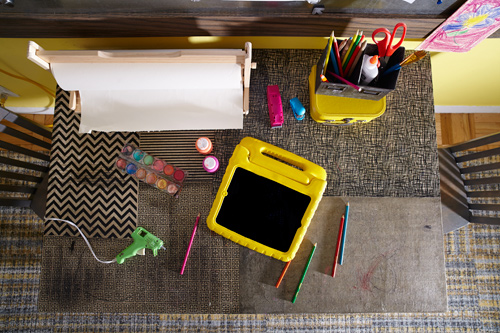
Here's a really janky image of the table as it's being WERKED on, and for that matter, the entire bedroom in a state of decorating chaos...but whateve's...y'all get it:
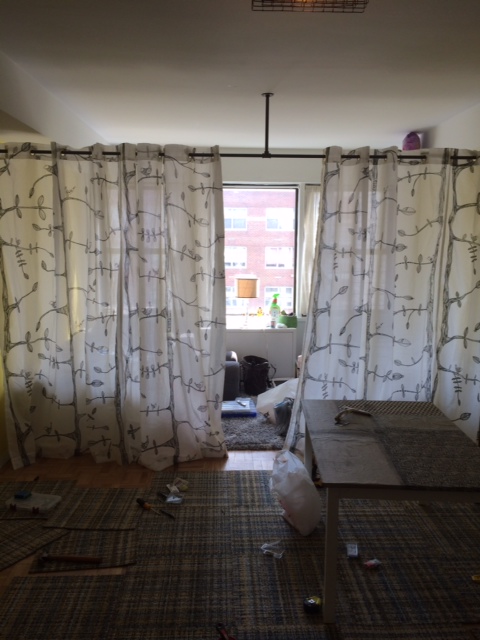
Y'all can see my squeegee atop the table in between my mod podge coats. Also note, there are MASSIVE air bubbles, despite my aggressive yet gentle caresses squeegee-ing. If this happens to y'all...the trick is to take a small needle or pin and delicately insert it into the air bubble. Then carefully squeegee out the excessive air. The smaller the needle or pin, the smaller the hole. So...
*After your first coat of mod podge is dry, re-apply another coat to the entire surface. Let Dry. Then re-apply another coat. Yep. You're sealing and therefore protecting the entire surface every time your re-apply, so the more you re-apply, ultimately, the more durable you're making your decoupaged surface. In this situ, y'all can see that the ink in my art paper started to run, and honestly, I was going to scrap the whole project at first. But the more it dried, the more this effect grew on me and I actually started liking it better. It might not read this specific in the images, but it looks like leather or some sort of hide, faux...of course! And the kiddies got a hold of the finished table before I was able to have it shot by the amazing Kelly Marshall, but I think the random scribbles and doodles just add to the overall finish/look. And read much more chic, artful and deliberate atop this decoupaged surface rather than the original plain white table I started with. I LURV it and more importantly, the kids who live with and use the table LURV it even more! Holla!

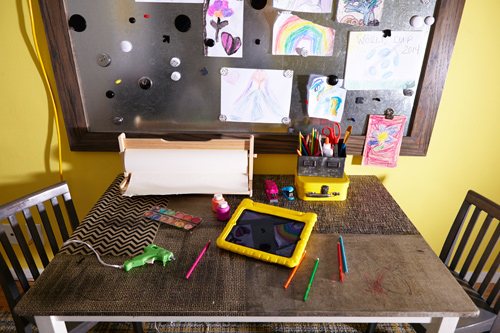

More of this completed kids’ room in the interiors section. To see the decoupage chair project I did from Real Simple magazine, go here. Either way, hope this post helps y'all to start fulfilling your decoupage dreamzzz!