Y'all my client had this sad panda situ of a closet looming in her living room (it's NYC y'all, sometimes closets-- if/when we get them-- are in our living rooms-- IF we have living rooms-- lol)
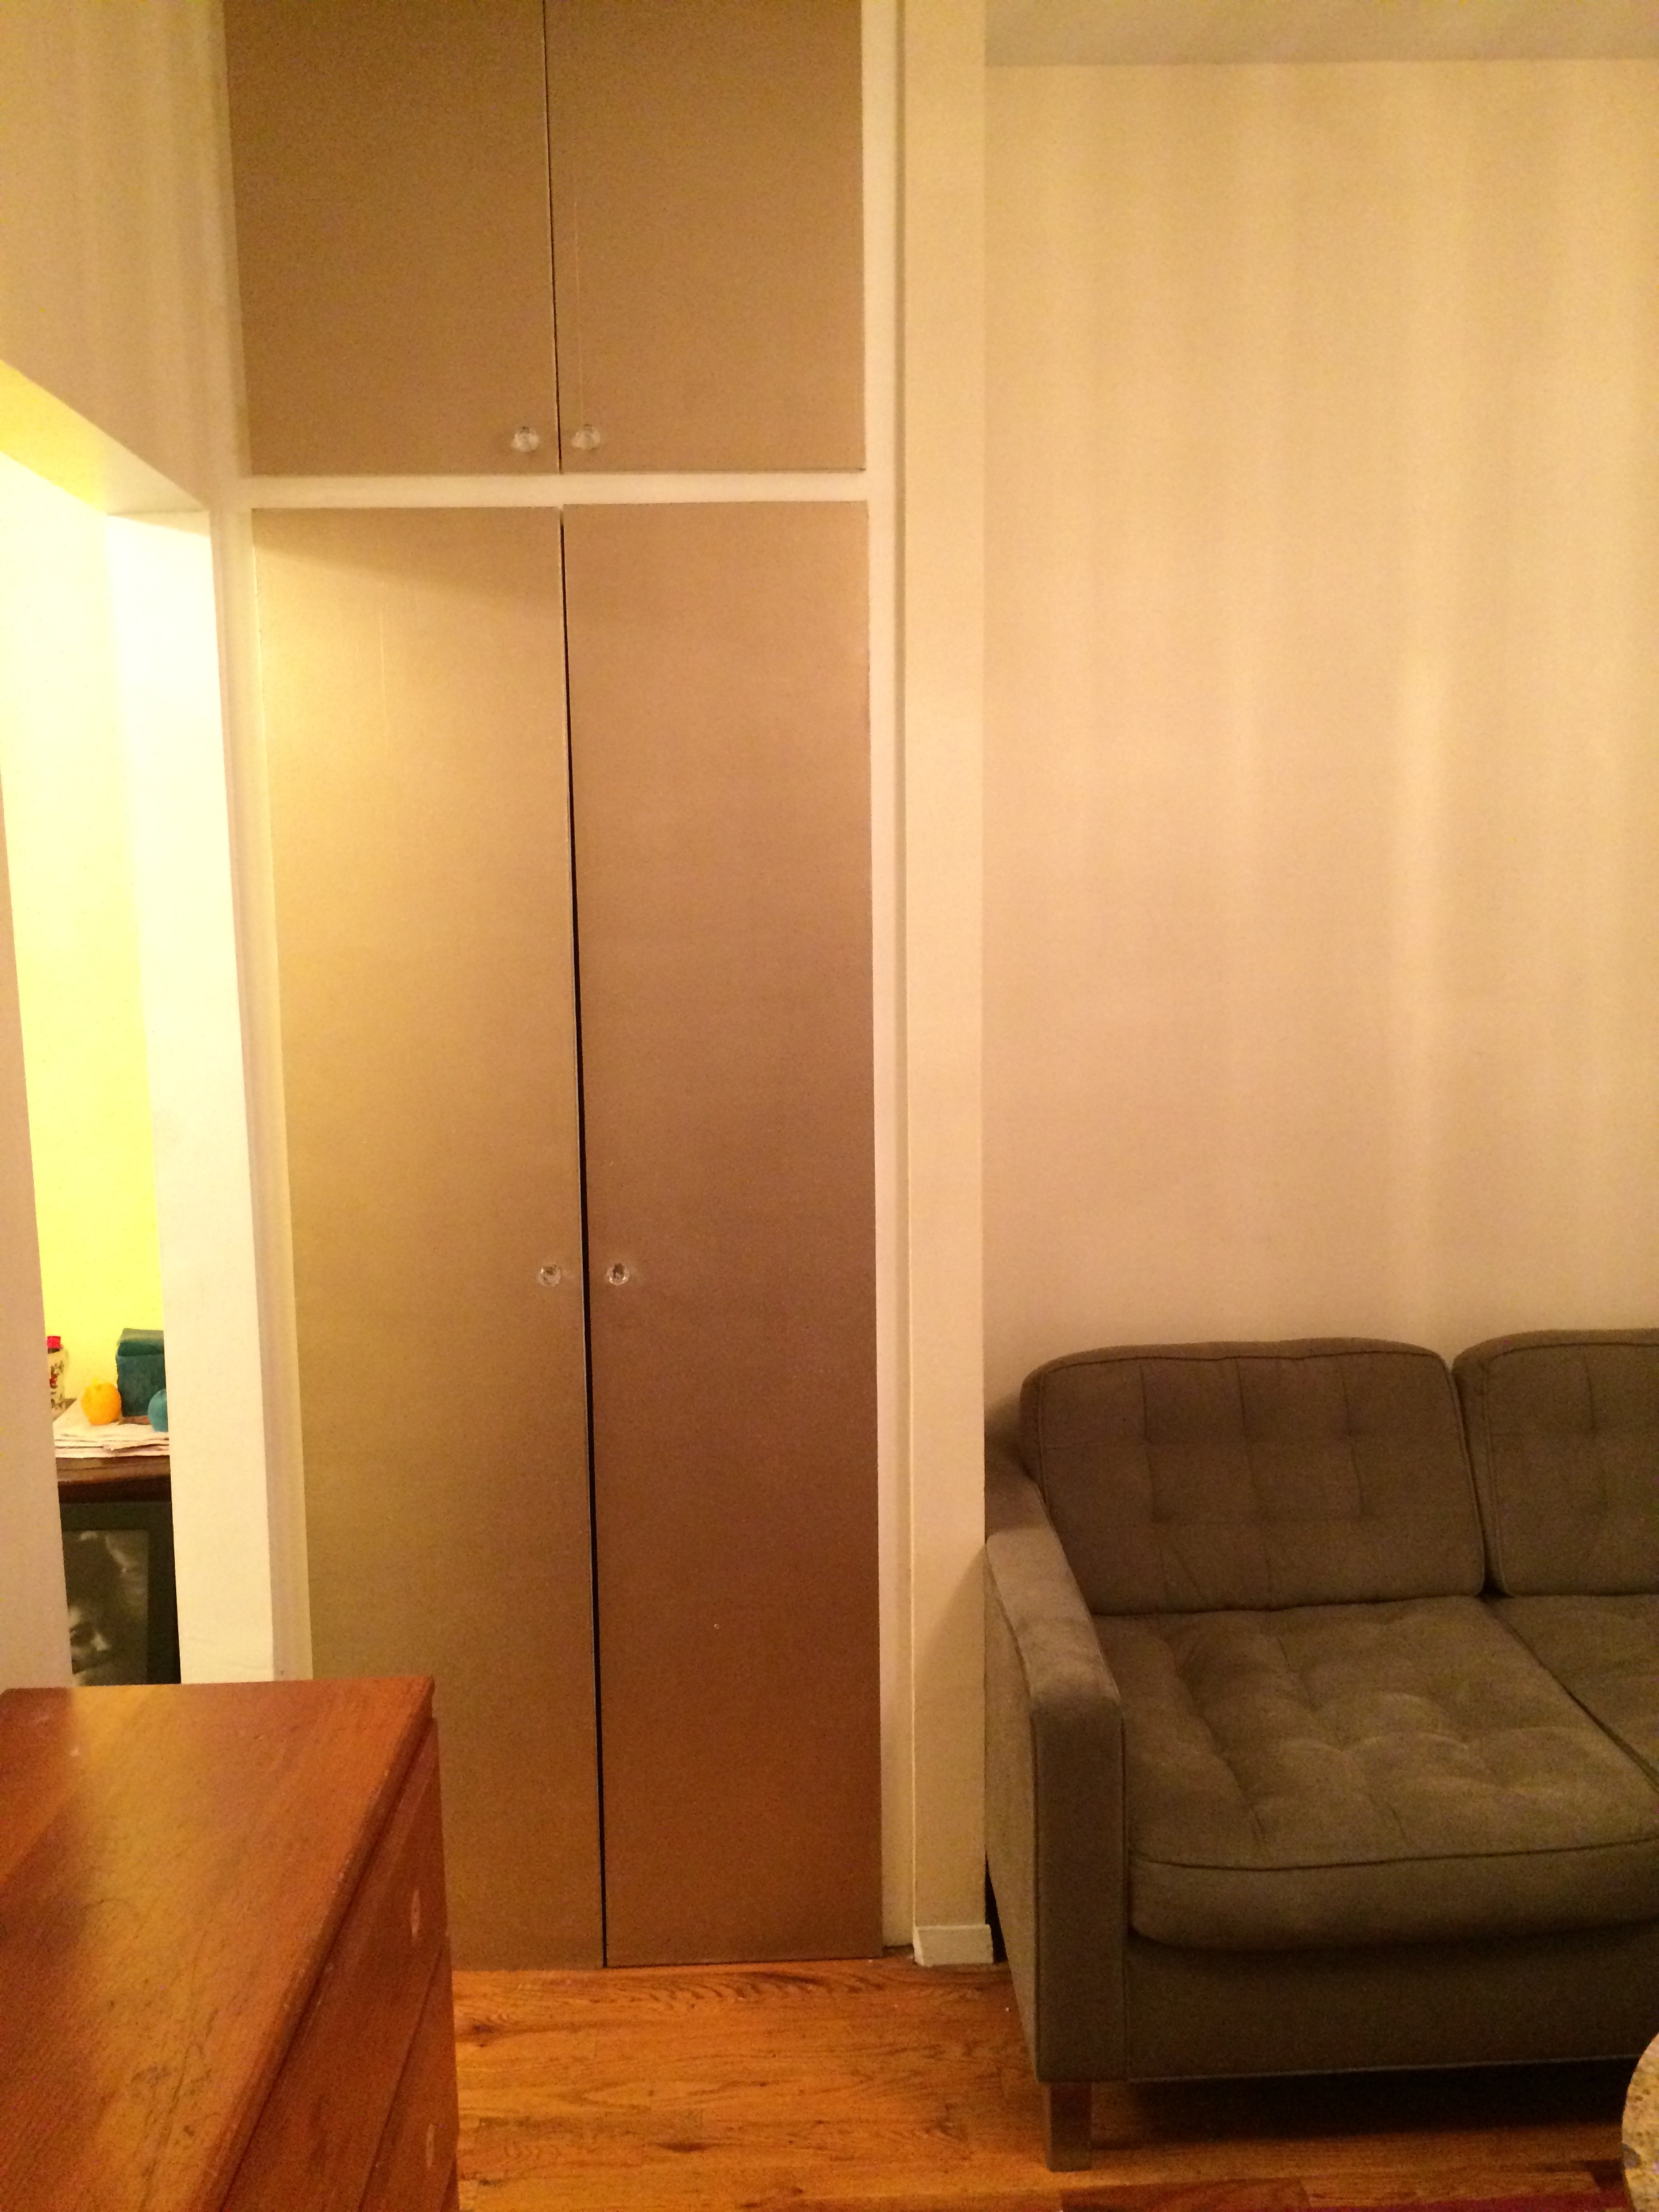
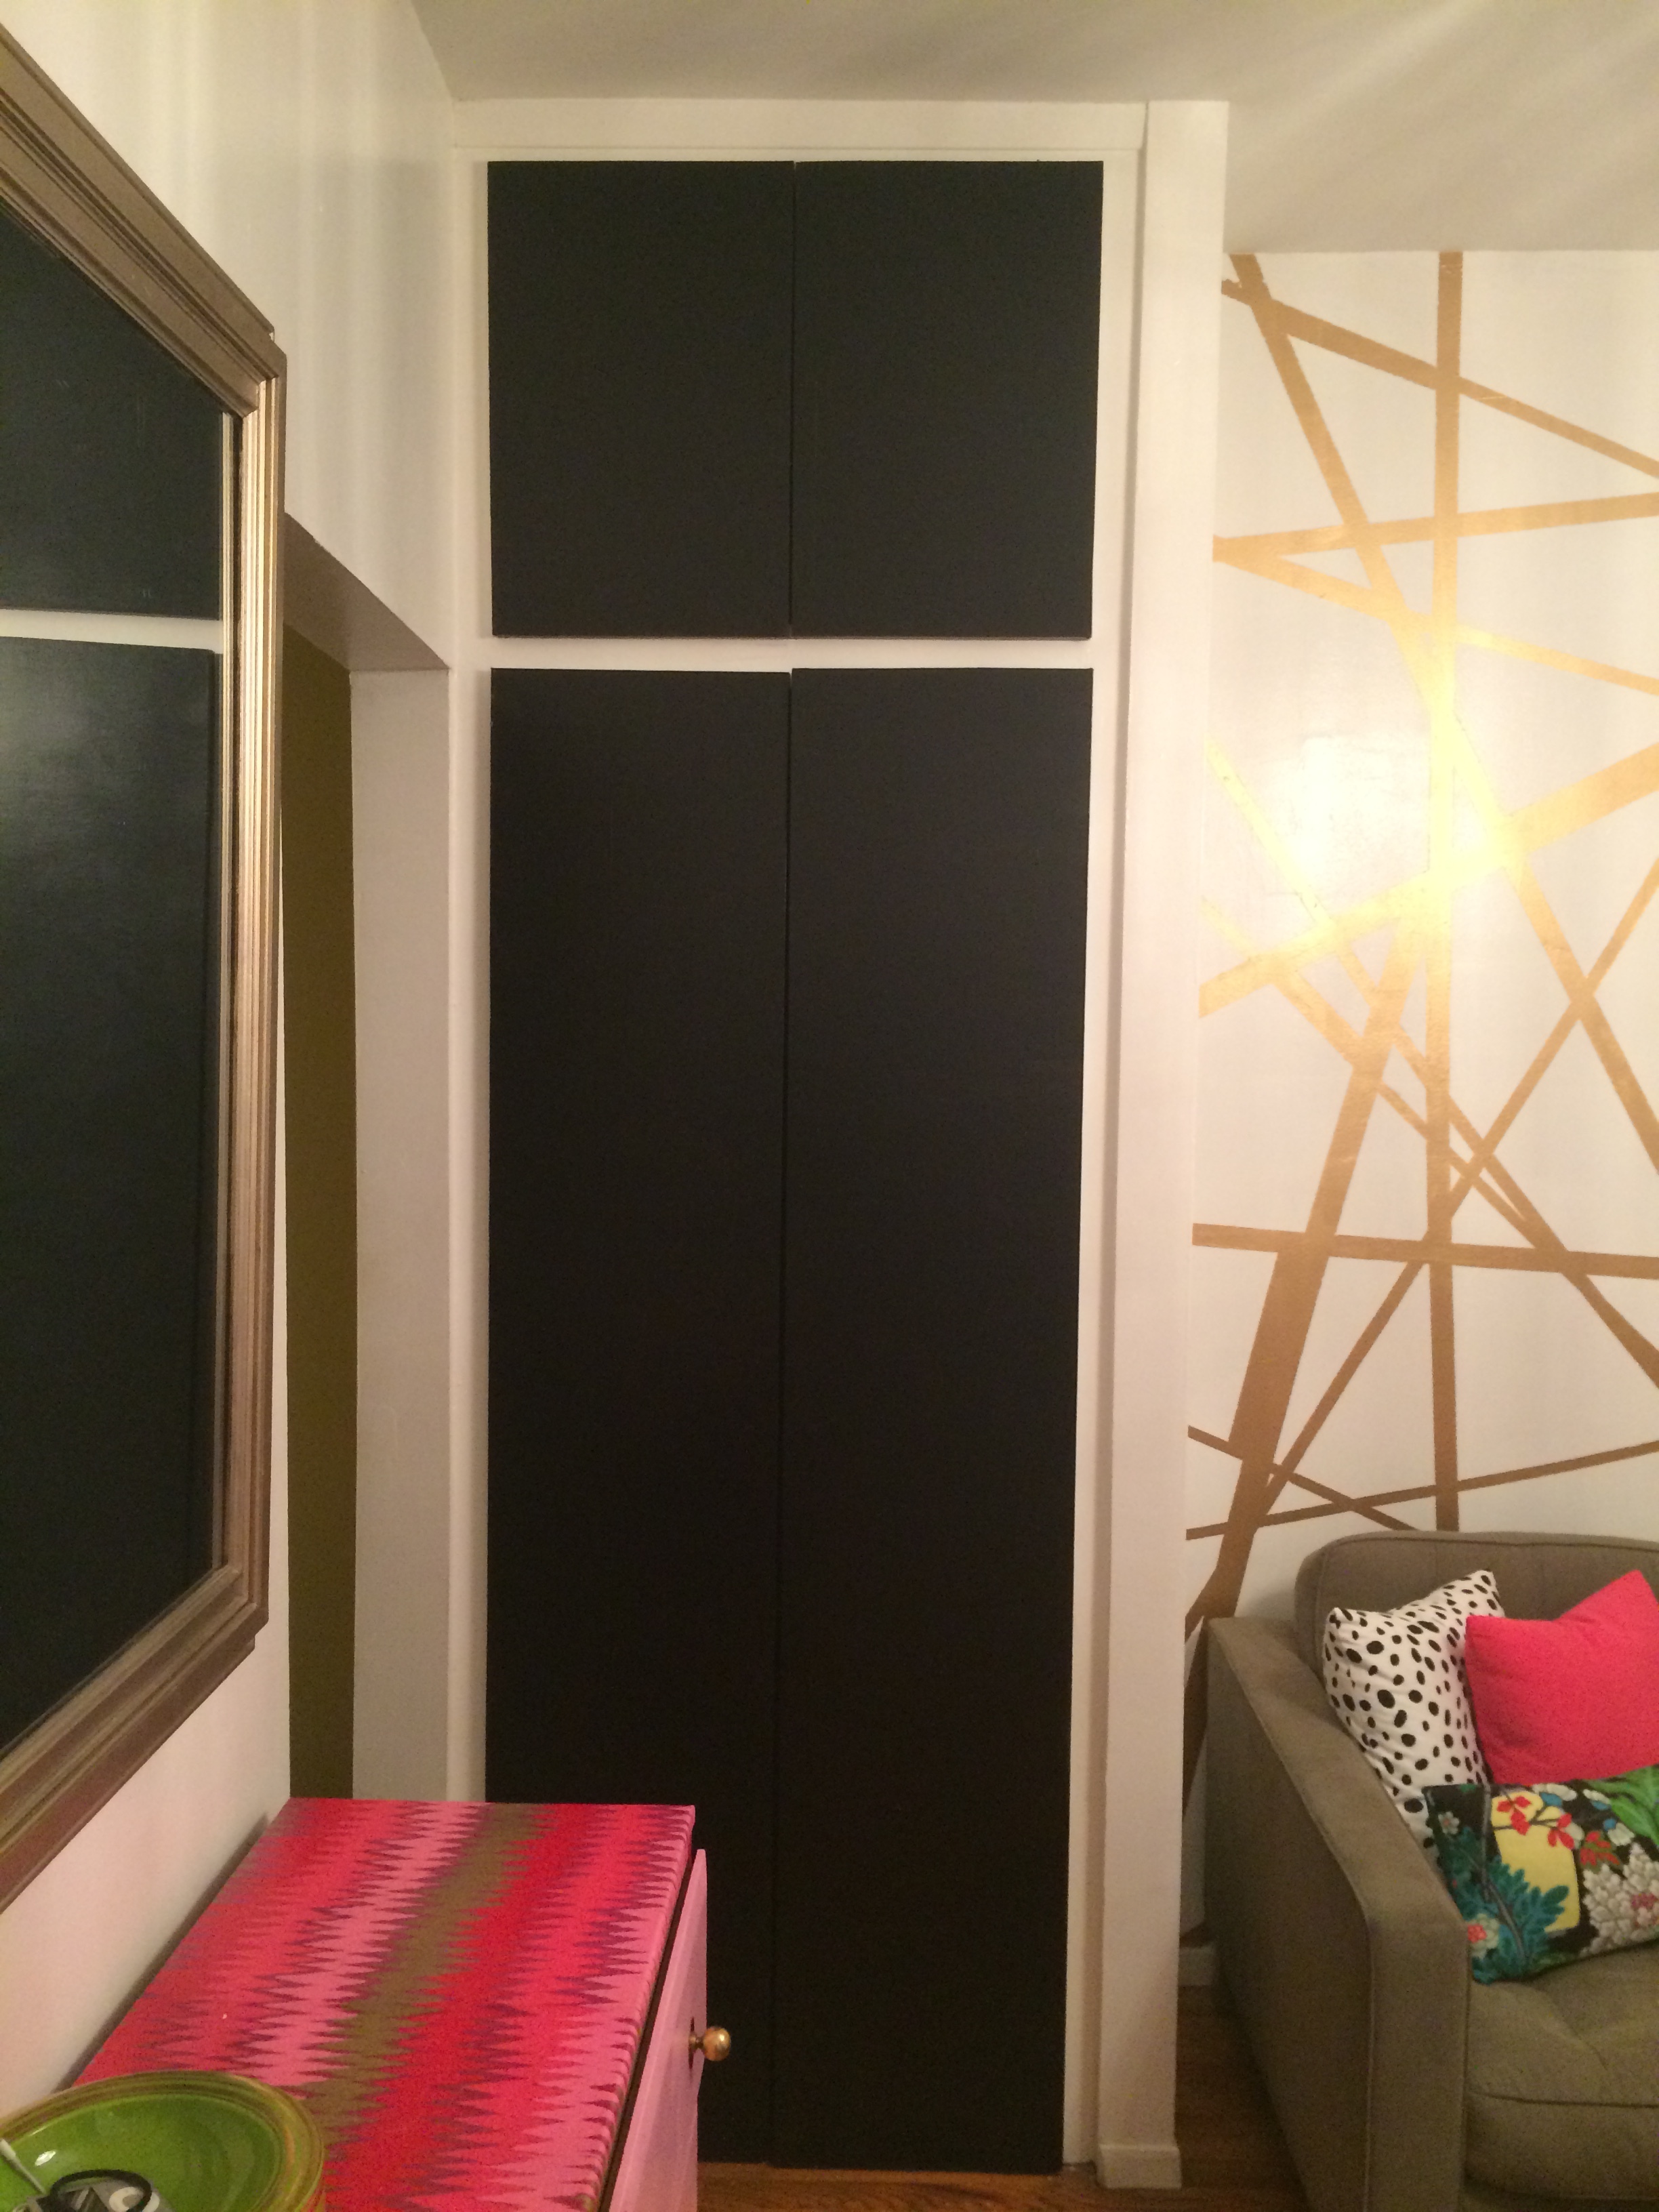
Bless her...she did good by painting those plain jane doors gold & adding some crystal visions knobs, but I knew those closet doors had a lot more drama to serve us than they were giving up...so I turned them into this:
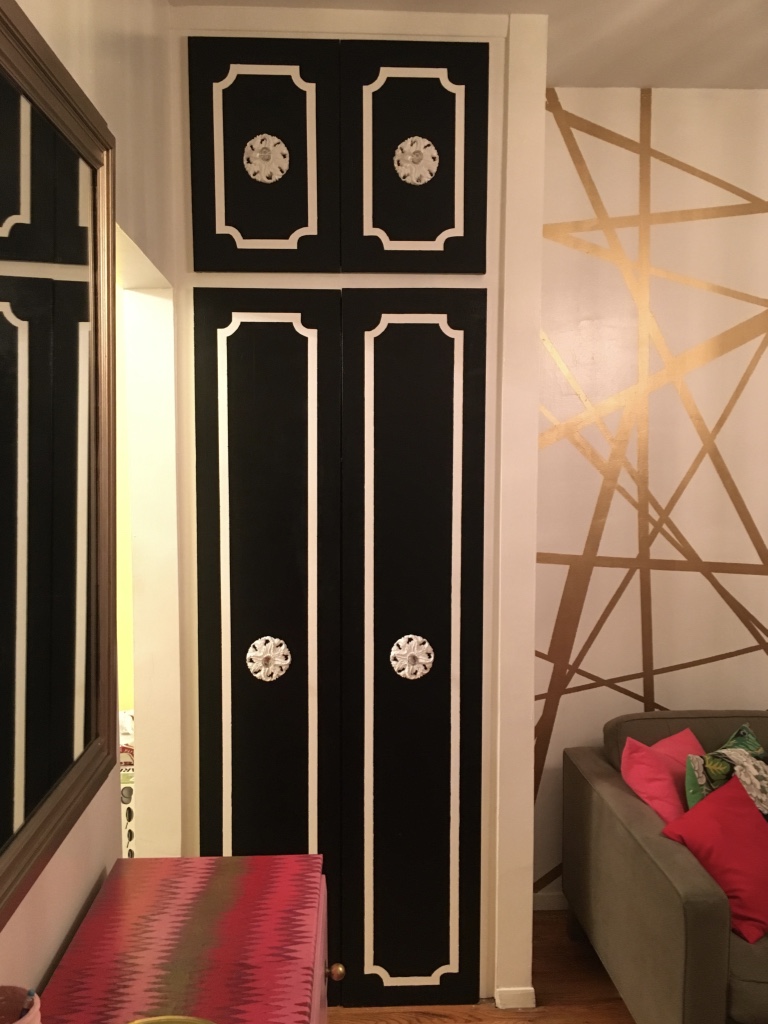
Btw, Gurl-- the adjacent striped gold lines wall treatment givin' you life like you've never known before is another PJDIY project that y'all can read about here.)
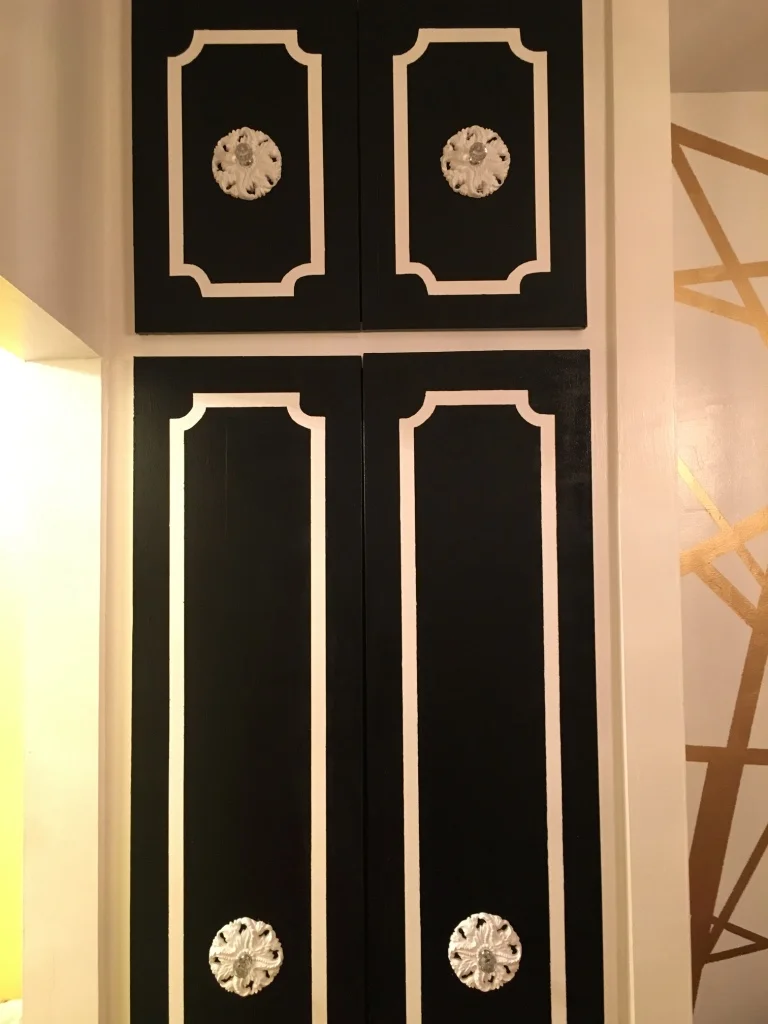
STYLESLAPPED! Now THIS is a closet! Hell this is BEYOND closet at this point, y'all. It's like a piece of statement furniture in the room! I MEAN. Yummy black & white graphic paired with curlique 'licious blingy accents! And y'all may fall outta your seats when I tell you this look can be yours with some paint & ceiling medallions! YASSSSSSS Babygurl!!!
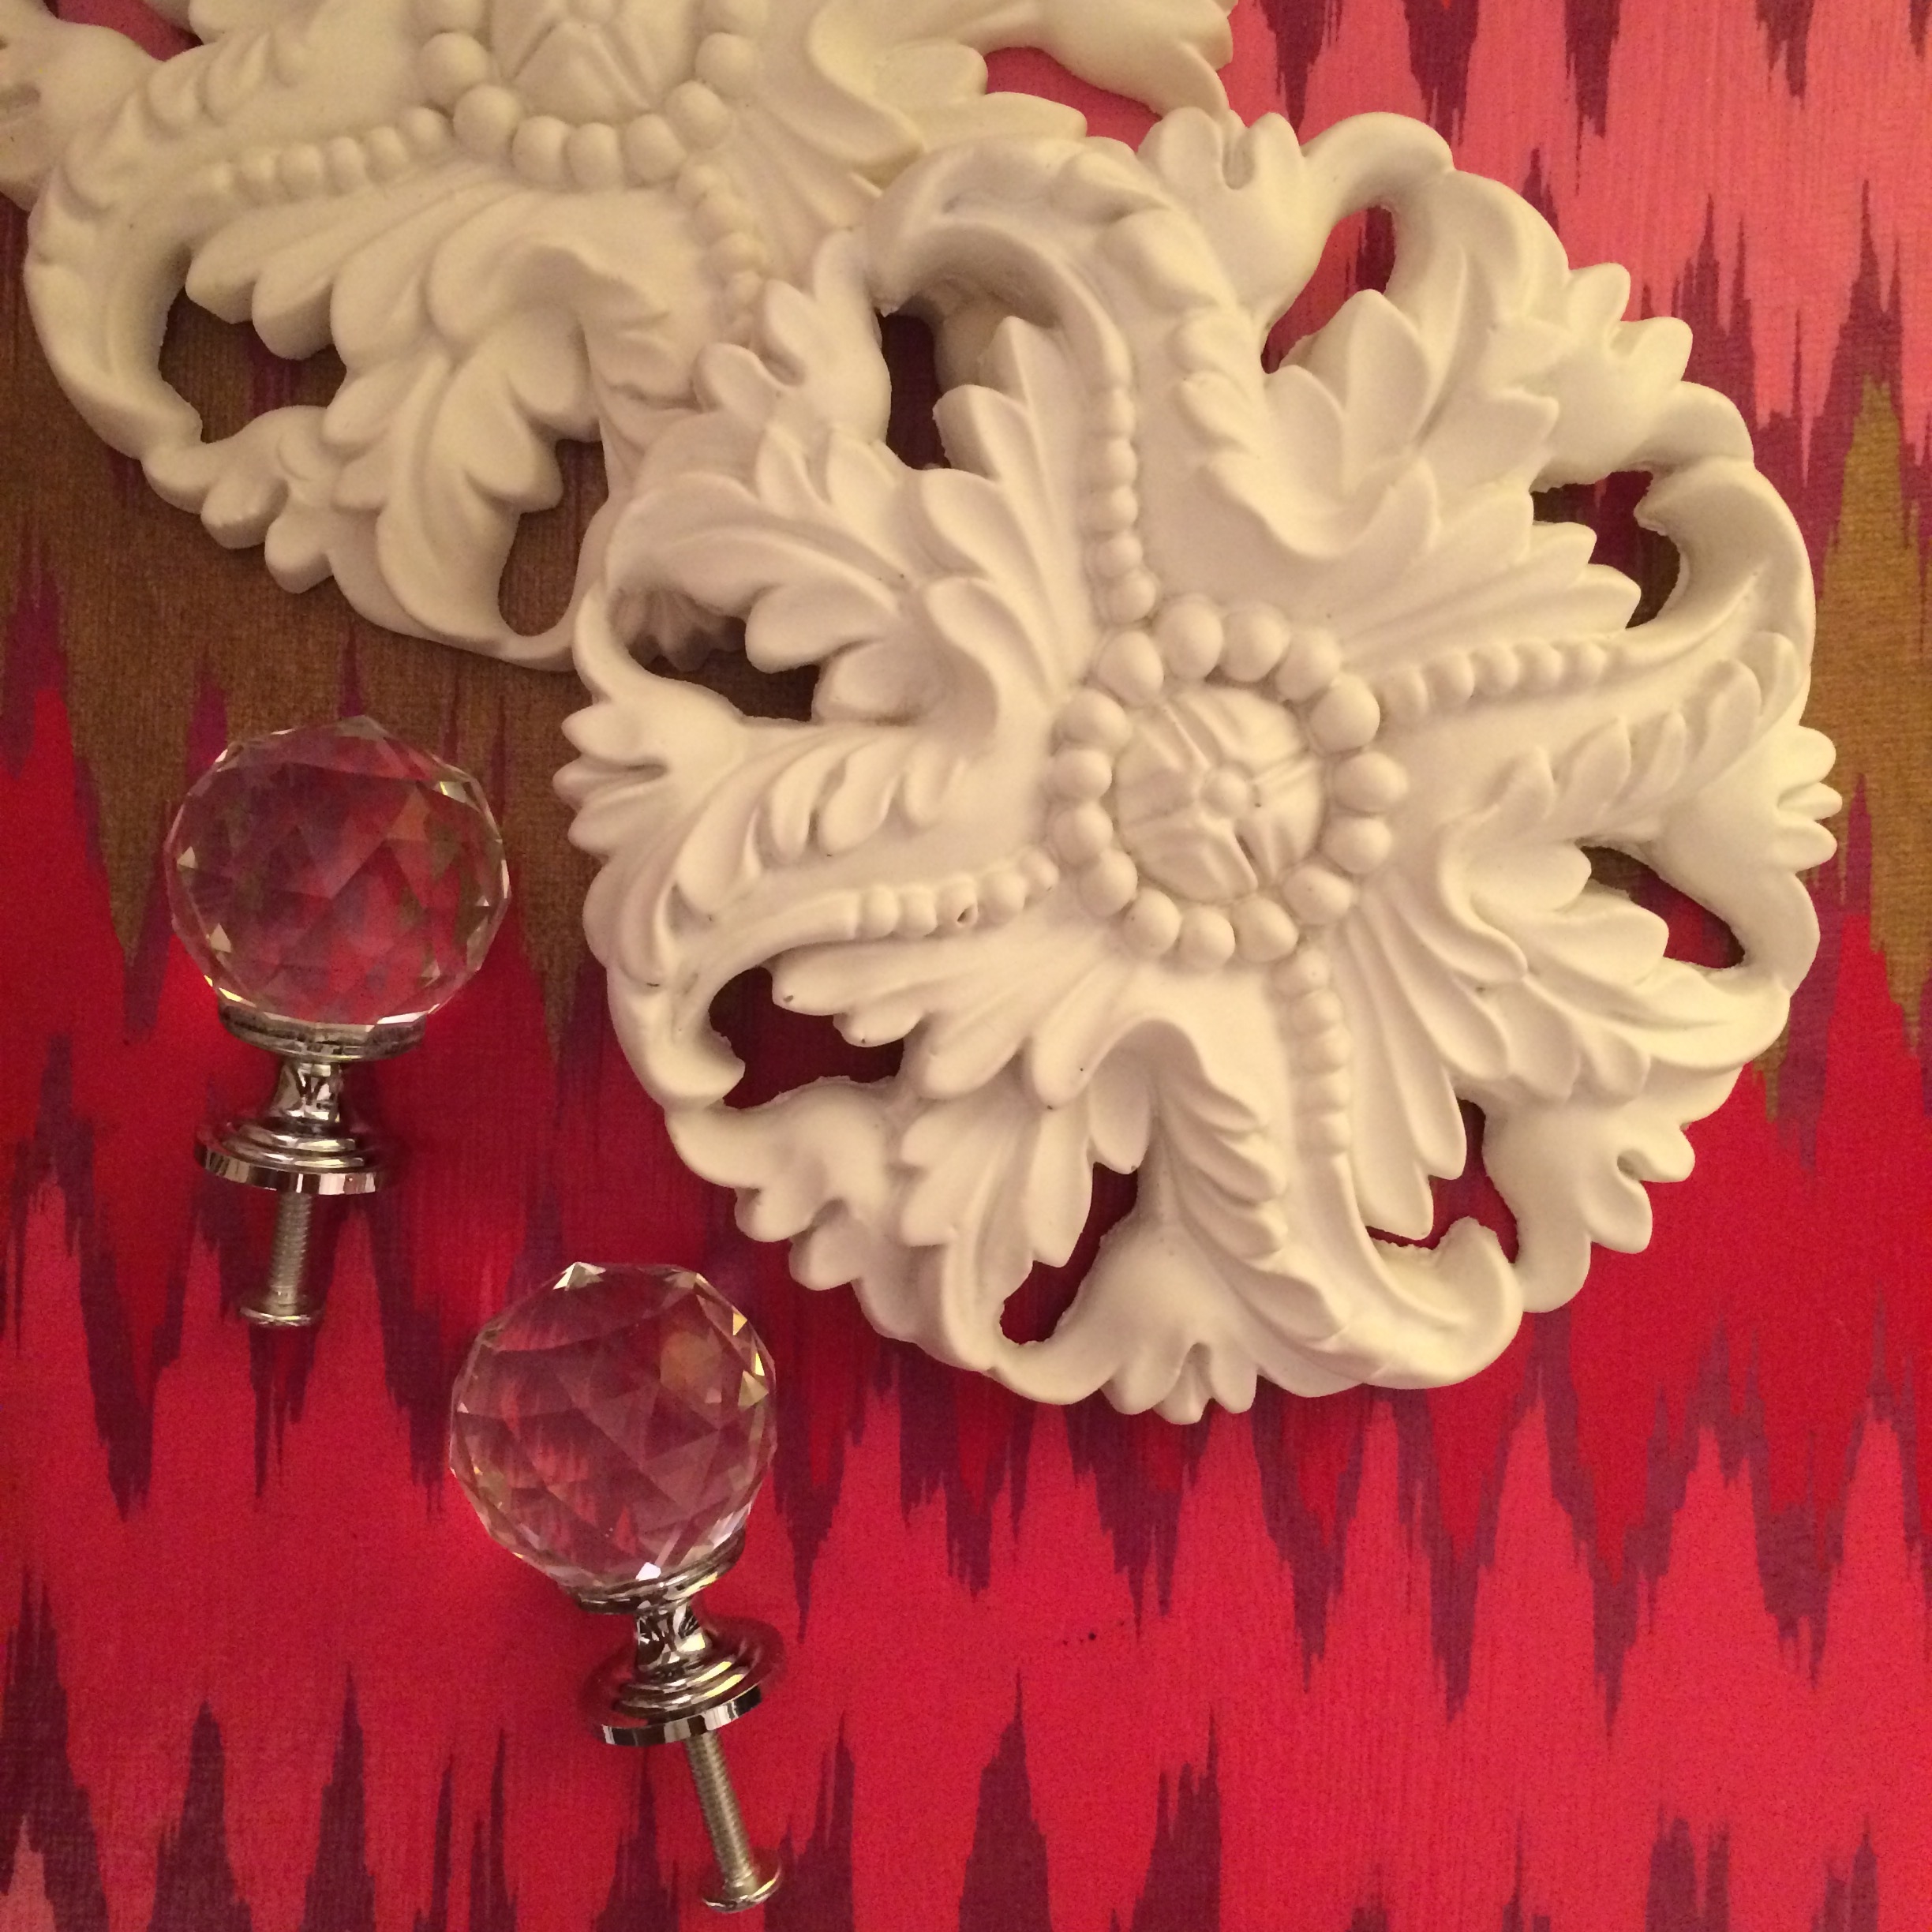
I re-used my clients knobs & paired them with these ceiling medallions. Click to buy here.
Now trust, y'all don't have to have a lot of cash or be professional painters to get this closet door goodness for yourselves, but it may take y'all more than a hawt minute to complete...but it's OH SO WORTH IT!
Directions:
- Paint the closet doors white, or whatever color you want your decorative trim to be. The trim is the rectangular shaped boxes with curved corners that you see on all four doors. I'm going to call these 'boxes' from now on.
- Measure for box placement. I wanted my boxes to be as center as possible on all four doors. I did, 2" from outside edge of doors (for the sides of my boxes) and 3" from top and bottom outside edges of doors (for the top and bottom of my boxes).
- Using a level, I drew light pencil lines on these pre-measured marks, completely drawing in my large rectangles on all four doors. Then using 2" painters tape, I carefully taped along my lines.
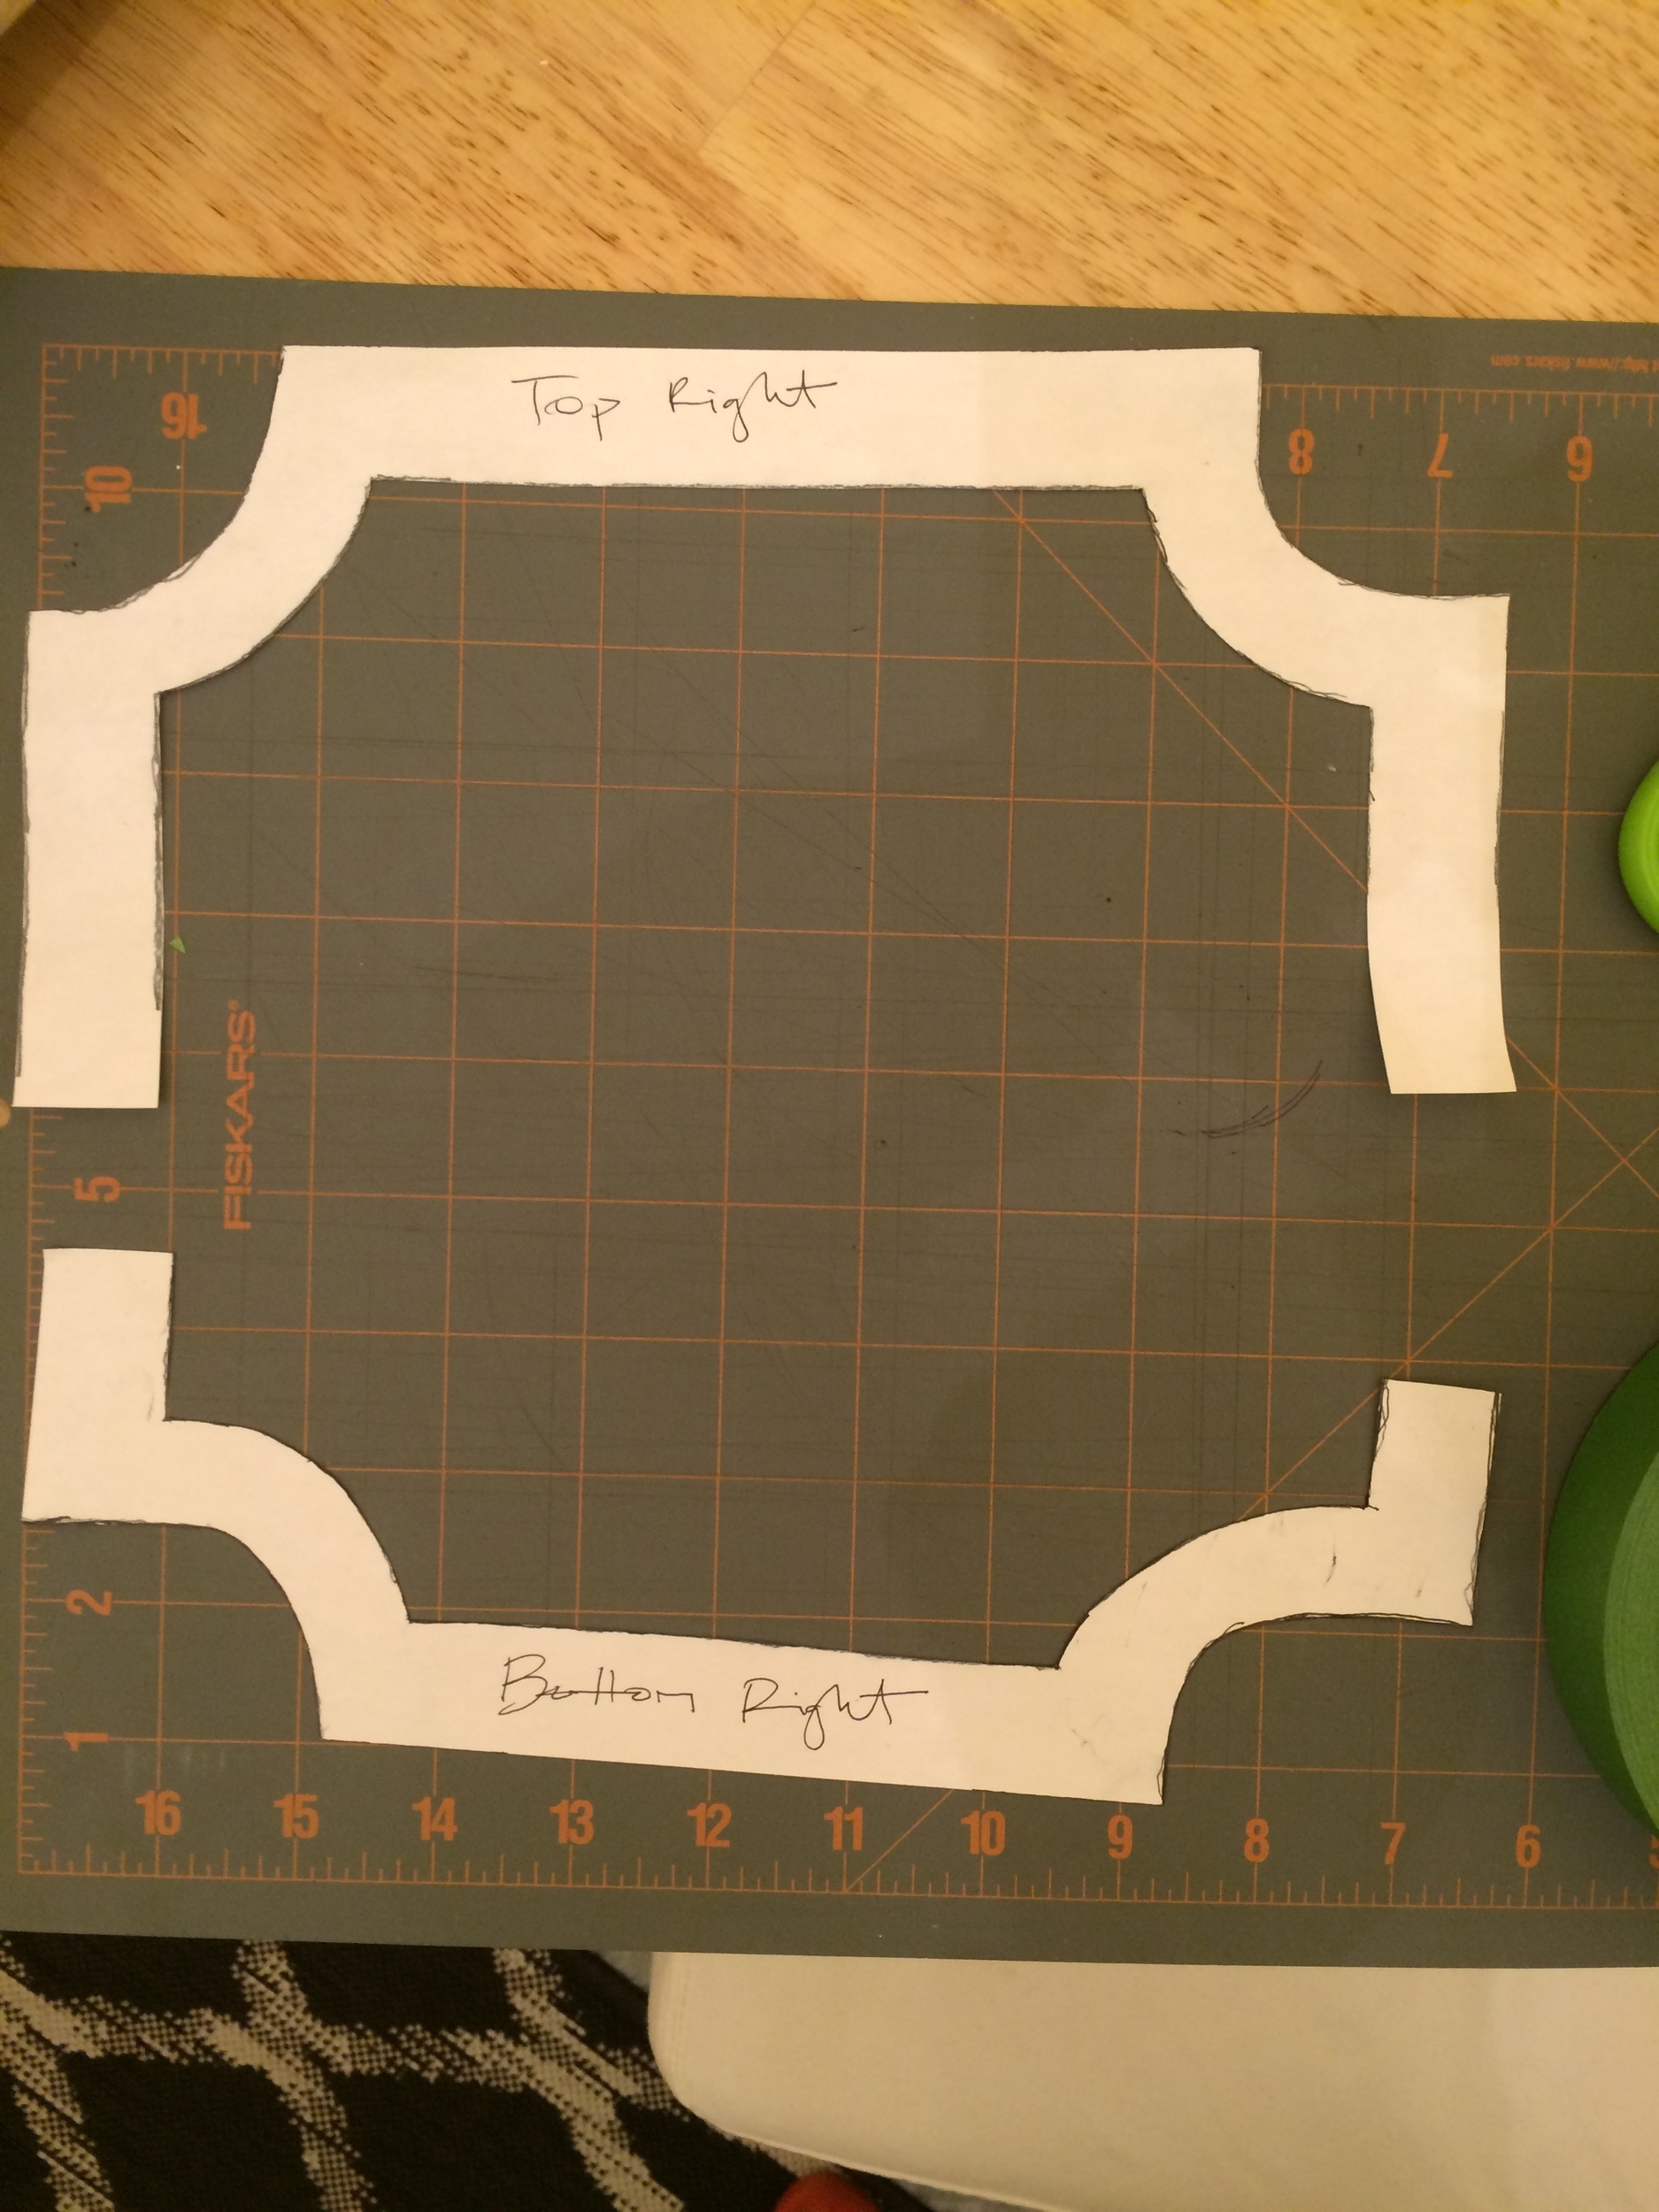
- For the curved corner bits, I used an oval picture frame as a template. Yes, I just typed 'oval picture frame'. The frame was the perfect stencil for tracing and I already had it on hand. Y'all could use a plate, pot lid...really any circular shaped item you can consistently trace with. And since painters tape -- & most tape in general-- doesn't curve that well, you also have to create a flat 'sheet' of tape & cut your curve out of it. Like a piece of paper, but made of tape. I placed pieces of tape side by side with slight overlap on a cutting mat to get my 'sheet'. Then I traced my curve onto the sheet and cut with scissors.
- Once you've placed your curved bits, carefully cut away the corners of your boxes, using an xacto/craft knife.
(**A little blurb about painters tape: I started this project with ScotchBlue painters tape but sadly, there was consistent paint bleed all over my lines, so I switched it up mid way through, to FrogTape & it was significantly better in terms of paint bleed...)

Look VERY CLOSELY at the curve tape bit and y'all can see it's actually several pieces of tape overlapping...
- Short-cut tip: Once you've got one end of your 'box' created, including the curved corner bits in place, take a piece of paper & carefully trace over the whole end. Cut that out with scissors. Y'all can now use this as a stencil to make all the other ends of your 'boxes'. This will insure that all your curved bits are consistent on all four boxes. Like this:
- Smooth out all the excess air out of your painters tape & then paint all your doors with whatever final color you want your doors to be. Obvi, I chose black. Allow to try and then carefully peel tape.
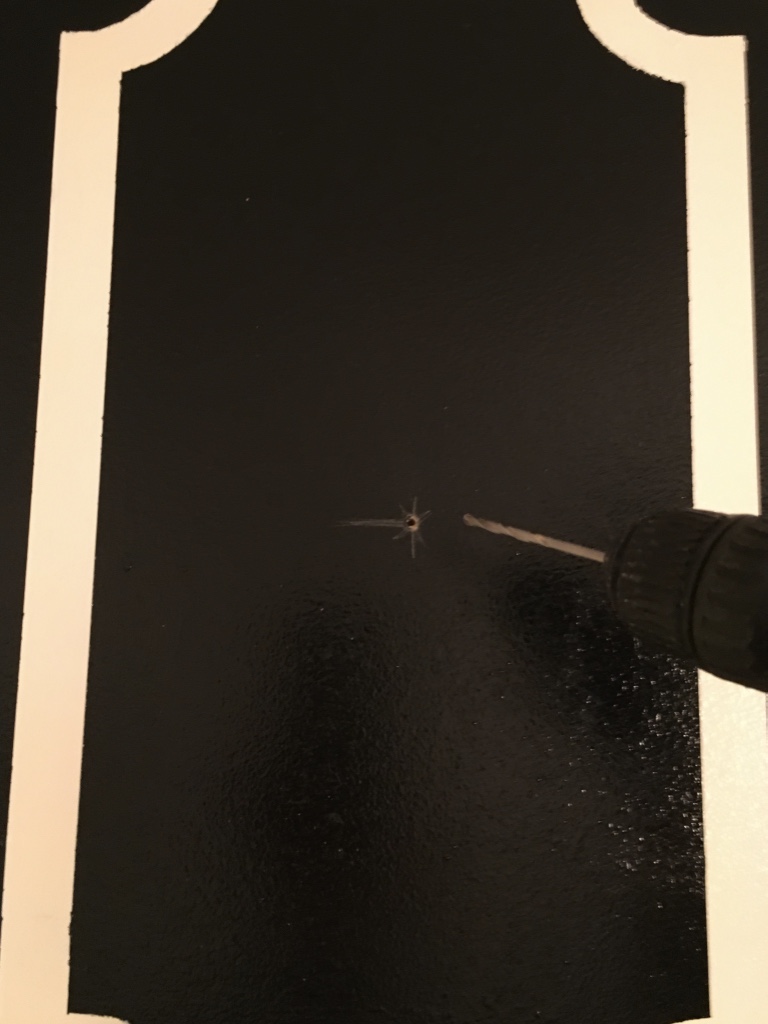
- For the decorative ceiling medallion & knobs, measure your desired spot within your boxes. I wanted everything centered for maximum Hollywood Regency "Ho-Re" drama. Once I found & marked my center point, I drilled a hole through each of the closet doors. I also went ahead & drilled a center point in each of my medallions.
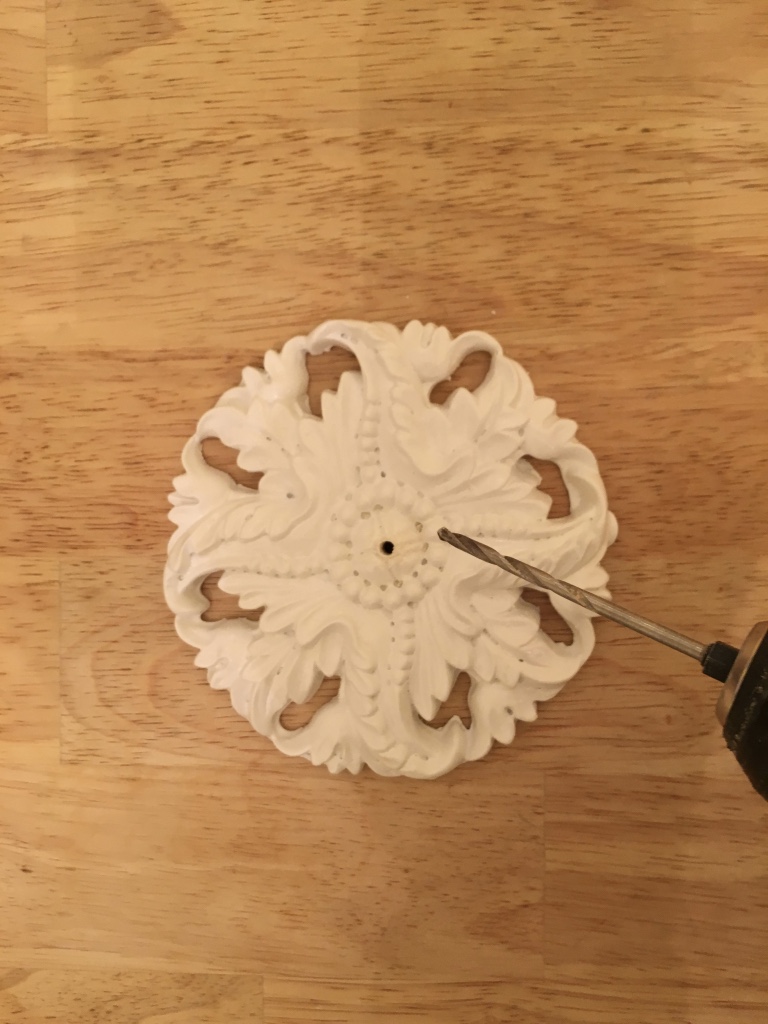
Umm, maybe don't drill on top of your dining table? Ok thanks, love you!
- Next, I applied a decent amount of construction adhesive to the back of the medallion. I used Liquid Nails. And BIG MIKE.

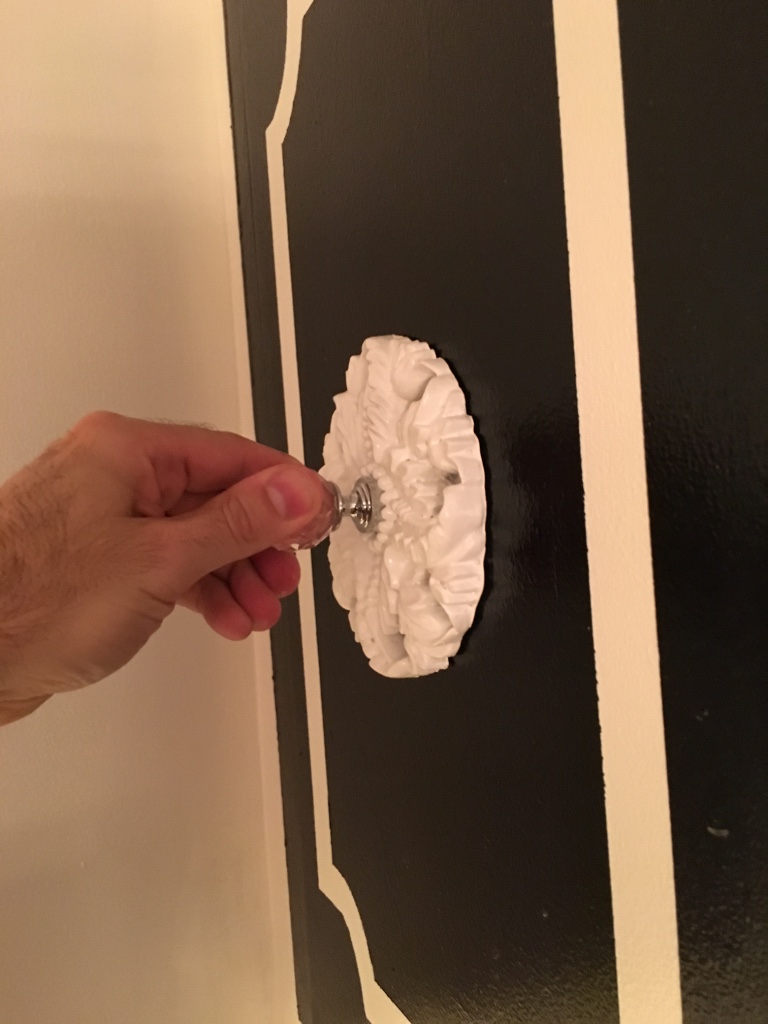
*Next I inserted the post for the knob through the closet door hole I just drilled, and threaded the medallion onto the post on the front side of closet door. Once medallion was in place I carefully held it in place a few seconds to allow the adhesive to set. Then I screwed the crystal knob onto post, further securing the medallion into place.
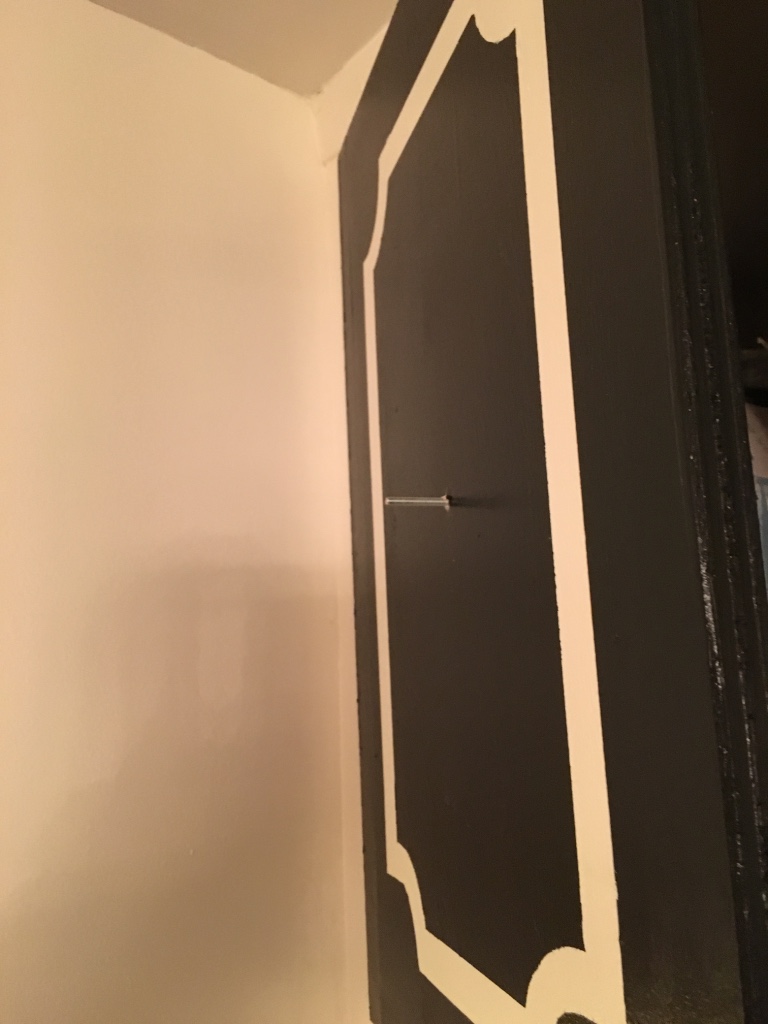
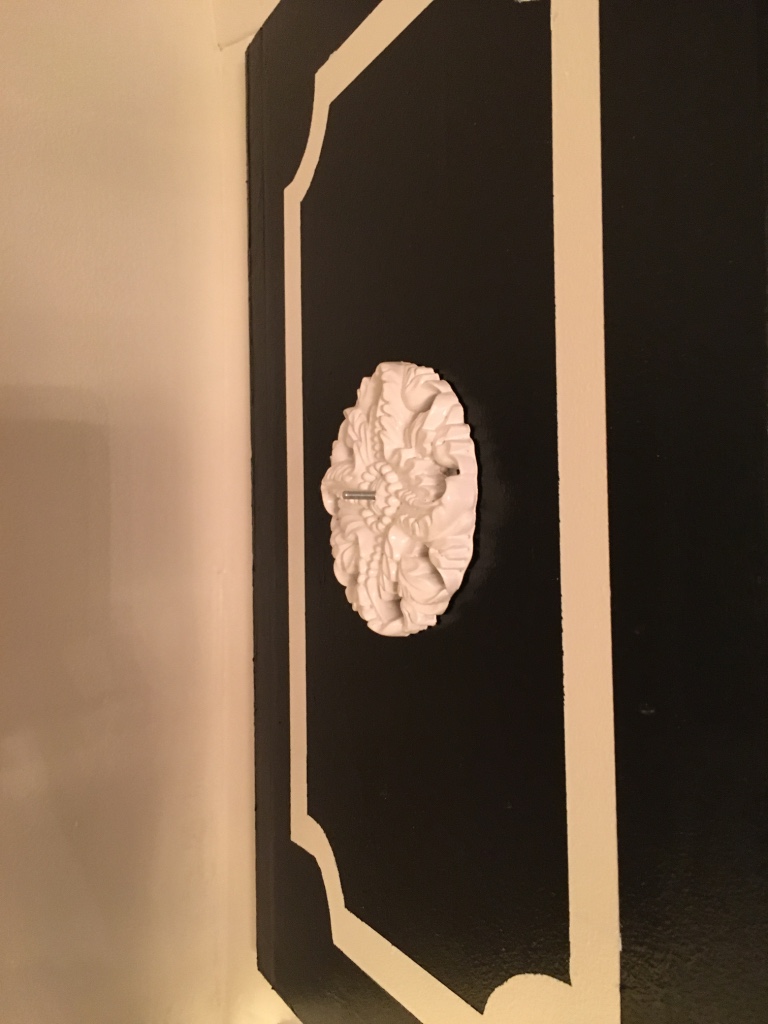
*Then, I screwed the crystal knob onto post, further securing the medallion into place. Let's see what that looks like:
Oh neat!
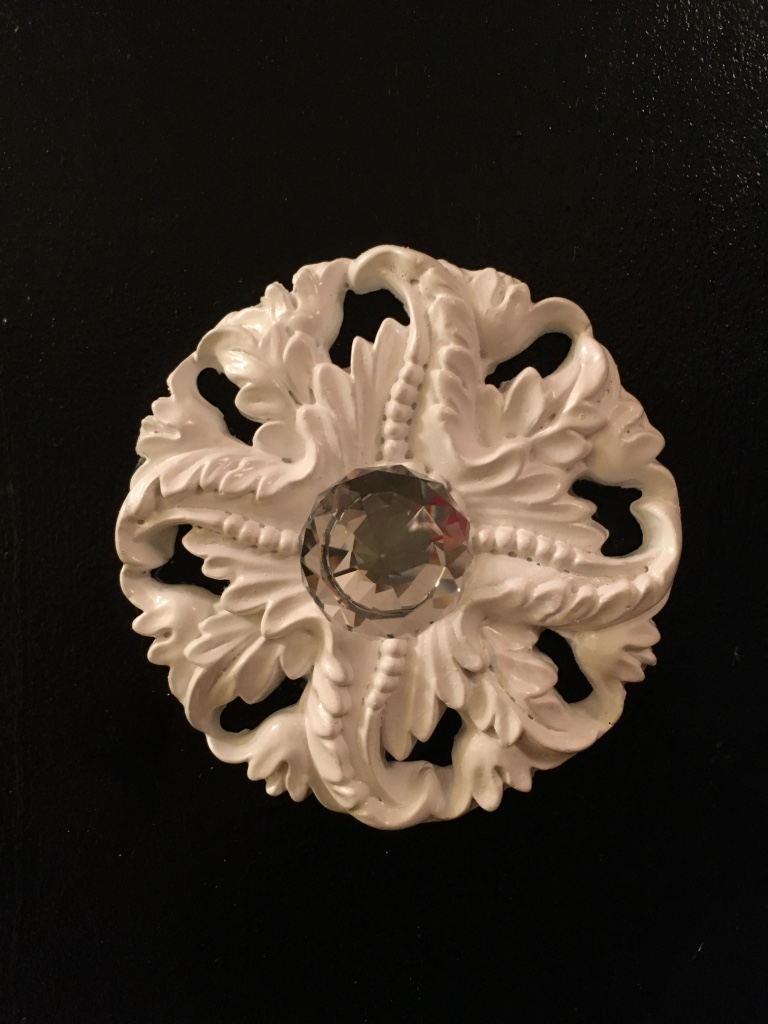
WHAT, Betch?!!
You're DONE...

And GORGEOUS!