Y'all my trip to Venice Beach was so AMAAAZE-- the beach, the shops, the food (taffy dreamzzz fulfilled beyond dot com) and of course, the people-- I just had to make a salon style gallery wall about it-- as one does, right?! Yassssss GURL! It was such a fun, simple & chic way to bring those happy beachy boho vibes home! Below is the 411 on how I made the pink taffy-licious canvas artwork (and YES it involves a shopping bag!?!)
So, there was some cra cra 'licious color going on all around me at the beach, and to capture that I decided to PJDIY this super chic Anthropologie shopping bag into my own canvas art. Uh huh-- I typed that. Keep reading...
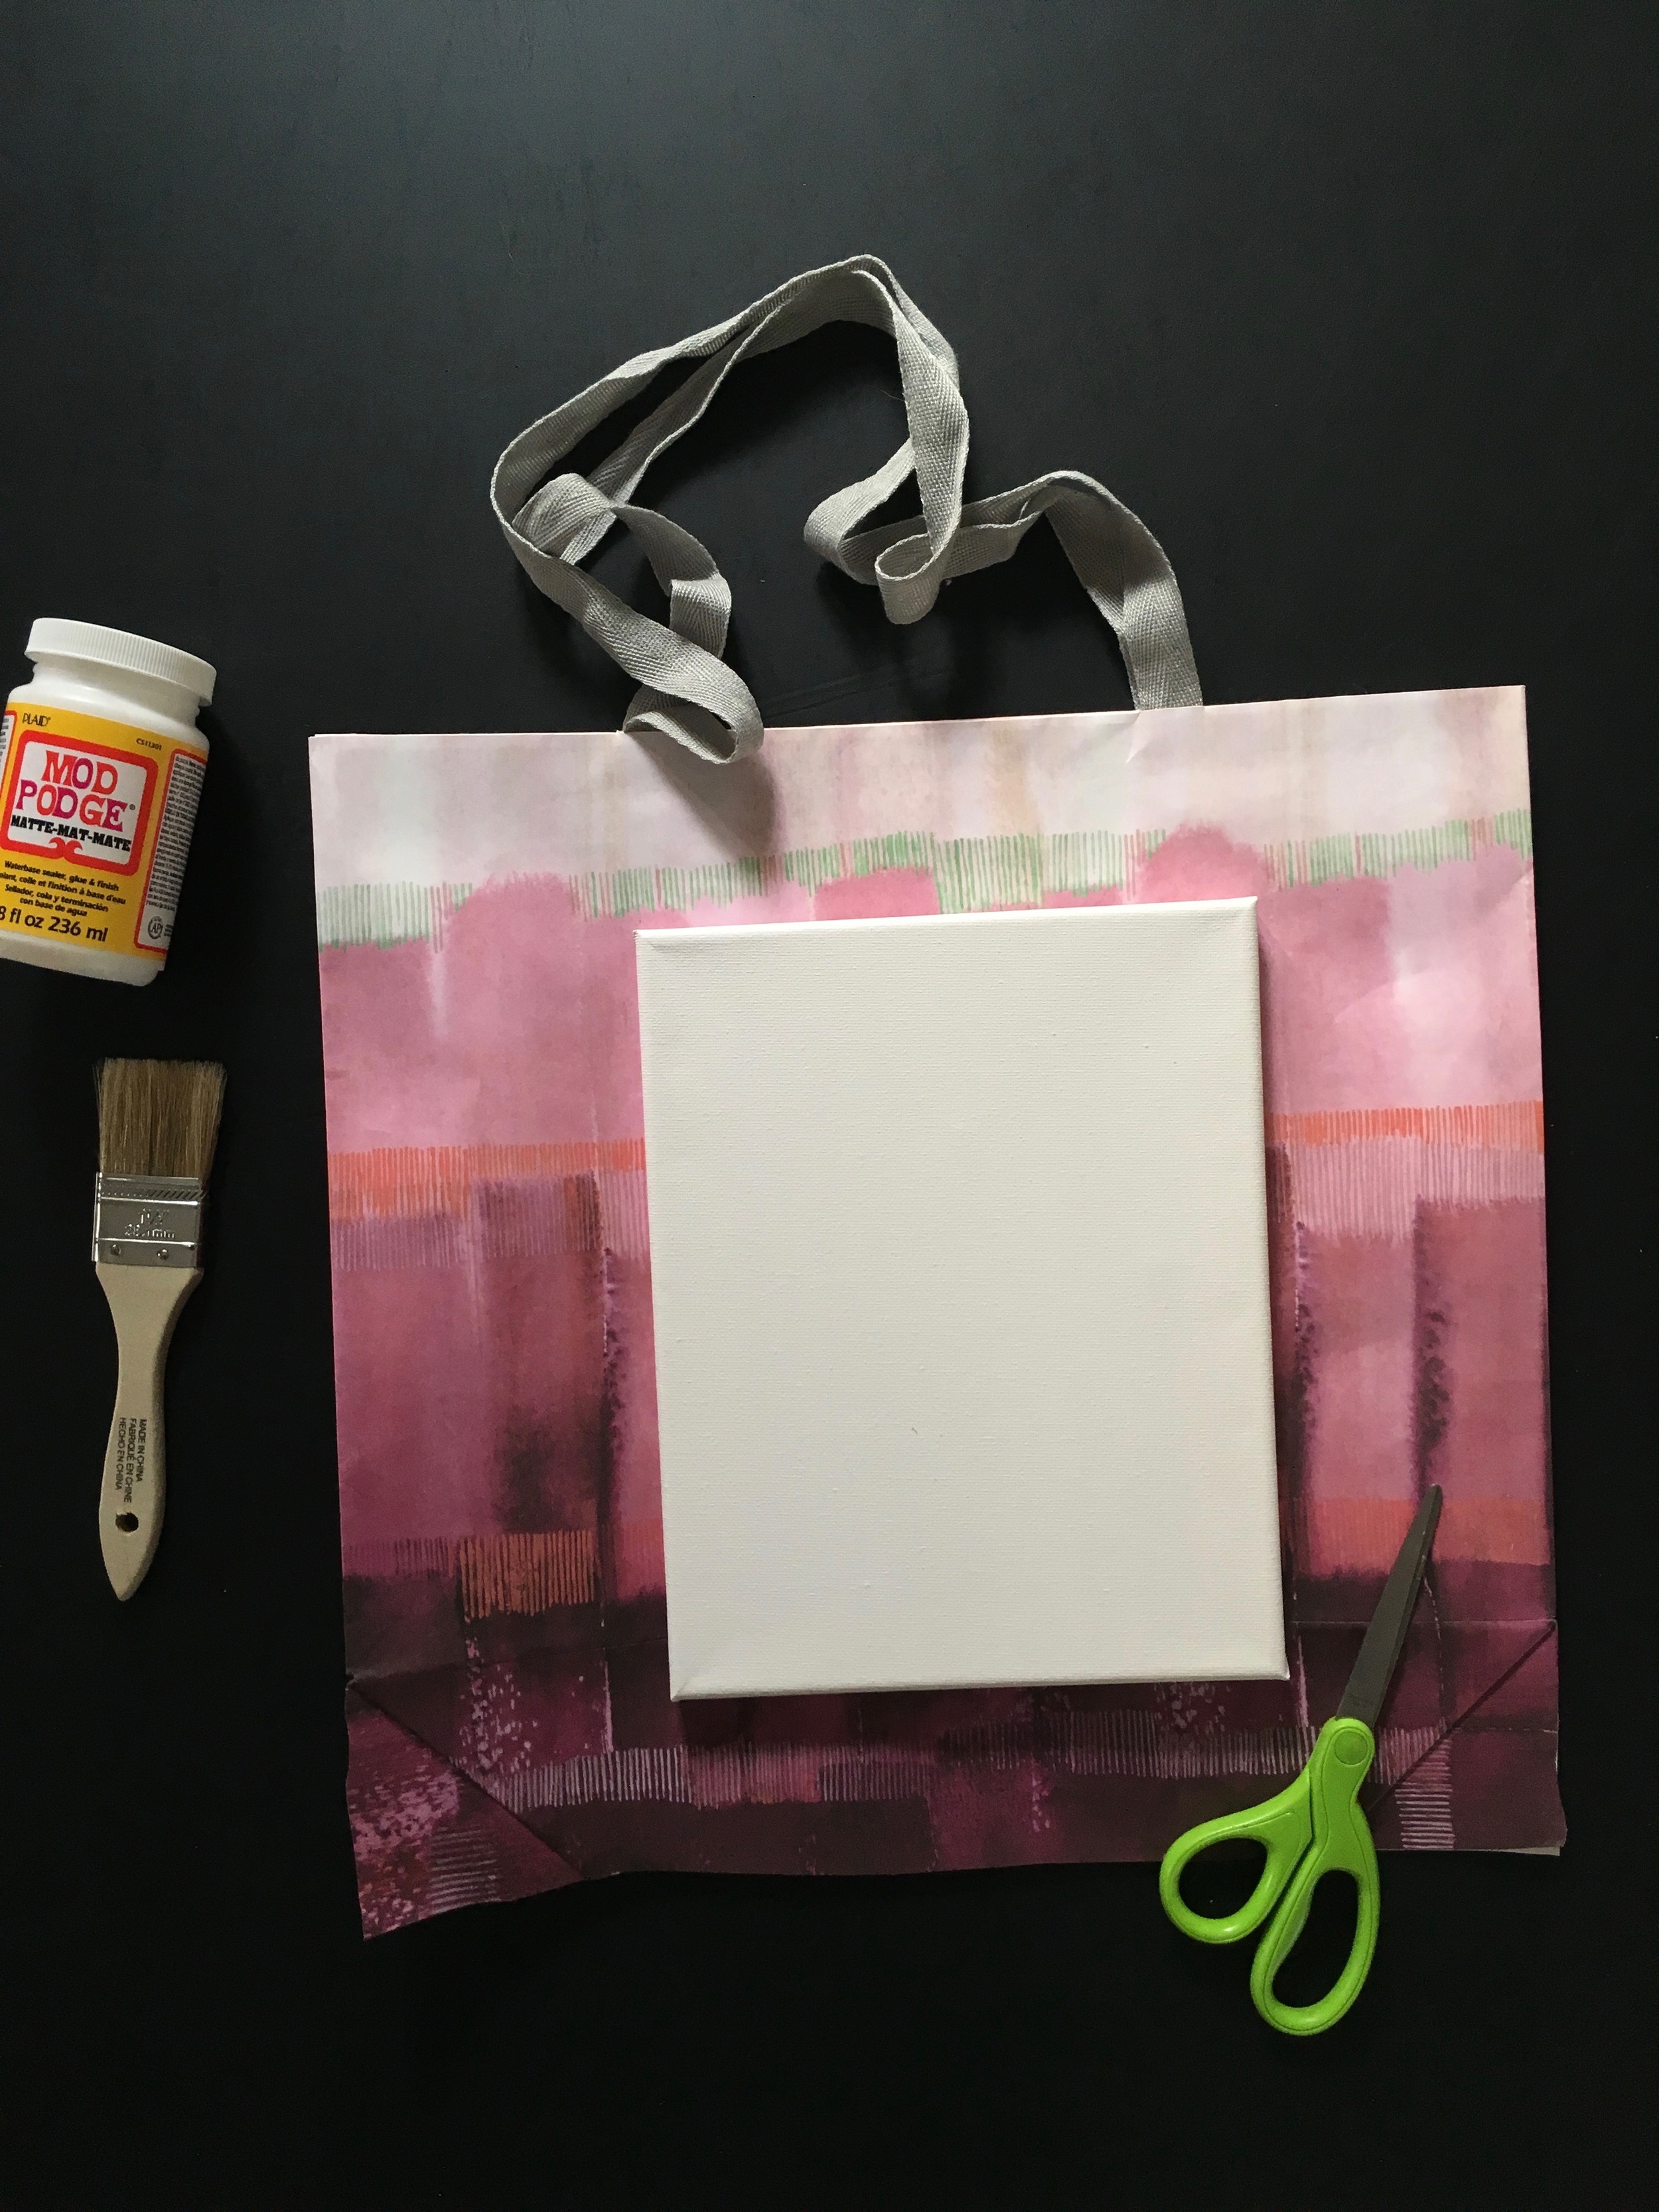
Materials needed:
- Anthropologie shopping bag (or any shopping bag that inspires y'all)
- small blank canvas, mine was 8" x 10" from Michaels
- mod podge, also from Michaels
- paint brush
- scissors
1. Cut the shopping bag into a usable piece that's both large enough to cover your canvas (including edges) & will highlight the area on the shopping bag you want featured as your 'art'. I cut both sides & bottom of bag for my piece.
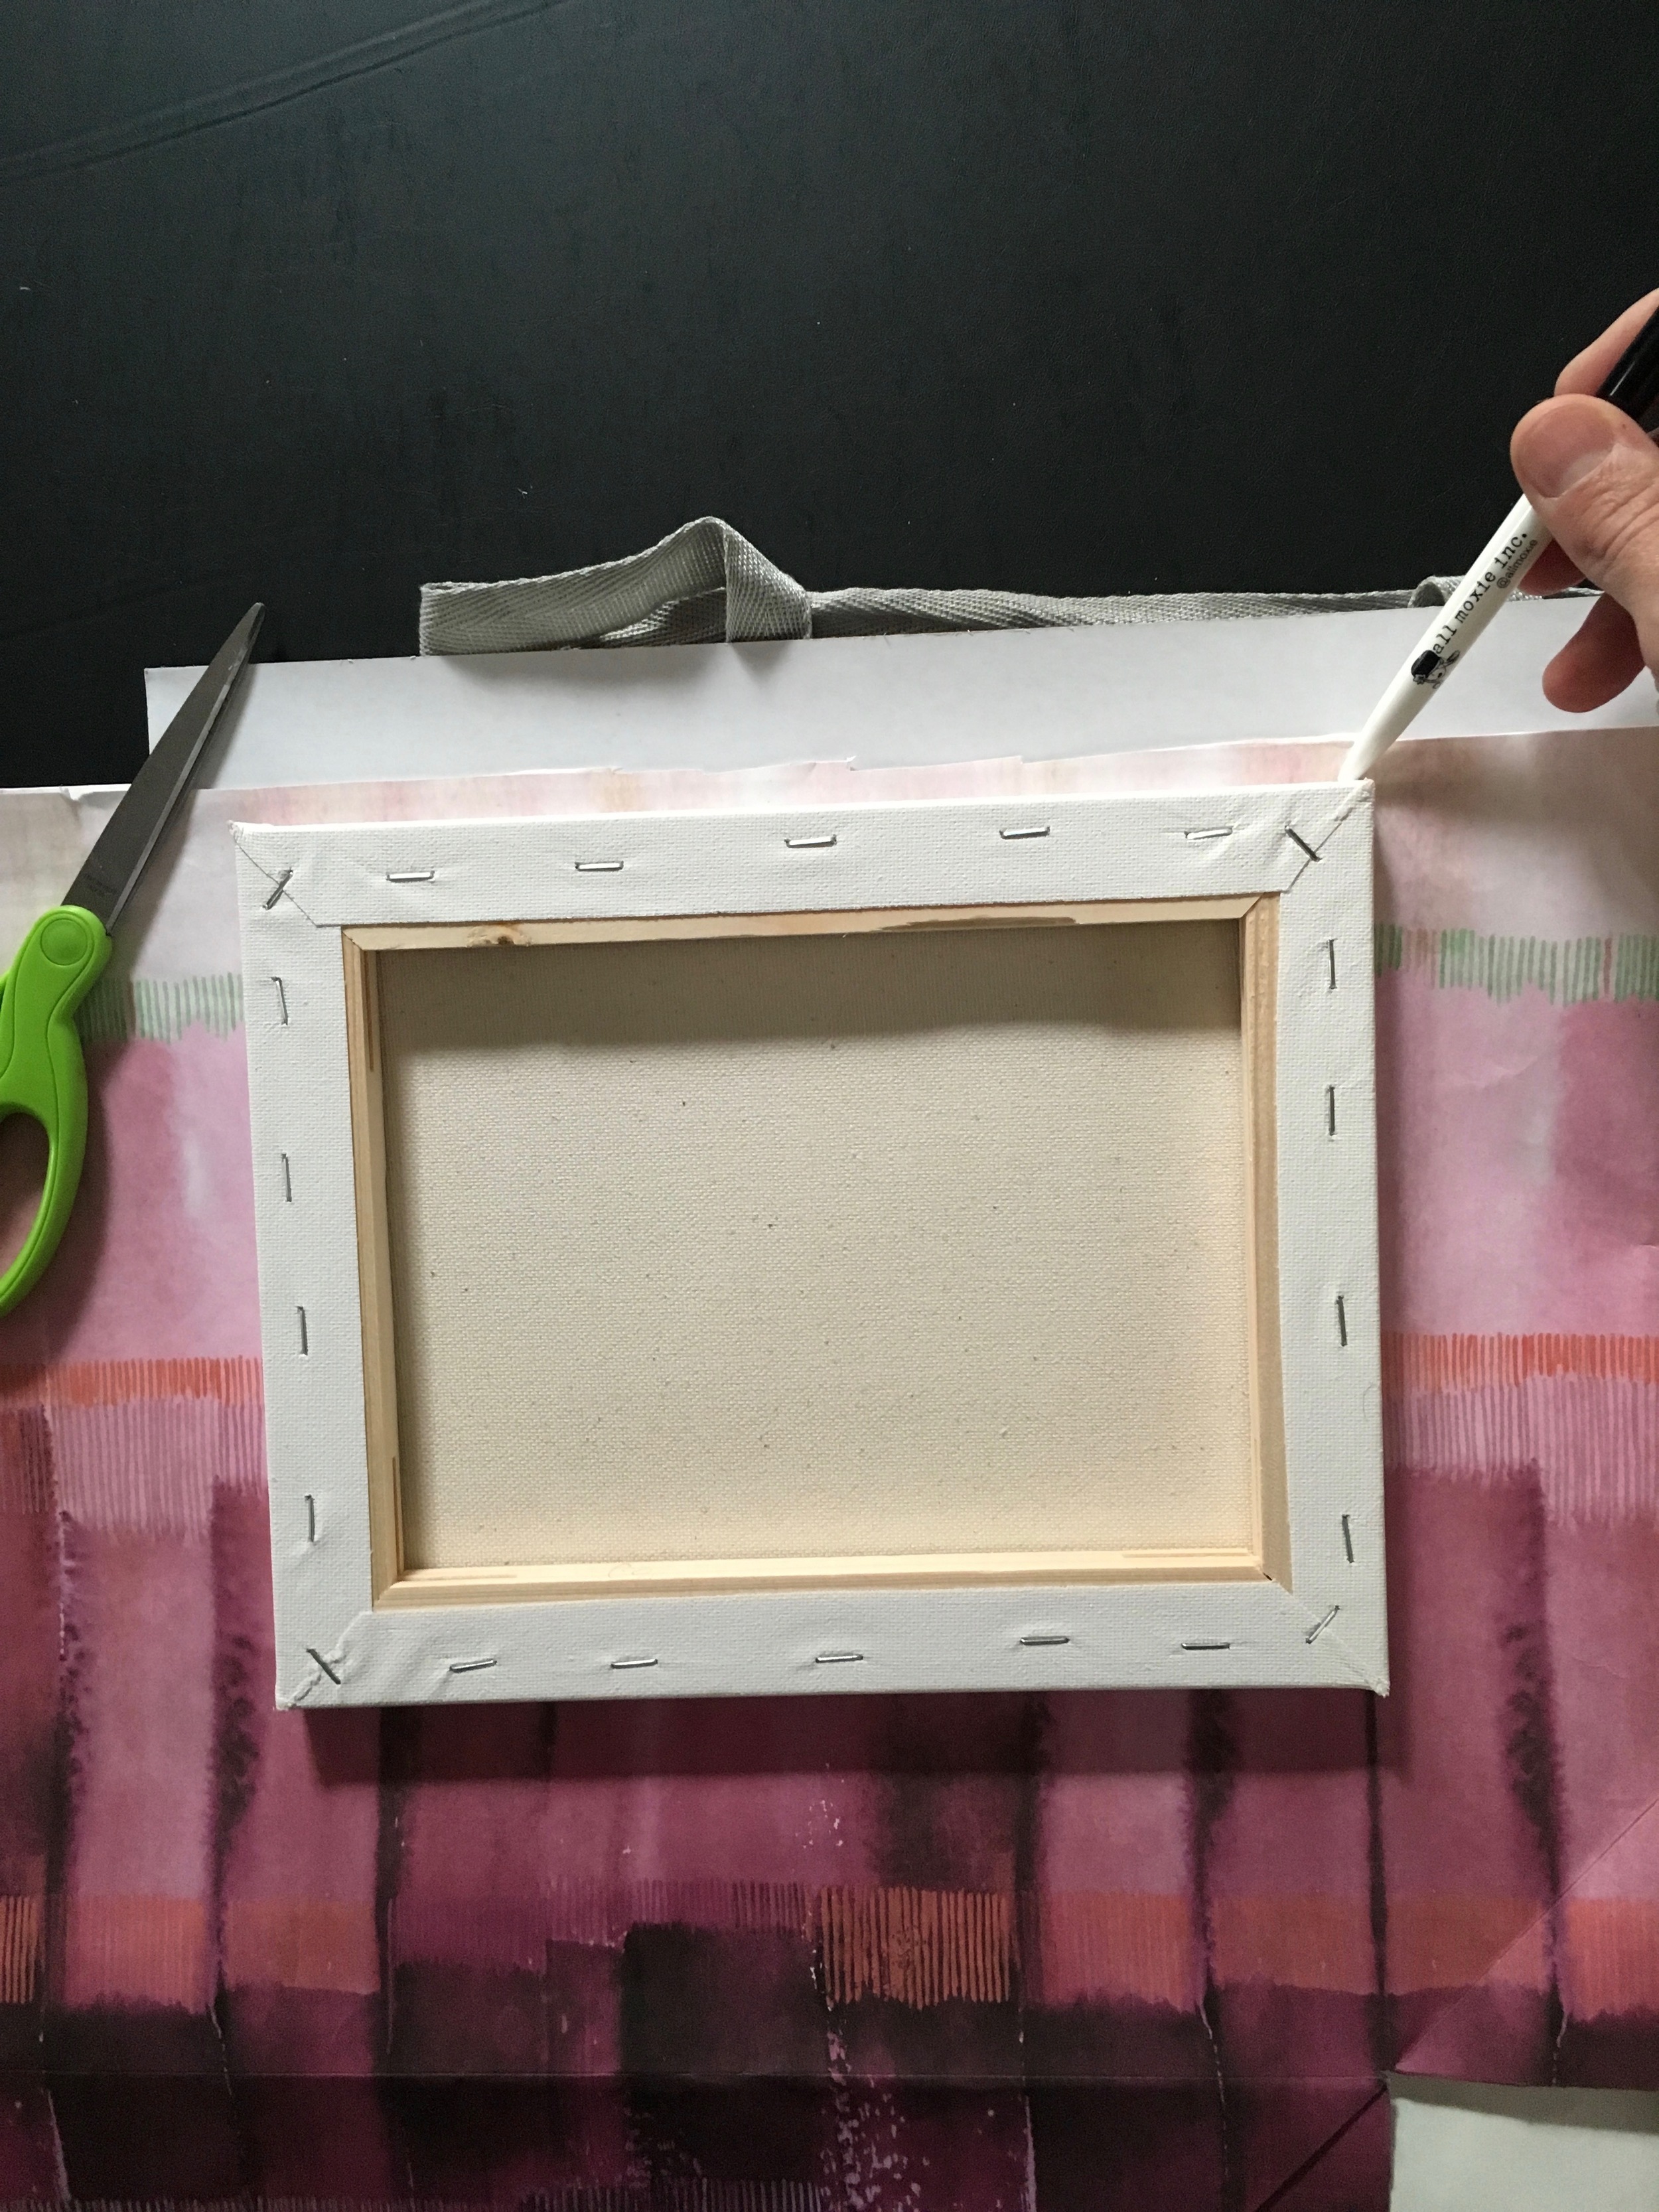
2. Flip your canvas over & lightly trace along the edge. Note: you'll want to cut at least 1/2" from your traced line in order to wrap the edges of your canvas.
3. Lay your cut piece on top of canvas. Gently fold on all four sides to double check your cut piece not only covers the sides, but that the area you want highlighted is where you want it on the canvas.

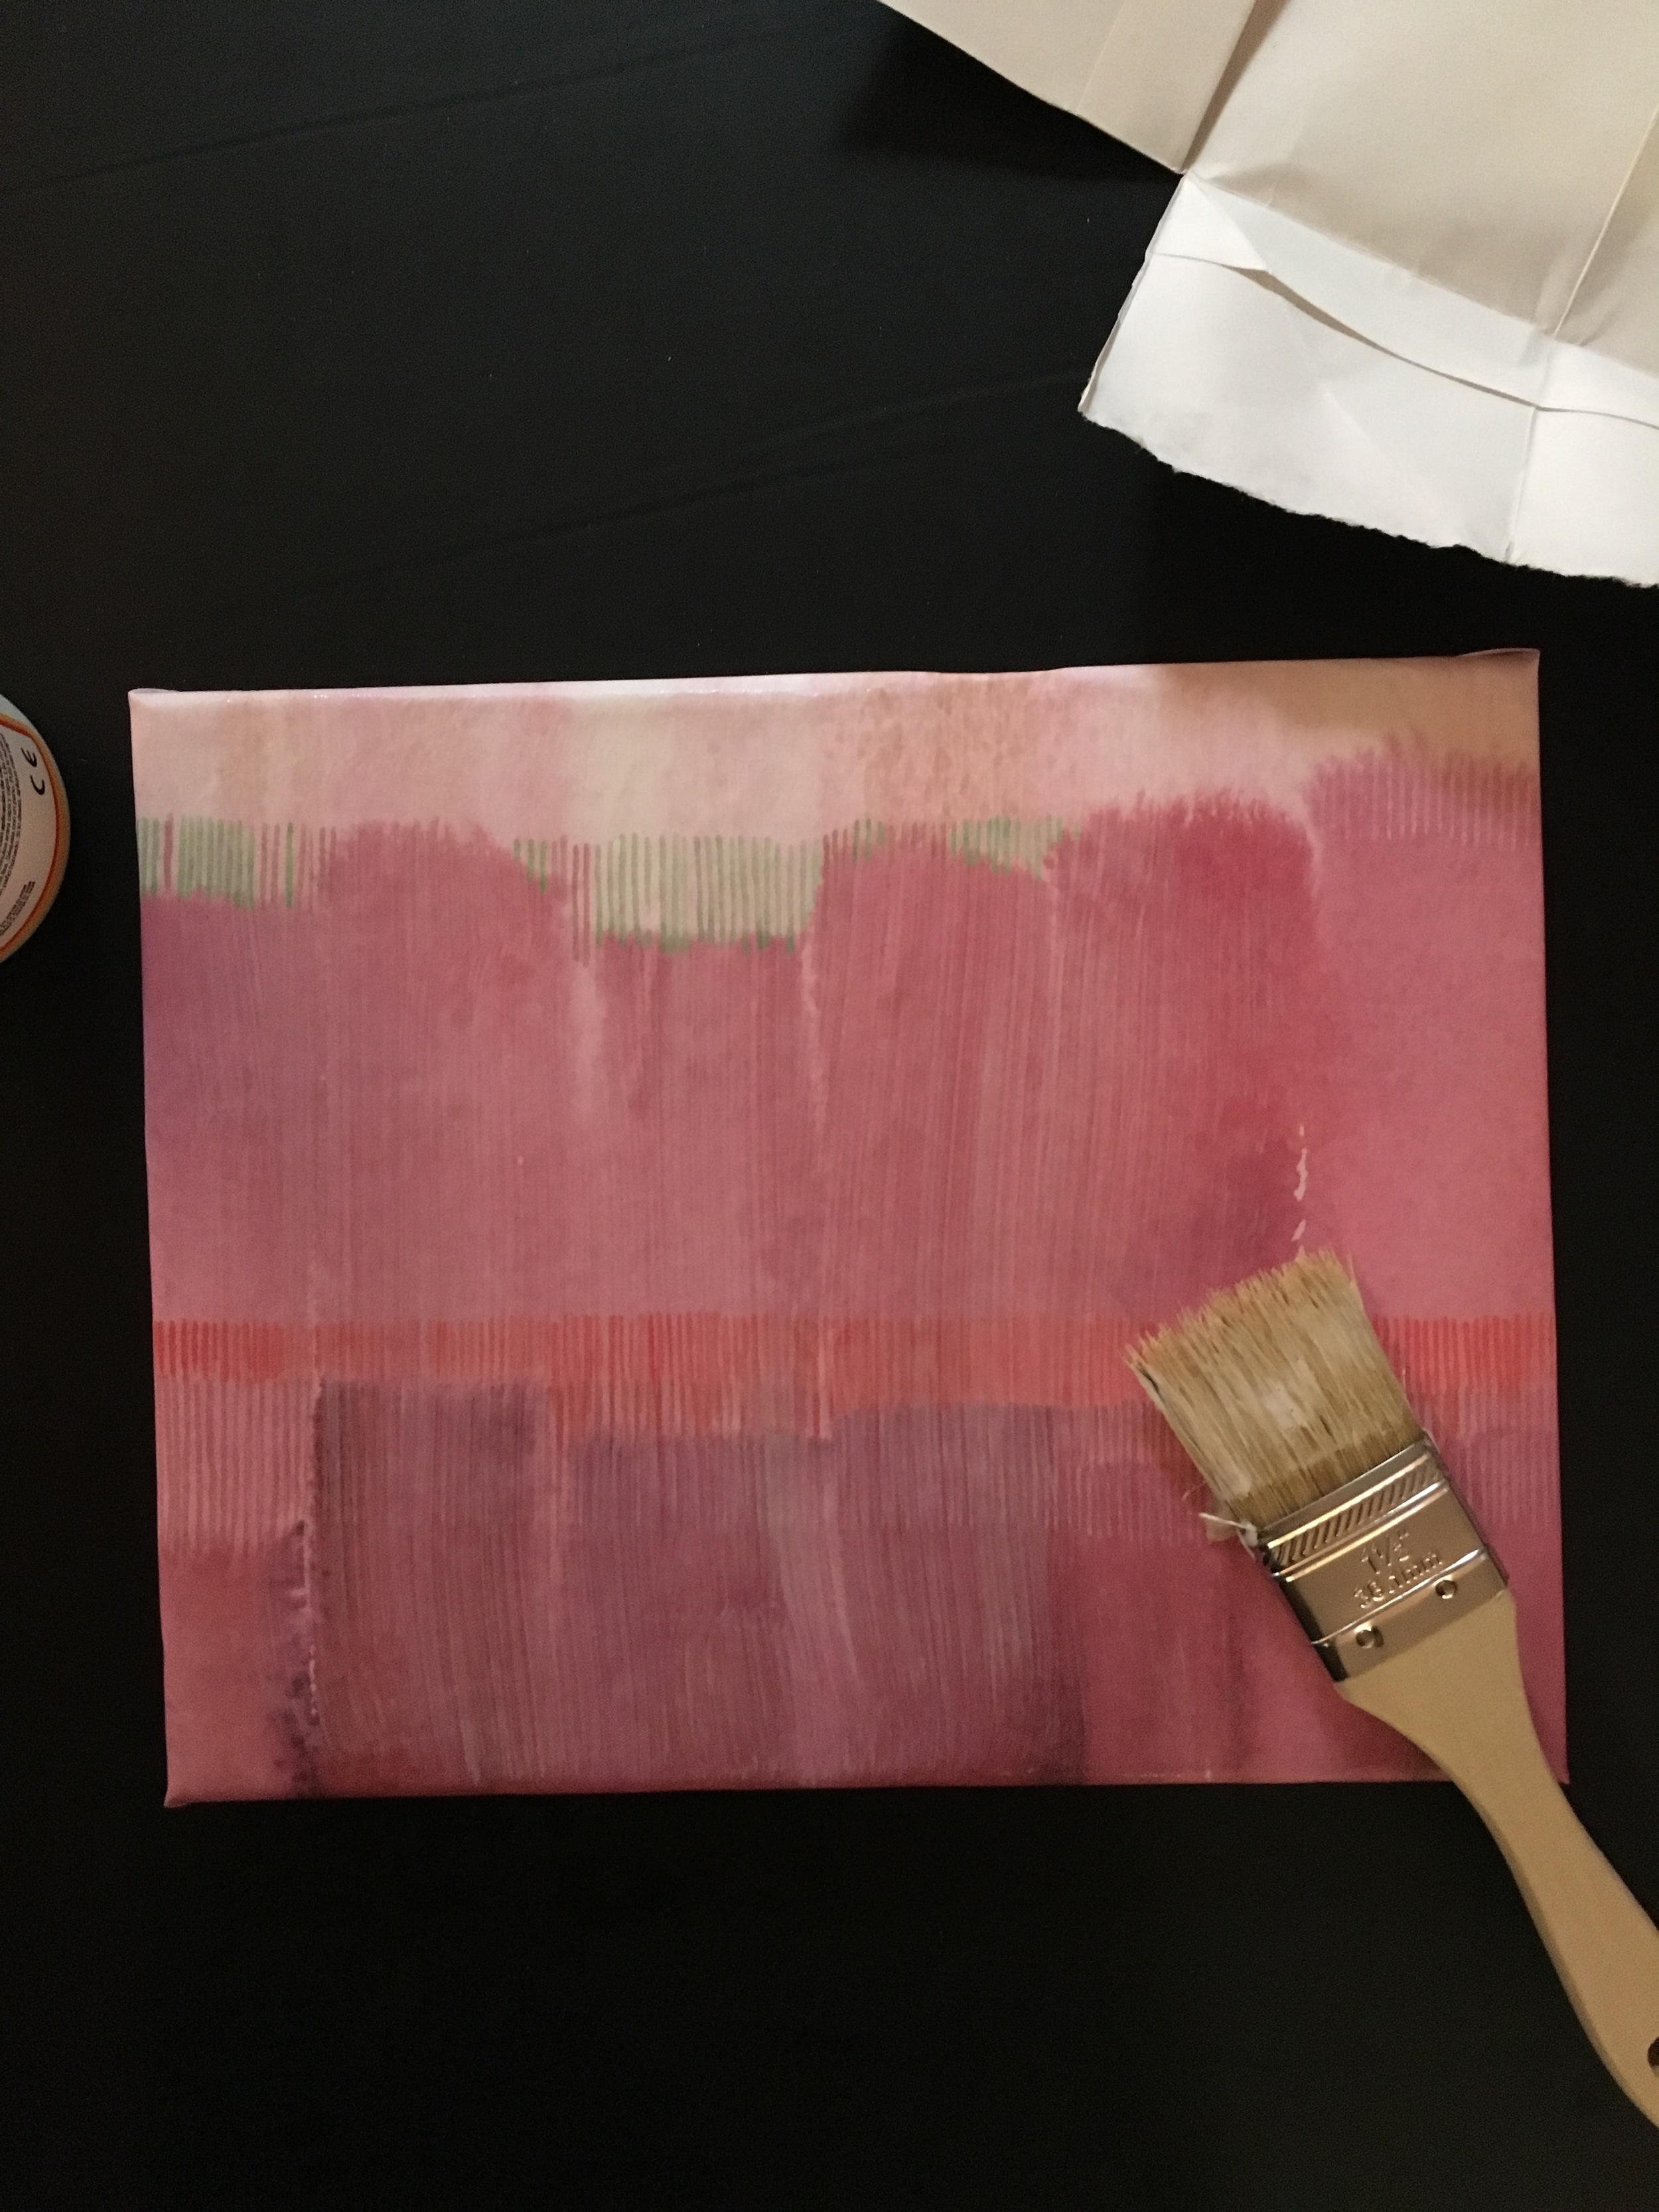
4. Paint a healthy, even amount of mod podge onto your canvas. Y'all don't need to go insane here, but you want to be sure the canvas is thoroughly covered. This includes the sides of the canvas.

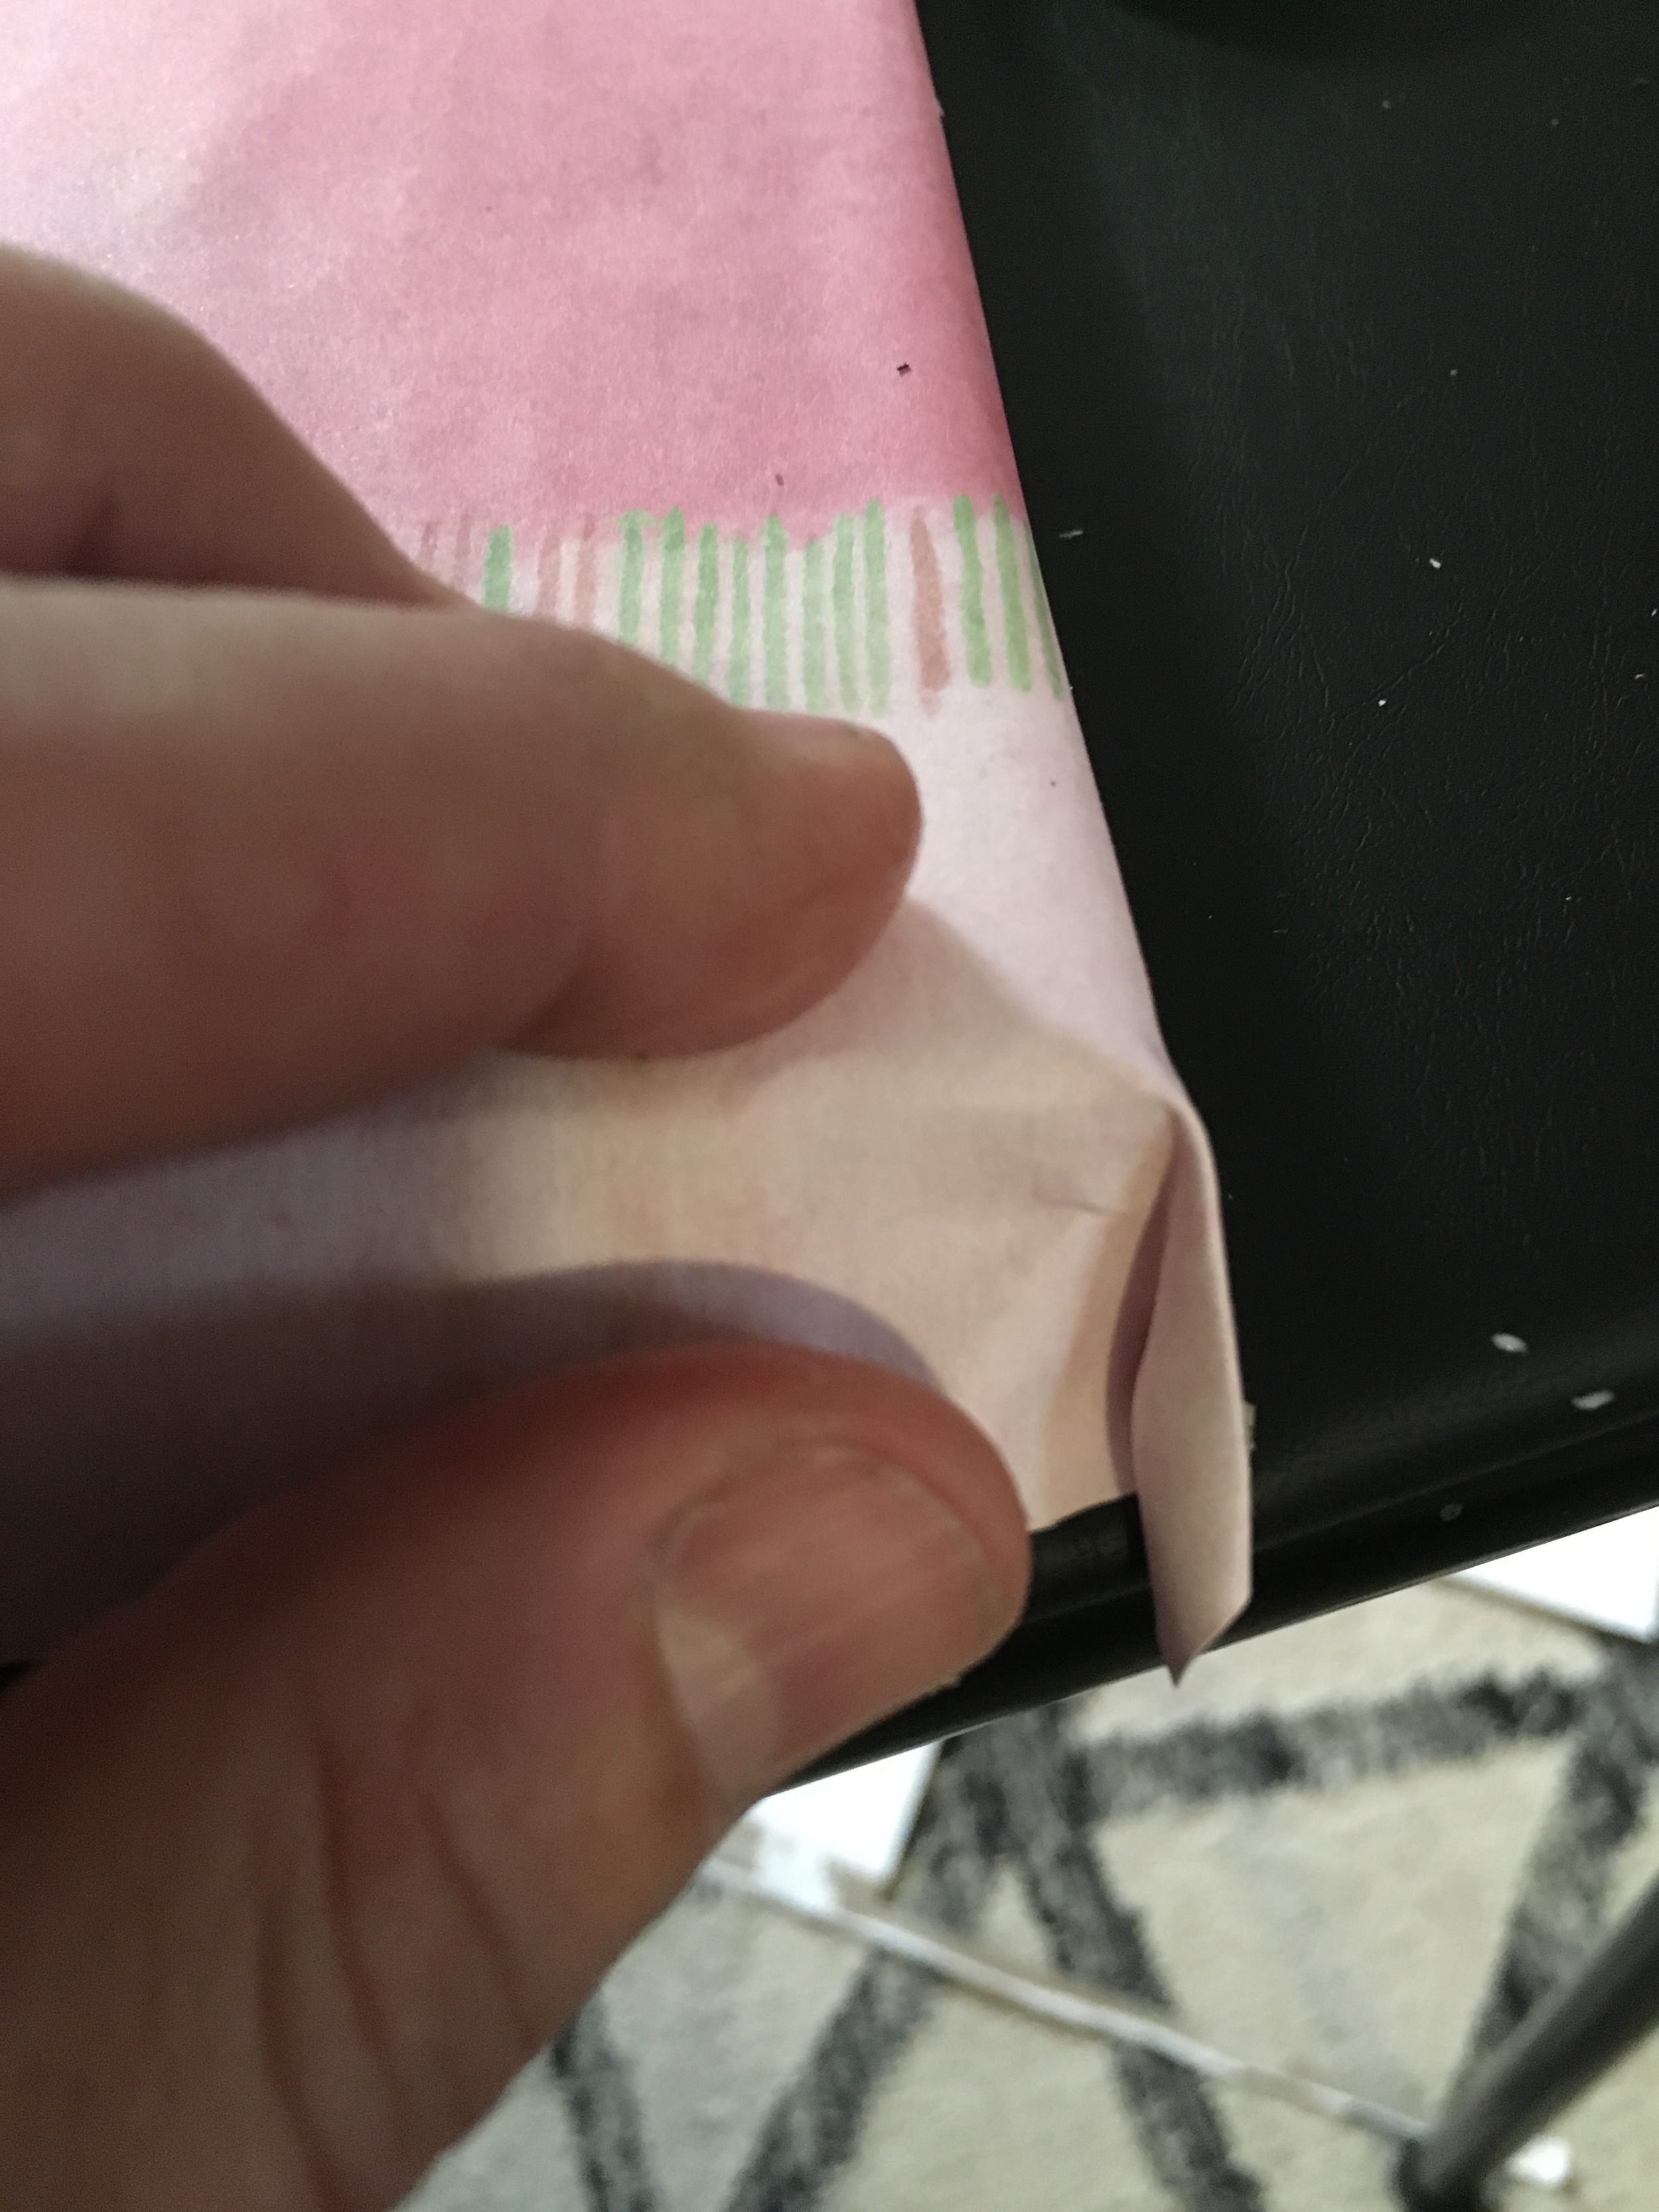
5. Carefully place your cut piece onto the canvas. Don't panic here if you don't line the cut piece up exactly where you want it on this first attempt. Y'all can carefully peel it up and then lay it back down in the proper place-- that's one of the many benefits of mod podge. Just don't rush it & rip your cut piece! Once in place, smooth out any air bubbles with either your hand or a squeegee (a cc or similar works great for this). Fold & smooth out your cut piece along all four sides. For the corners, I like to think of it was wrapping a gift. I usually fold one side of the cut piece straight down at the corner, which leaves a bit of a point or overhang on the other cut piece:

Be consistent with your corners: If you fold your inside corner straight down on the top of your canvas, then fold your inside corner straight down on the bottom of your canvas too. Make sense?
6. Then fold the more pointy piece over...
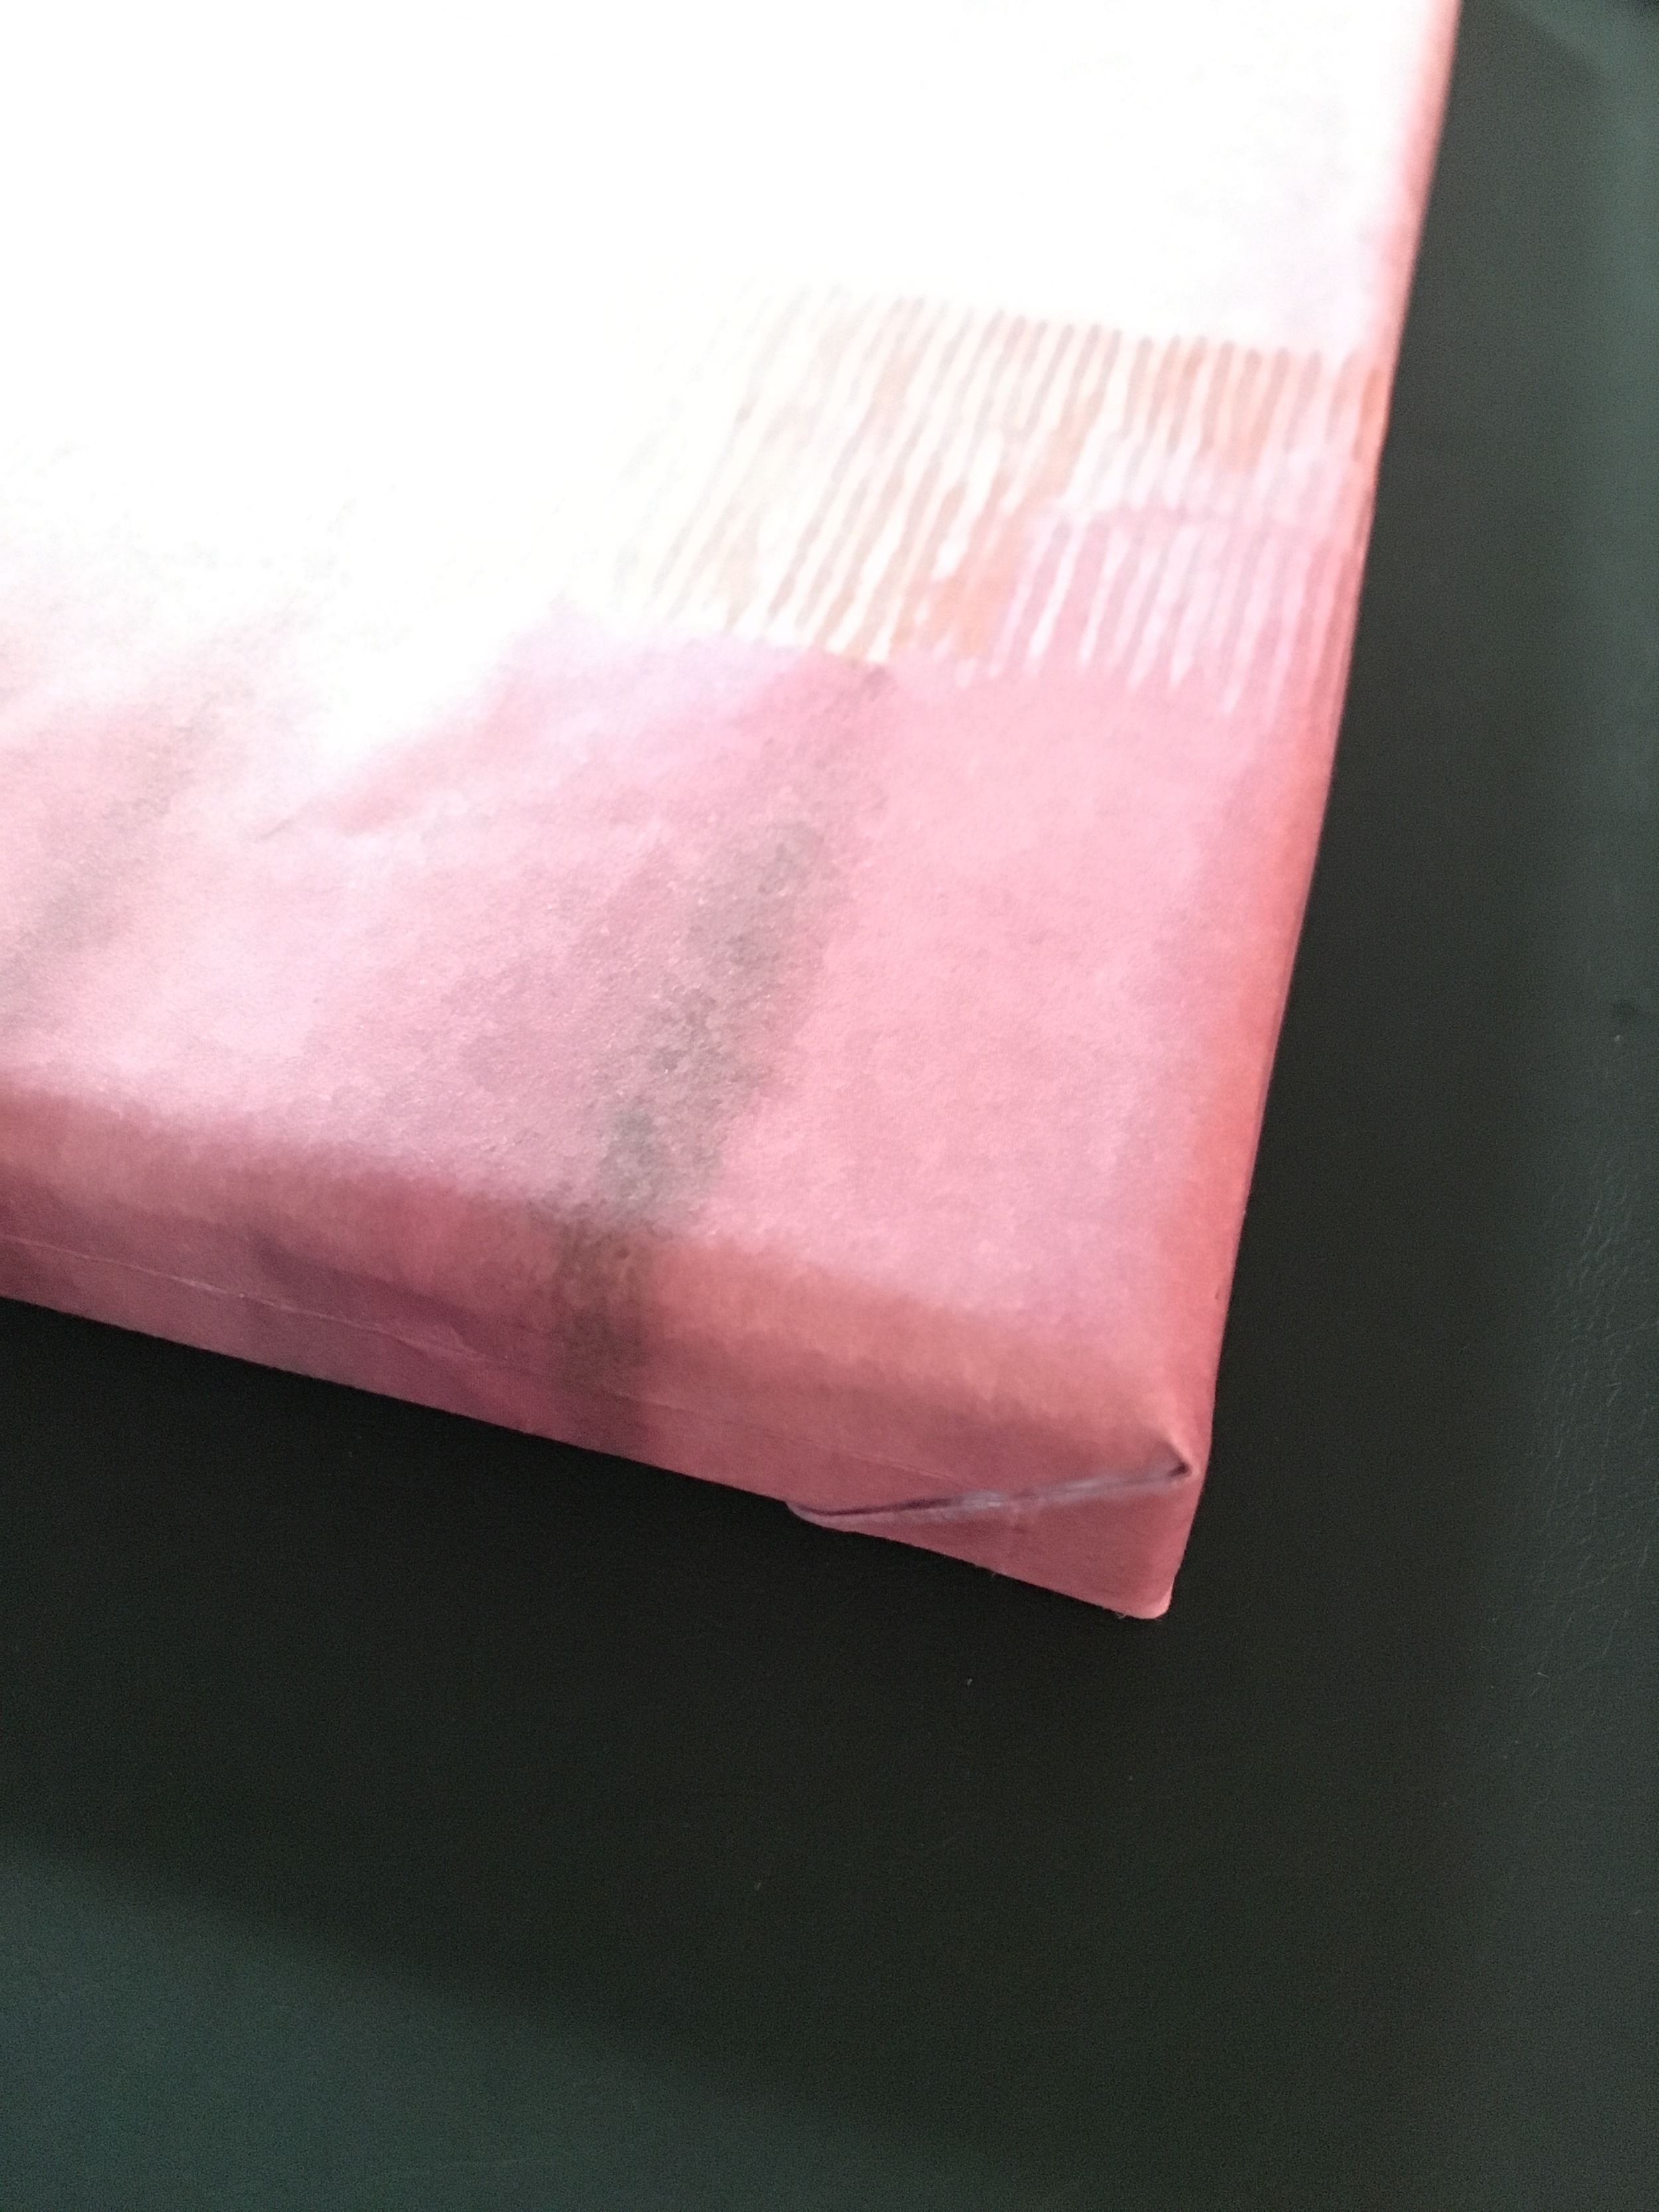
7. Brush on another coat of mod podge to seal. Once this coat is dry y'all can add as many coats of the mod podge as you like...it dries clear and the more coats you add, the more protected your new artwork will be!
The HAWTNESS!