So, y’all…

I mean…?!? Just absorb all this faux malachite loveliness for a sec…and YES, y’all…I made this!
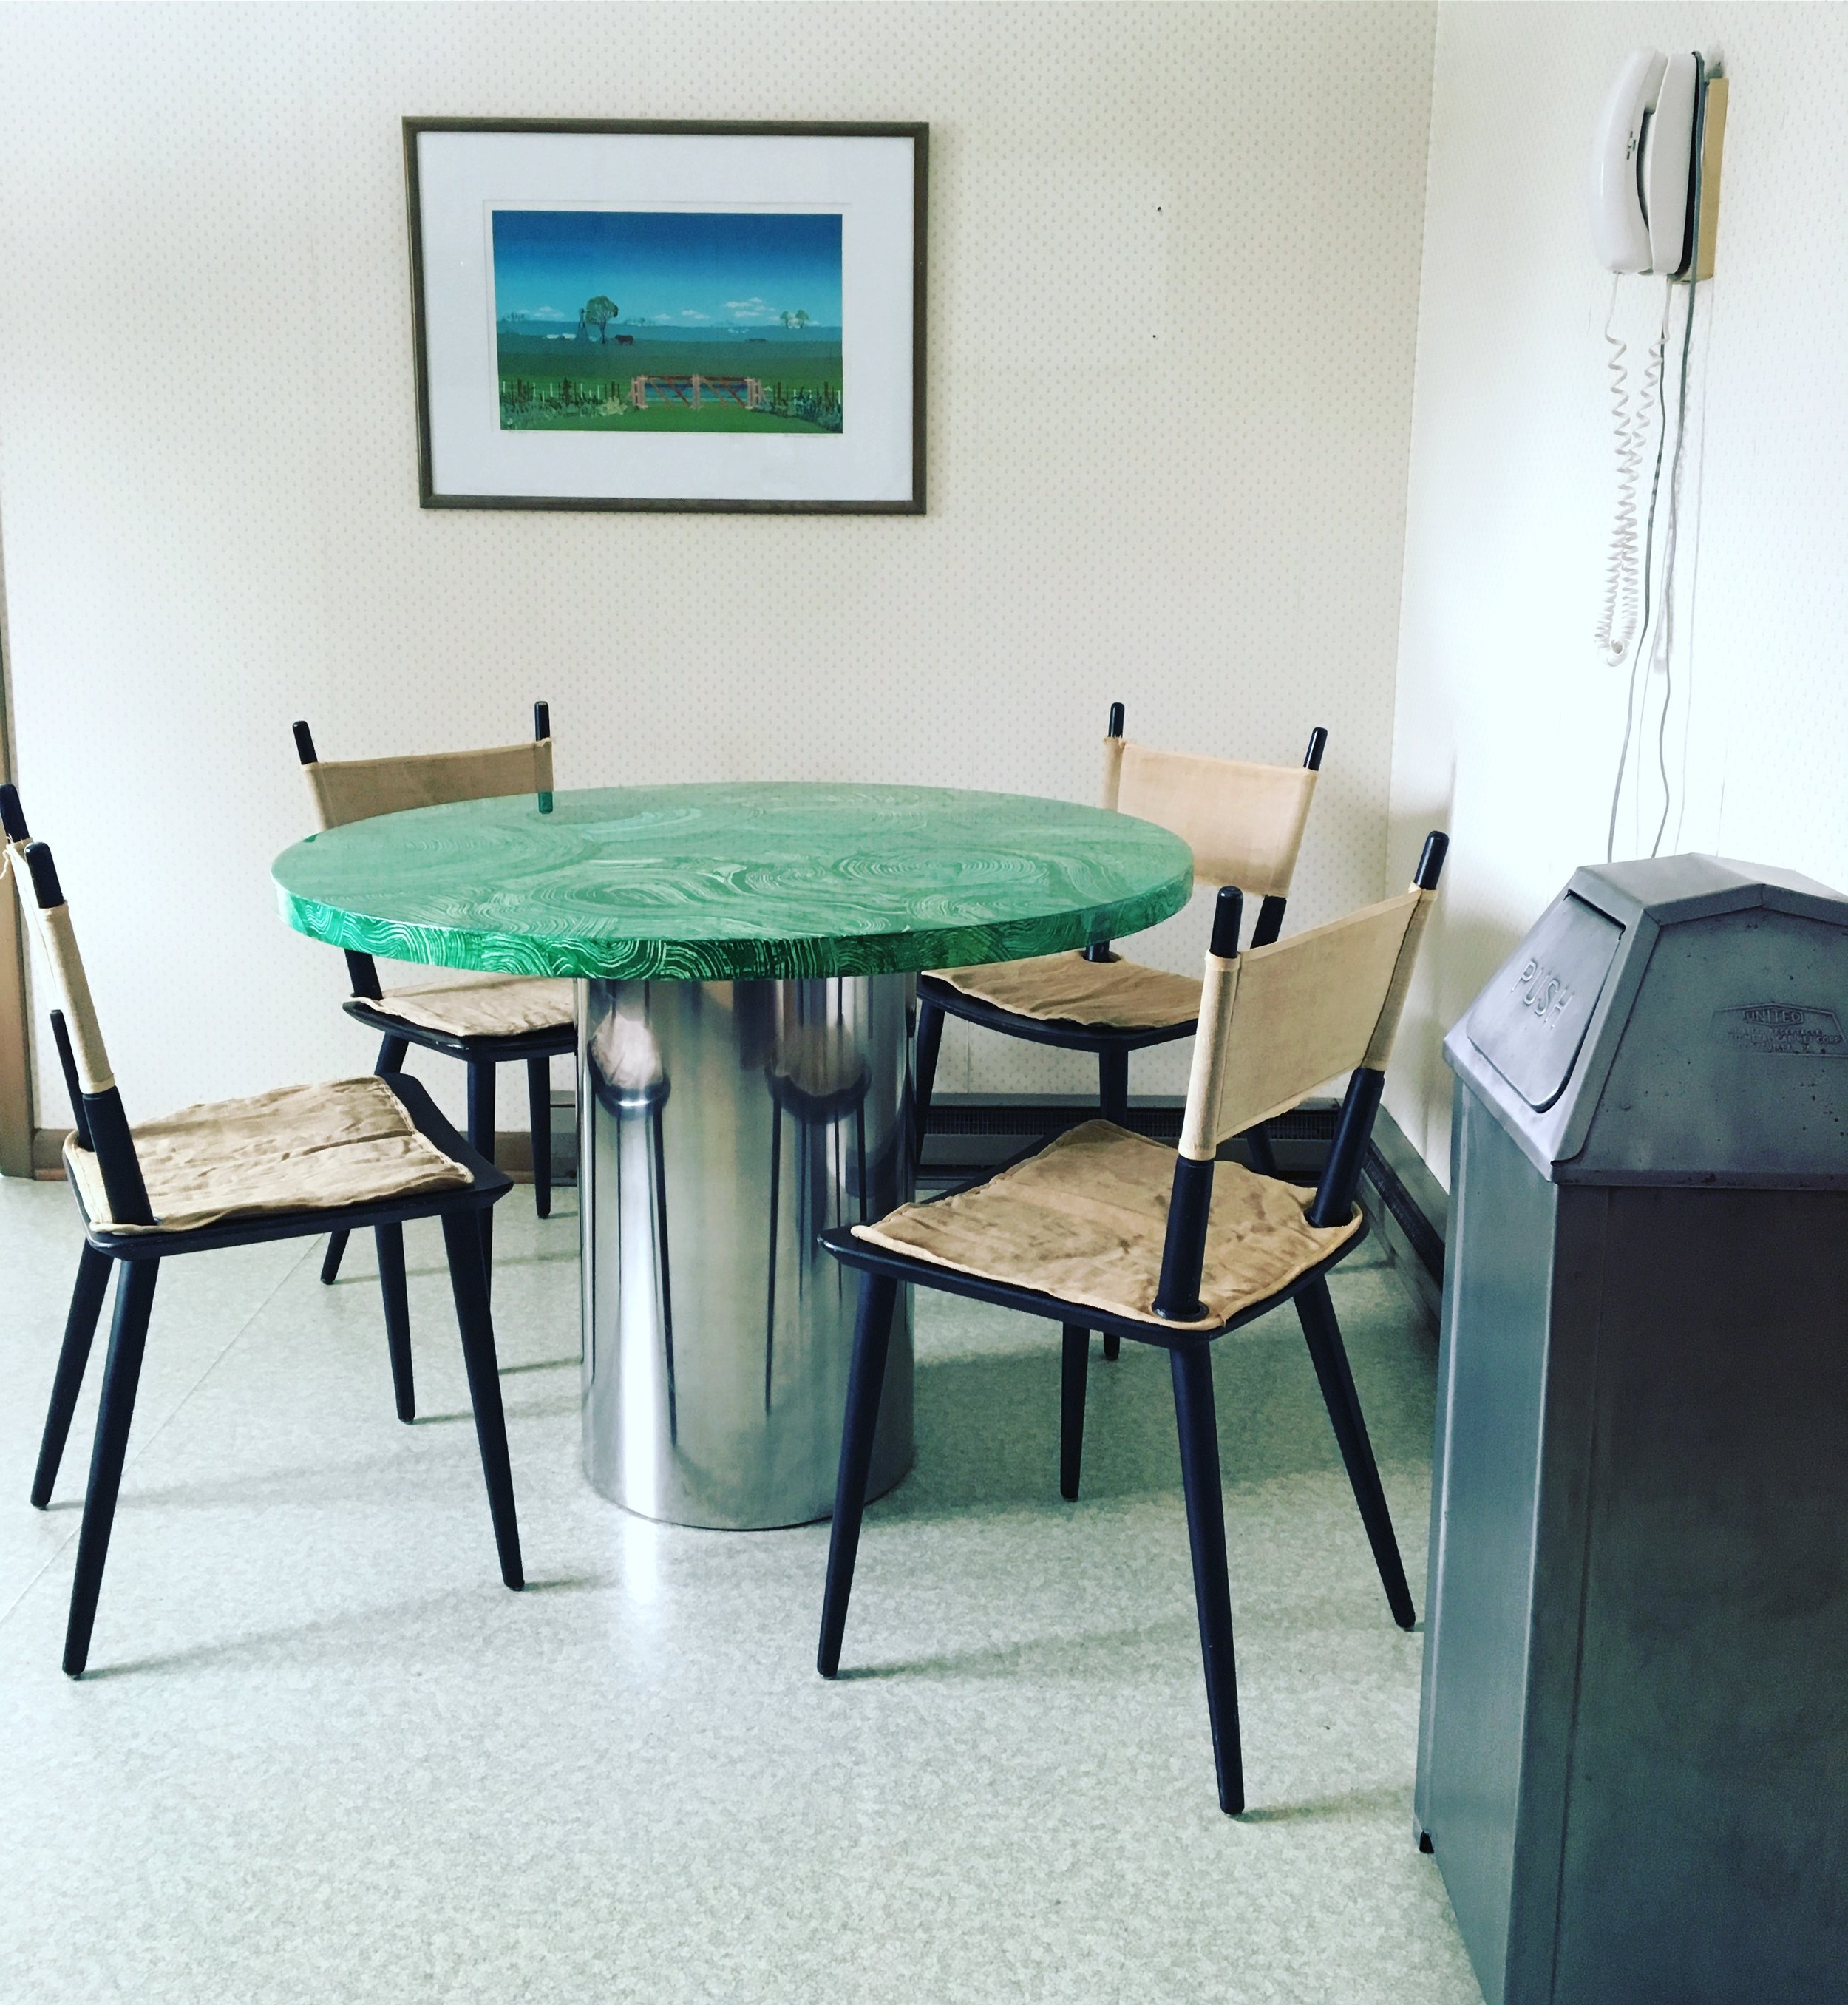
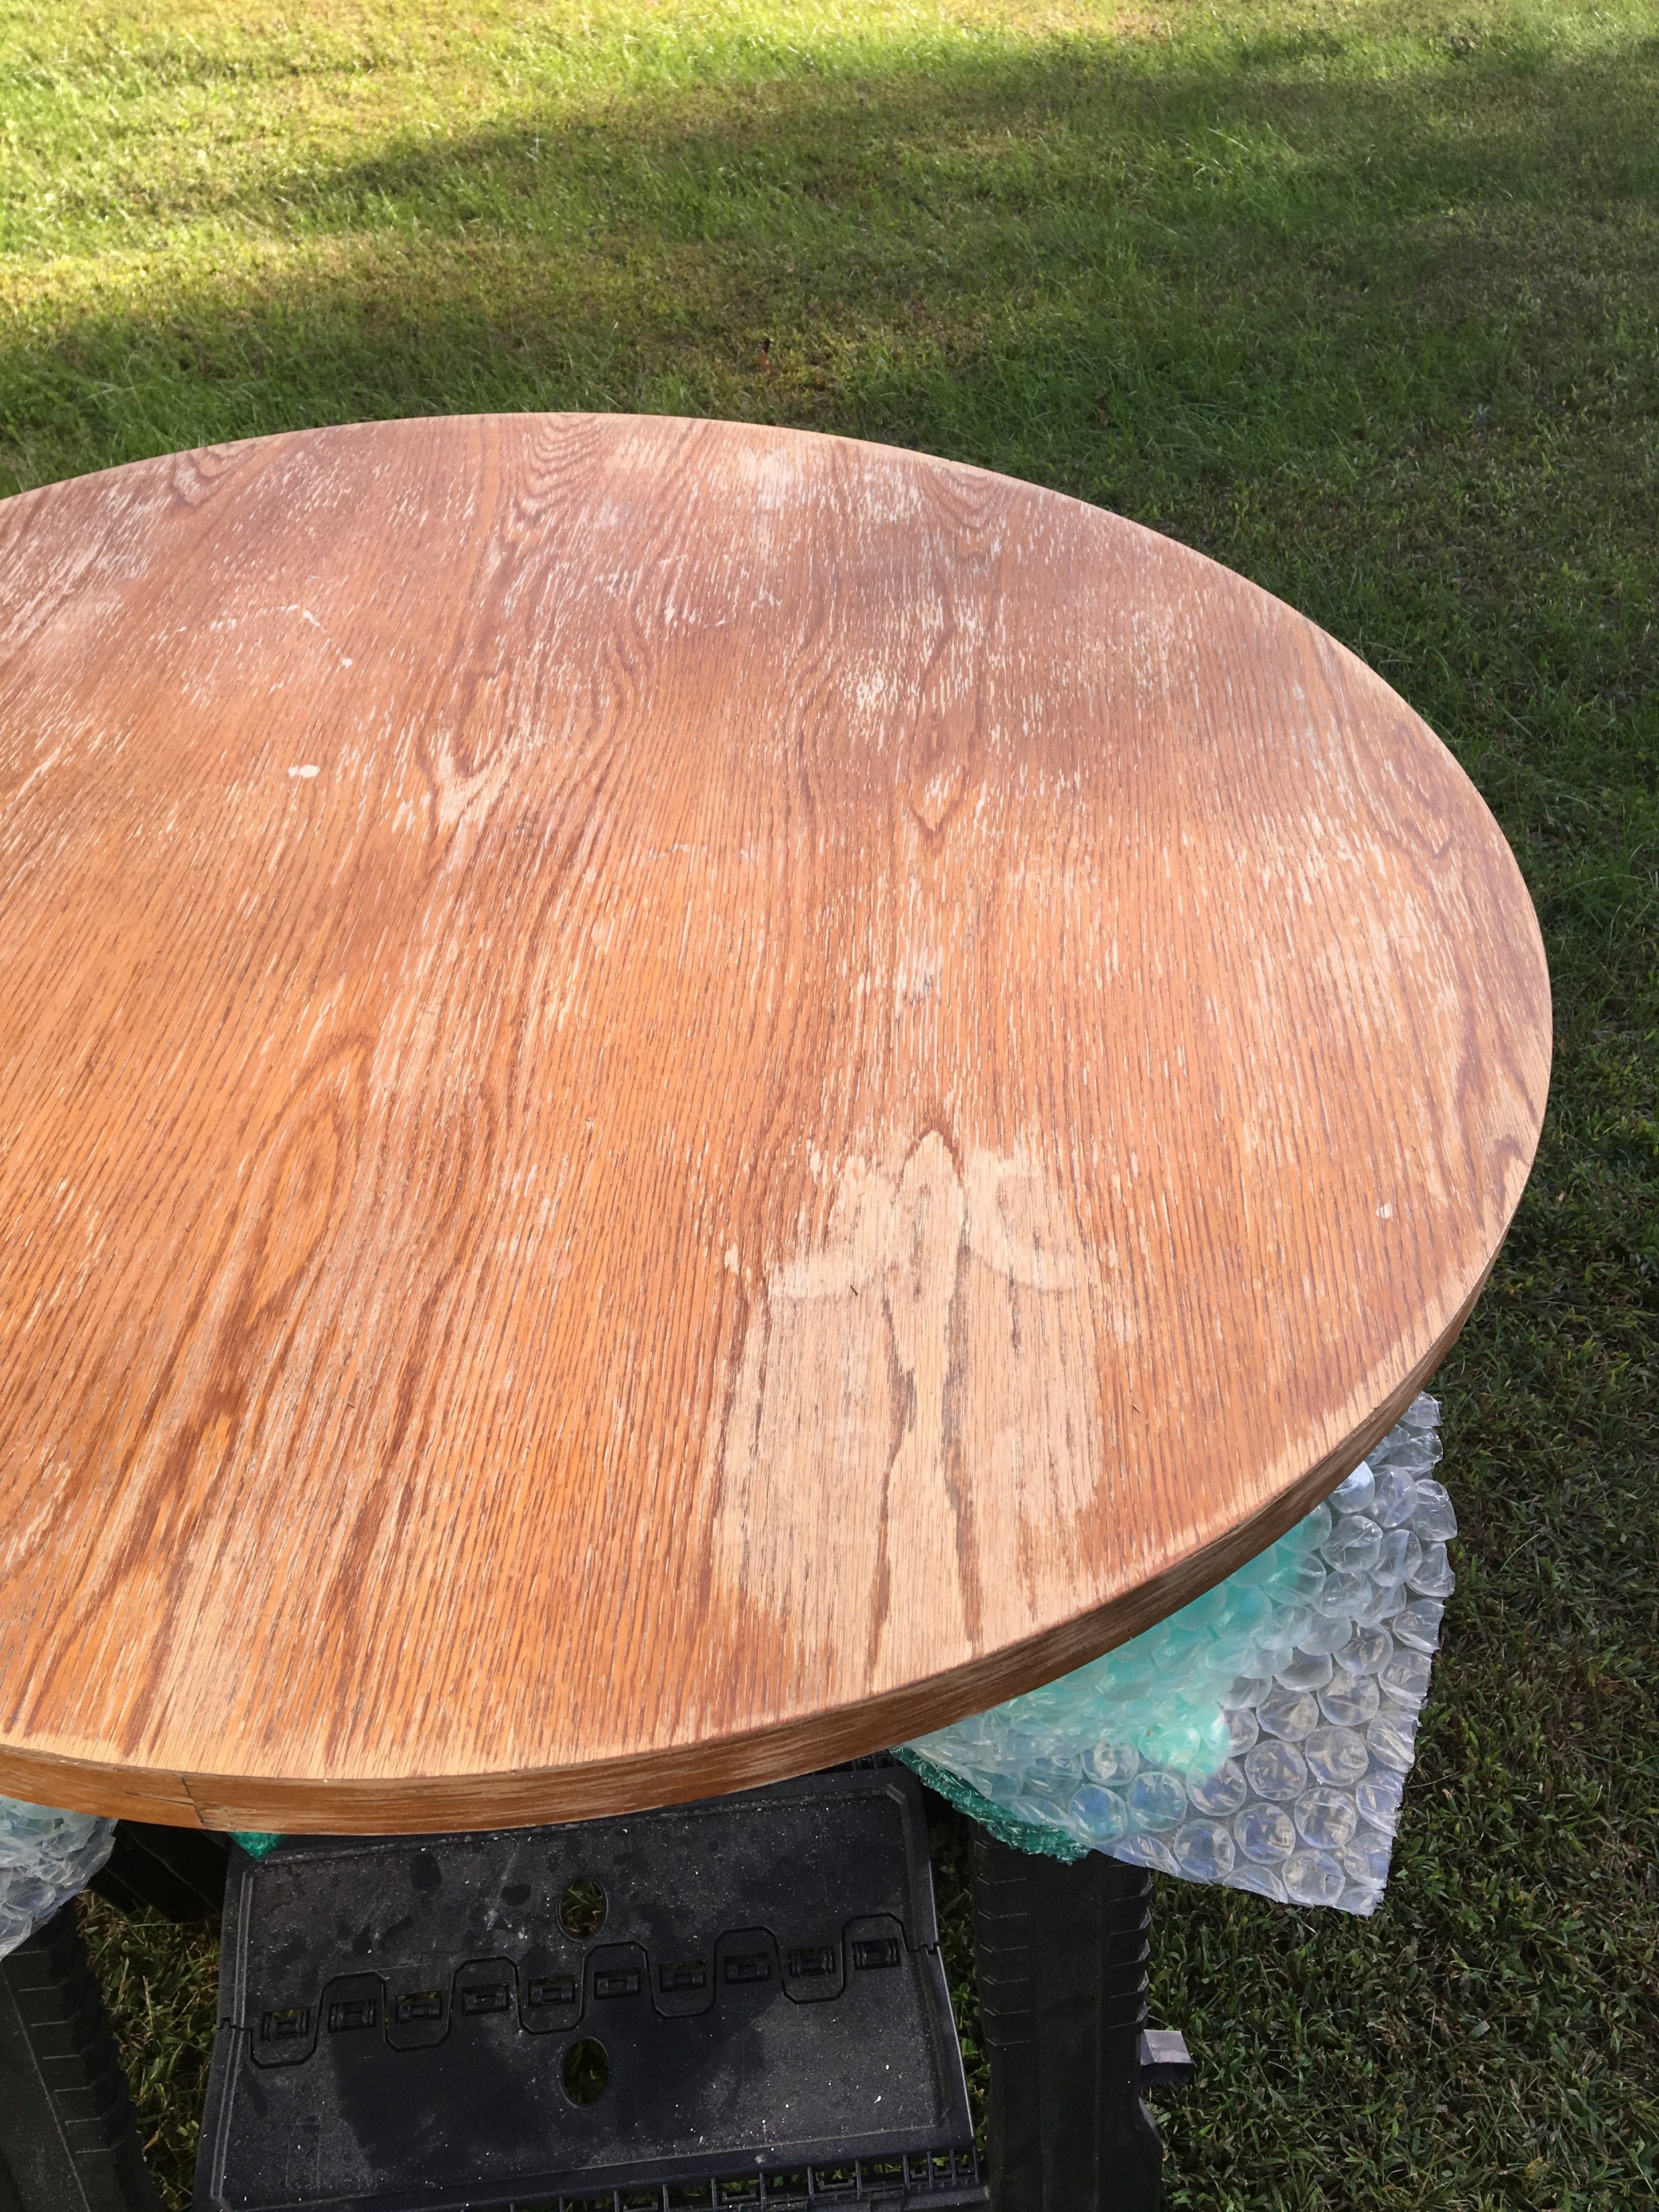
So chic, super easy & super fun…let’s go through the PJDIY on how to do it. Oh, but first, brief backstory: scored this hawt chrome base + oak topped table at this awesome LI estate liquidation sale last spring for our eat-in kitchen nook at Doilywood…and here’s how we found her:

Ooooh gurl. If y’all can’t tell, trust that the oak top was in some next level state of horridness…water marks, gouges, splitting veneer, etc…but all fixable. And once fixes were done, I was thinking, “bathe this Betch in some black paint and let’s get on with her close up”. But then I started shifting gears on the whole paint thing (why? b/c adding more work & more $$$ to any and every DIY I ever tackle seems to be my jam…always. and forever.) Somewhere in that existential situ, I remembered one of my all time fav (& pretty much the father of DIY, as far as I’m concerned) artist/designers, Tony Duquette & his unbridled love for malachite. Tony designed a beloved malachite fabric that he used throughout his own home/projects that’s still available today. And like chocolate + peanut butter, I was like, ‘that’s IT! this Betch is gonna be malachite!’. So, like most folks I took to the google, typed in ‘ diy malachite’ & out came this youtube tutorial from Americana/DecoArt hosted by Mark ’Malachite’ Montano:
So into it (esp. the snazzy music! yassssss!) So, y’all I basically just followed the steps in the video once I dolled up my tabletop. (And ignored all the bits about painting the edges of table top & base gold, etc). I modified here & there to customize the faux malachite finish for my specific table. Here’s how:

1. Thoroughly cleaned and prepped tabletop for sanding. Then sanded using 220 grit sandpaper on my rotary sander.
2. Filled in gouges, cracks, splintering areas with Elmer’s wood filler.

BTW, y’all, this wood filler changes colors from purple when wet to tan when dry…I’m sorry, WHAT is this absolute MAGIC from another dimension????

3. Sand again to even out patched areas.

4. Wipe dust and then prime. I used Zinsser Bulls Eye 123 Interior/Exterior Multi-Purpose Water-Based Primer (OMG how is this the longest title of a primer in the history of mankind, WTF Zinss????)

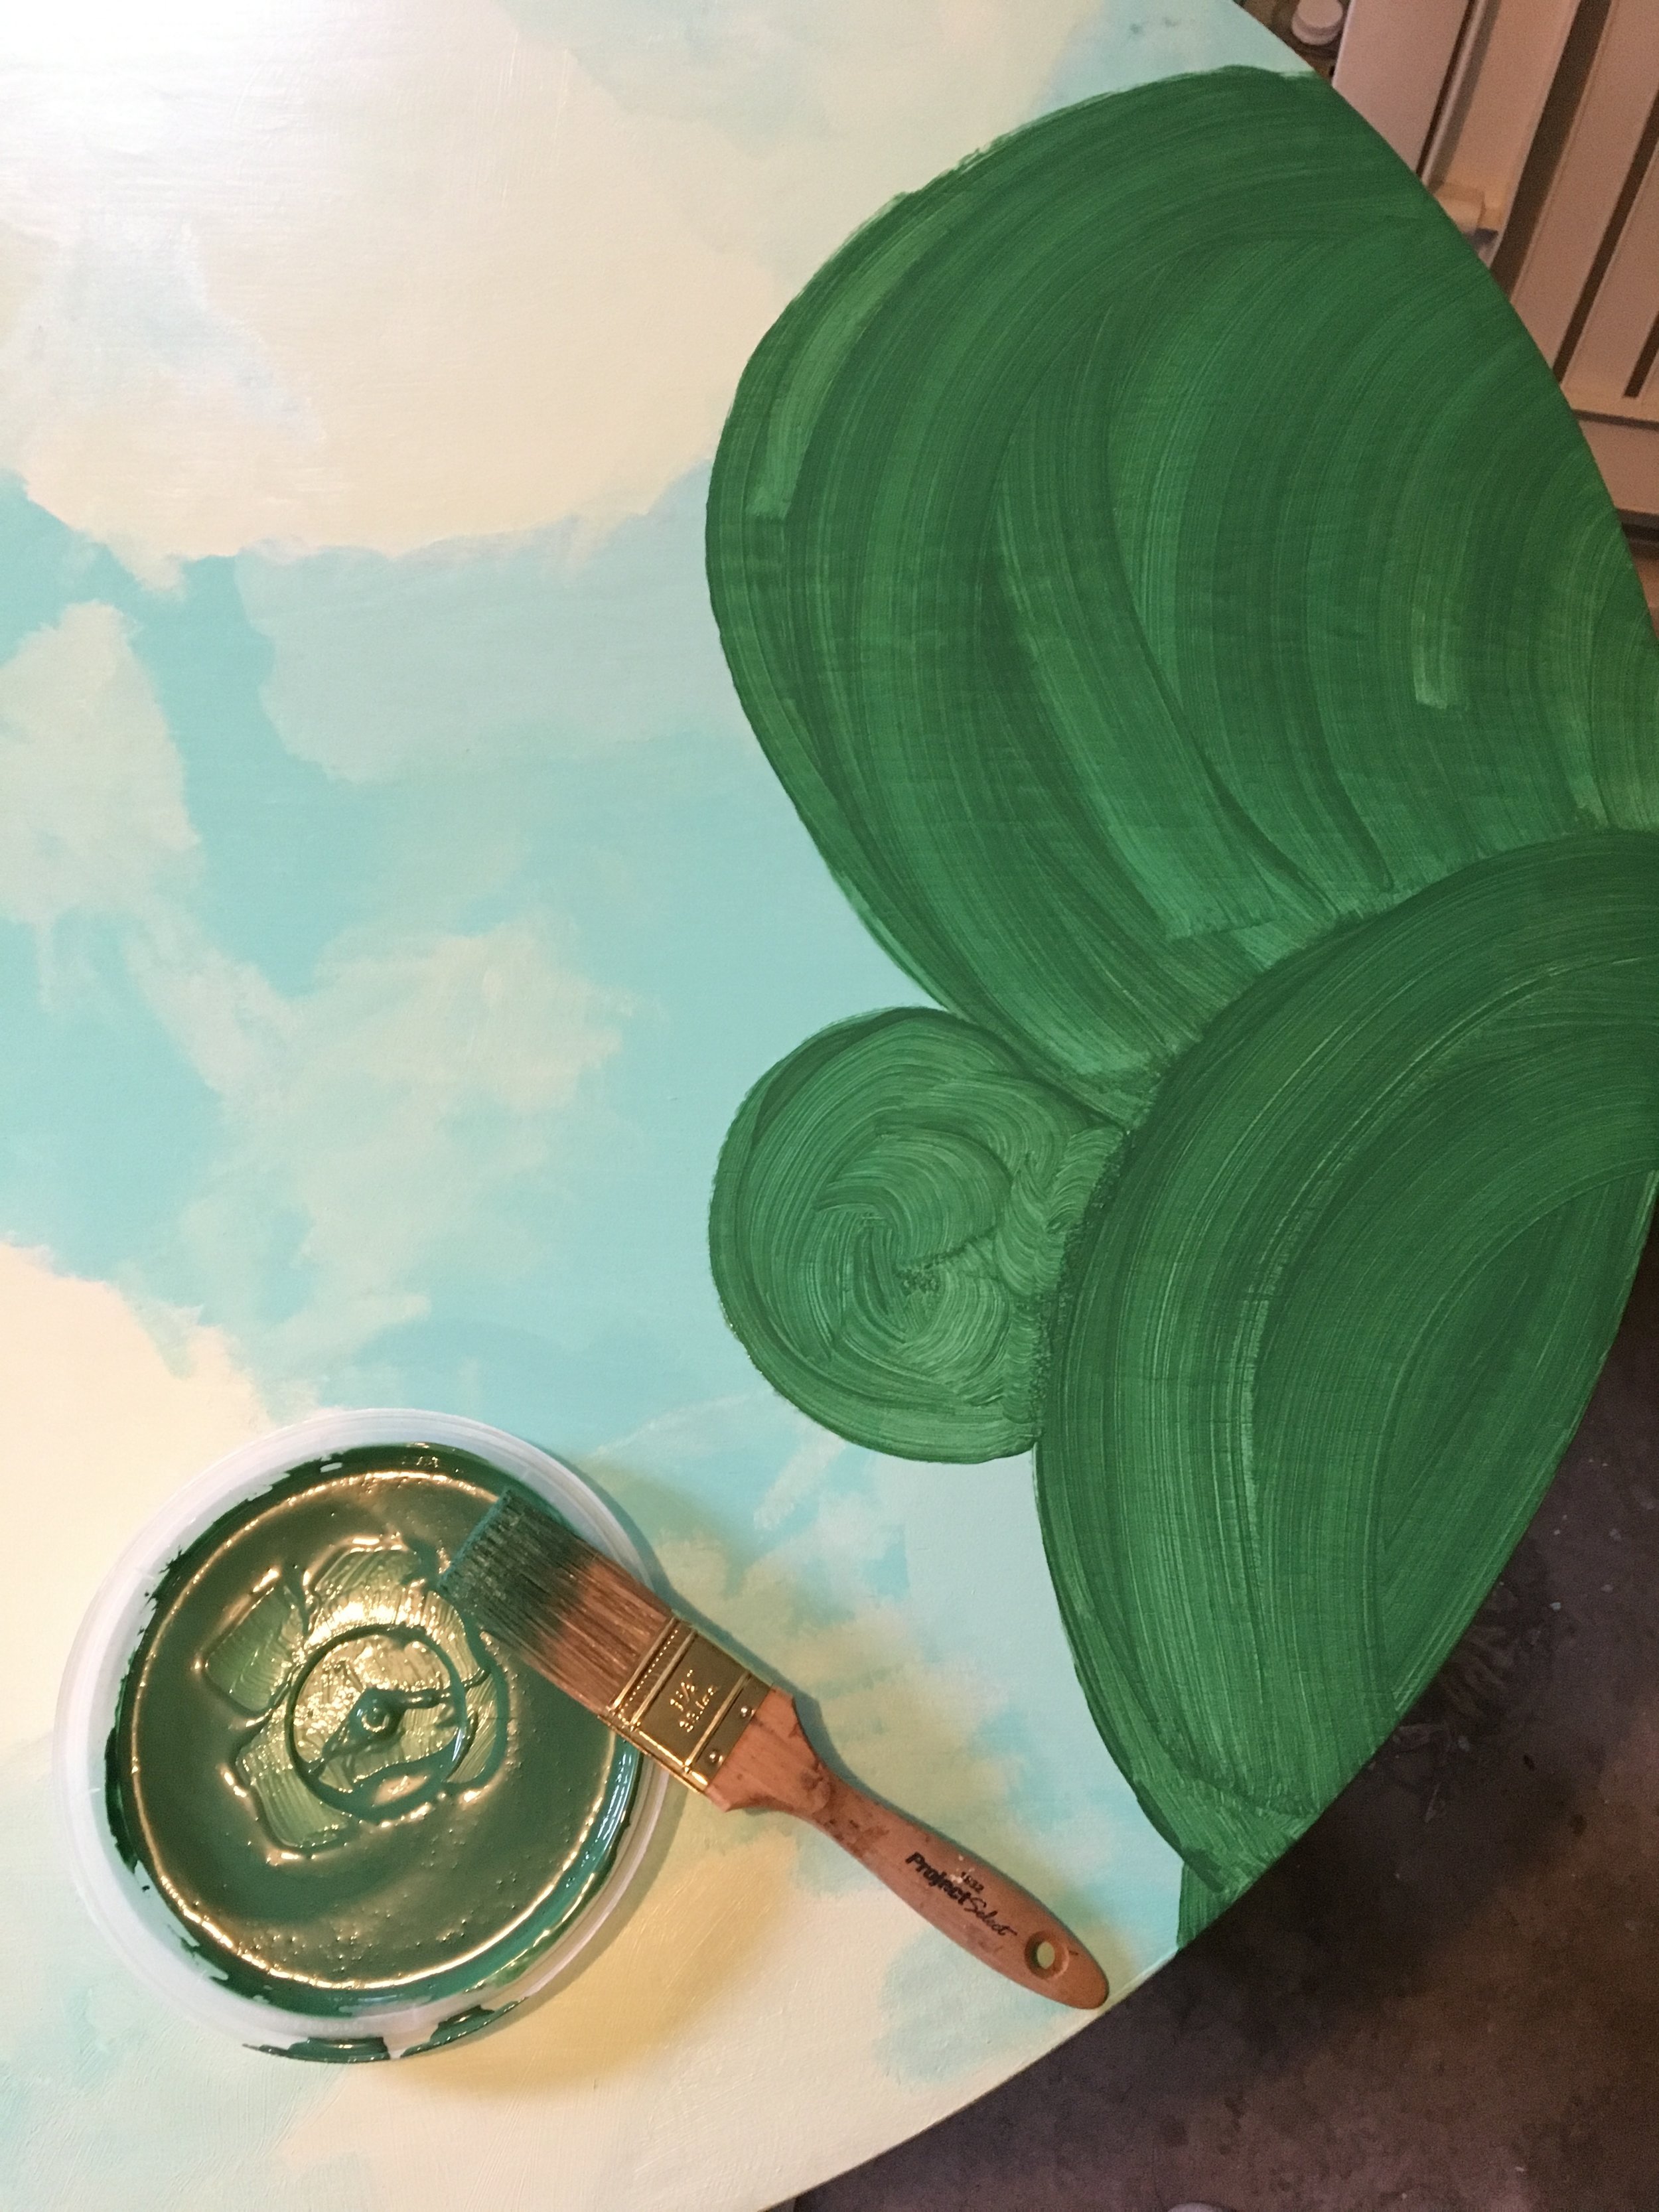
5. Y’all this is where I checked back in with the video tutorial. With your desired colors, paint sections of your table in ‘cloud-like’ patterns. The video recommends specific Americana/DecoArt colors here, all in greeny-blues…which are adorbzzz, but I already had several paints in similar colors in my DIY supply hoard. Some weren’t Americana/DecoArt, but they were all water based acrylics. (Oh, except for a rando can of old mint green paint that was left in the garage by the former owners. Yeah, I’m all about using existing materials when DIY’ing & this would’ve been fine except this old paint was oil based. And I didn’t get that until it was drying! It ended up being tots cool since there’s a final resin layer of yummyness, which I’ll get to in a bit). But maybe aim for your paints to all be the same finish, if possible.

My blue paints were much more on the turquoise side, but I’m here for it…
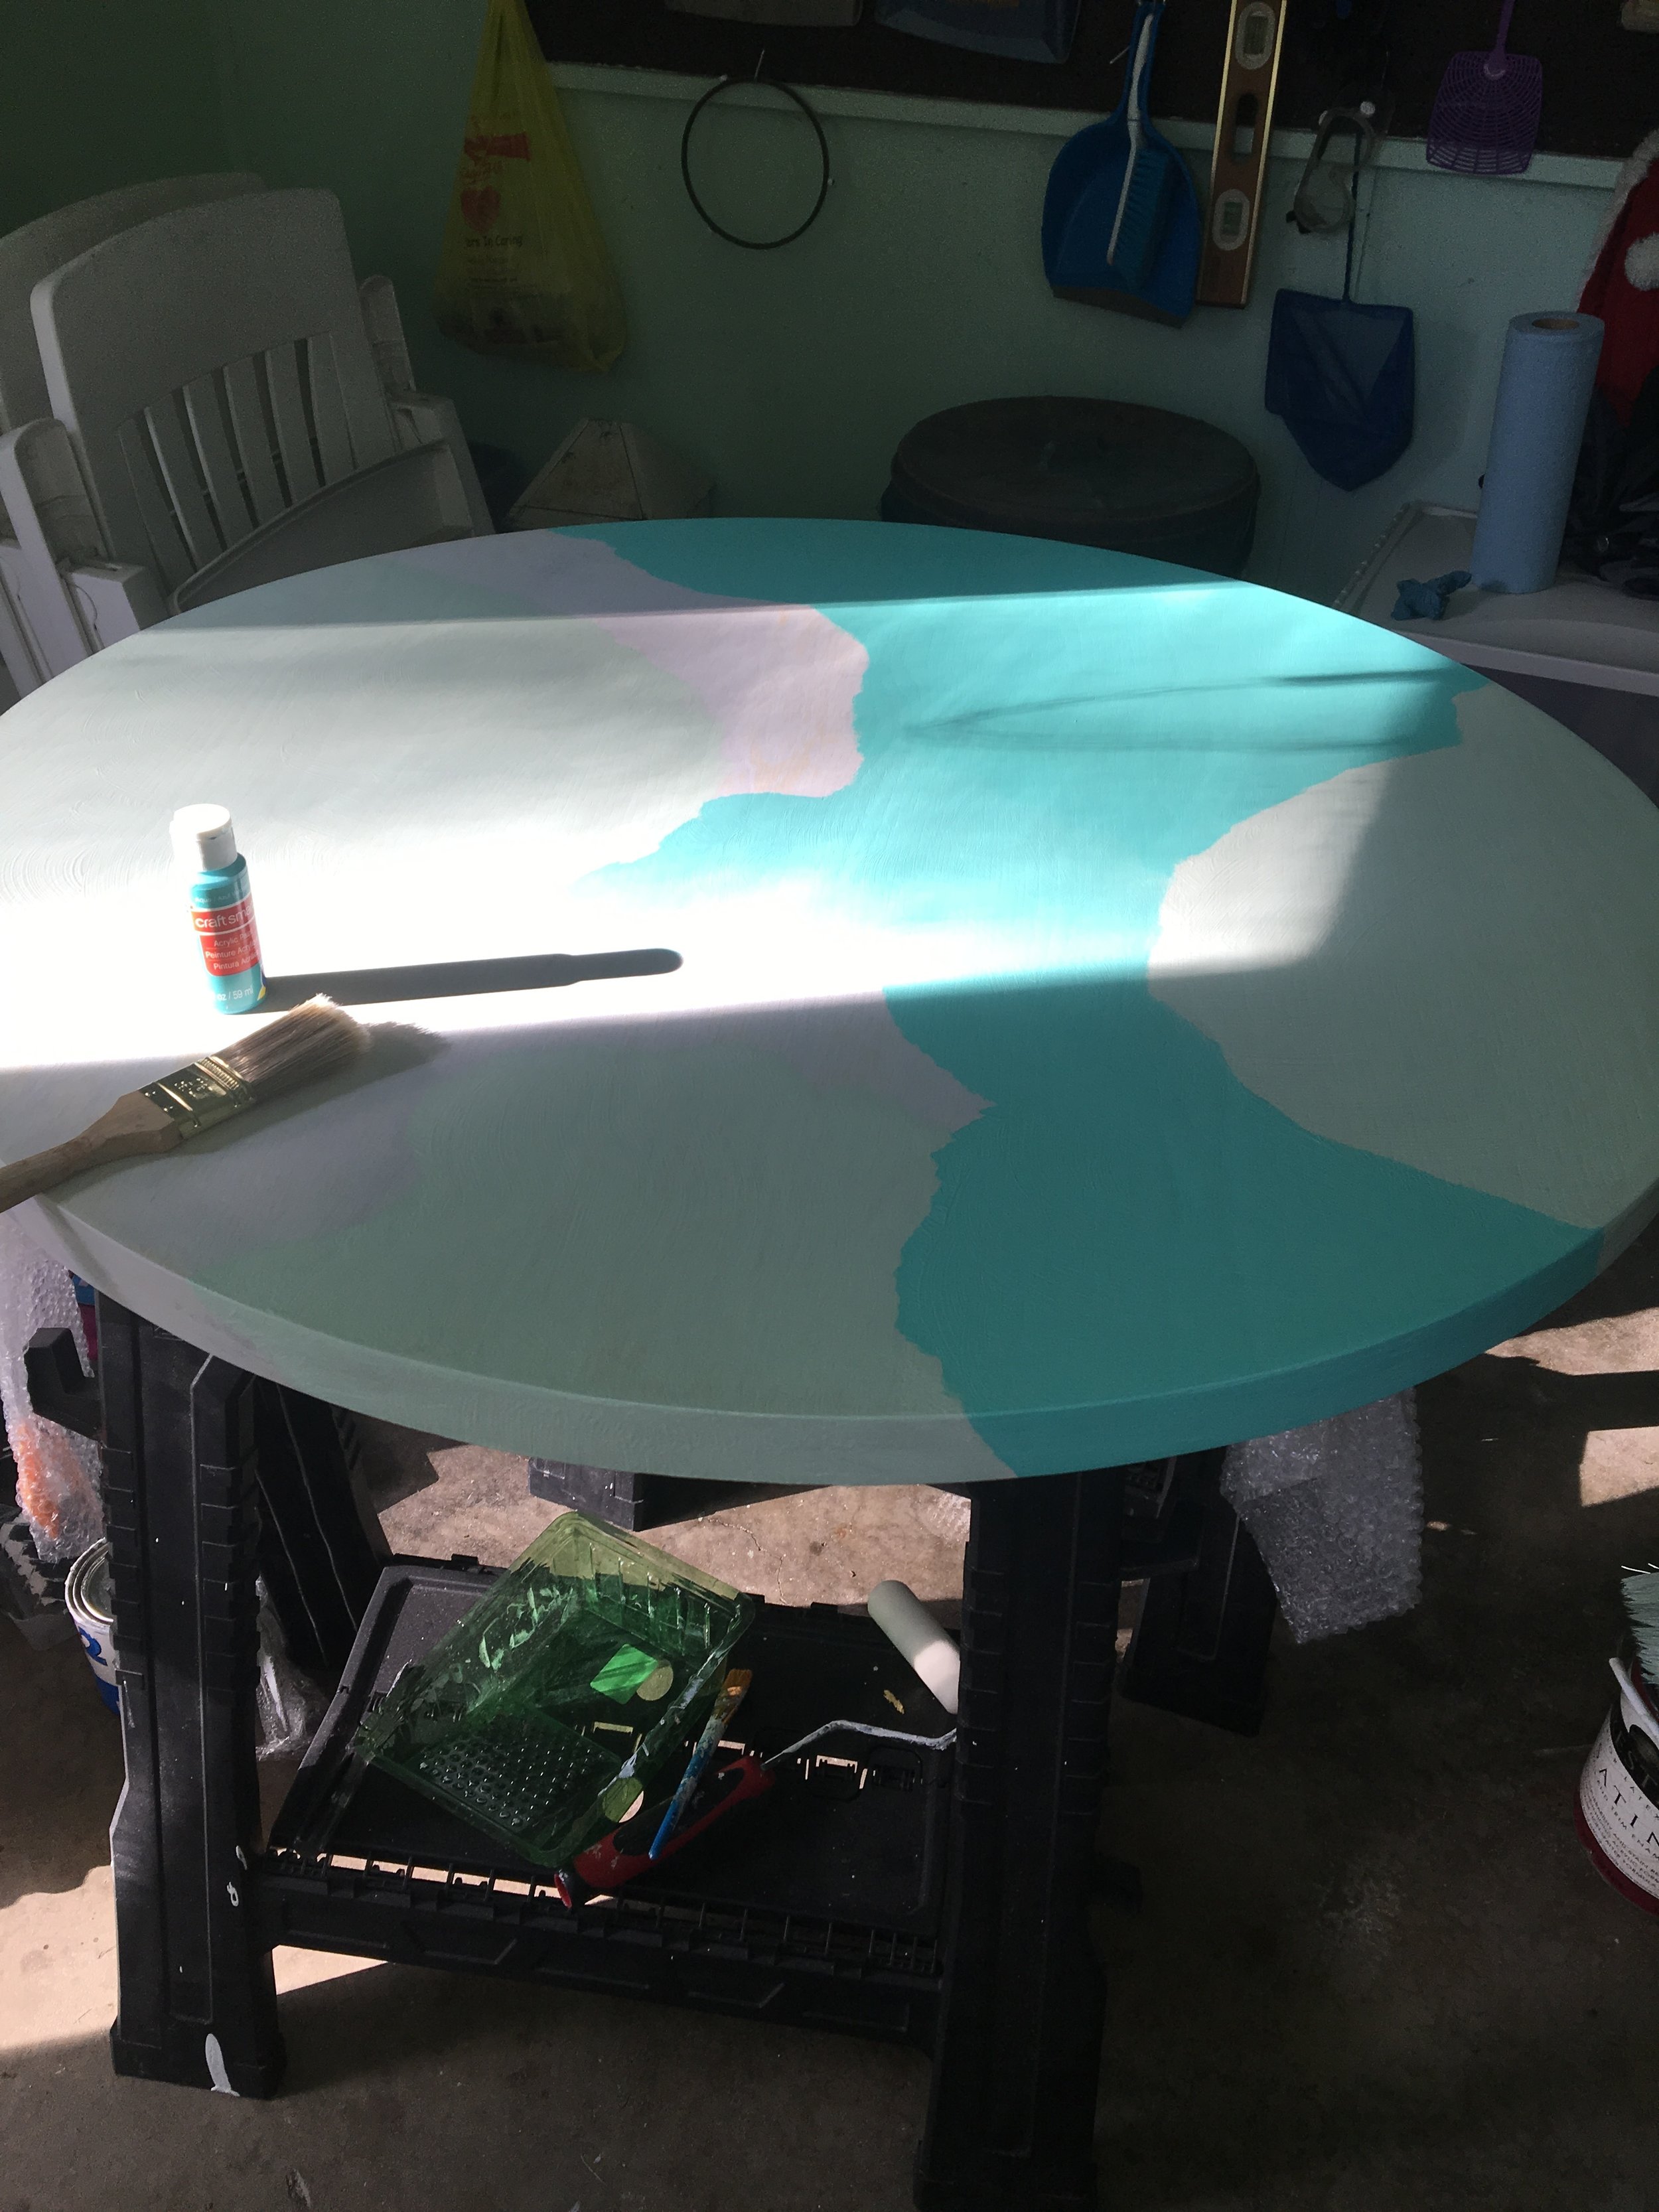
Another great thing about this project? Y’all really can’t get the ‘malachite’ base color wrong here…in nature, actual malachite, has a definitively green exterior, yet you do see some color variation in the base layer. Sometimes the base is more black, or more vibrant green, or discernibly more turquoise… y’all have total freedom to get your base color a little more wacky w/ your creative selves…do some image digging on the google for malachite inspiration that gets you revved up!

And here’s what I ended up with for my base layer…LURV. Note: I went back in to the larger sections of my palest mint green & added some blue diffusion. I didn’t want such stark contrast between my light and darker sections…

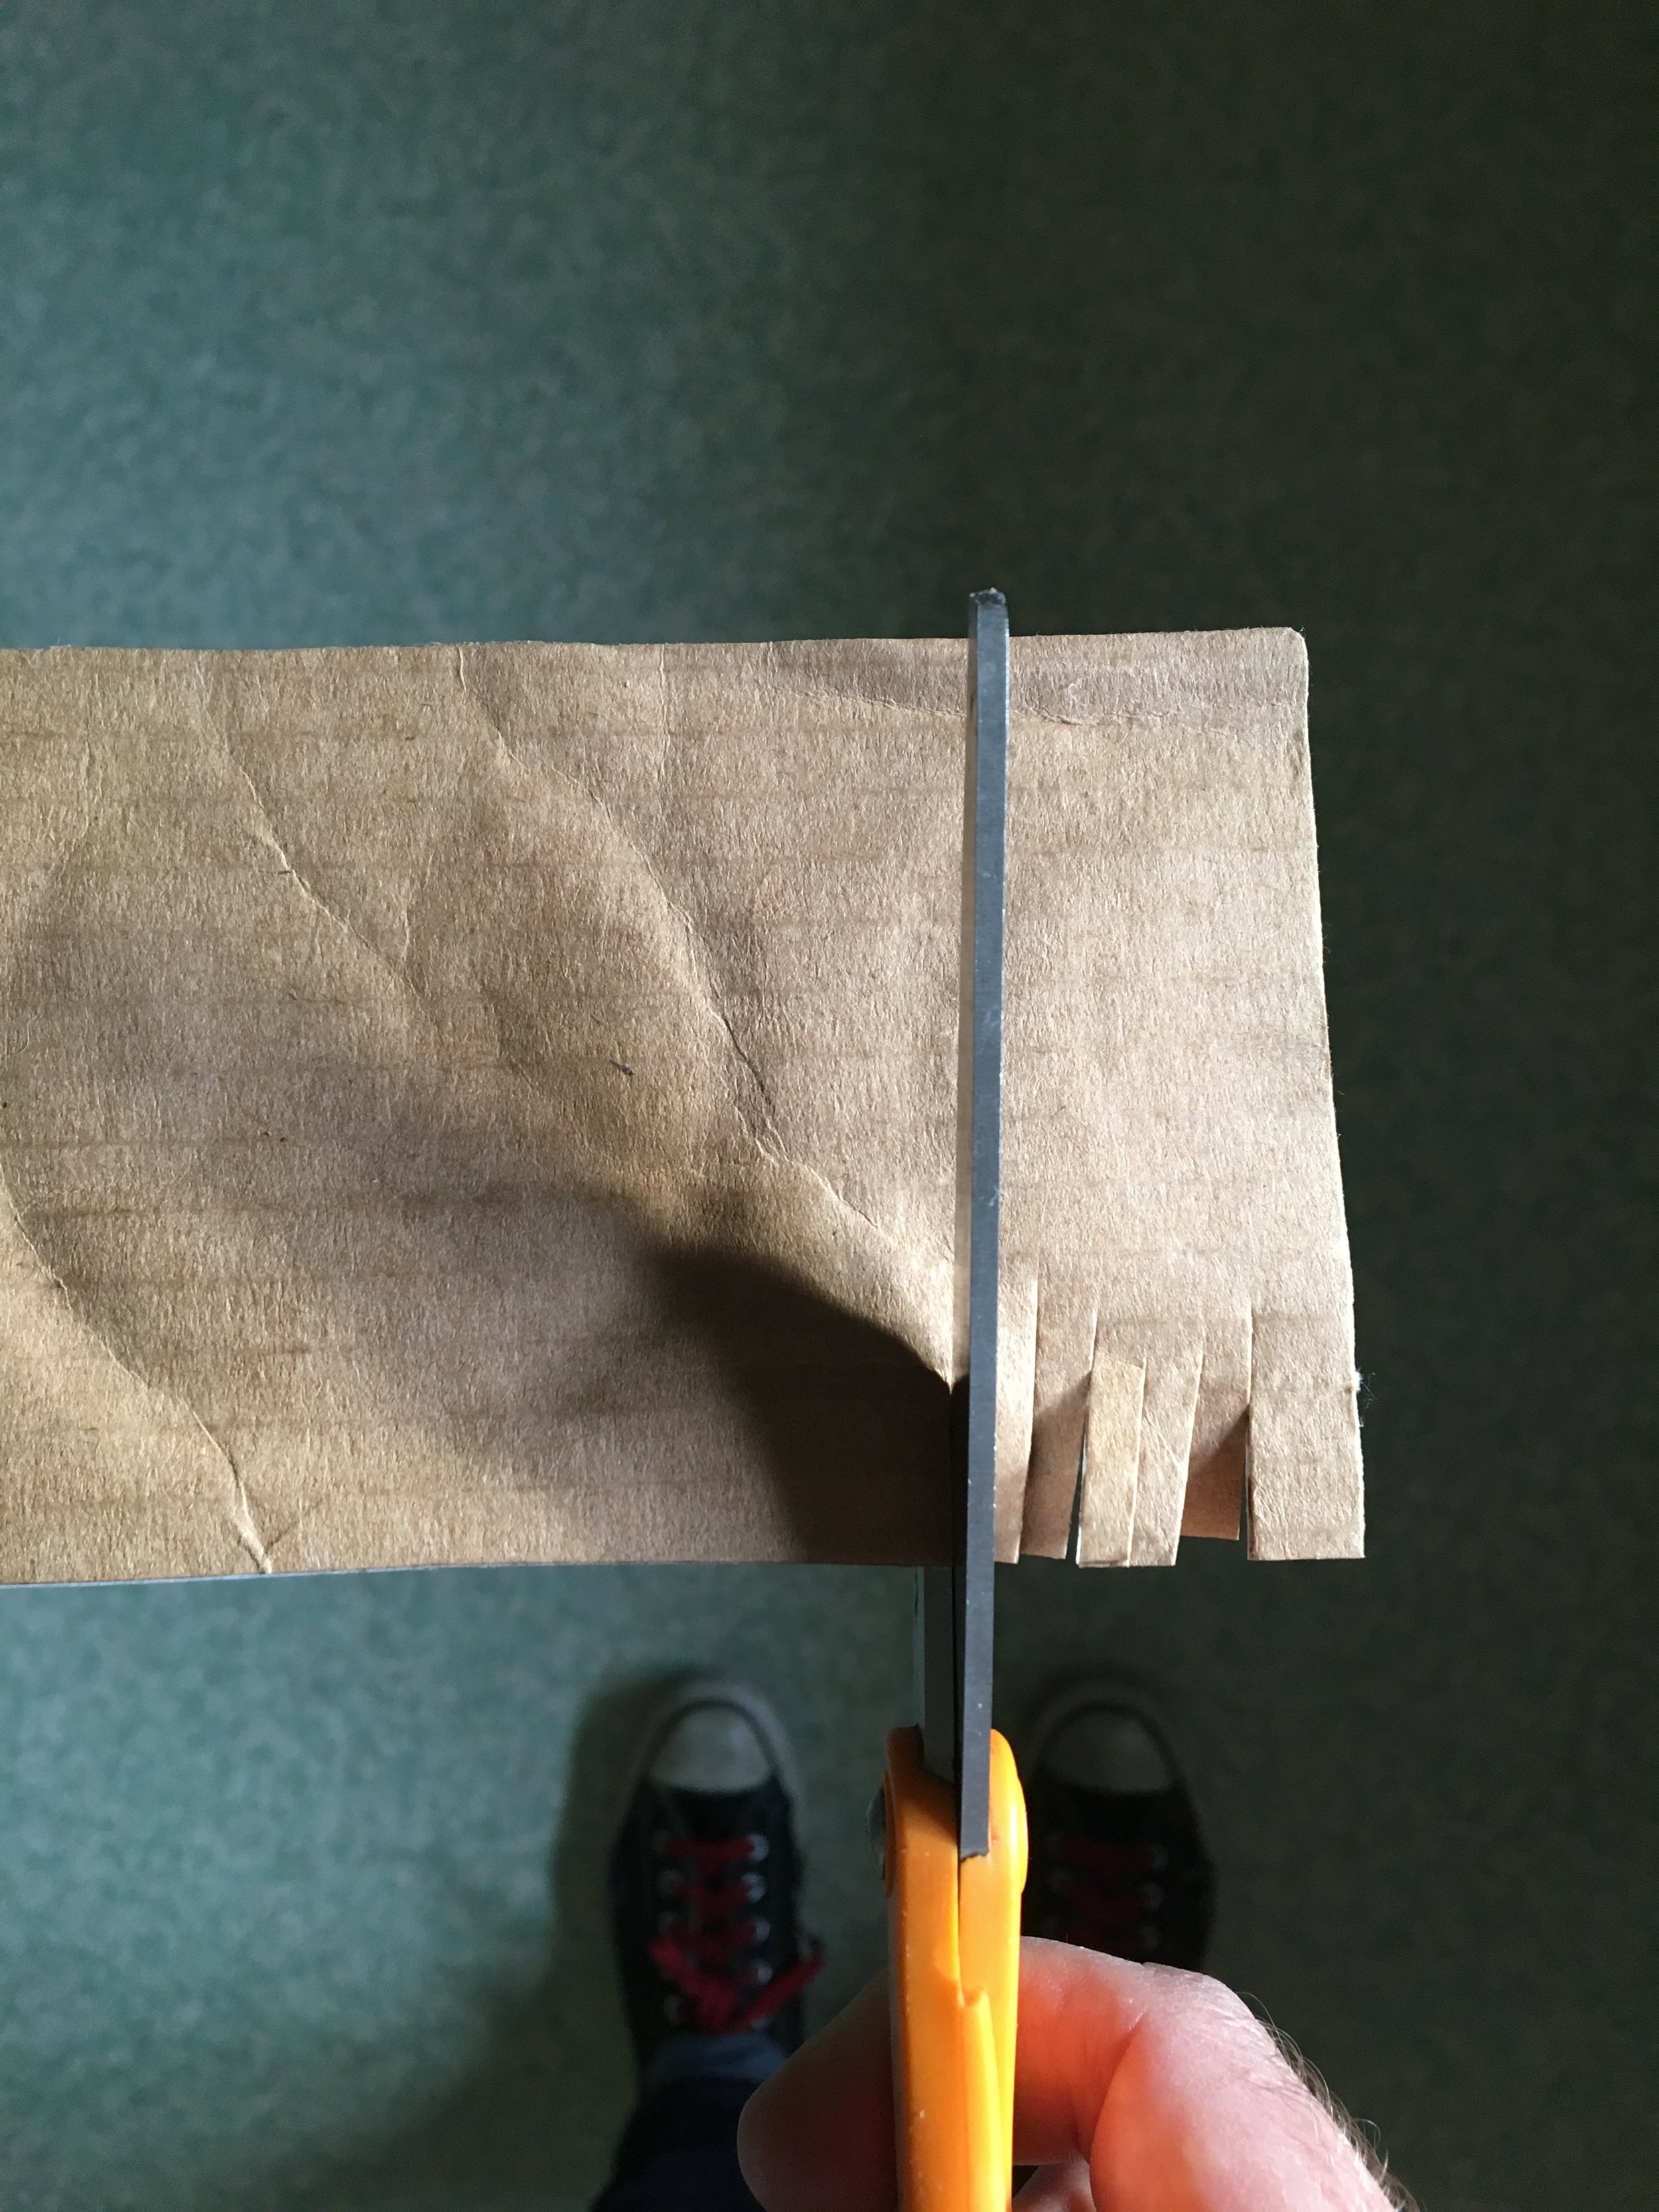
6. Per video, cut pieces of cardboard in a serrated pattern on edge.
7. Mix the glazing medium with desired green paint & paint on in more cloud-like pattern, as illustrated in video.
8. Still following video, grab serrated side of your cardboard piece & drag across one green section at a time, starting from one side to the next. Don’t worry about being perfect here kidzzz…any striations or movement in the lines that appear as you drag your cardboard across the section add more character and visual interest. Also, look how I went back in to the one section below for a second pass and went sorta perpendicular to the initial direction in the one corner…movements like these are all OK and tots cool. You really can’t make a mistake here with this…y’all are creating your own unique malachite pattern, so GO FOR IT! The video is also super helpful at this stage to really illustrate how to get fun patterns in your ‘malachite’.
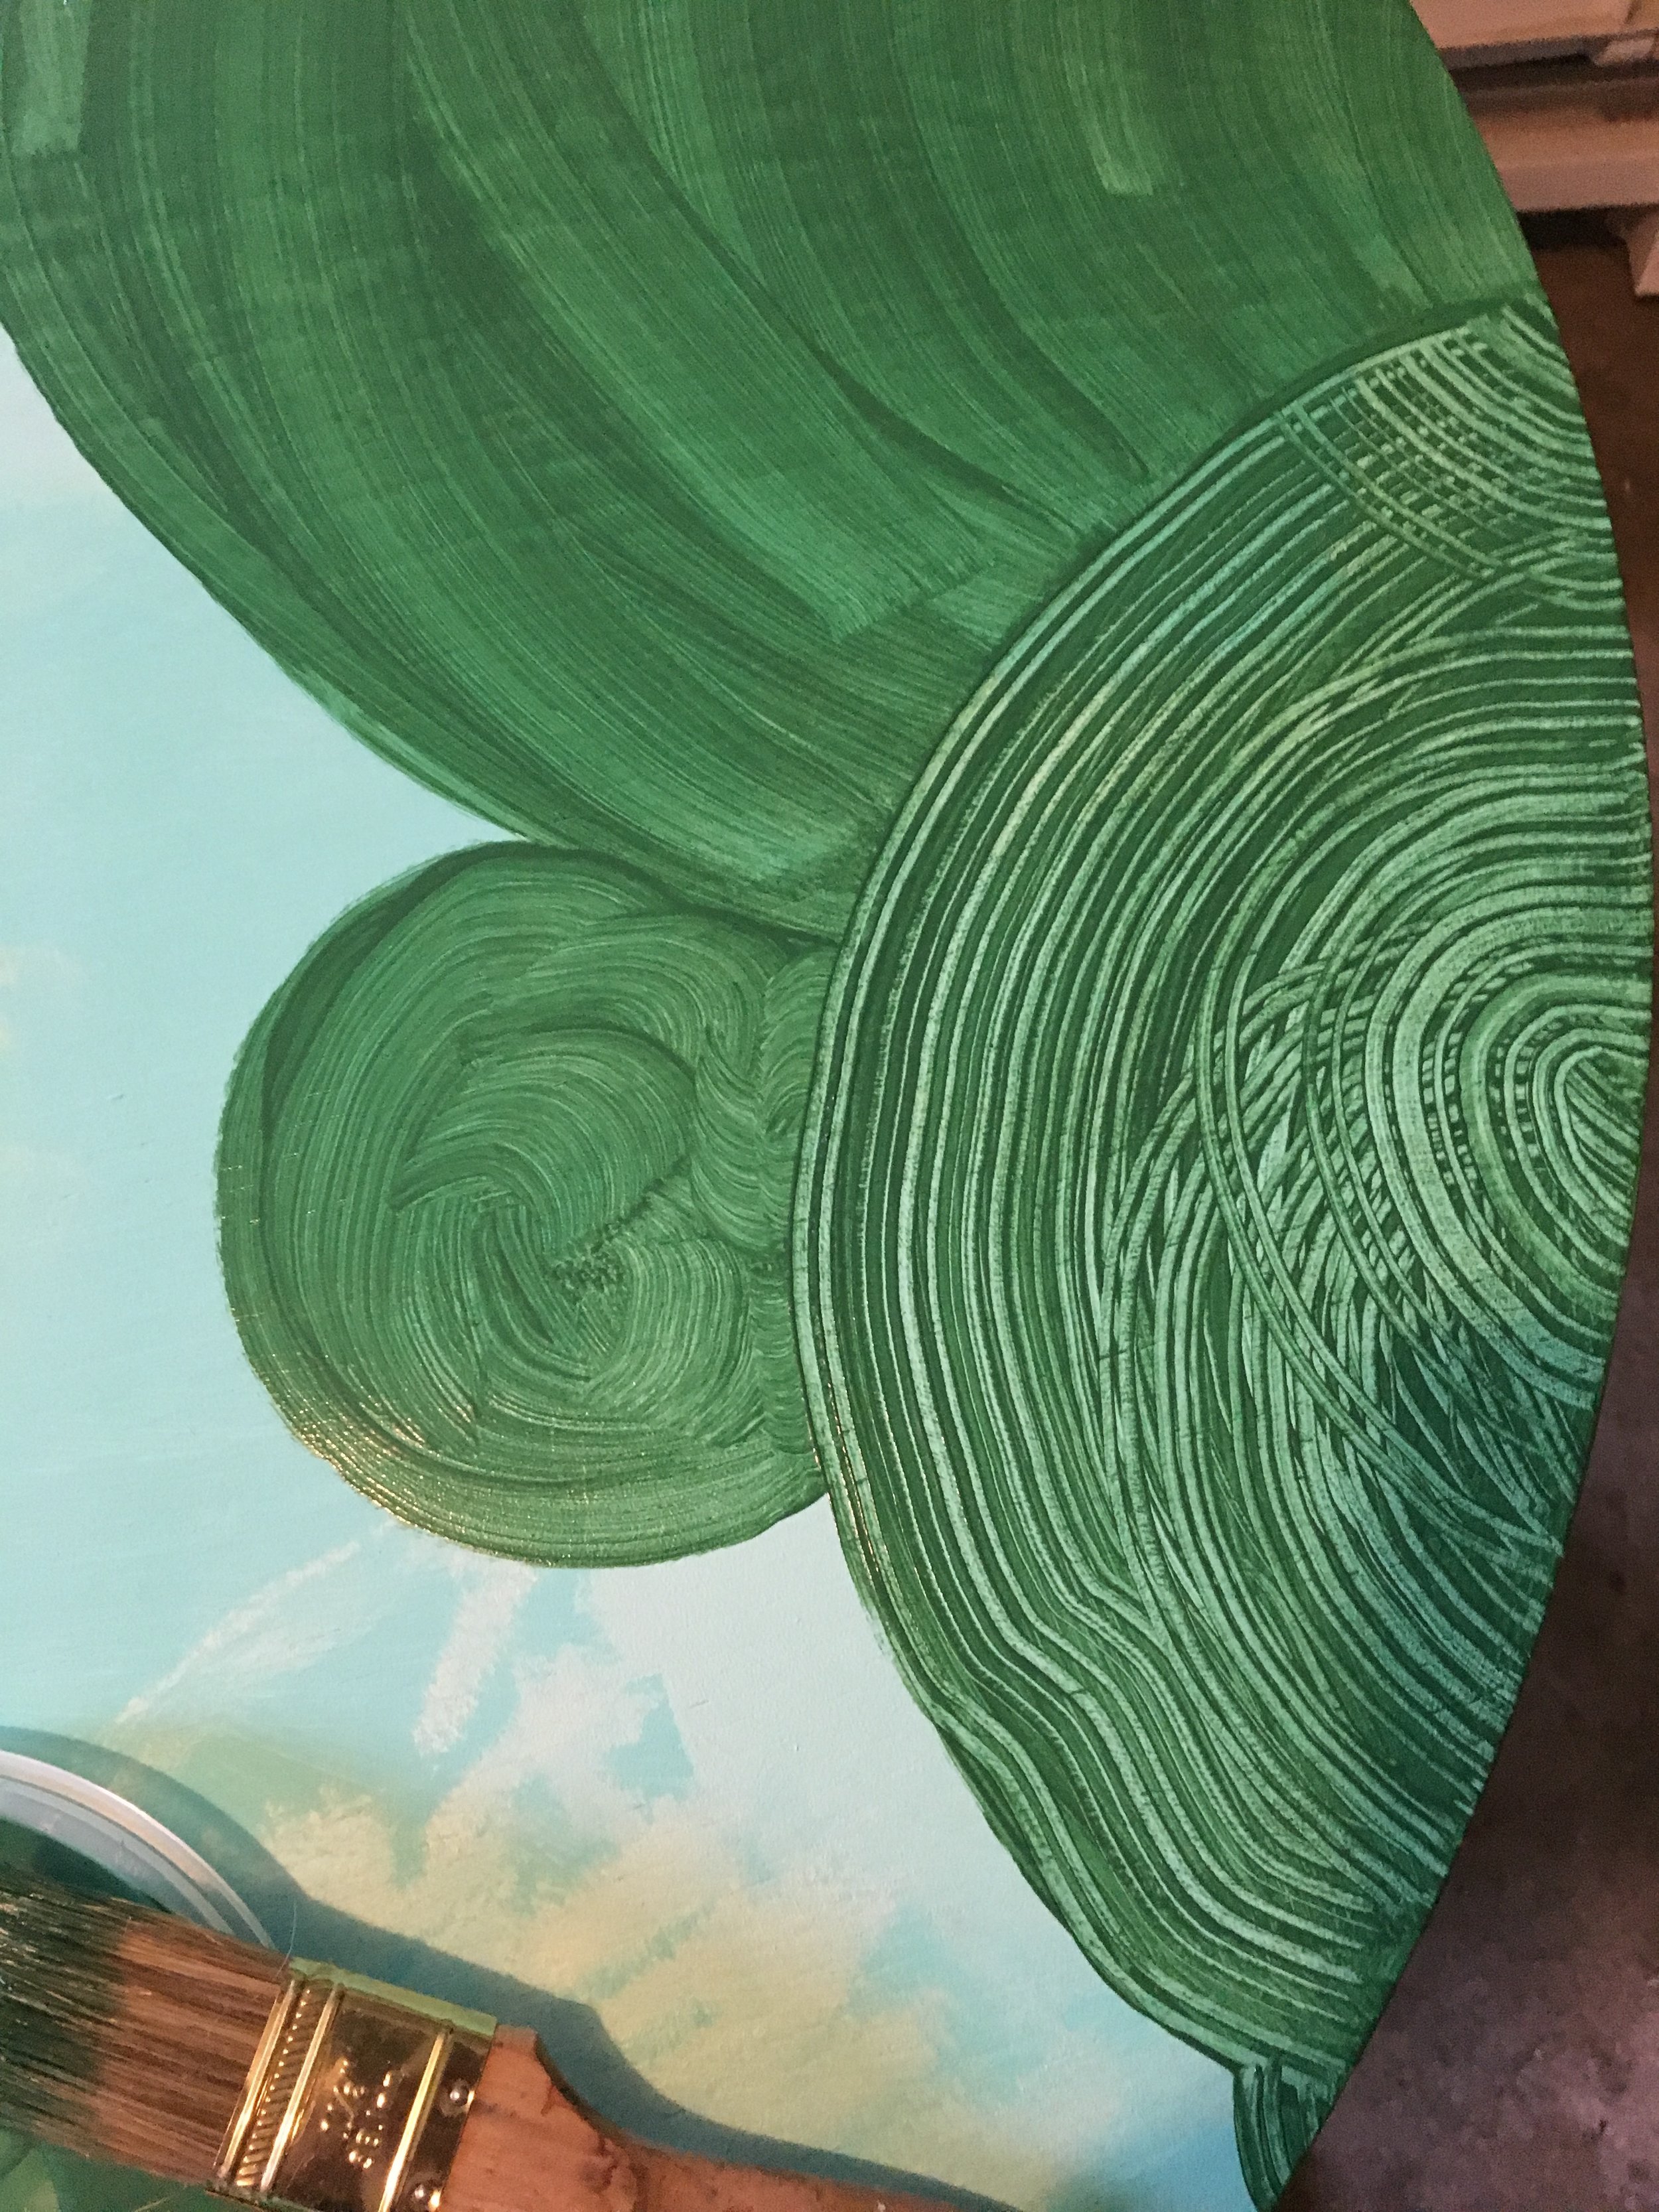
Below we went in & even did a teeny, tiny ‘baby’ section…so cute!

Wowza! Y’all, see the color variation peeking out from the base layer, OMG GLORY!!!! Also loving how abstract, almost cartoonish it’s looking overall…in the video, Mark then does highlights with evergreen paint, but I tried it and it wasn’t noticeable on my version, so I opted out of that step, just FYI.

9. Next up: glaze coat/resin layer. This is the final step, woohoo! I ended up doing a hella lot of research on this resin situ b/c my tabletop was larger than the one Mark used & has a generous edge. In fact, I was unsure about this whole glaze/resin step from the video— ummm hello torch? hello covering wet glaze/resin with plywood? How could that not leave dust/plywood pattern imprints in my glaze coat FOREVER? You LOST ME MARK, byeeee Gurl! So I returned to the google to find this absolute gem of television legacy with a true Glamazon of Glazing, Linda…yassssss:
Linda should be awarded sainthood for her thoroughness with this! She answered alllll my glaze/resin questions, so def watch it! Anyway, I used one of these kits:
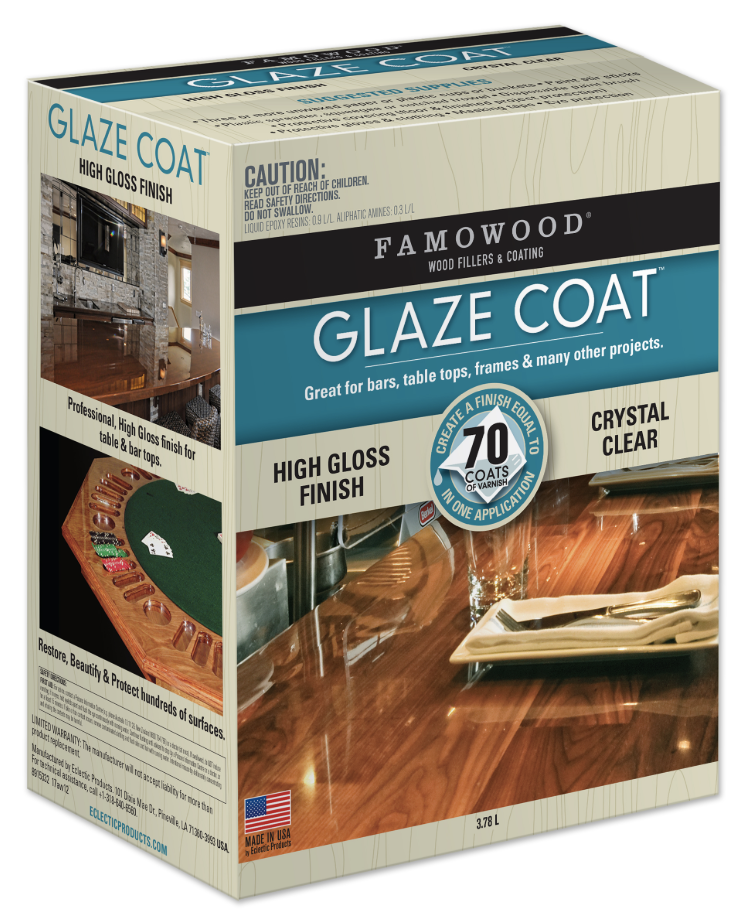
It was more $$$, but ended up covering my entire tabletop (including edge), no problem. Whatever kit y’all end up w/be sure it has the correct quantity of glaze/resin to actually cover your specific tabletop/surface in its’ entirety. The kits specify their coverage amount so really take note…and follow included glaze/resin instructions (as well as Linda, duh) EXACTLY. Don’t try to cut corners to save time or not mix the two parts just as described or any other nonsense b/c it will jank up your glaze/resin finish. Bought a couple of these plastic, large measuring cups:

A few different sizes of these plastic spackling tools for spreading glaze/resin evenly:

Also took this project as my moment to purchase a heat gun. I’m a builder now.

Mixing up the glaze/resin:

Pouring:

Using a spackle tool, spreading the glaze/resin evenly around surface including the edge, allowing it to drip over:
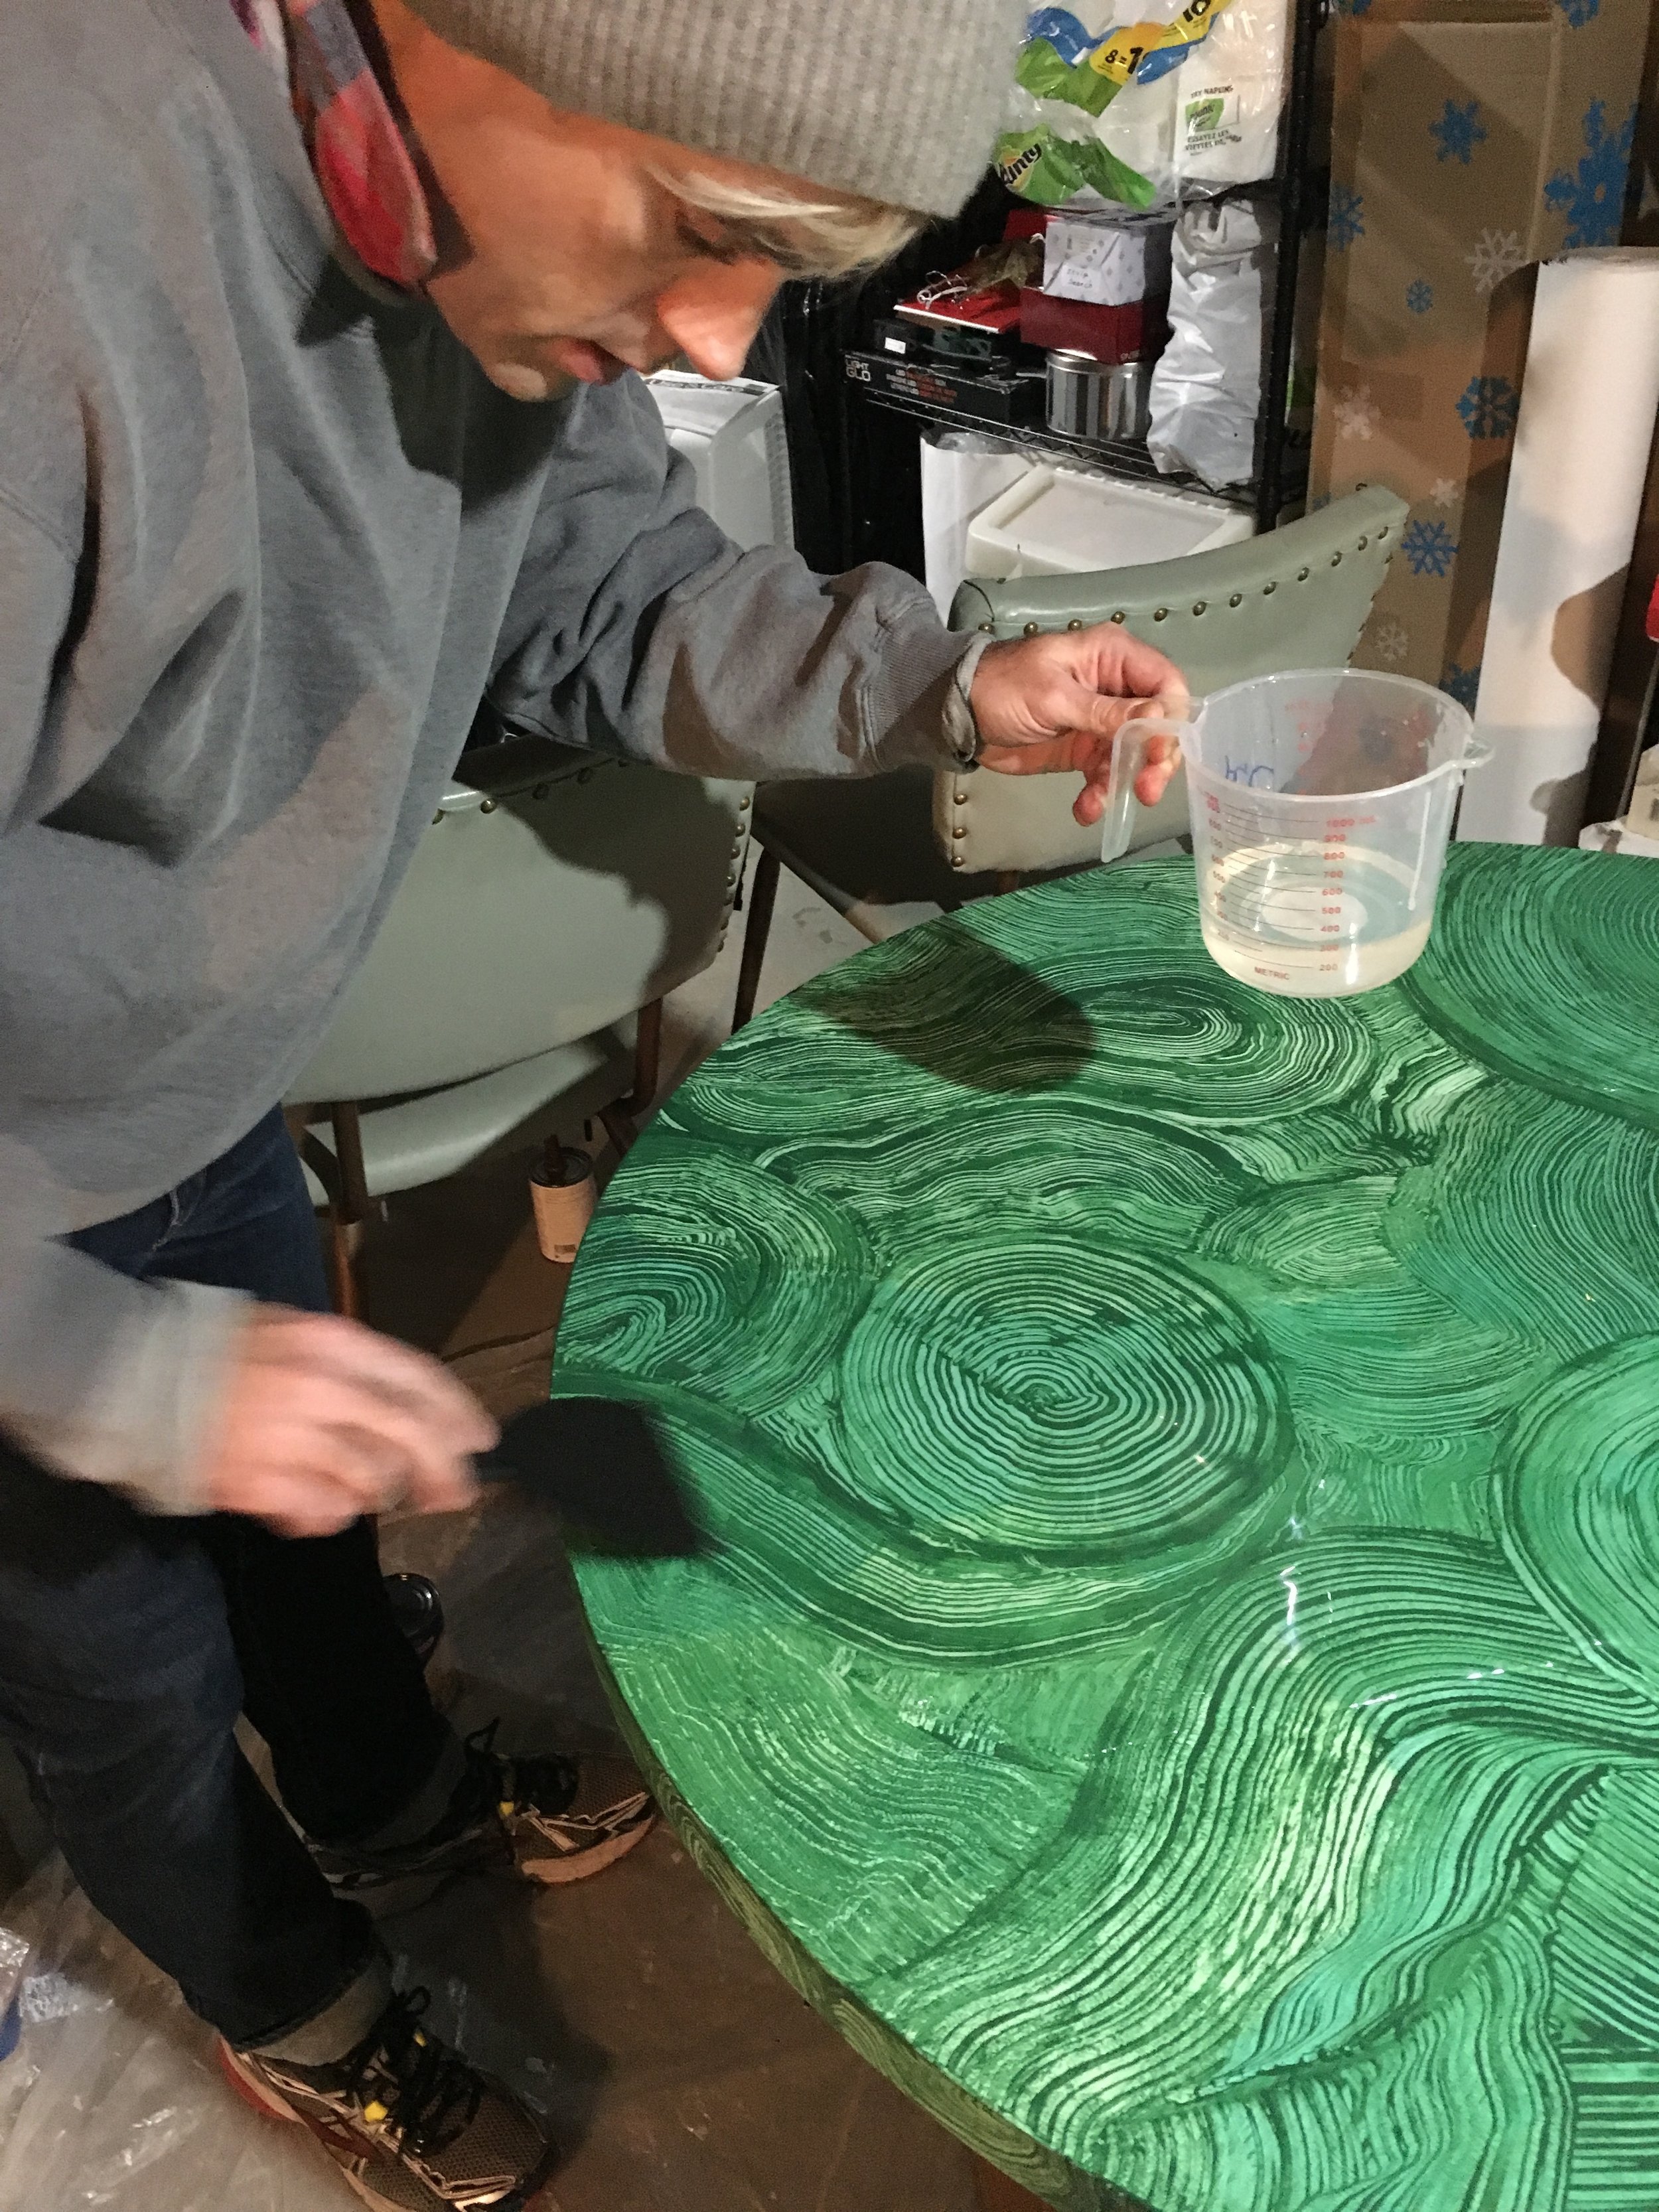
Hard to tell here, but the resin is dripping over the edge. Using spackle tool, went over the edge to even out the drips and to be sure entire edge was covered in glaze/resin:

She’s heat gunning & OMG ya’ll it was so gratifying to see the heat bring all the air bubbles to the surface to pop!

Below is one hilarious kind of rig-gum’s but I’m sharing b/c this was one of the steps in Mark’s video that confused me. Then Linda brought clarity to my glazing/resin soul & this is what I ended up with:

A dissected contractor bag, painter-taped to the backs of our old kitchen chairs that are stacked on dog food cans so they’re higher than the tabletop…WTF, right??? But so brill b/c it totally worked & allowed for the glaze/resin coat to cure w/out tons of airborne dust/debris landing on it, so win win. After properly drying this BETCH:


ALLLLLLL the GORG!!! SO thrilled w/how this turned out…obsessed w/glaze/resin now!!! Totally elevates the look of this tabletop, it’s literally SHINING 24/7 & I LOVE IT! There’s def some imperfections in the finish overall, but they’re hardly noticeable. And yeah, she’s a multi-step, not for the faint of heart, diy but so so worth it! Now y’all go out & get your malachite dreamzzz on!