Y'all this chic vintage lucite + brass coffee table base I scored at Brimfield (giant antiques/flea market in Mass) which MIGHT BE an original designed by Charles Hollis Jones, was a complete and utter styleslap about the head, neck and face for $20...

And yeah, y'all, you're not seeing things--she's a bit tarnished...lol

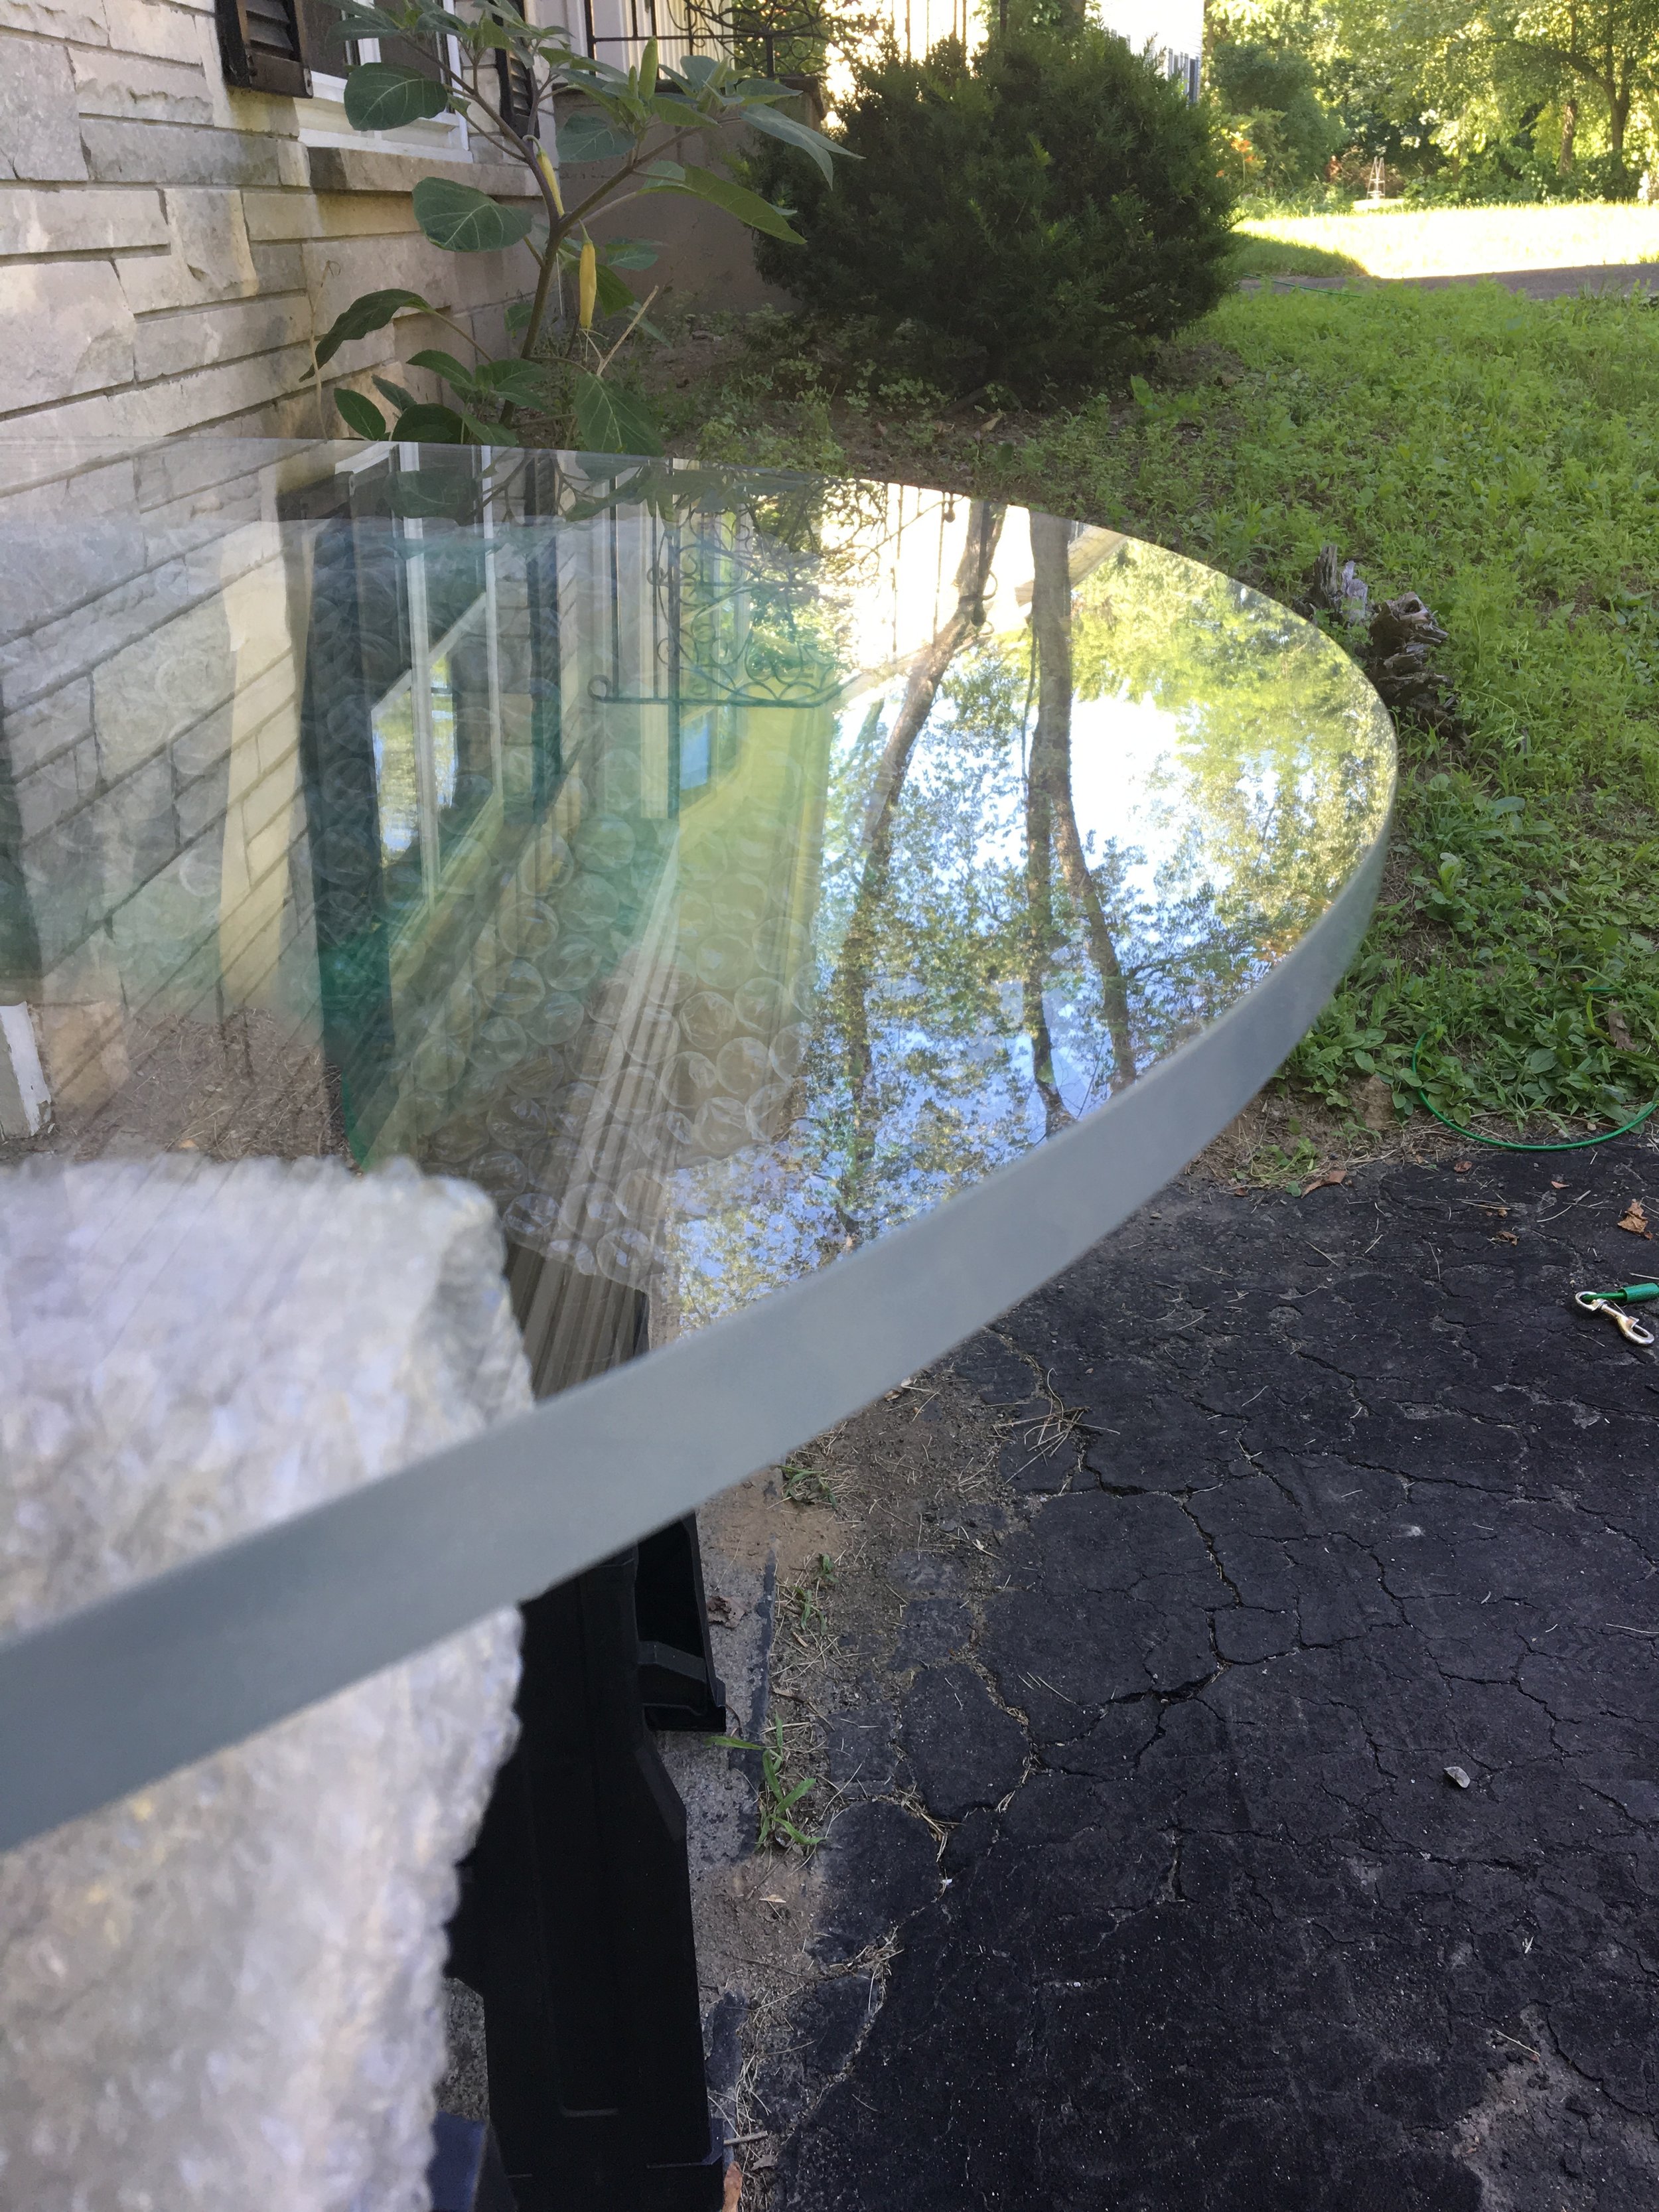
Initially I wanted to do a custom round glass top, to look like this:

But the quotes were coming back too costly for the diameter (44"), thickness (at least 1/2"), & flat polished edge that I wanted. Oh & it also had to be tempered for safety. Y'all listen, love me some glass tabletop drama in a space, but I don't live for that green-ish edge that glass gets when cut. So, upgrading to 100% clear glass, added even MORE to the potential cost of going custom. The best price quote was like $450, which included my 'designer discount'...ummm, NO. And then I tried sourcing used round glass at my various sources but was coming up short until I hit Big Reuse in Brooklyn
Found it:

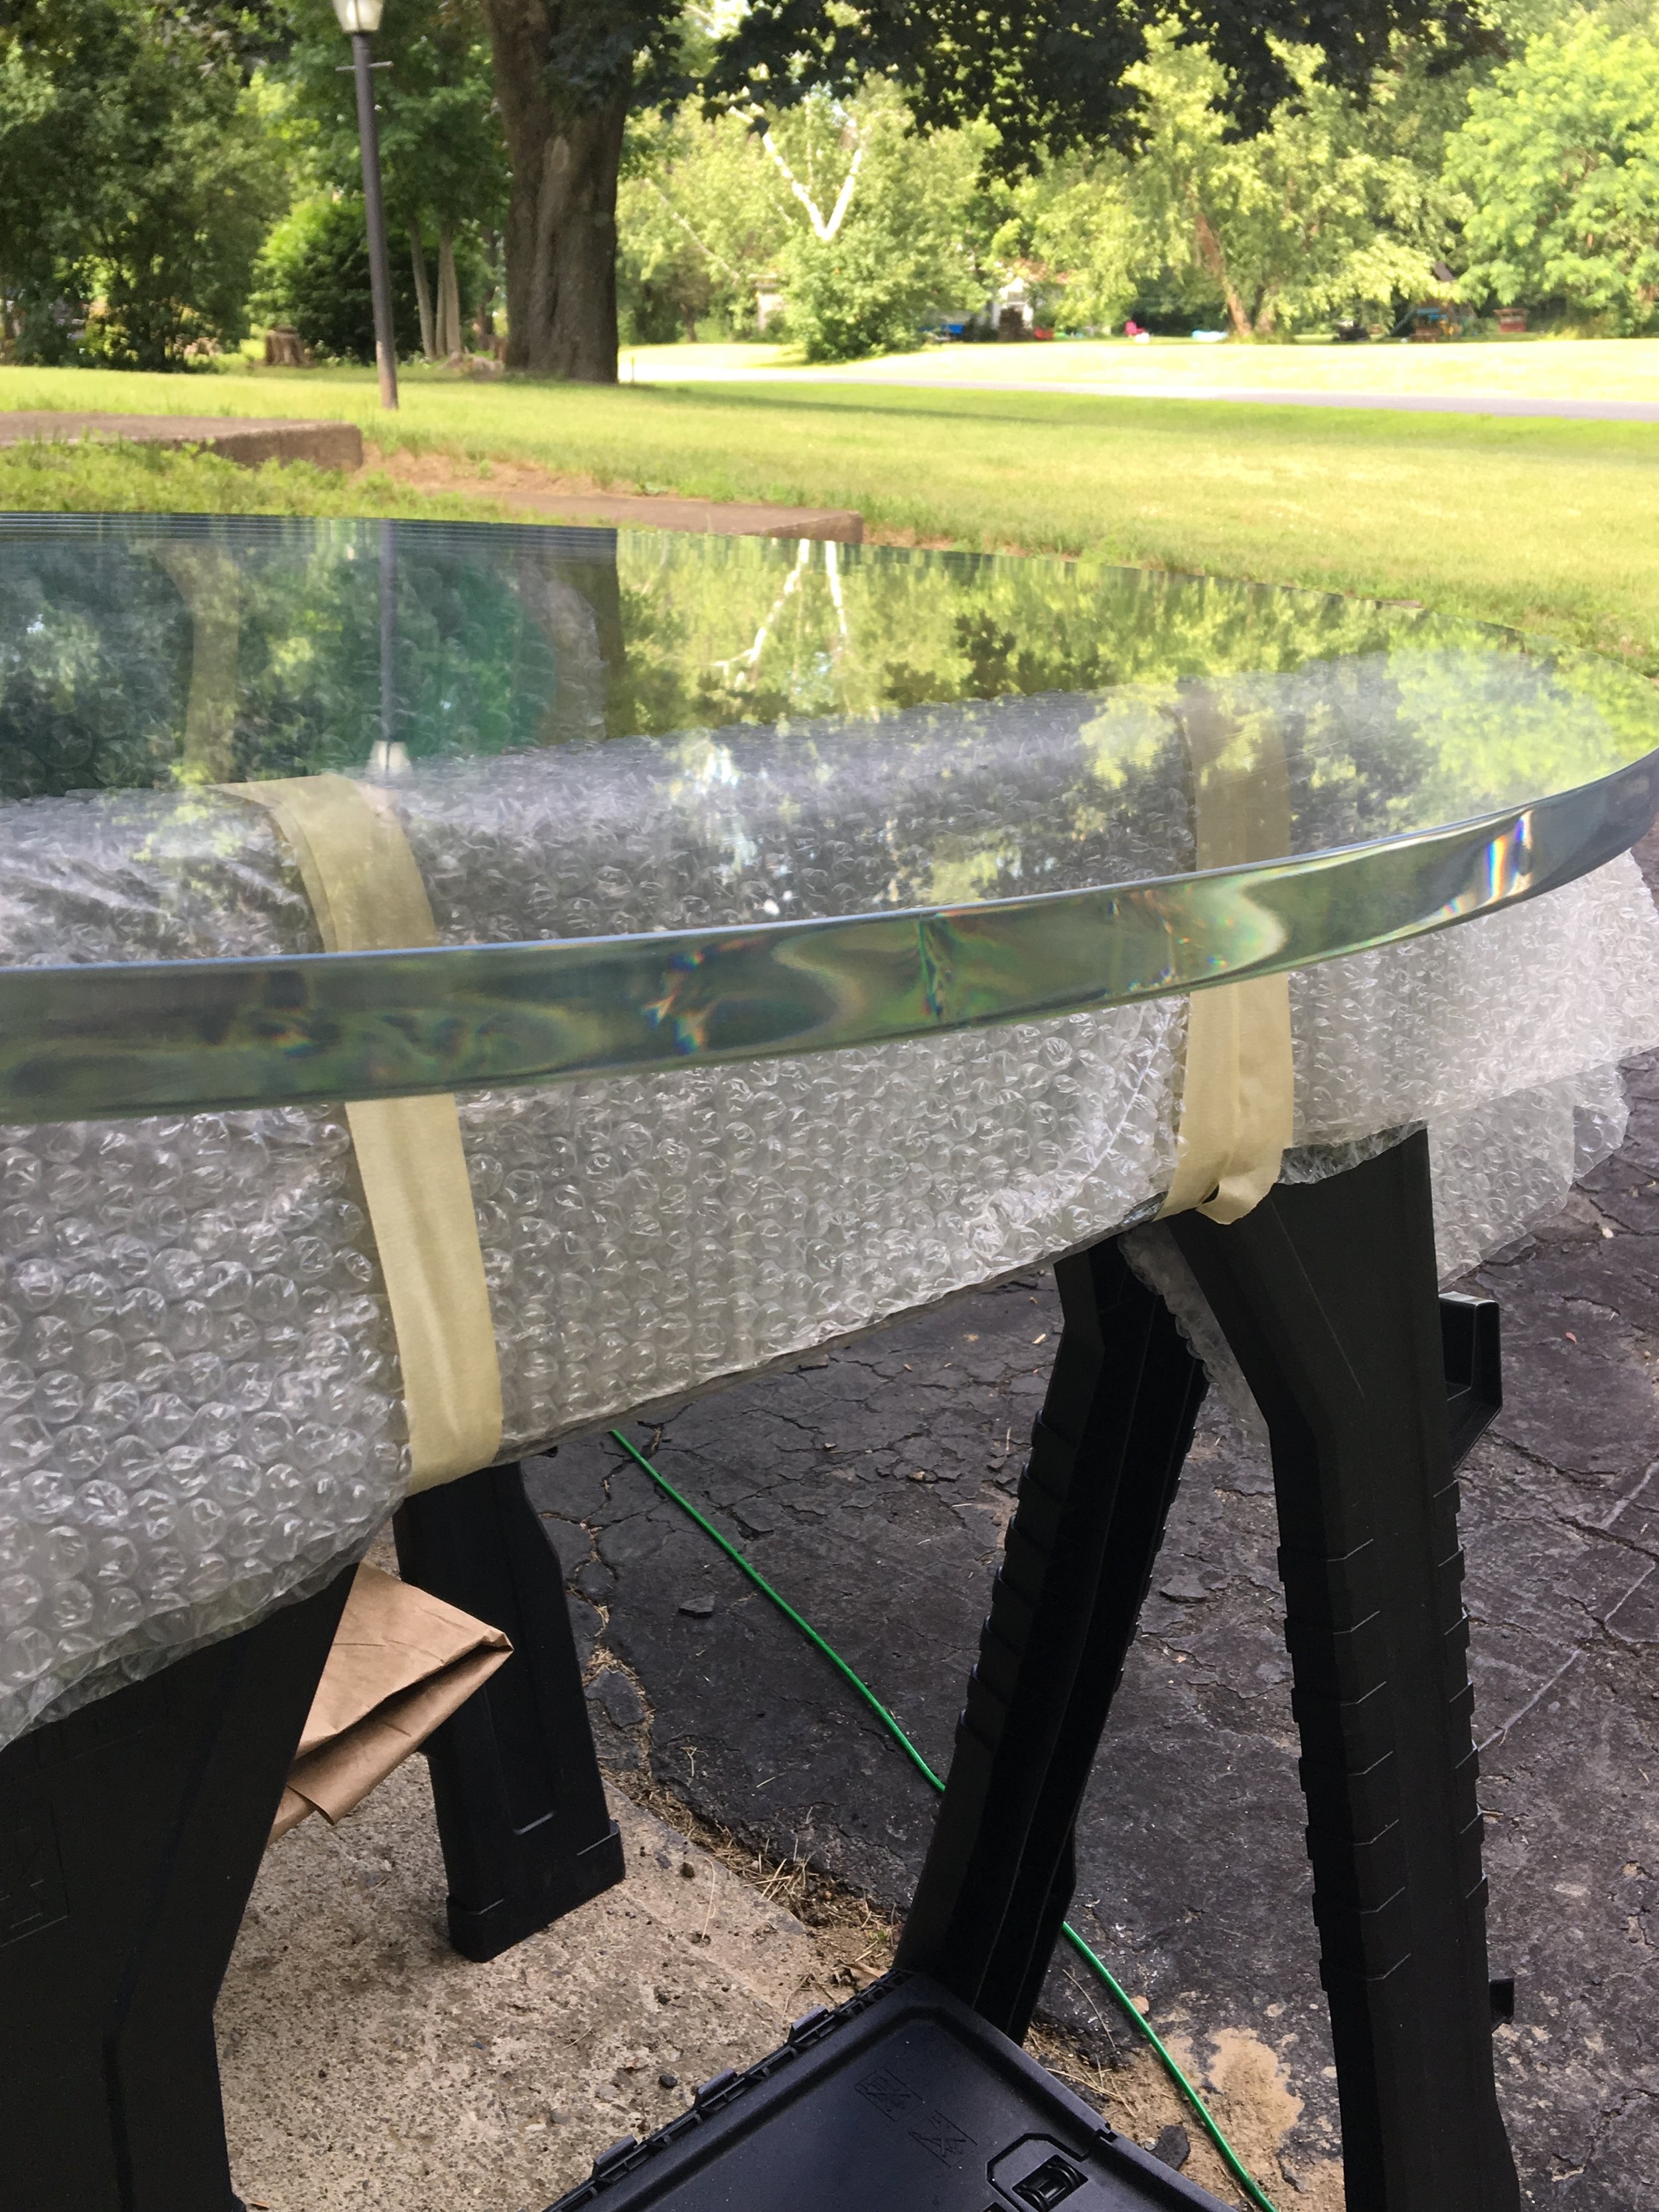
A round, 42" diameter, 1/2" thick with an angled beveled (albeit greenish) edge glass top for $70...hmmmm...BUT WAIT:
I also found an entire sheet (8' x 11'...that's FEET y'all!), 1" thick of lucite for $75.
OK, wheels turning here...hmmm...ohhhhh...shiot! Y'all this is how my PJDIY brain works: It's undoubtedly more work to cut & then polish a giant, heavy azz piece of lucite, but not impossible, but how will I even get this bad boy home?! Yet it's only $75 AND it's the exact same material the base I scored is made out of...baby GURL just bought herself a piece of lucite, y'all! yasssssss! Enter Chris White, amazing talent of basically EVERYTHING, stage left. As with MOST of my interior projects, Chris is my go-to collaborator & this scenario was no exception b/c I'd never cut lucite before, but Chris had...plus, he actually needed a tabletop for an inherited coffee table base (go figure) so that giant lucite sheet would now become TWO tabletops! LOVE me some double value on a DIY-- that's like $38 for two custom tabletops...WHAAAAA?! His beast of an SUV, Muriel, didn't hurt either & she sure came throughhhh for us!

Chris is also great with things like rope...

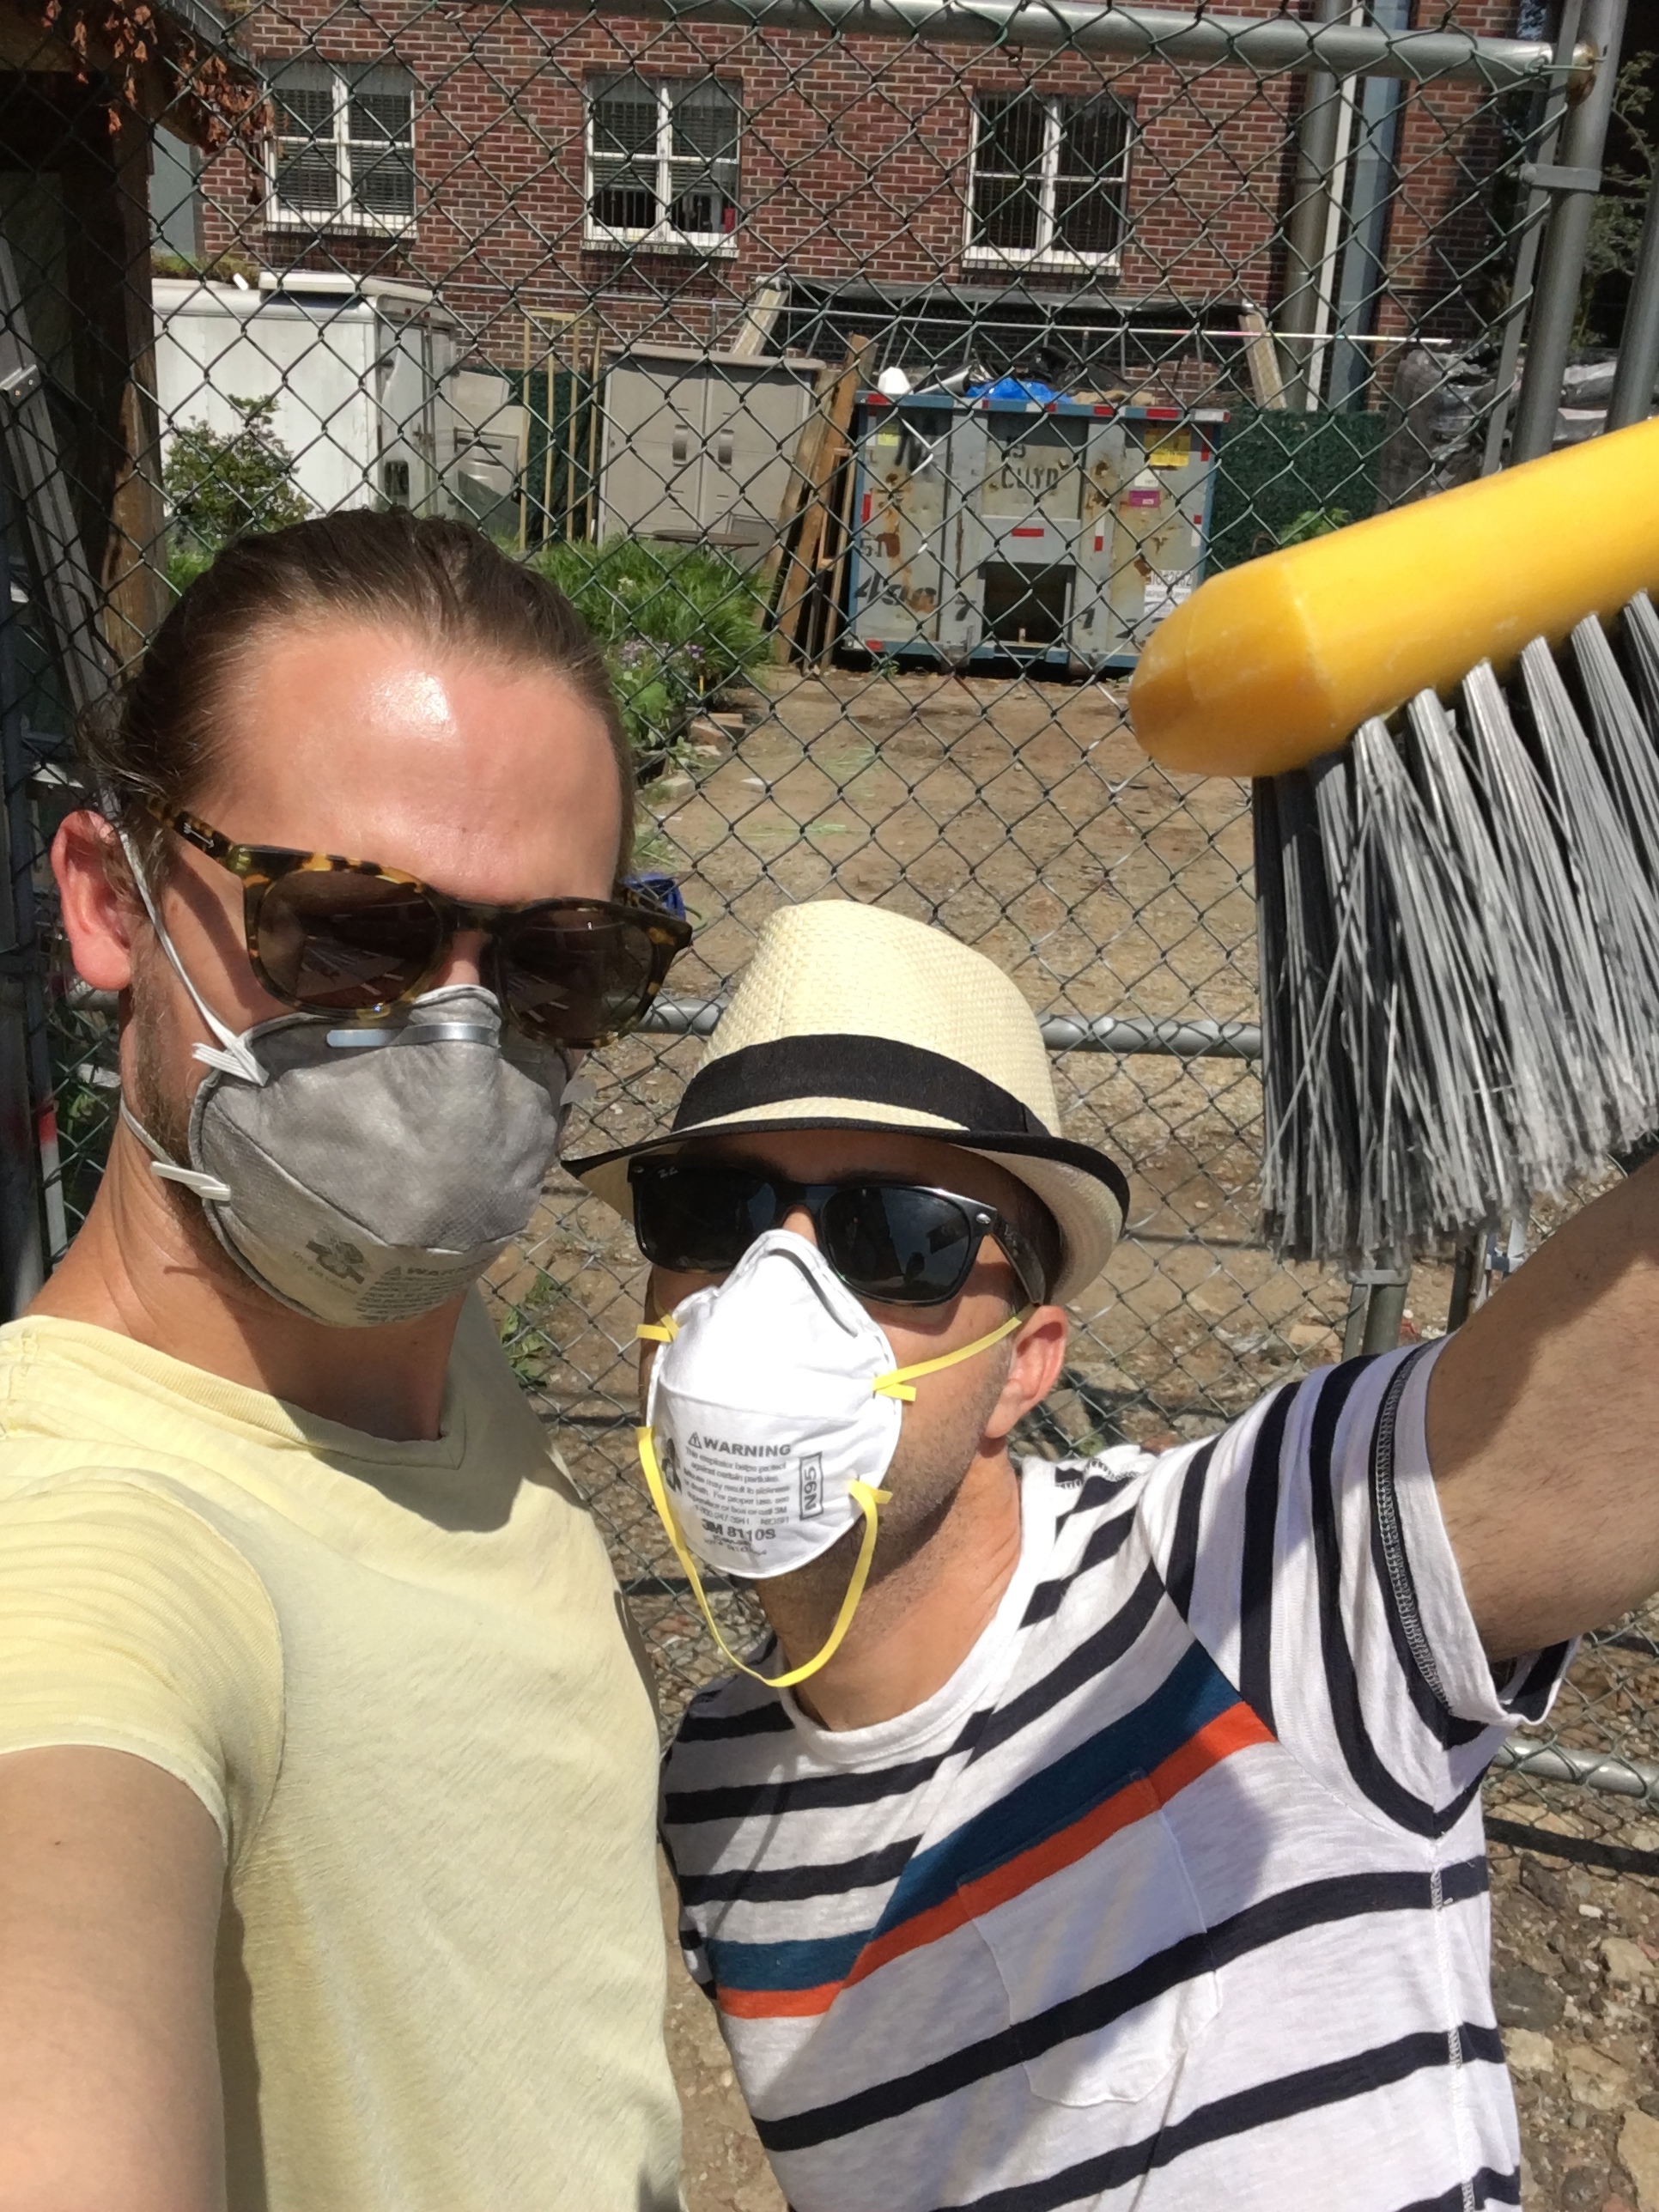
Back at Chris' studio it's time to cut us some lucite y'all!

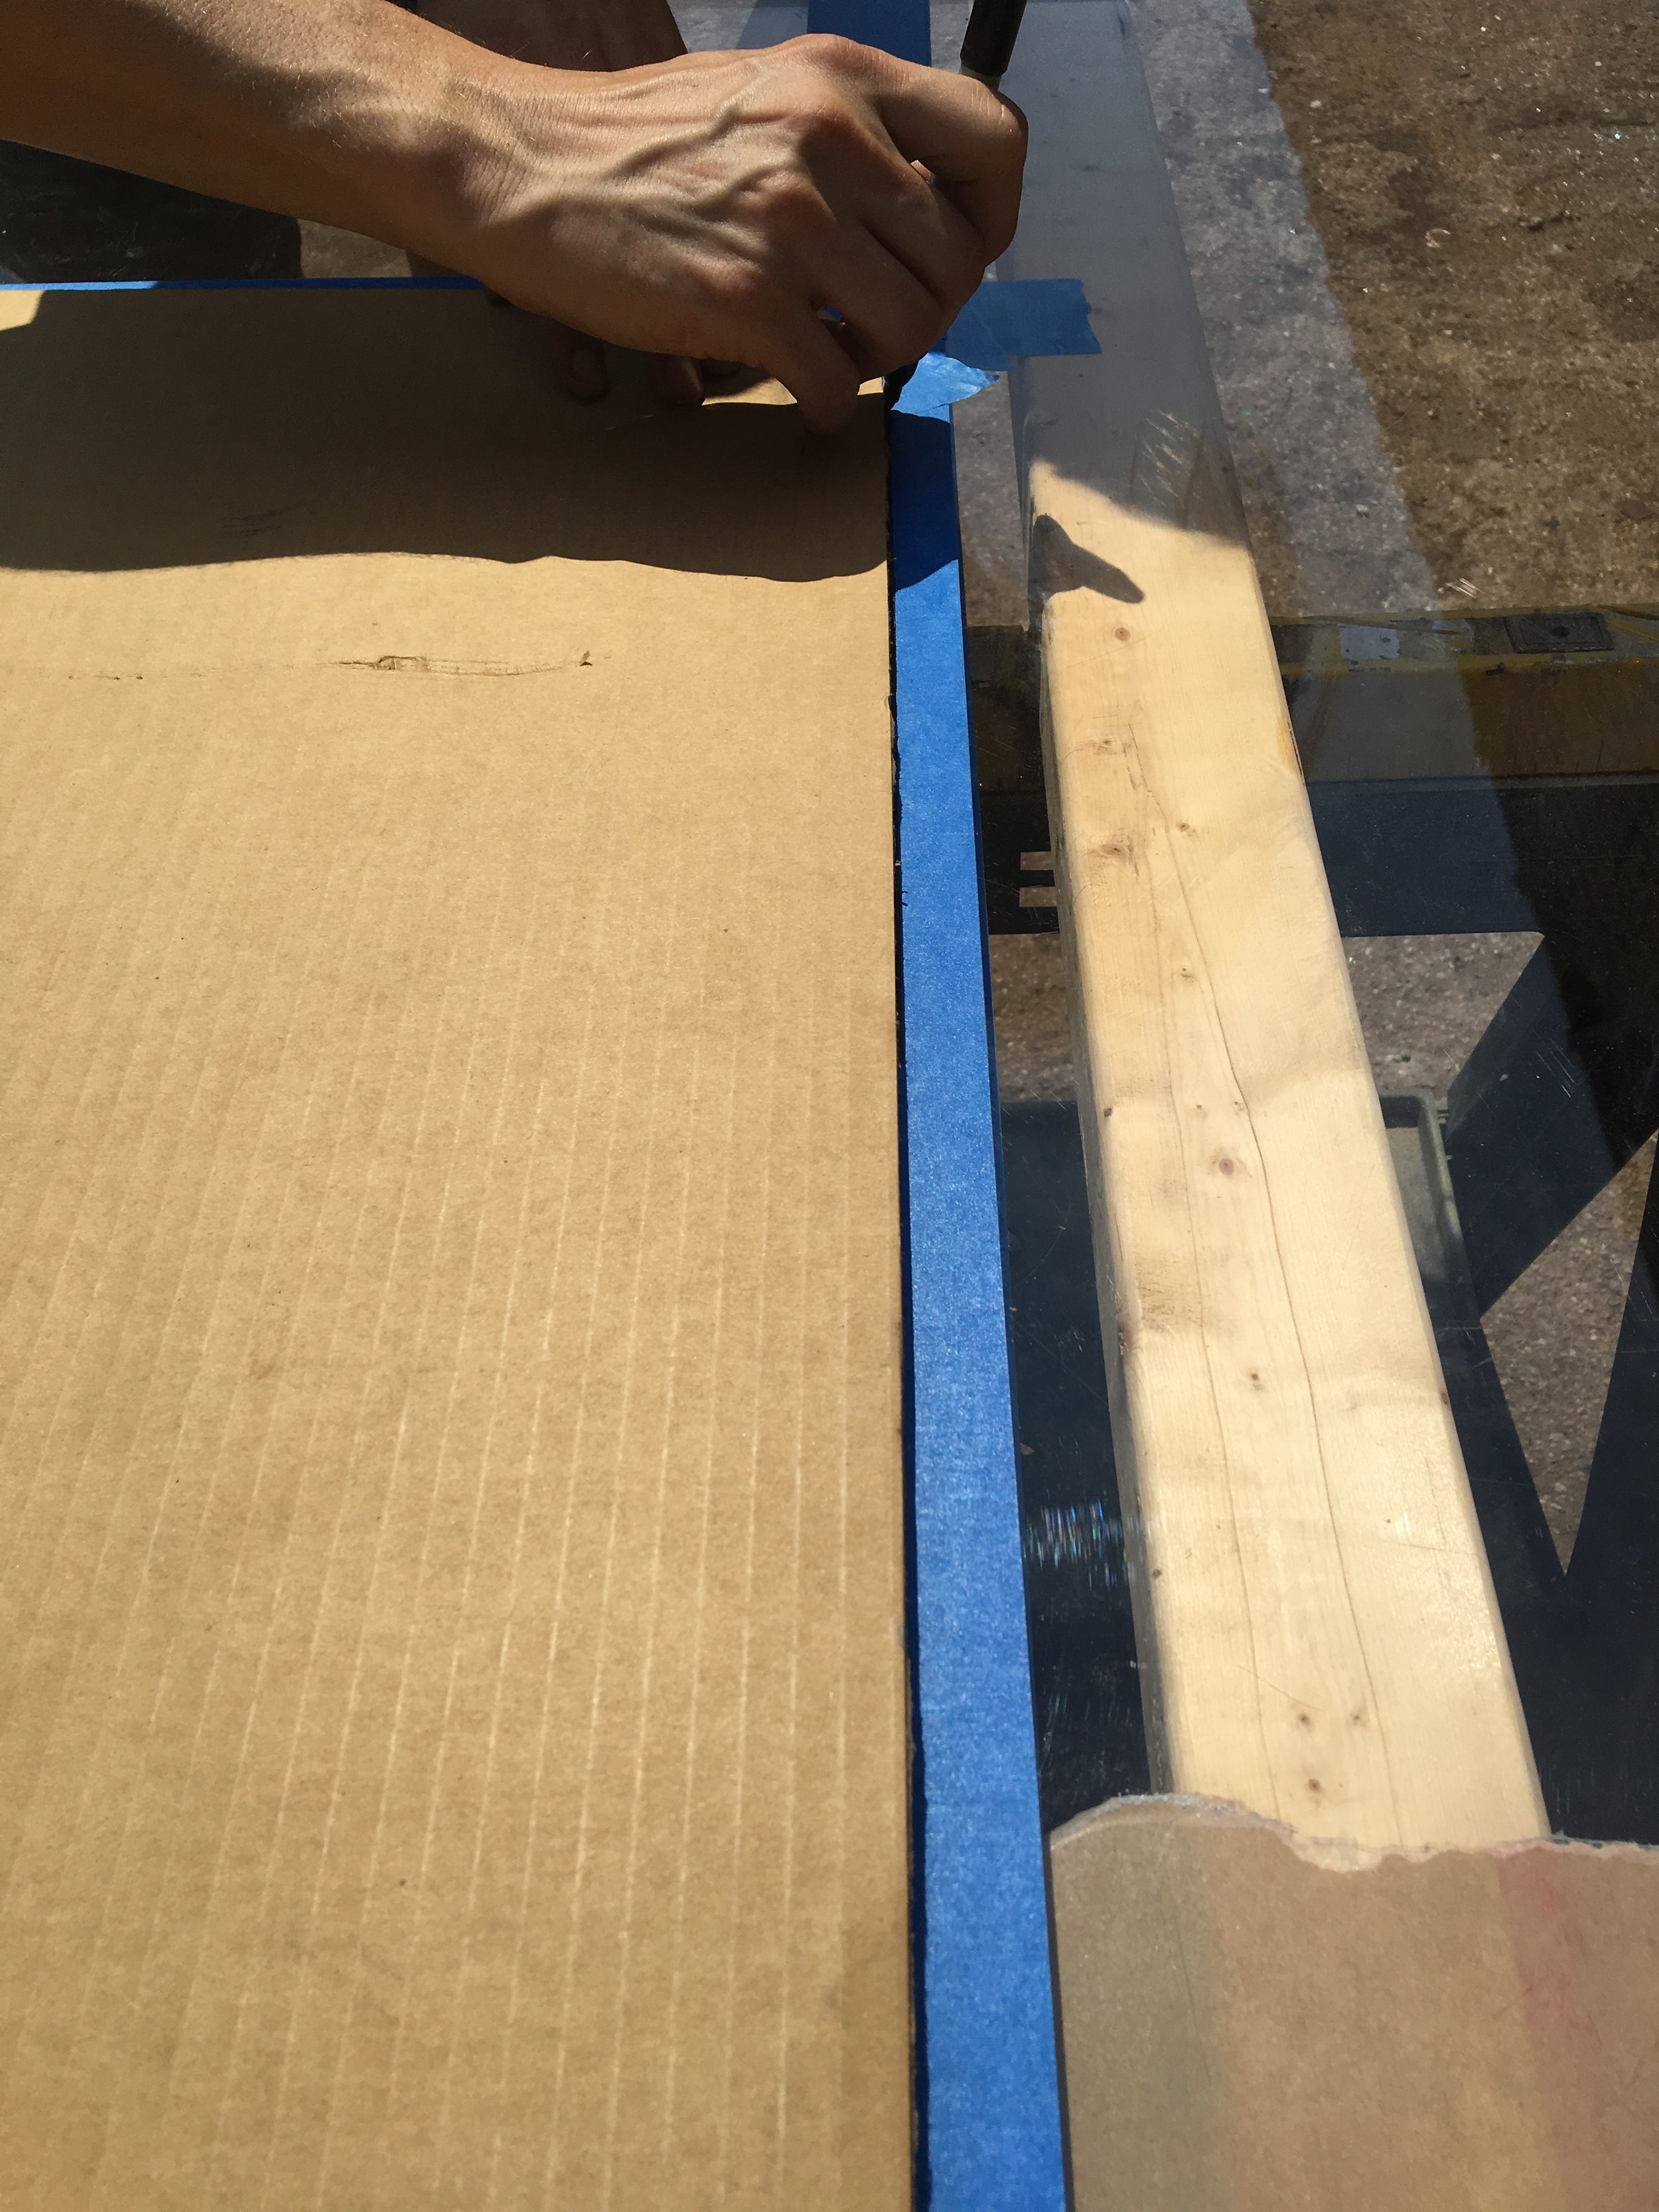
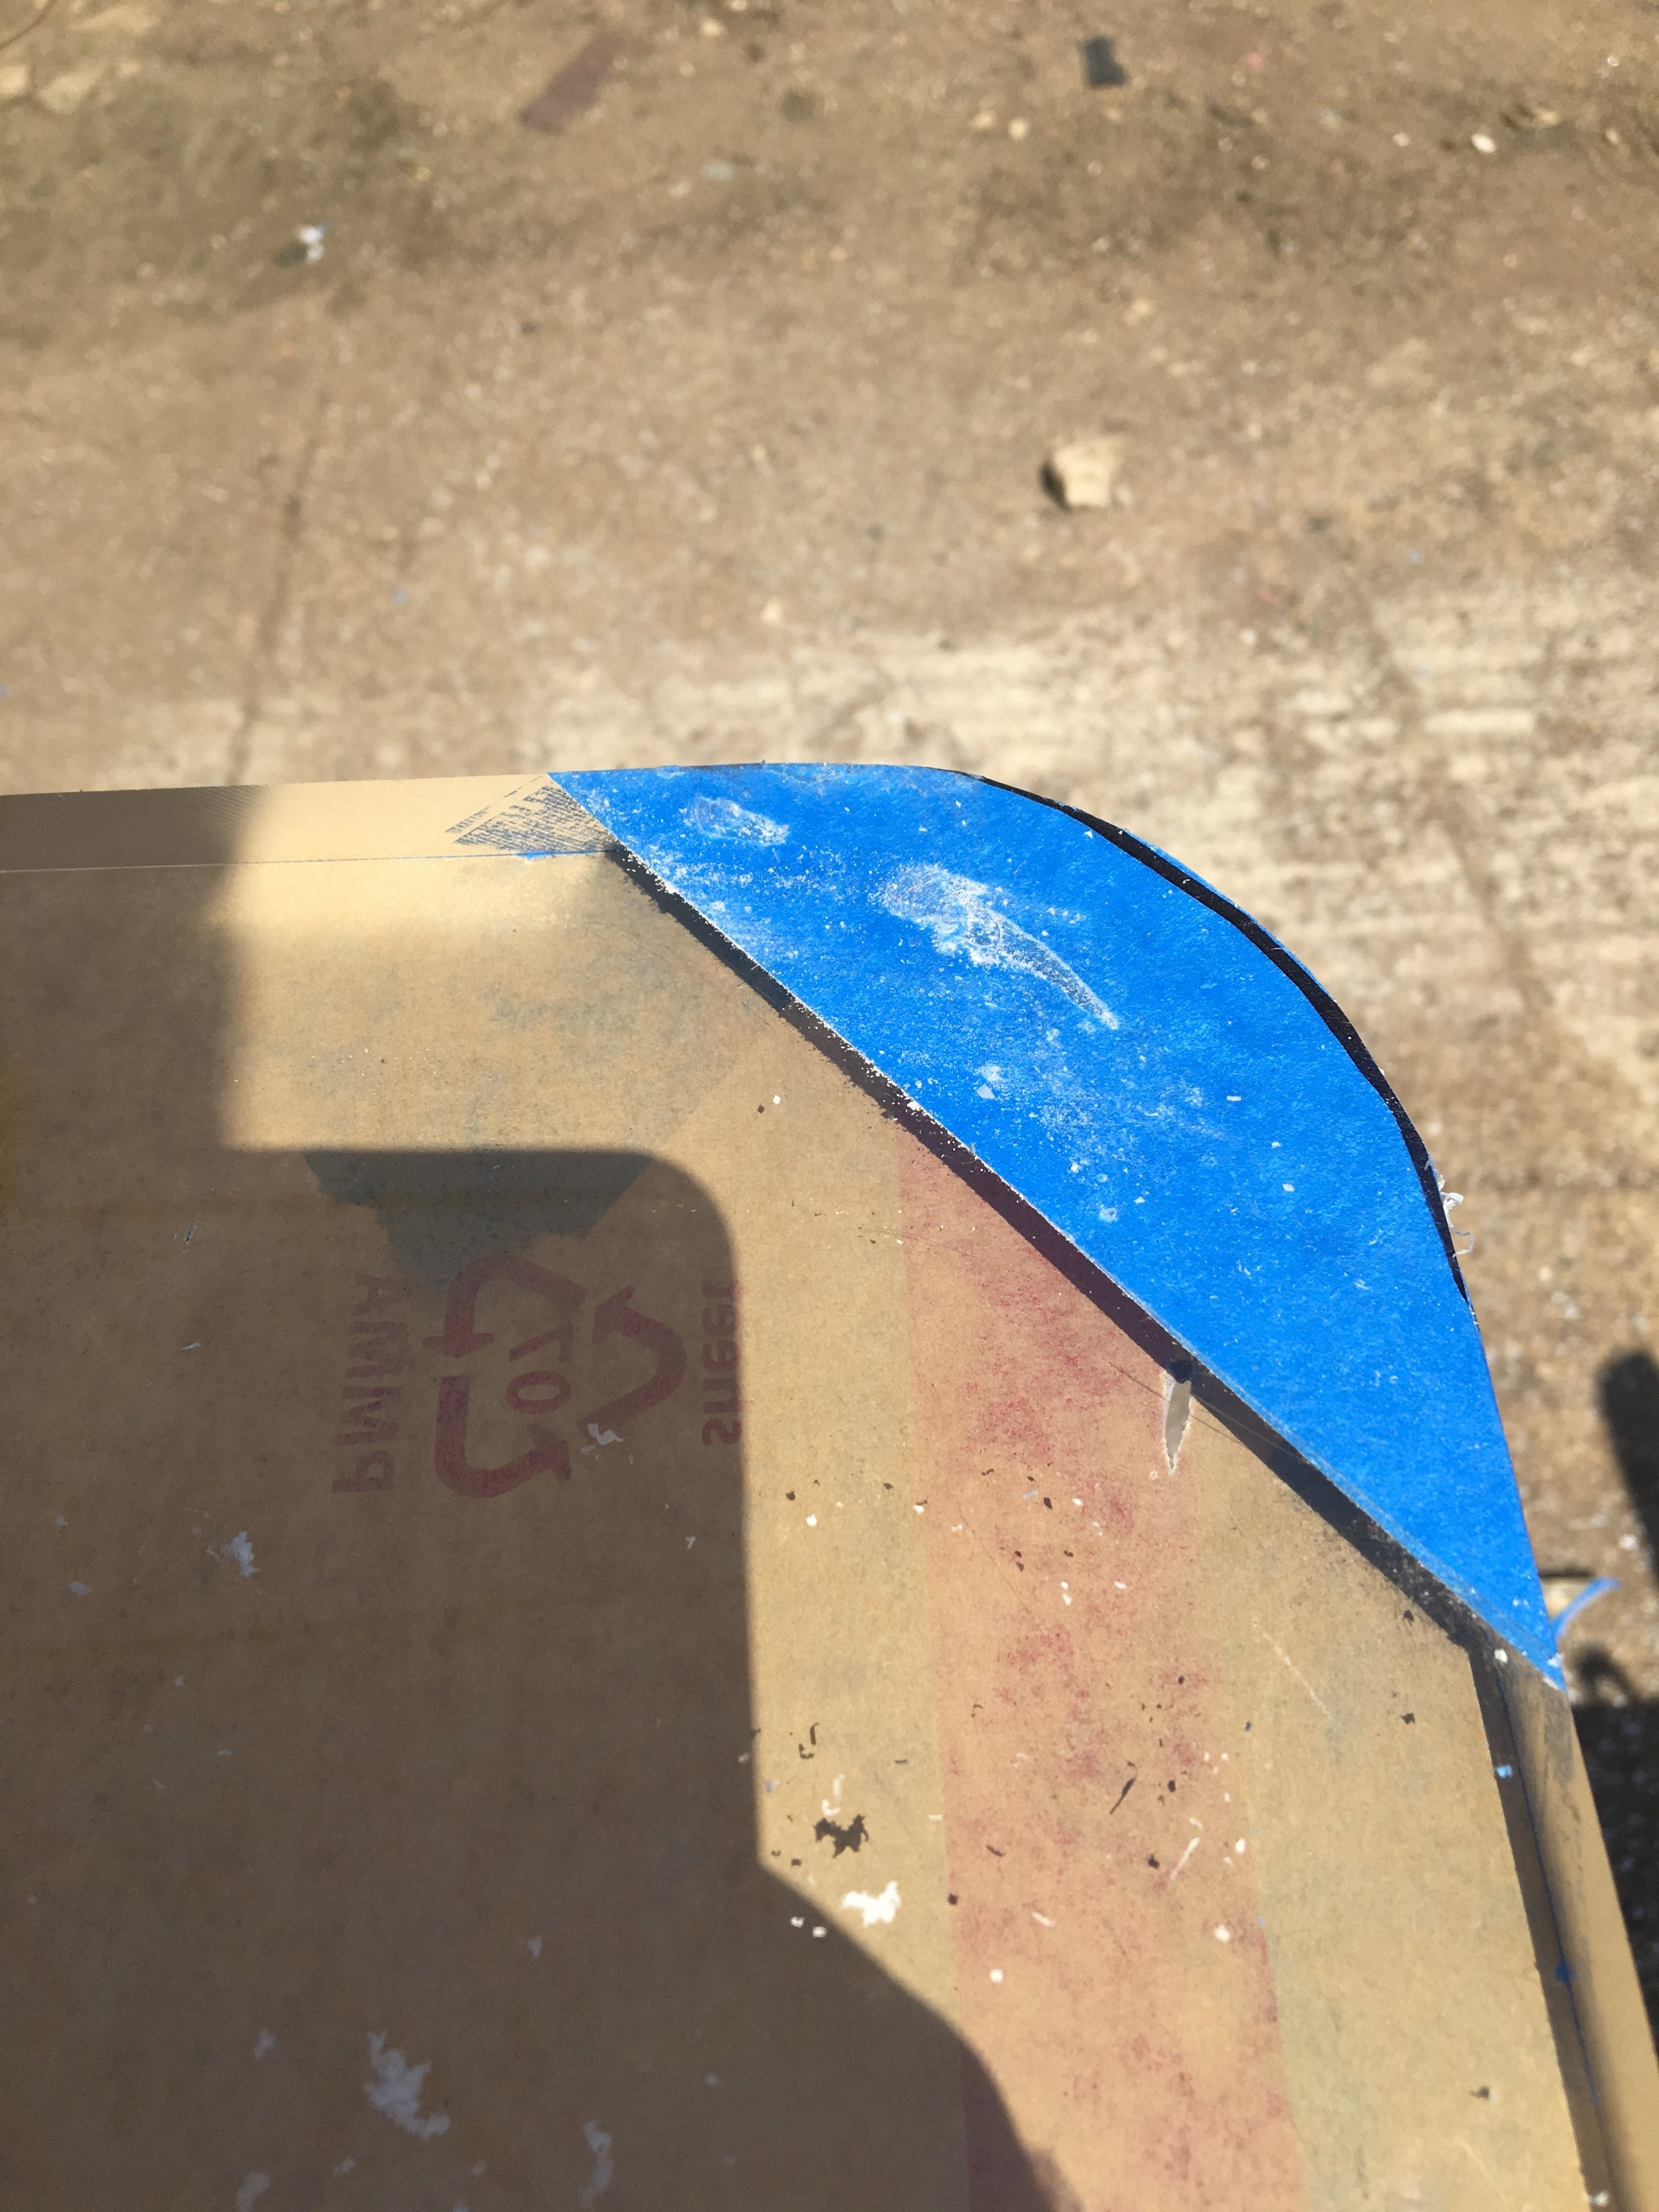
This lucite sheet had to be cut in half first to make it more manageable to work with. Once secured on a combo platter of sawhorses, a folding table & 2 x 4's underneath for support/leveling, we measured for the center point & taped across entire sheet, on top & on bottom. We used painters tape, but some folks prefer masking tape here. Taping lucite helps to prevent unnecessary chipping when cutting. Then we traced a straight line on tape using a straight edge.

Then cut...see that thrilling video here:

For this straight line cut, we used a circular saw fitted with specialty blades for cutting plastic, like this. Some folks prefer a jigsaw fit w/the specialty blades to cut lucite/acrylic, which we also used later, but b/c of the thickness of our sheet & it being just a straight line, we opted for a circular saw. Be sure to use proper blades for cutting plastics/acrylics (usually carbide) or else the heat generated from spinning blade/cutting will melt the lucite & make it wavy & warped looking along cut. No good.
I wanted a circular table top, so genius that is Chris, doctored up this large-scale compass situ to get the exact circumference. This one is never ending y'all...

Knowing the overall diameter of the circle I wanted, 44"-ish, he divided that in half, to get the radius of 22", give or take a few inches. (Y'all, I typed "ish" b/c we weren't trying to be exact with tabletop diameter here. In the end, I wanted the top to be somewhere btwn 42"-44" in diameter overall & was flexible with that dimension b/c tbh we both weren't 100% sure how the cutting was going to go/turn out. So, if the first attempt at cutting was a hawt mess, we could assess, course correct as necessary & attempt again and I wouldn't be losing too much finished tabletop size/diameter overall b/c we padded it by tracing two lines...make sense?) Chris placed a piece of tape directly in the center of the tabletop. Separately, he screwed a 2" drywall screw into a cube shaped scrap of wood (about 2" x 2"cube) and taped that cube, w/the threaded side of screw facing upwards, to piece of tape in the center of the circle. Next, he took another piece of scrap about 26" long & drilled a hole in the exact diameter of a sharpie at one end and measuring 22" off that sharpie hole, he drilled another hole for the upwards facing screw to thread into on the other end. Y'all stay with me here, I realize this is A LOT to follow, but there is brilliance at work...(why all this custom compass nonsense?: we didn't want to scratch or dent the surface of the lucite; therefore, the whole "cube shaped" moment at one end of compass)

Above y'all can see the compass is affixed to the center point screw at one end & the pre-drilled sharpie hole at the other end. We then taped off the surface of the lucite where our line would be traced by the sharpie. Again, didn't want to draw our cut line directly onto the lucite surface in case of staining. Peep the video below to see how I traced out the circle atop thelucute using Chris' genius compass:
Once the line(s) were traced onto the surface of the lucite, it was time to CUT!

We took our time and cut smaller sections in straight lines in order to be able to go back & cut out the exact circle diameter with a jigsaw...so below she looks rather jagged, but having less density of lucite to cut through with jigsaw gives more control & precision

Btw, for all of the cutting throughout this project, we found it helpful to sweep away the 'sawdust' as cuts were made w/a handheld broom...the lucite/acrylic sawdust tends to clump up & harden as its' cooling off from having just been cut, and y'all don't want to risk these clumps getting caught in the blade, etc...

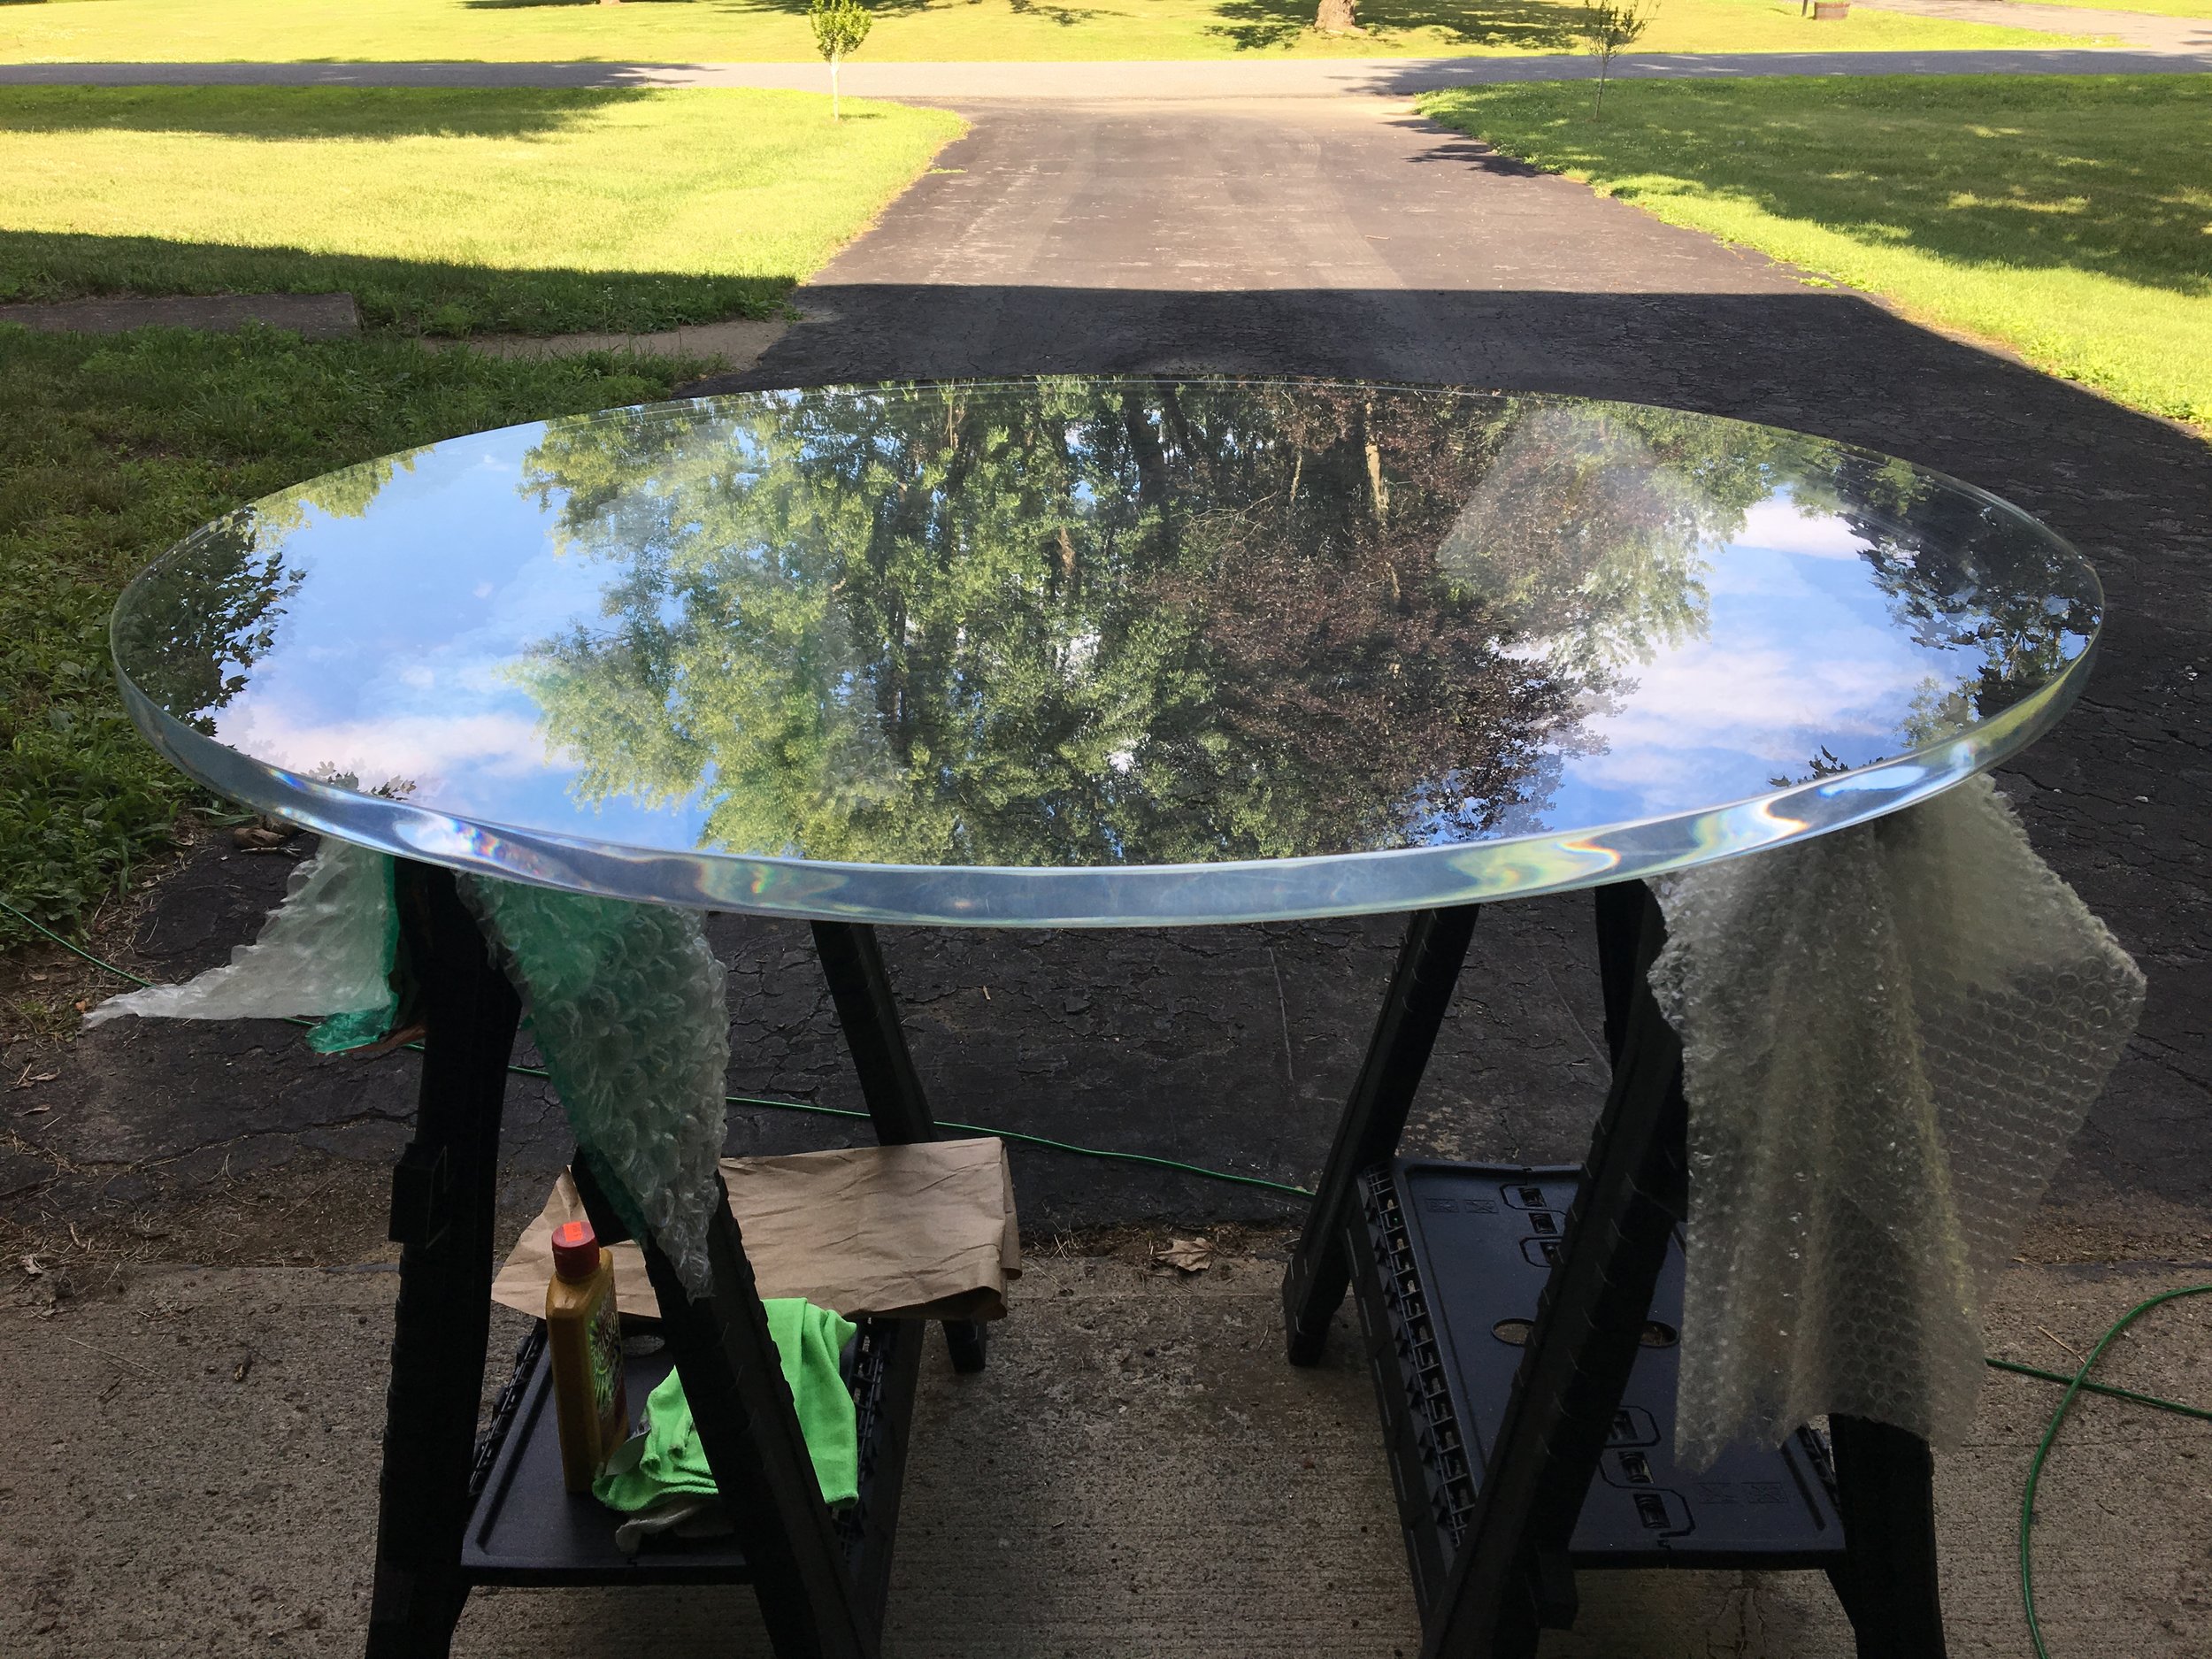
Chris finished all the jigsaw cuts on his own, so y'all there's no process pics of that, but here's where we ended up:

Pretty great, right?! Chris made the jigsaw cut as close to our first circular trace line as possible & then hit the entire top edge with 80-grit sandpaper on an orbital sander to do an initial smooth out. I don't have pics of this stage either y'all- sorry- but it was basically just a quick sanding in order to soften the edges somewhat & get rid of any gnarly imperfections caused by the cutting...and did y'all note the shiny polished brass base I'm giving y'all in this pic above? That, my friends, is the result of a lot of elbow grease and Brasso, but amaaaaze how that brass is just giving so much of her bounty now!
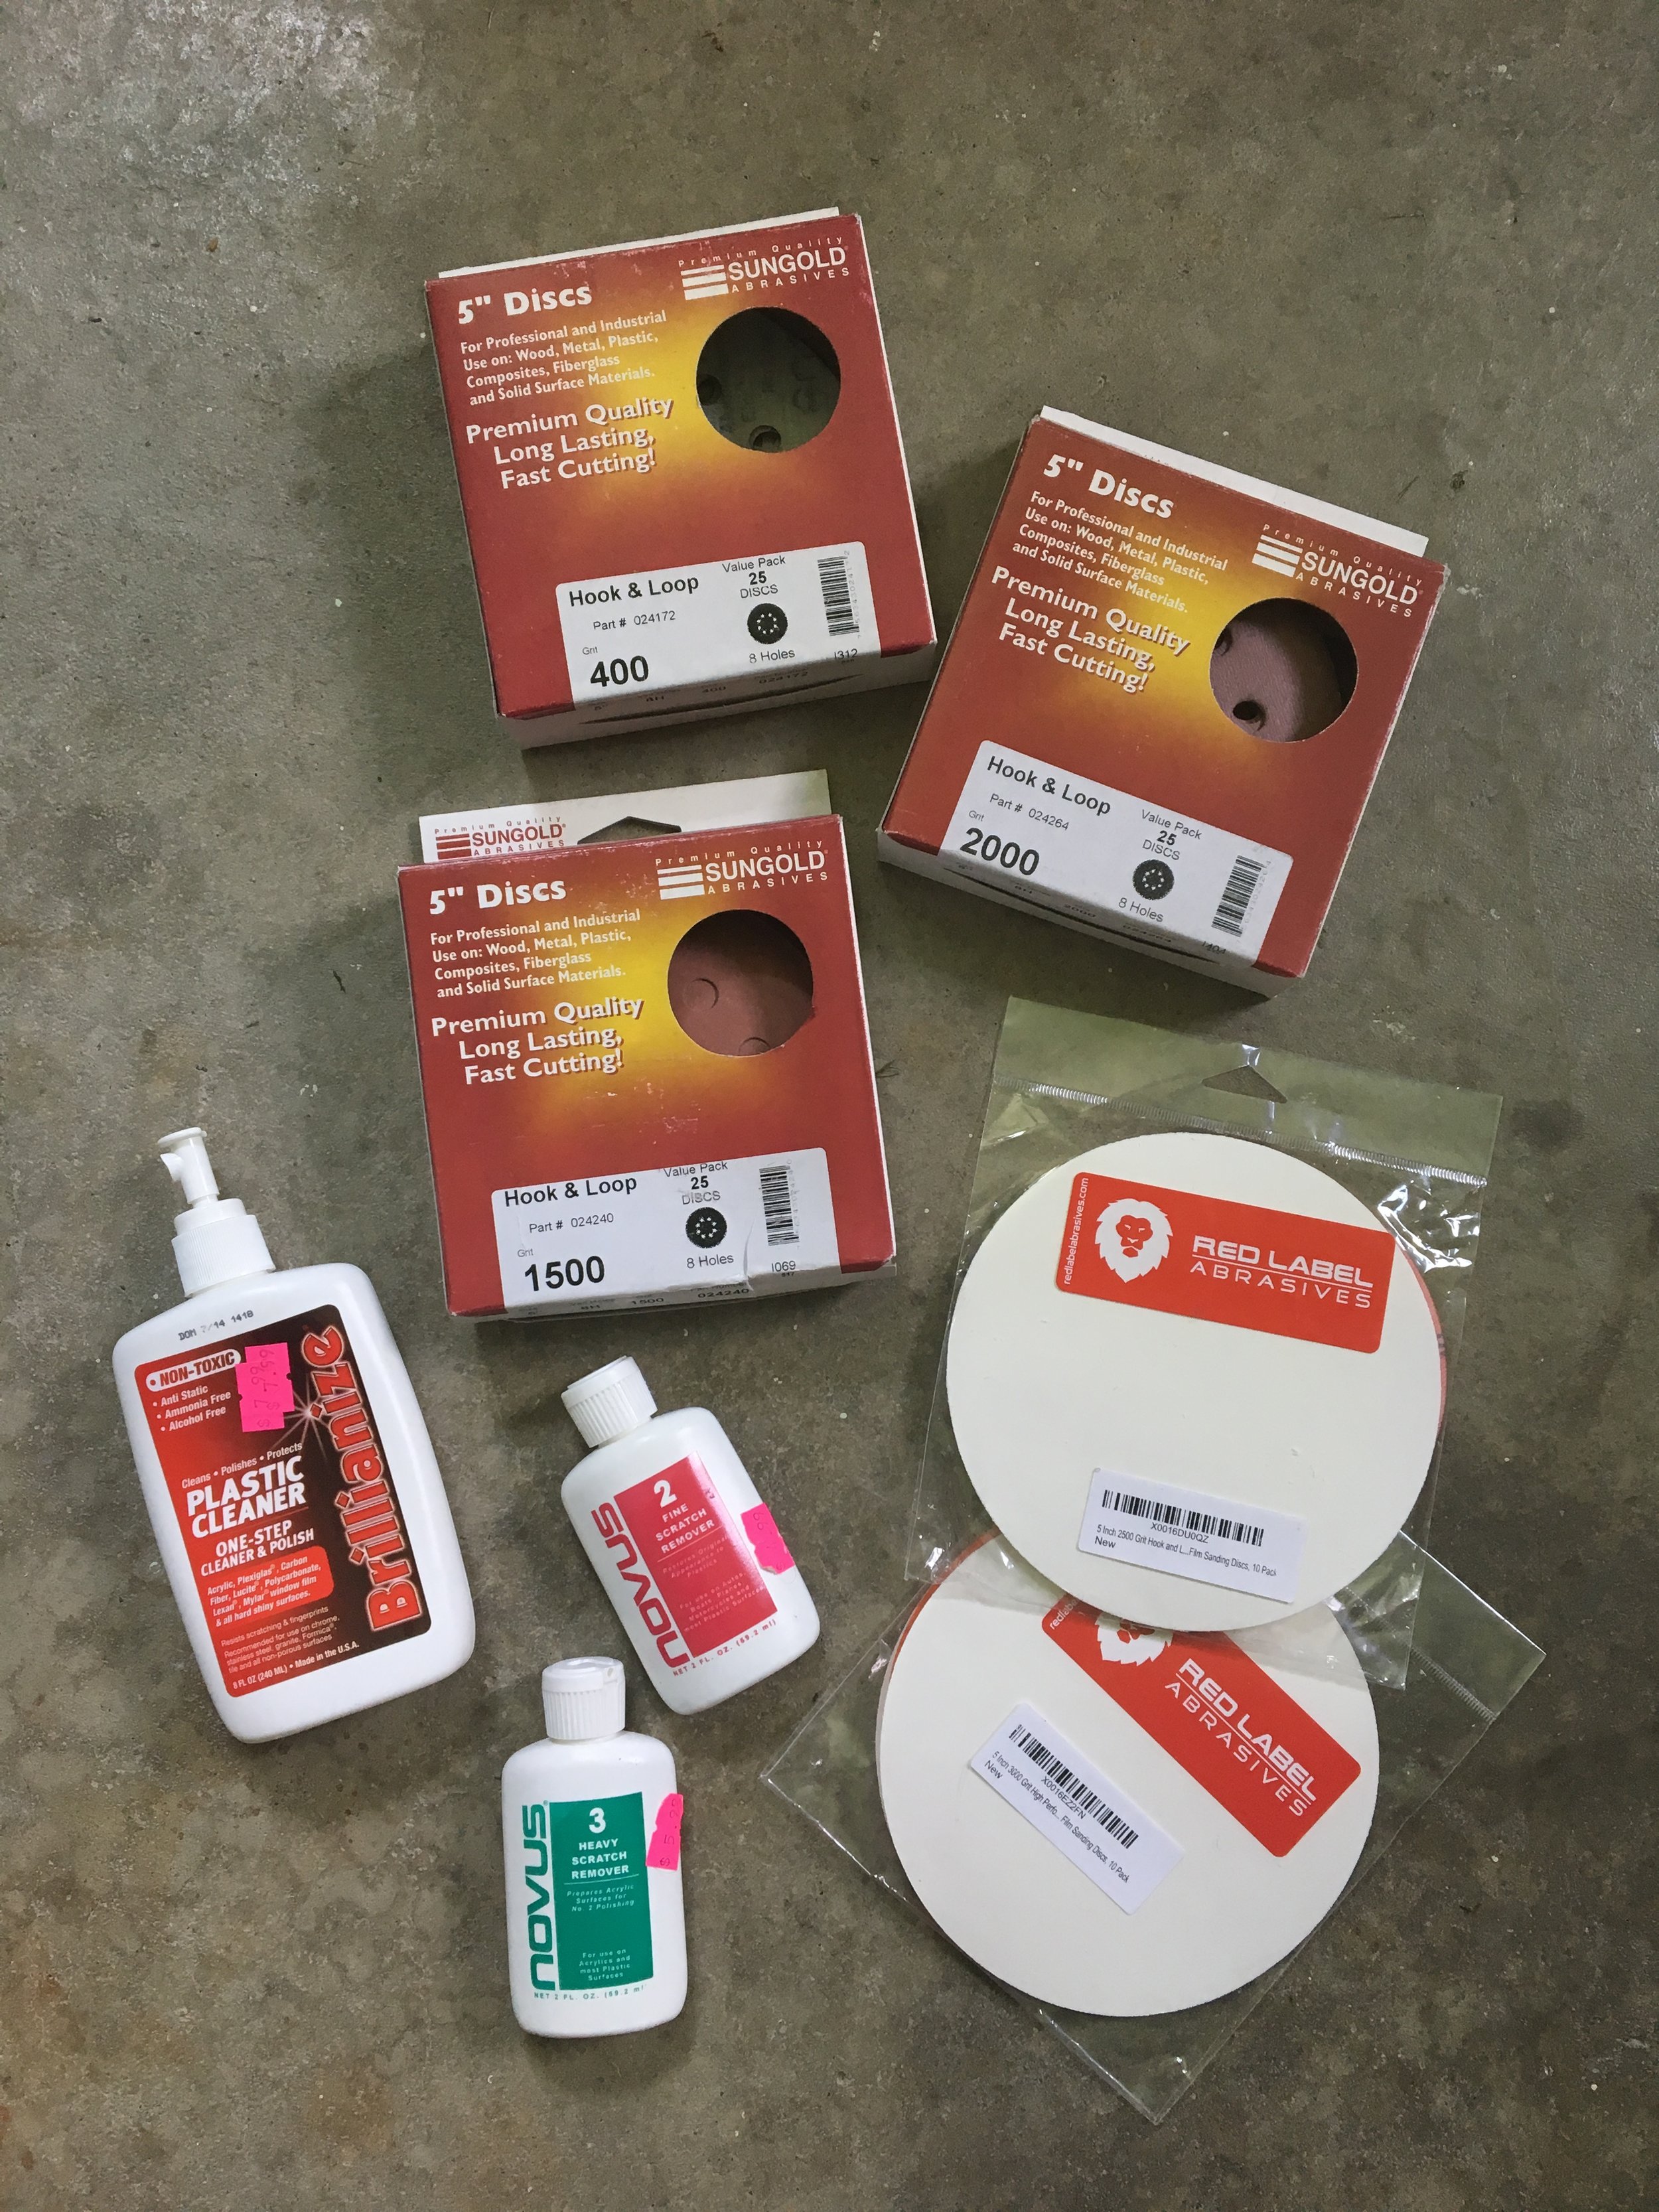
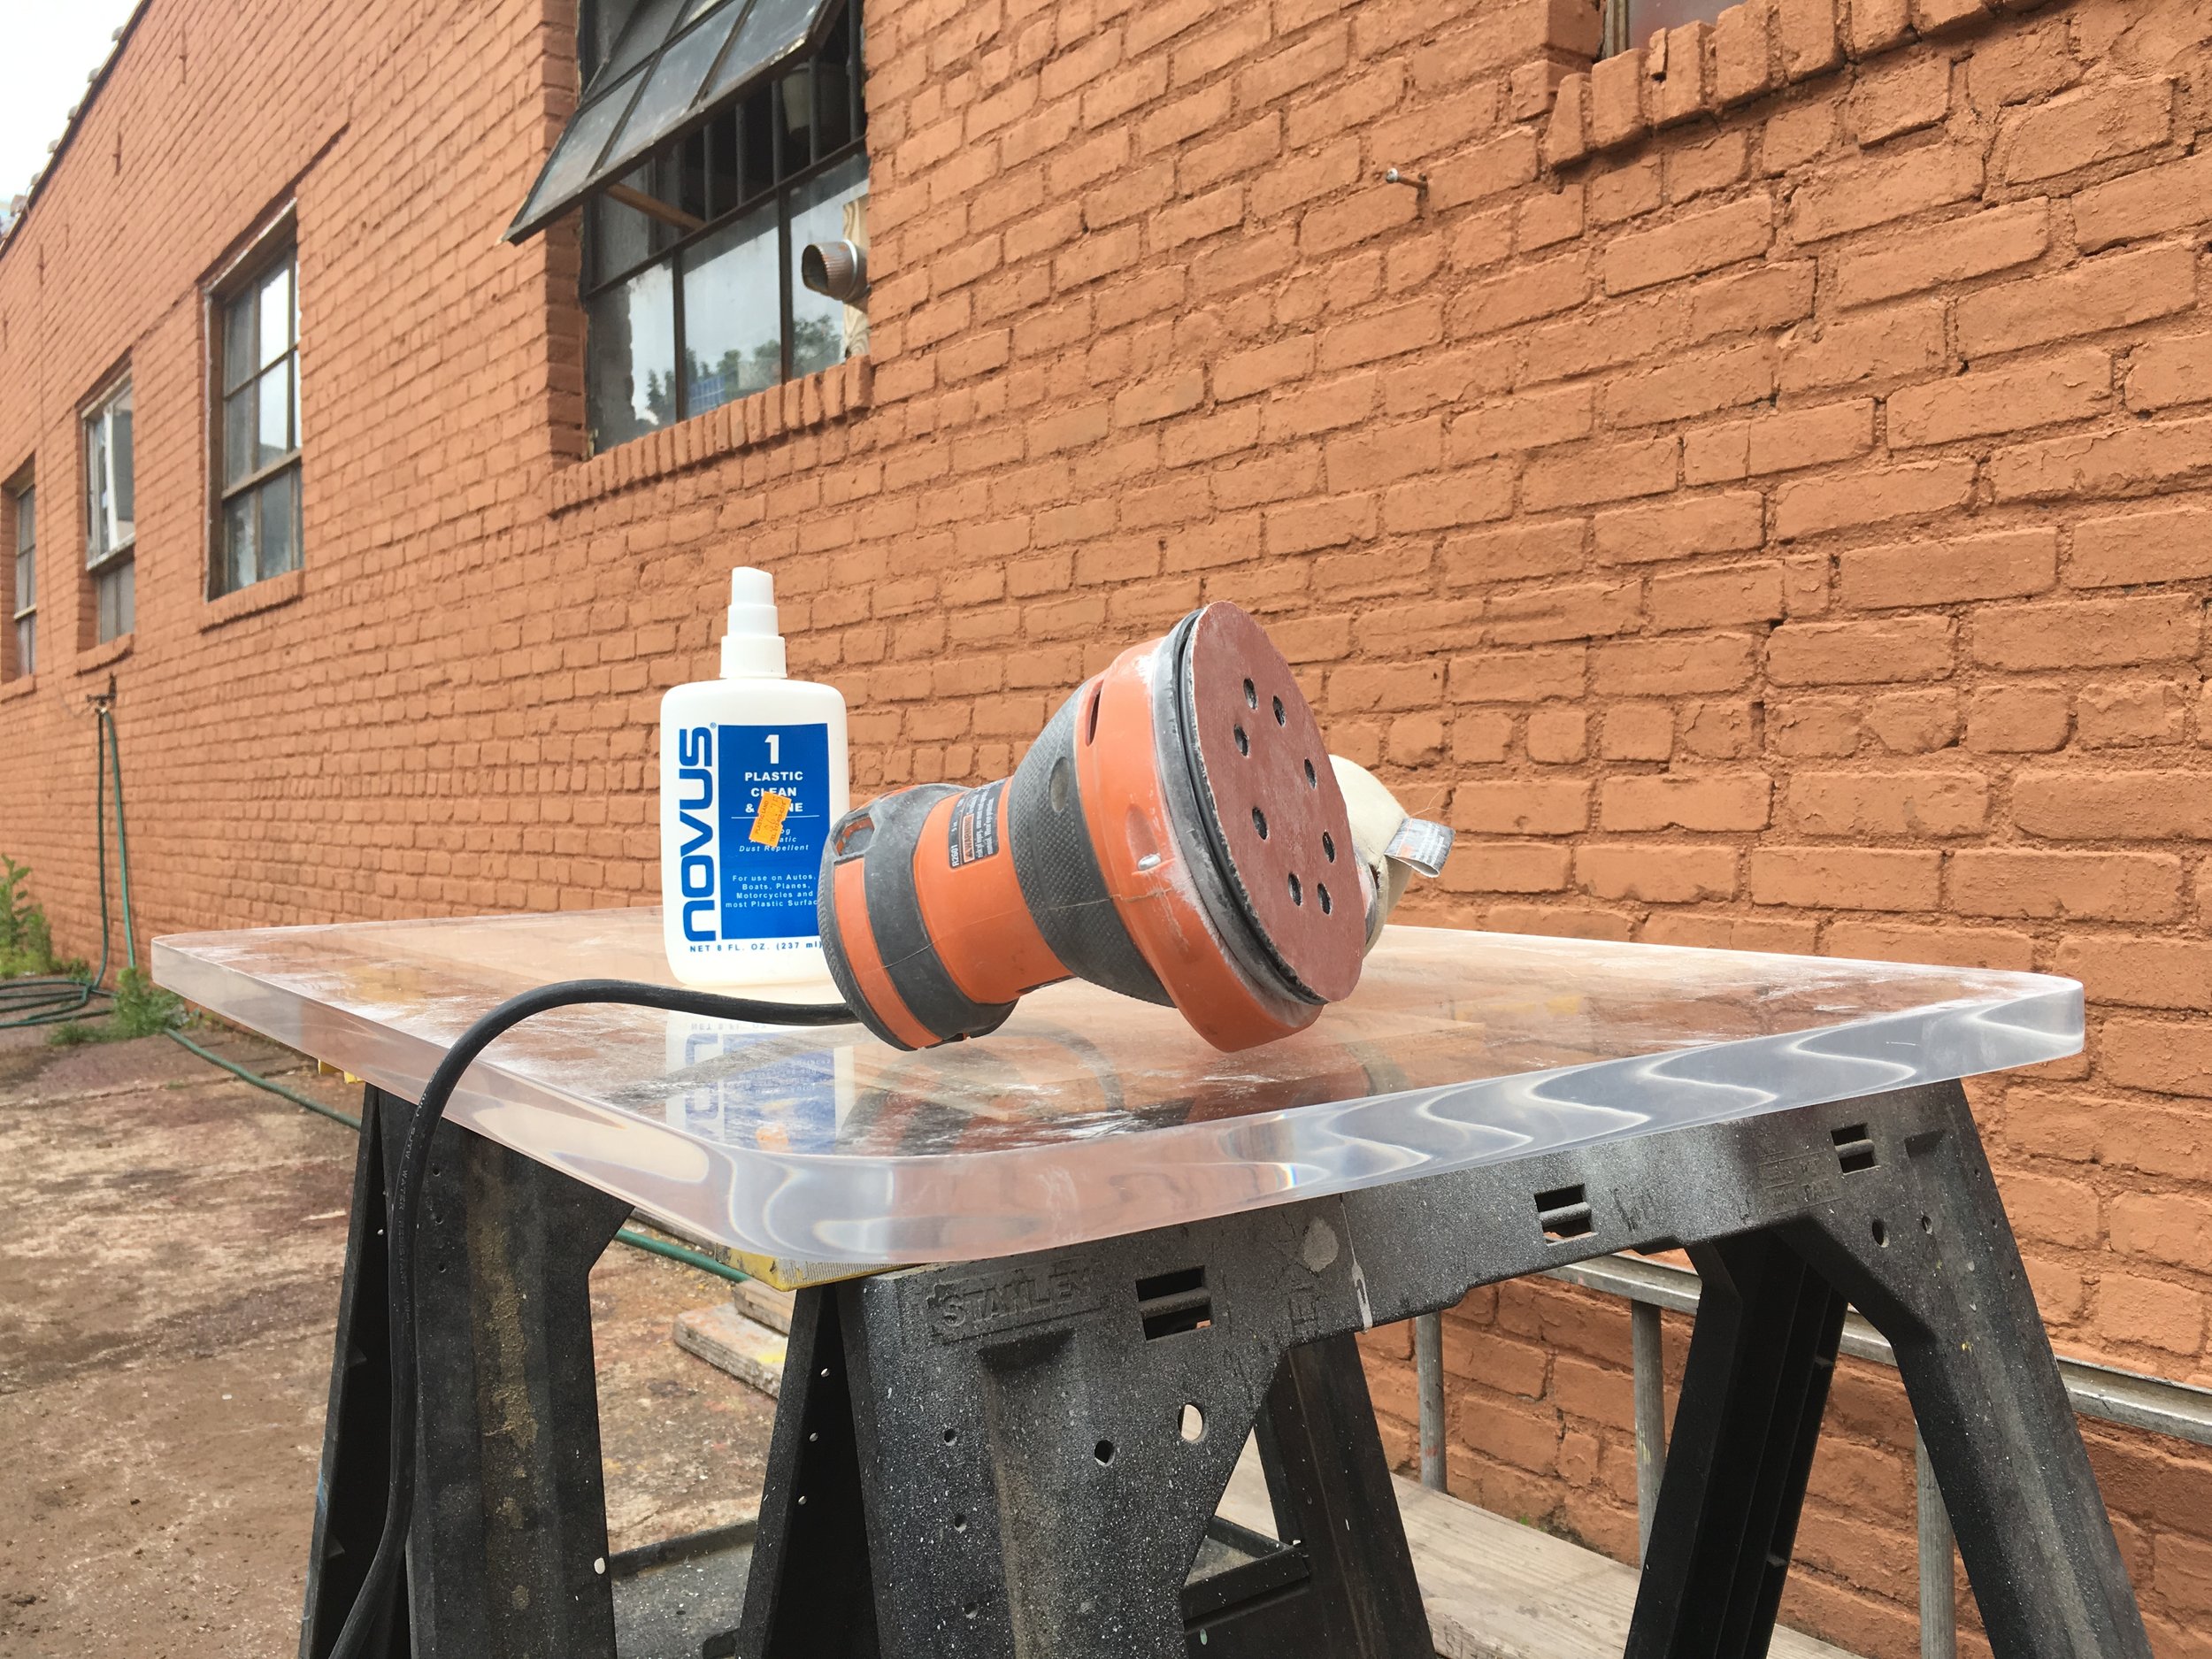
To finish the tabletop edge & make it all kinds of sparkly Krystle Carrington CLEAR, we used a combo process of orbital sanding with five different grits 400, 1500, 2000, 2500 and 3000 as well as lucite/acrylic polish creams, Brillianize, Novus 2 & Novus 3. Dramatic sounding, yes, but necessary y'all. Beyond cutting with the proper blades, this sanding/polishing process is what will make your DIY look like the pro's did it, so don't skip this crucial stage.
Starting from the lowest grit sanding paper (400), work your way up to the highest (3000). Make even, steady passes letting your sander do most of the work for you. Also, slightly dampen the edge of your lucite with the Brillianize (or water can work too) for each level of sanding. It doesn't have to be sopping wet here, folks, but def damp. I got all O.C.D. and used Brillianize in between the different sanding levels. This is the stage of the process where you should be sanding out any chips, or dings, to your edge but be mindful to not put too much pressure in one specific spot whilst sanding or you'll flatten that area out. With each grit level y'all should start to see that the edge gets more and more transparent.
Next, finish off with the Novus polishing creams. The final polishing is a three step process and actually b/c I already owned it, I used the Brillianize as my "step 1". But Novus does make a step 1 polish (see link above). Follow the manufacturers directions on back of bottles & go to town, y'all. What's awesome about this step is that you can't polish lucite too much EVER, so y'all can repeat this step over and over and over and get your sparkle/shine on as much as you want...this is also how you clean and maintain your lucite going forward, fyi.
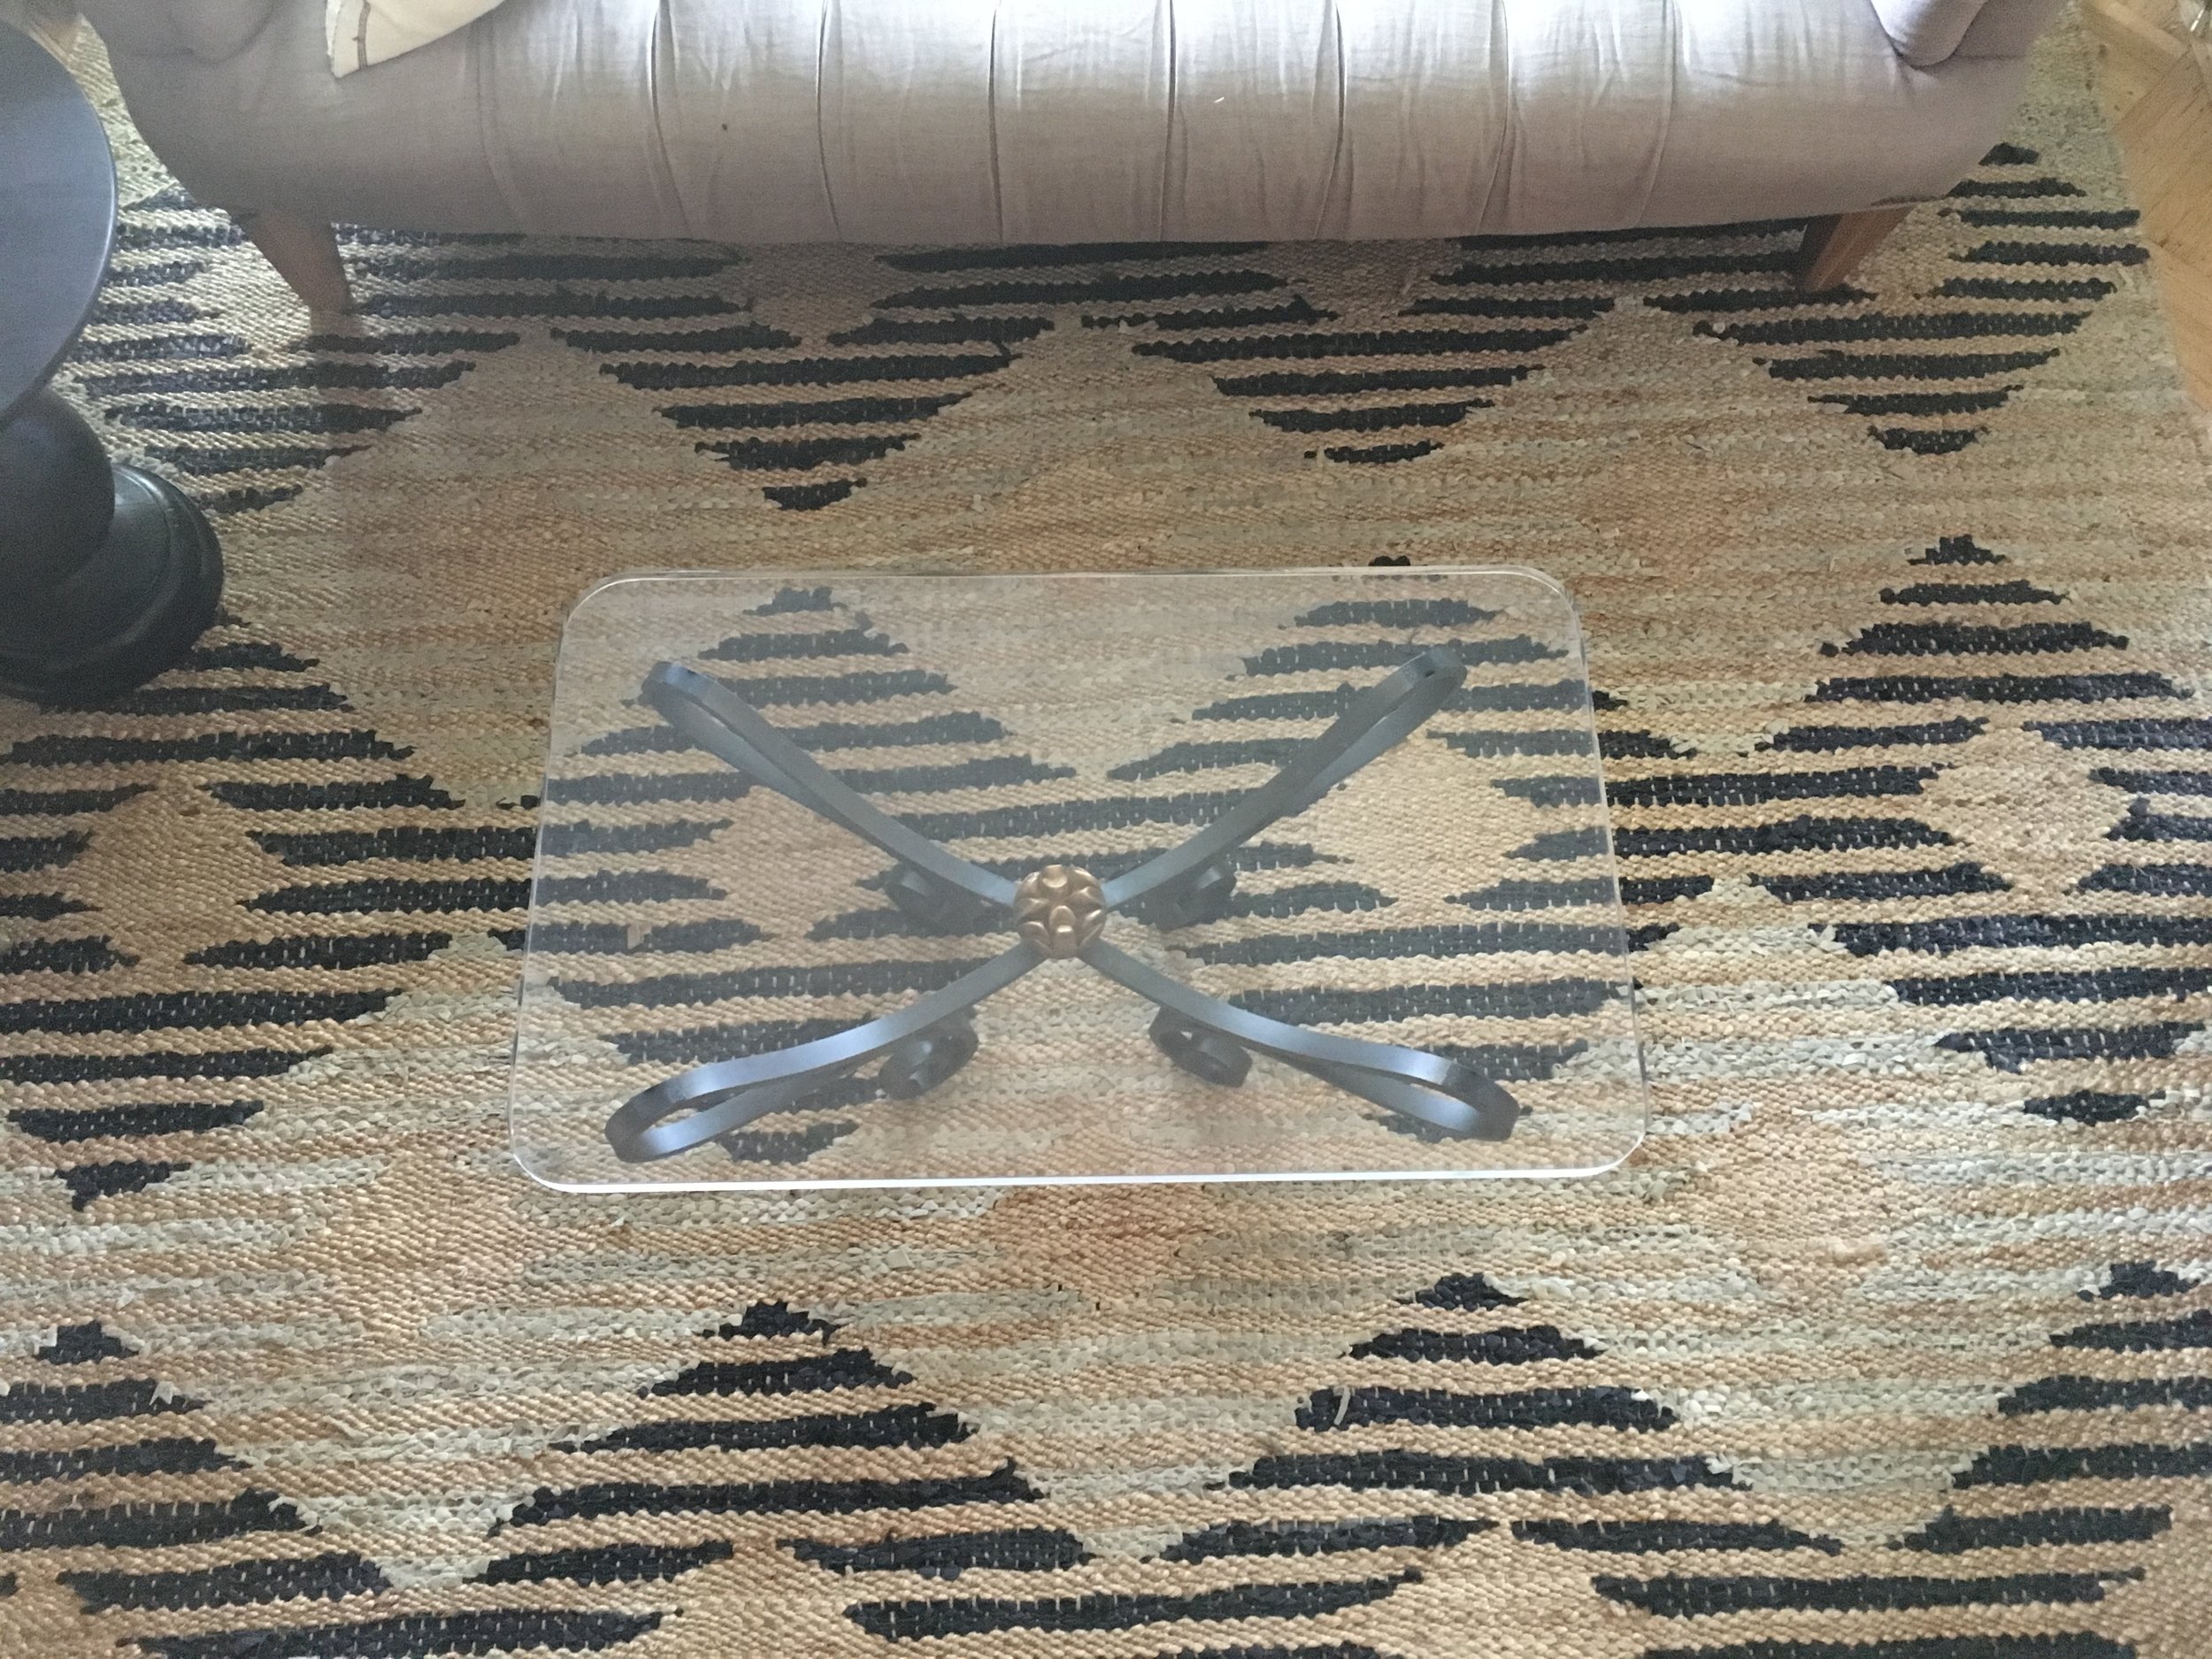
Now let's see this finished BETCH, y'all!
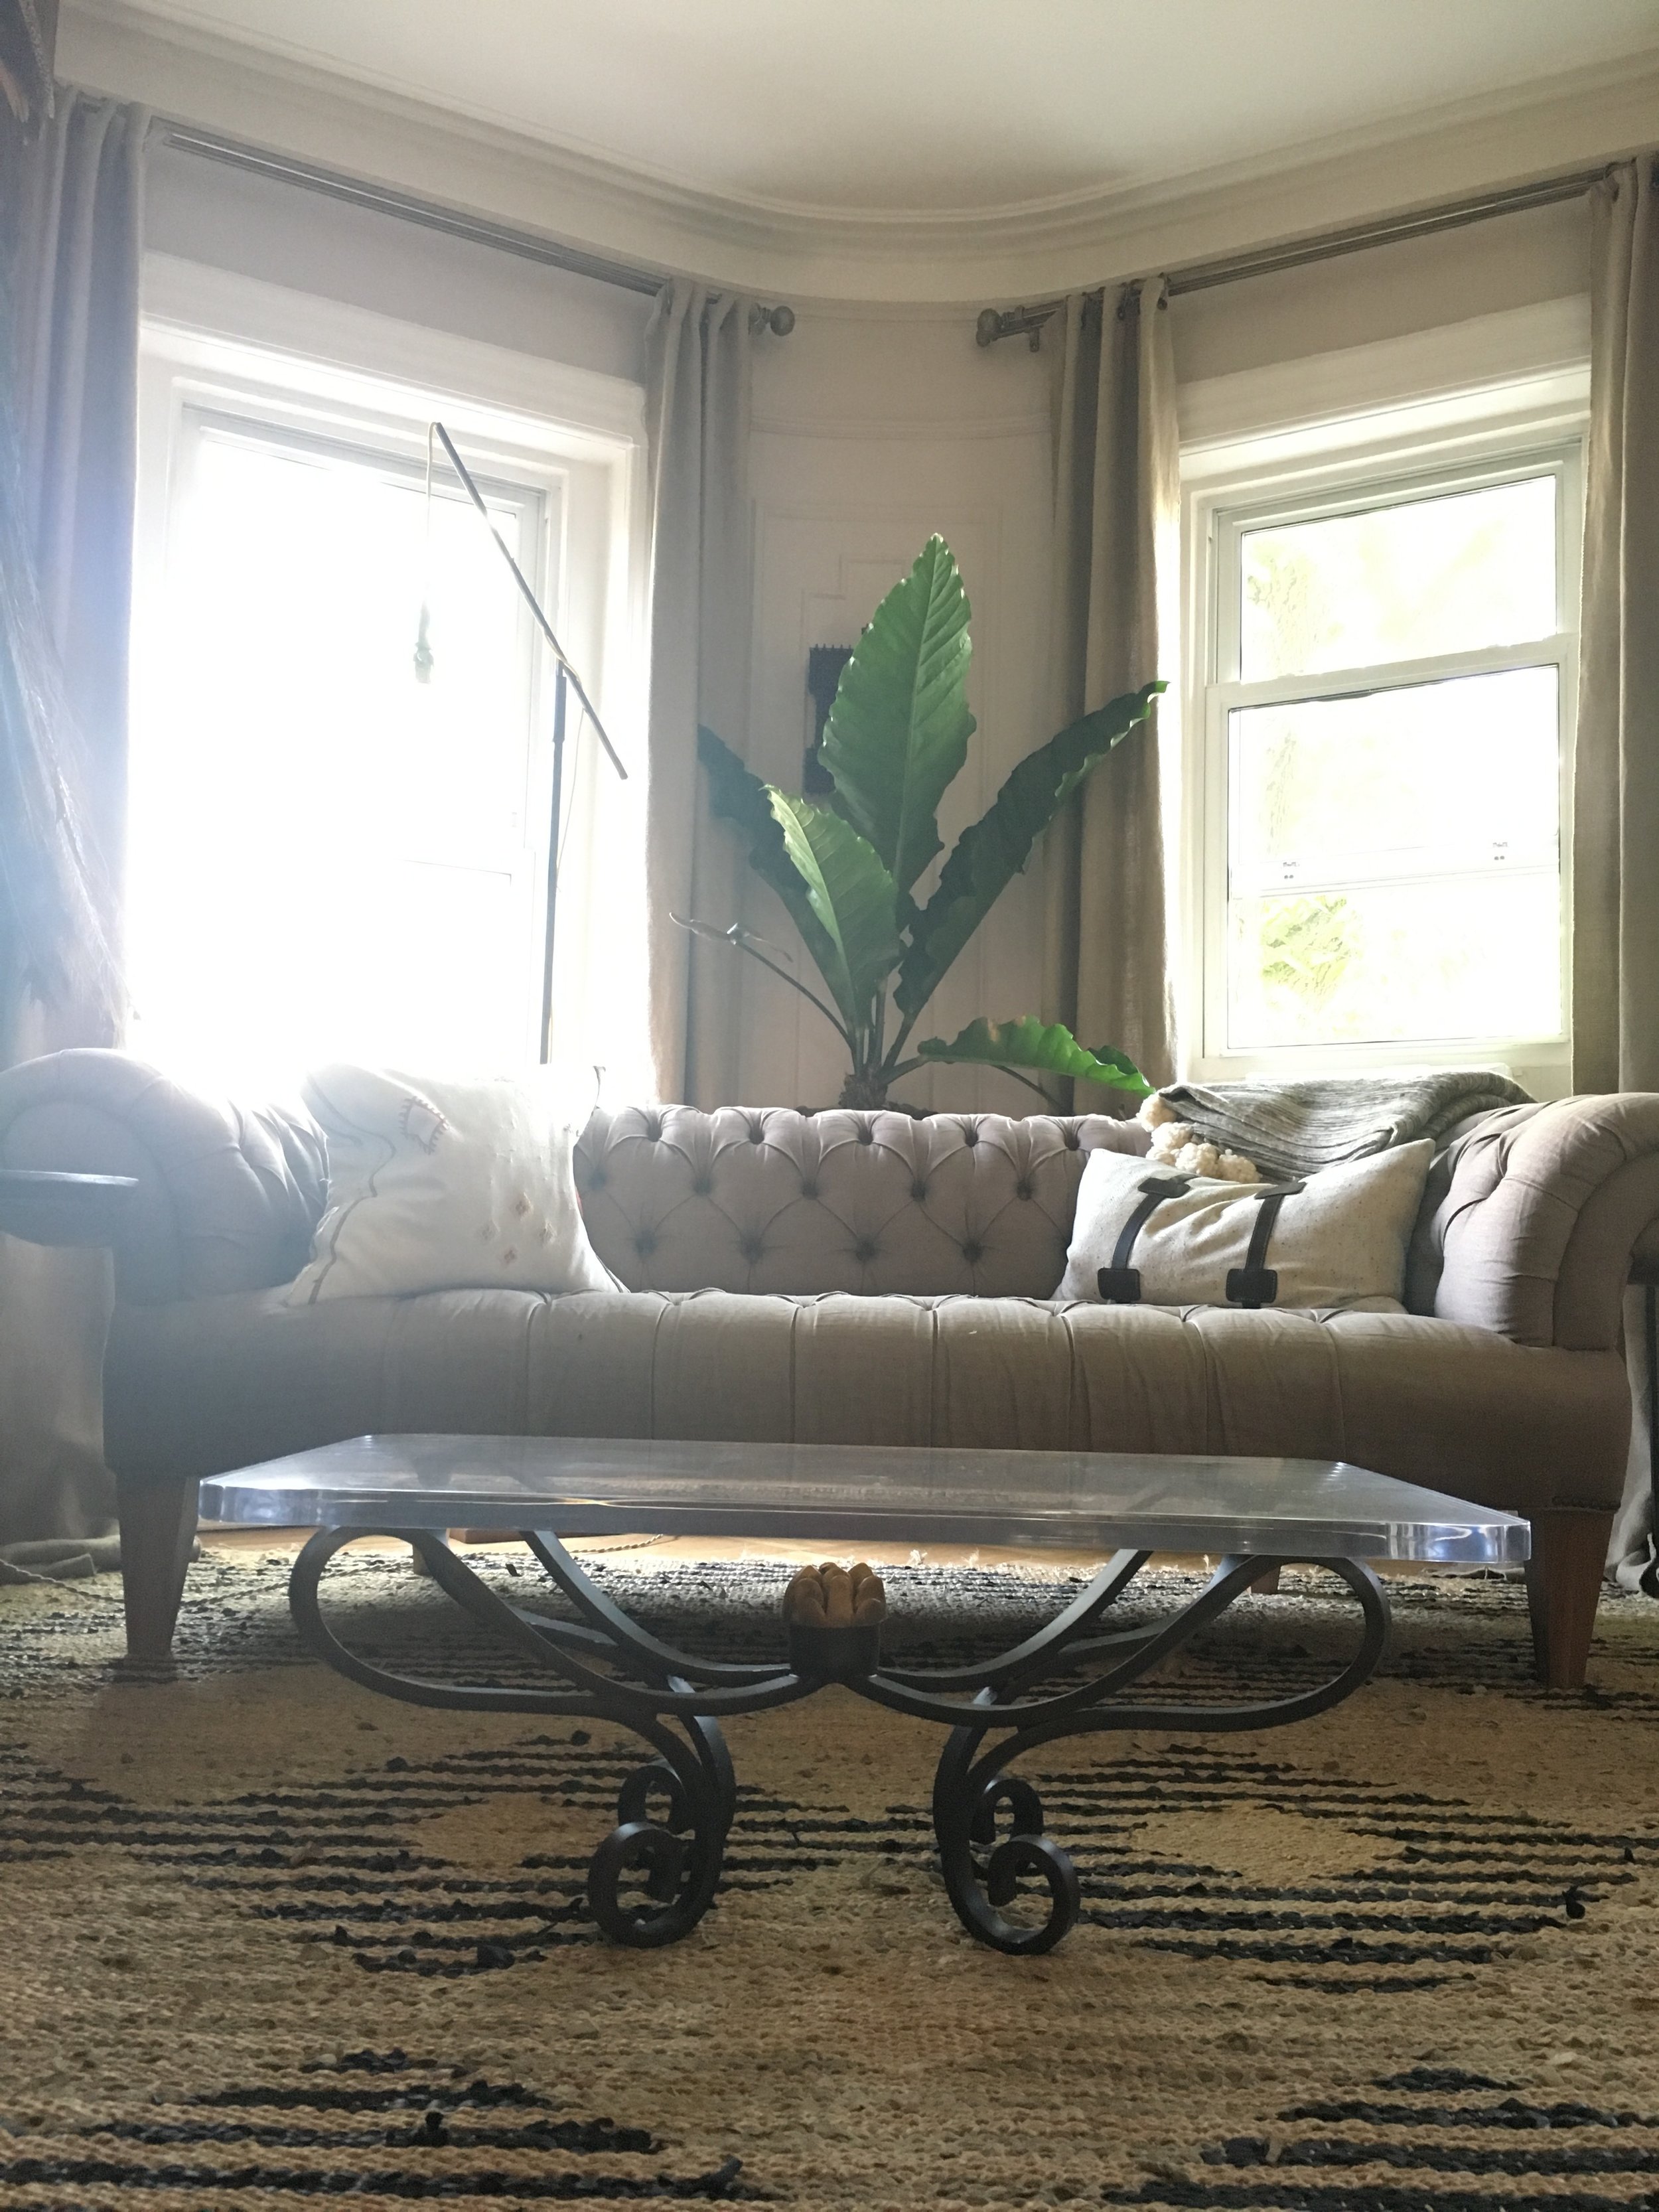
And on her new base:


Yasssssss kween!!!! THIS coffee table is just EVERYTHING. And yes the labor part was pretty intense, but all this GLAMOUR cost about $80, give or take...
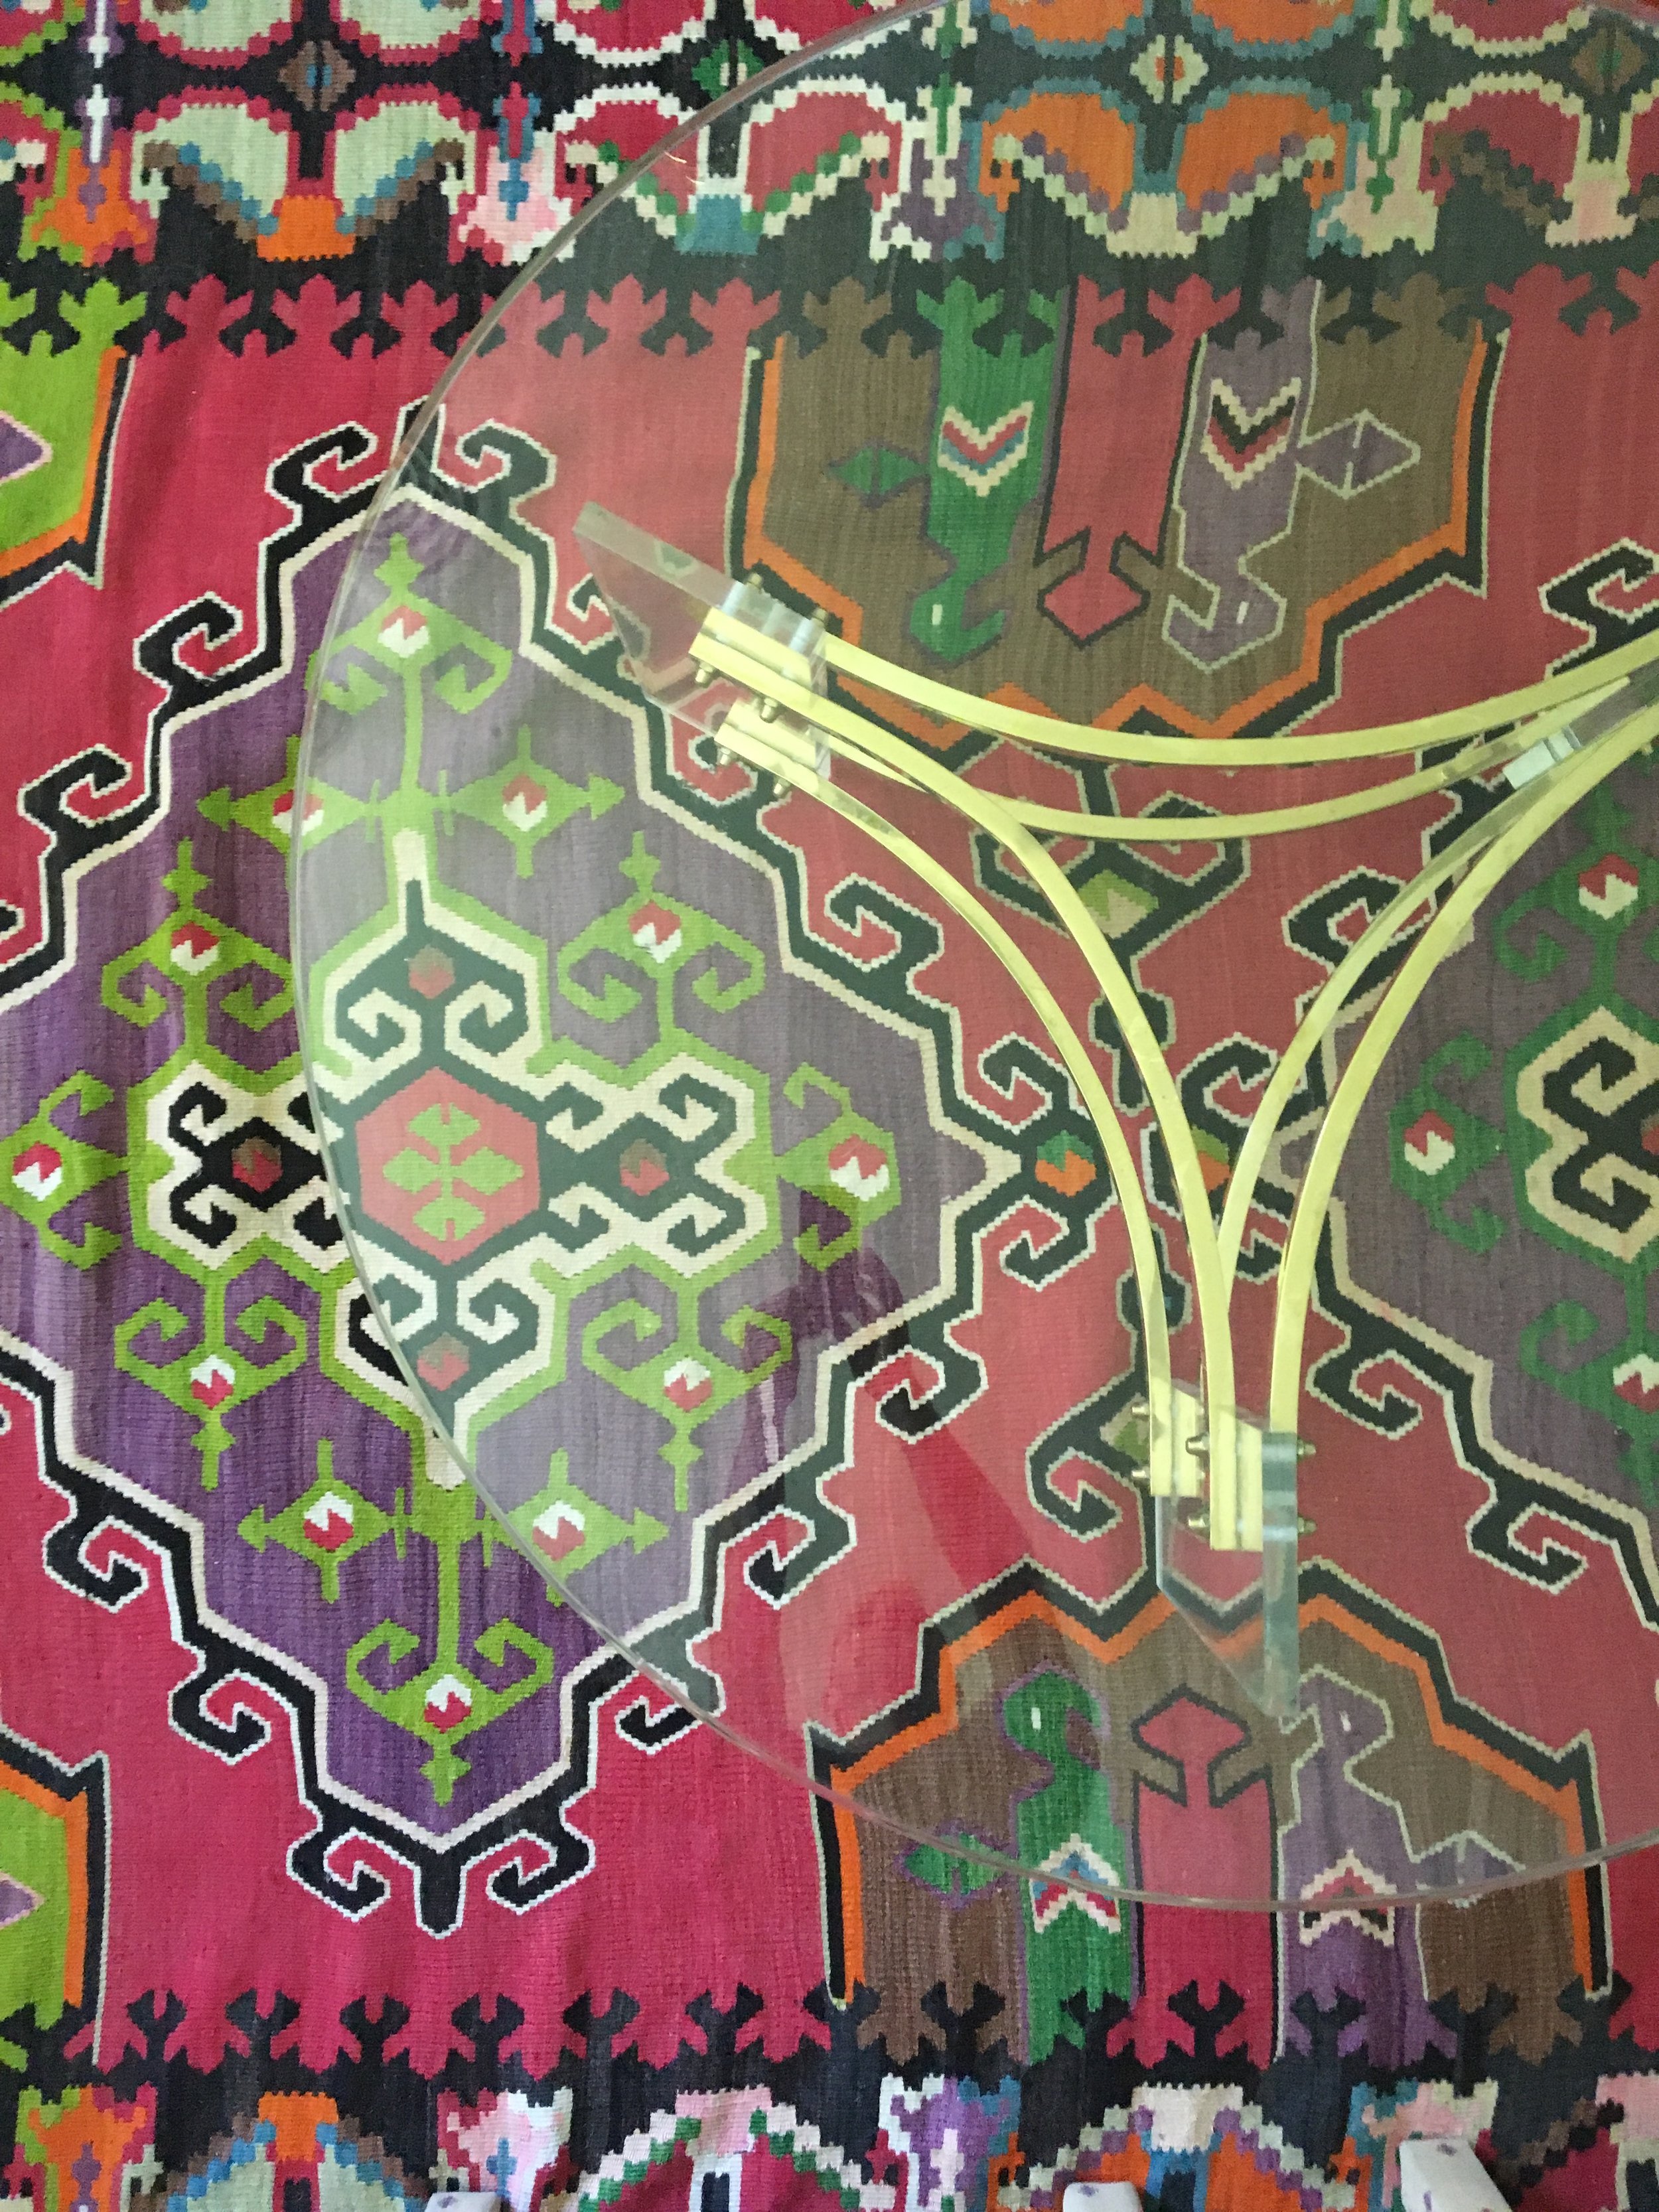
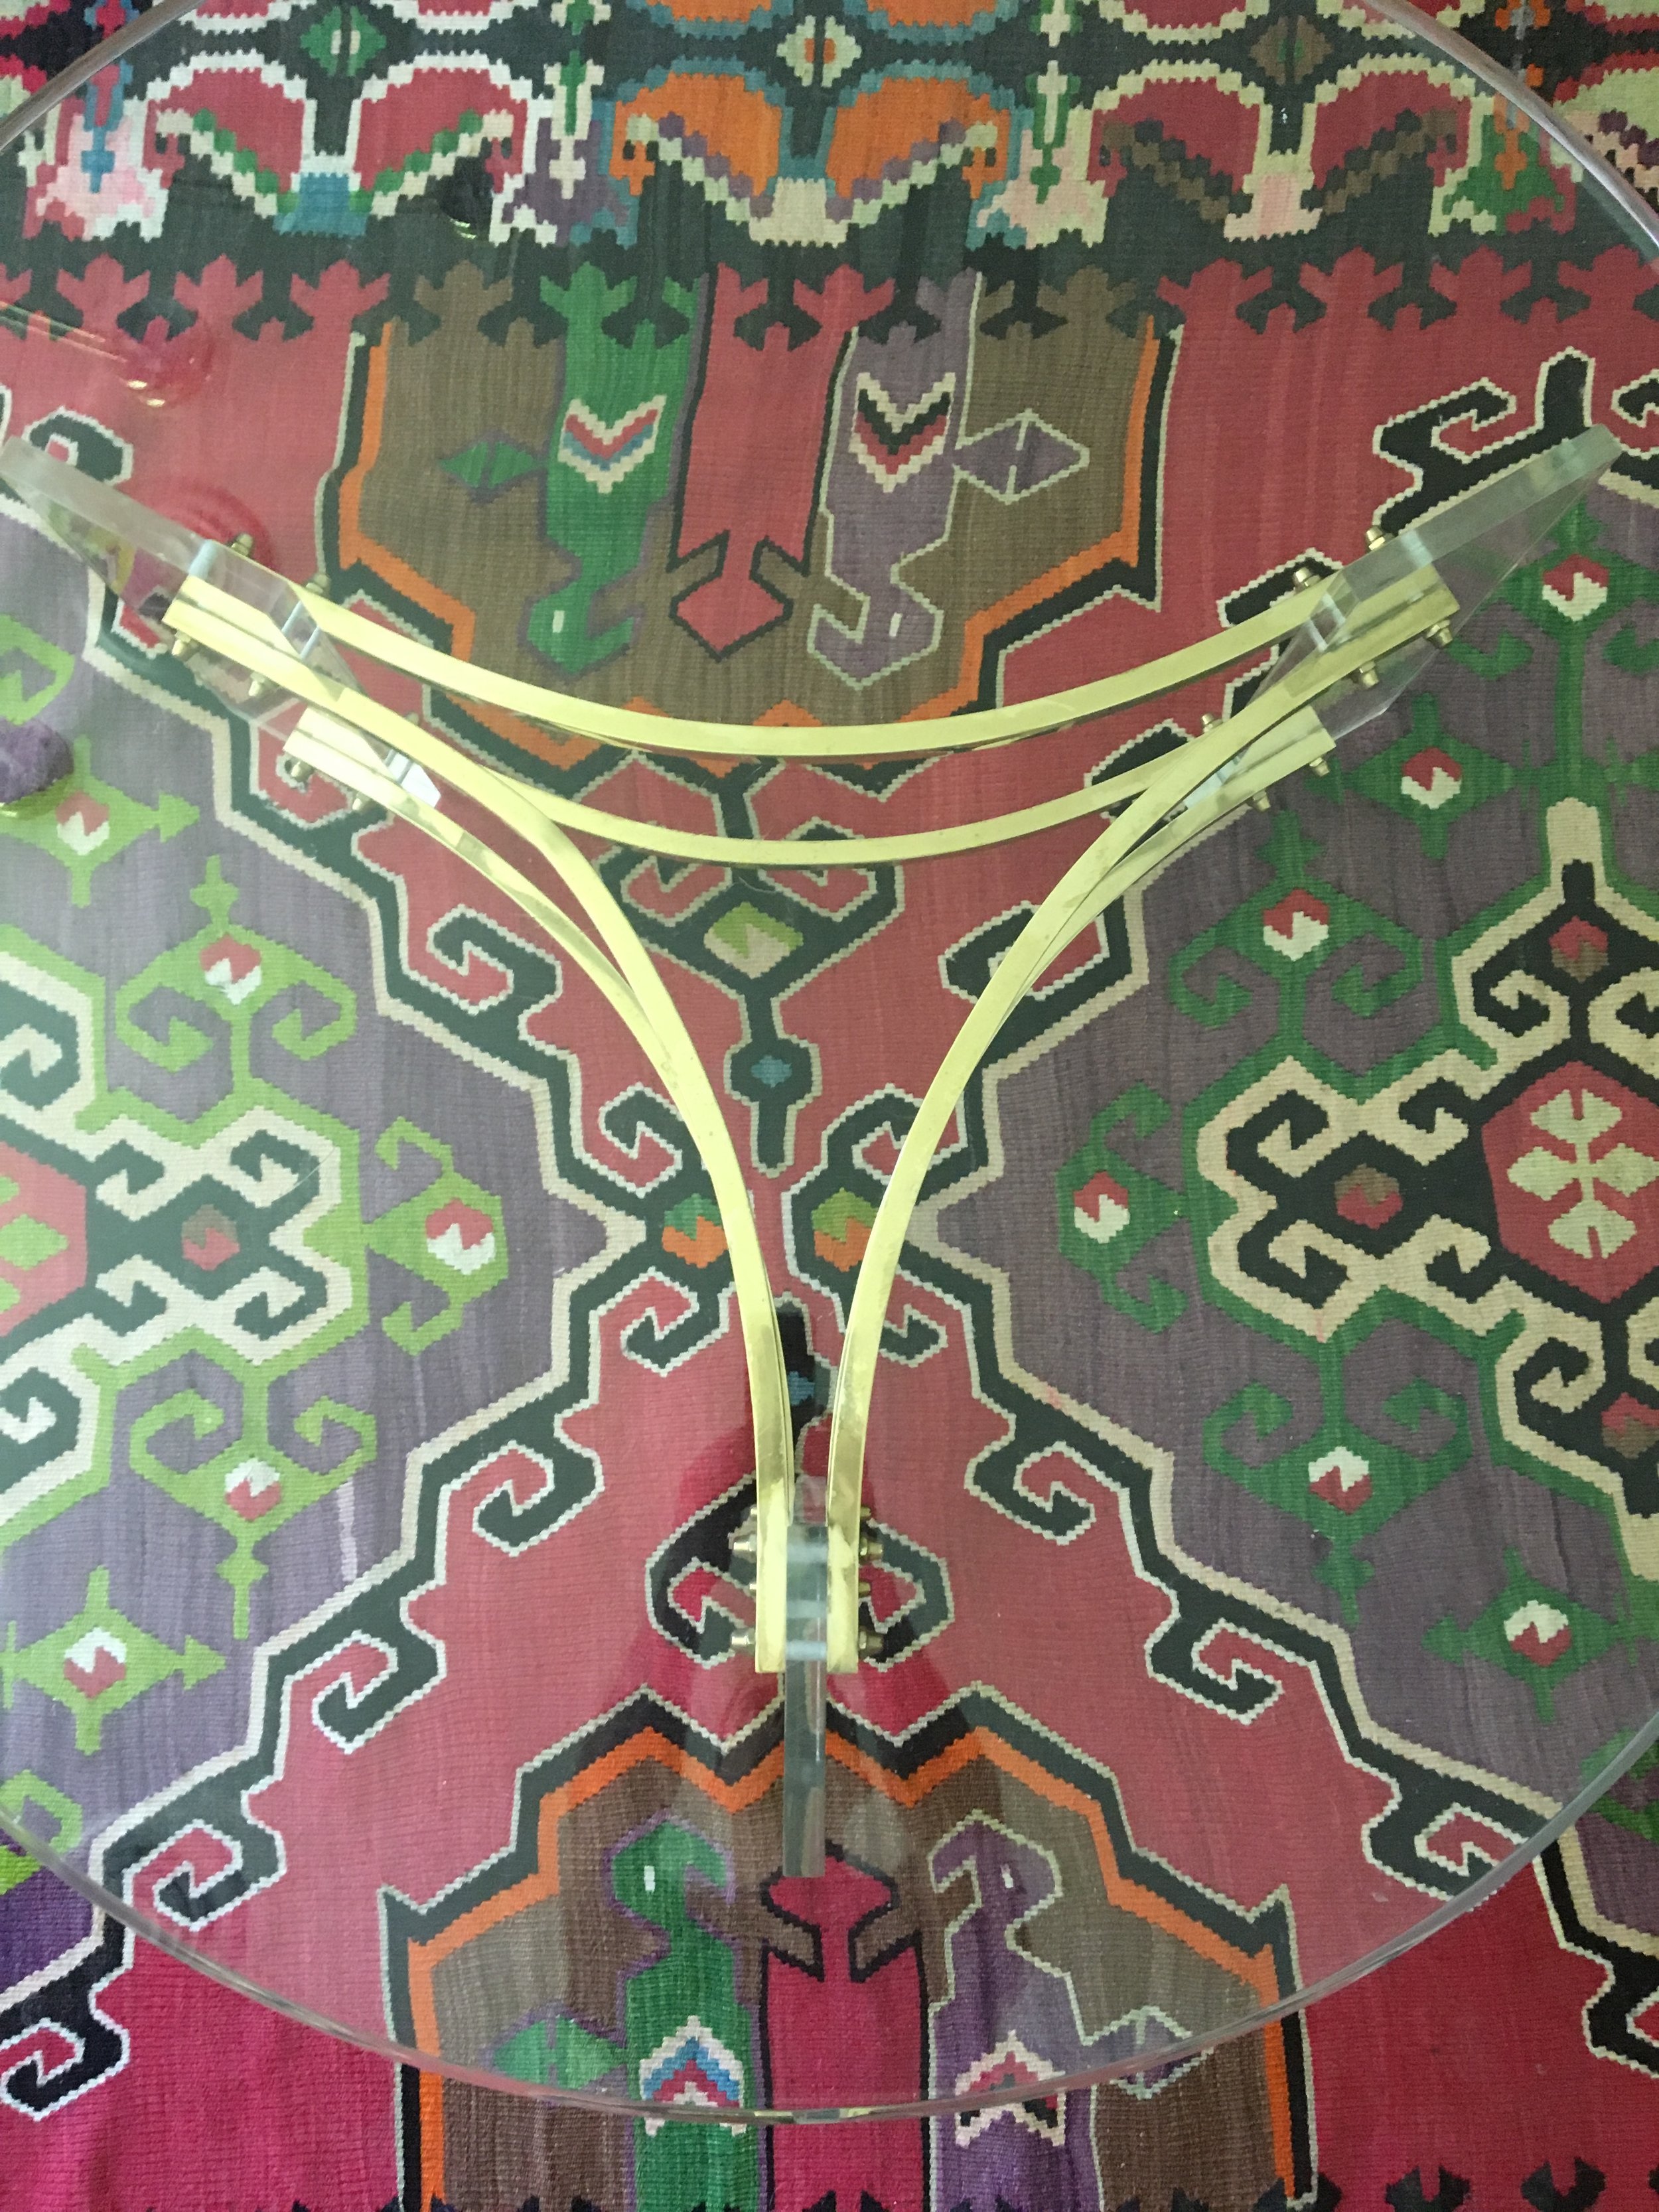
BUT WAIT y'all-- there's MORE! As mentioned above, Chris needed a tabletop for an awesome coffee table base that had been his grandmother's:

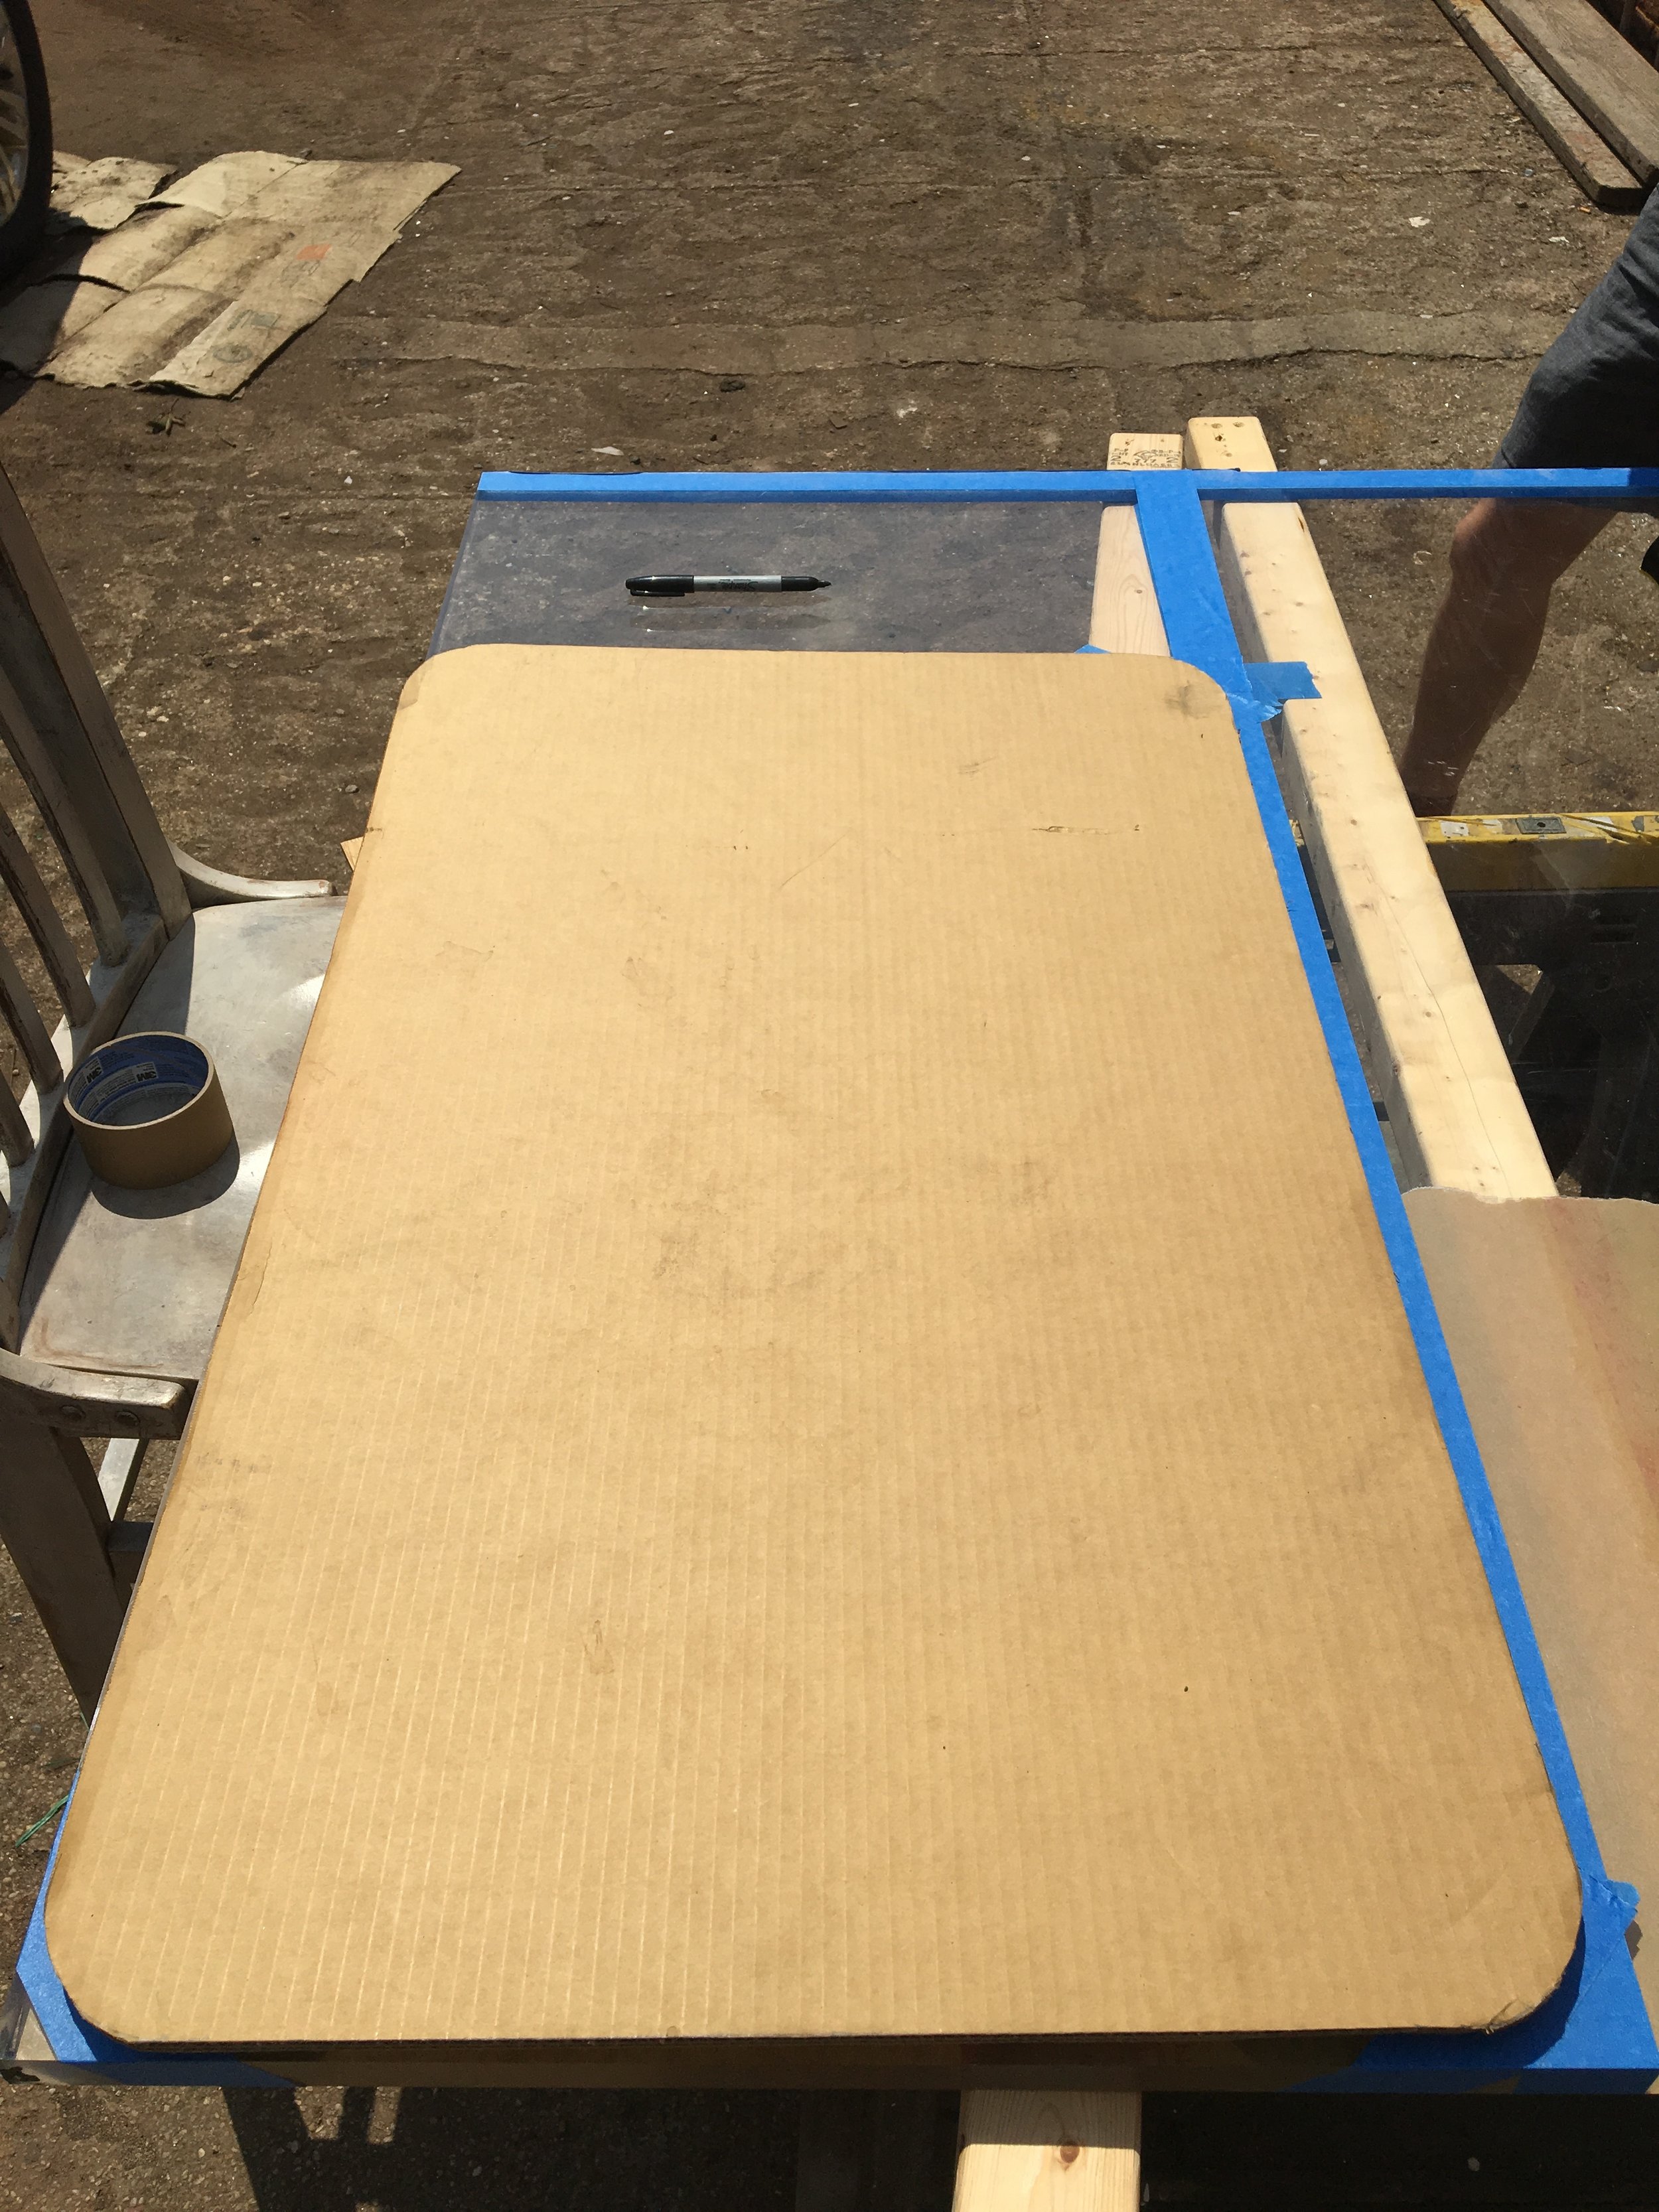
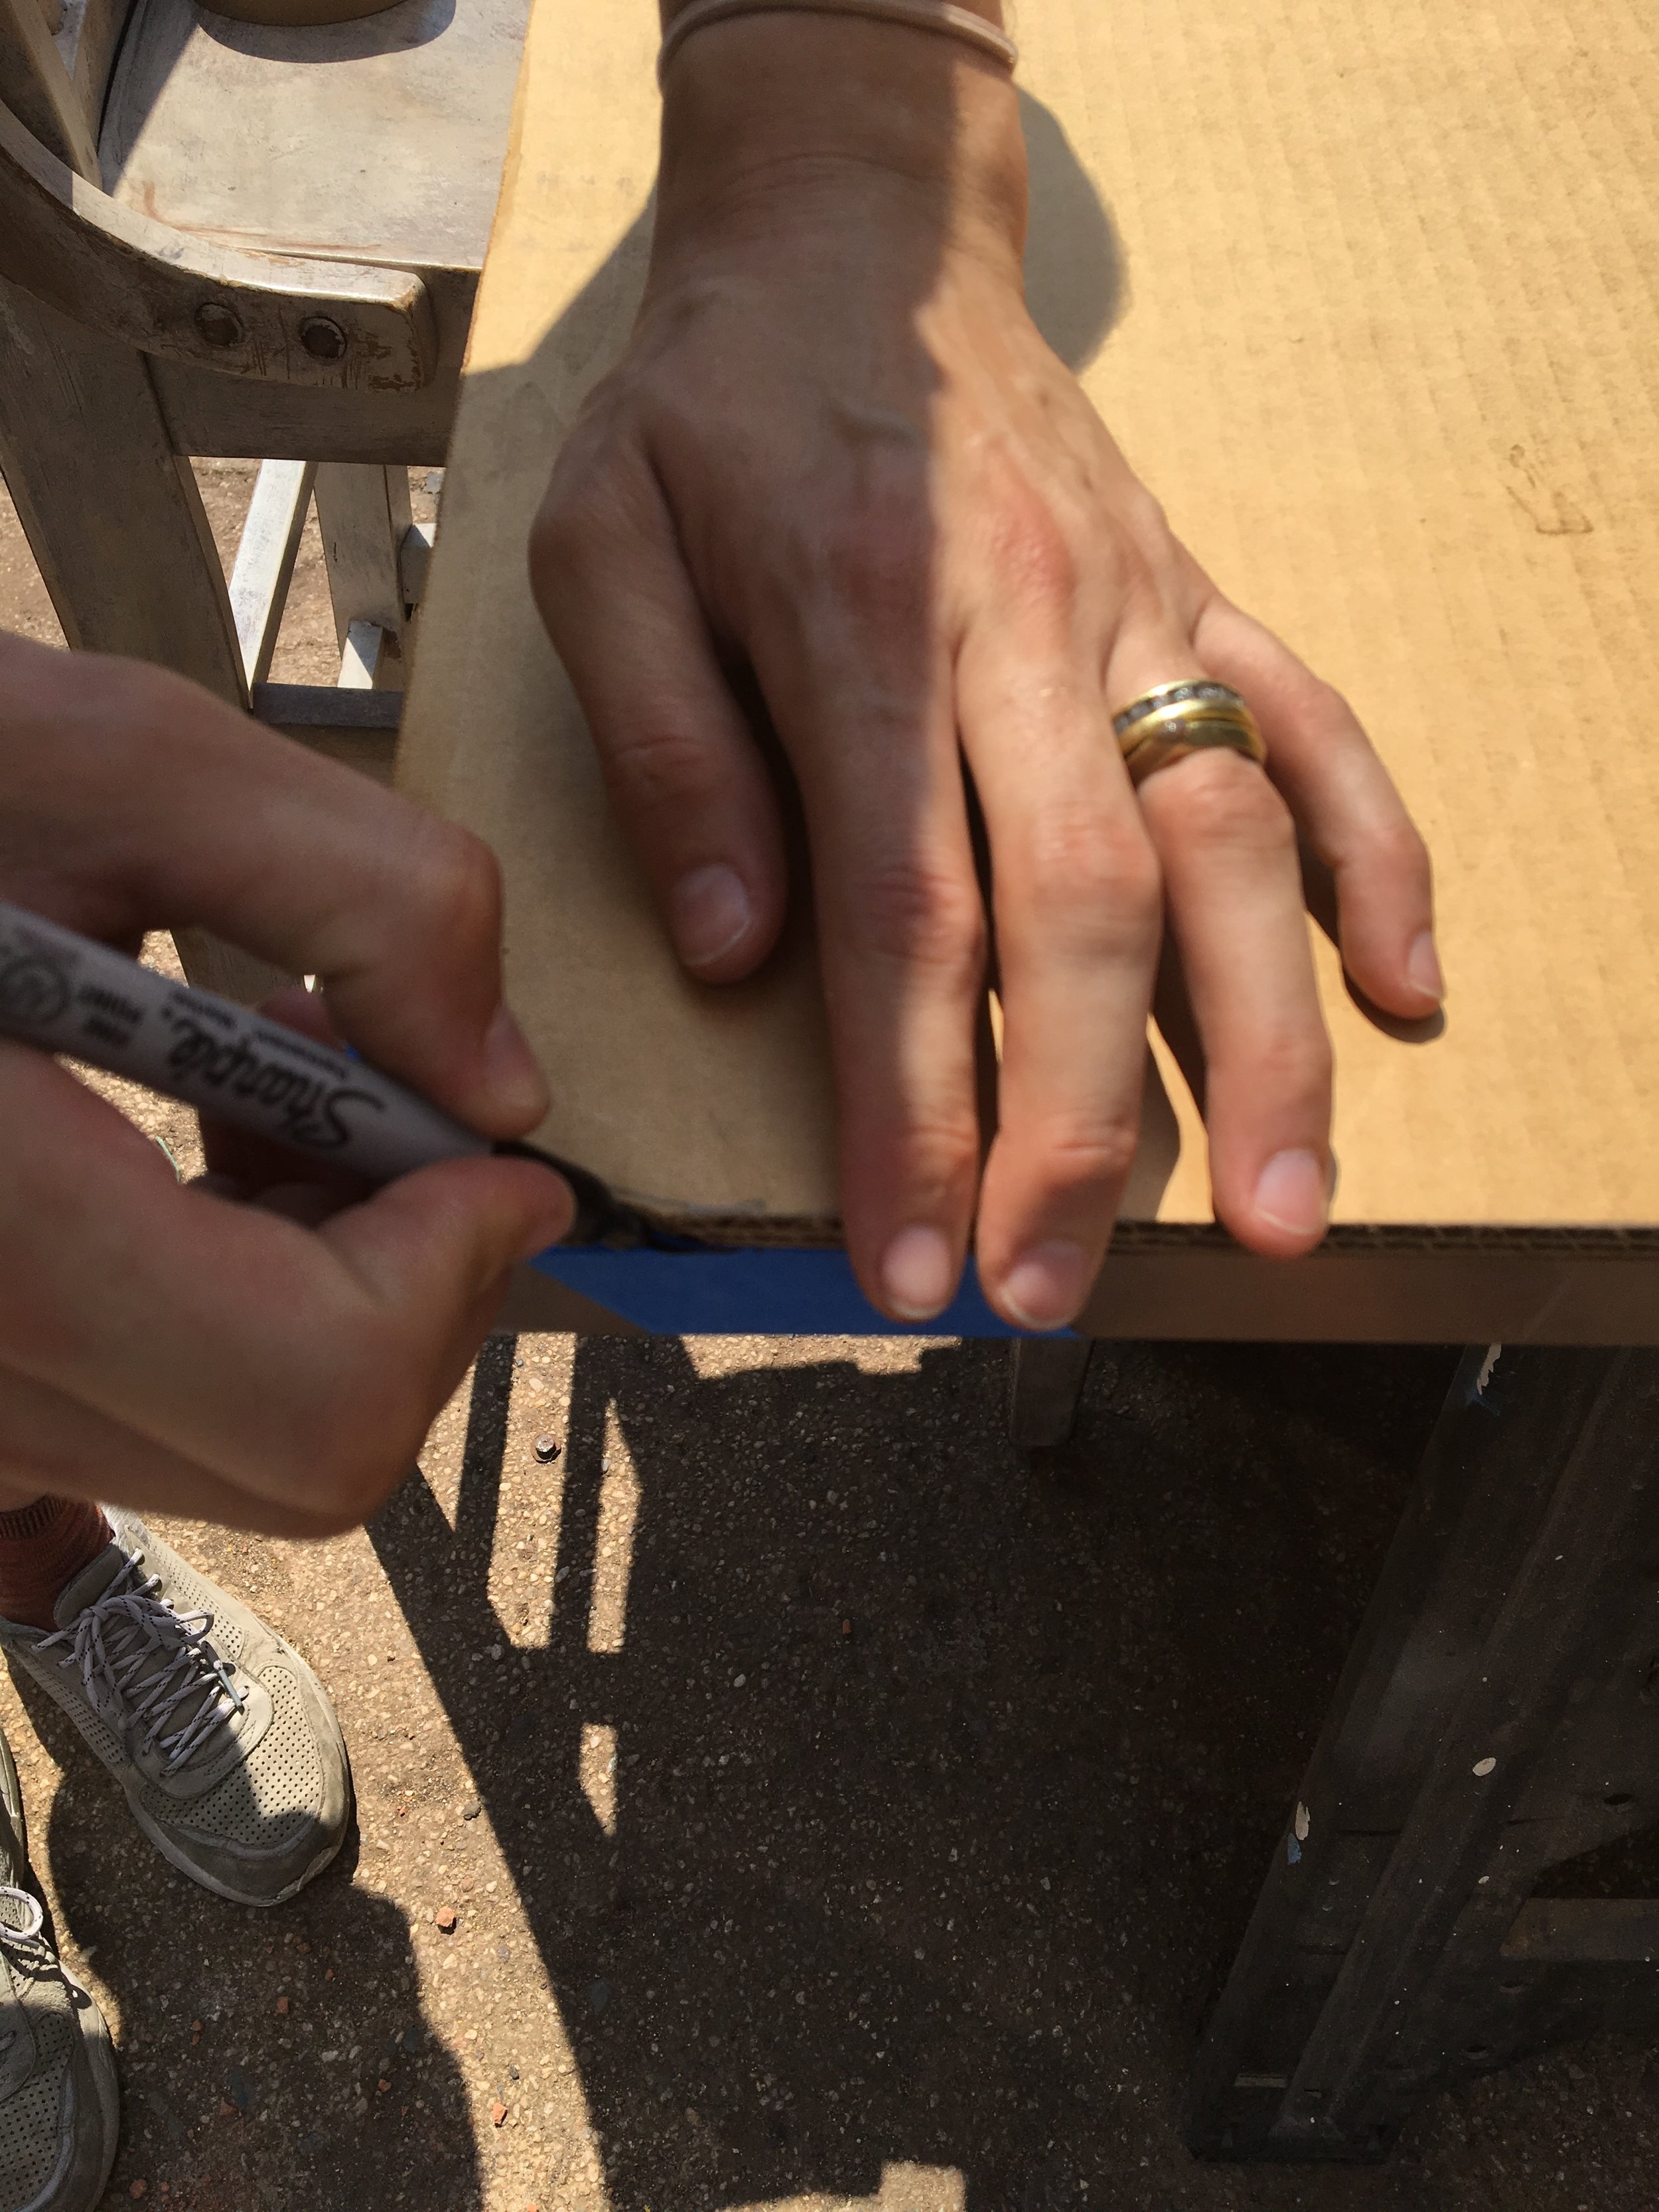
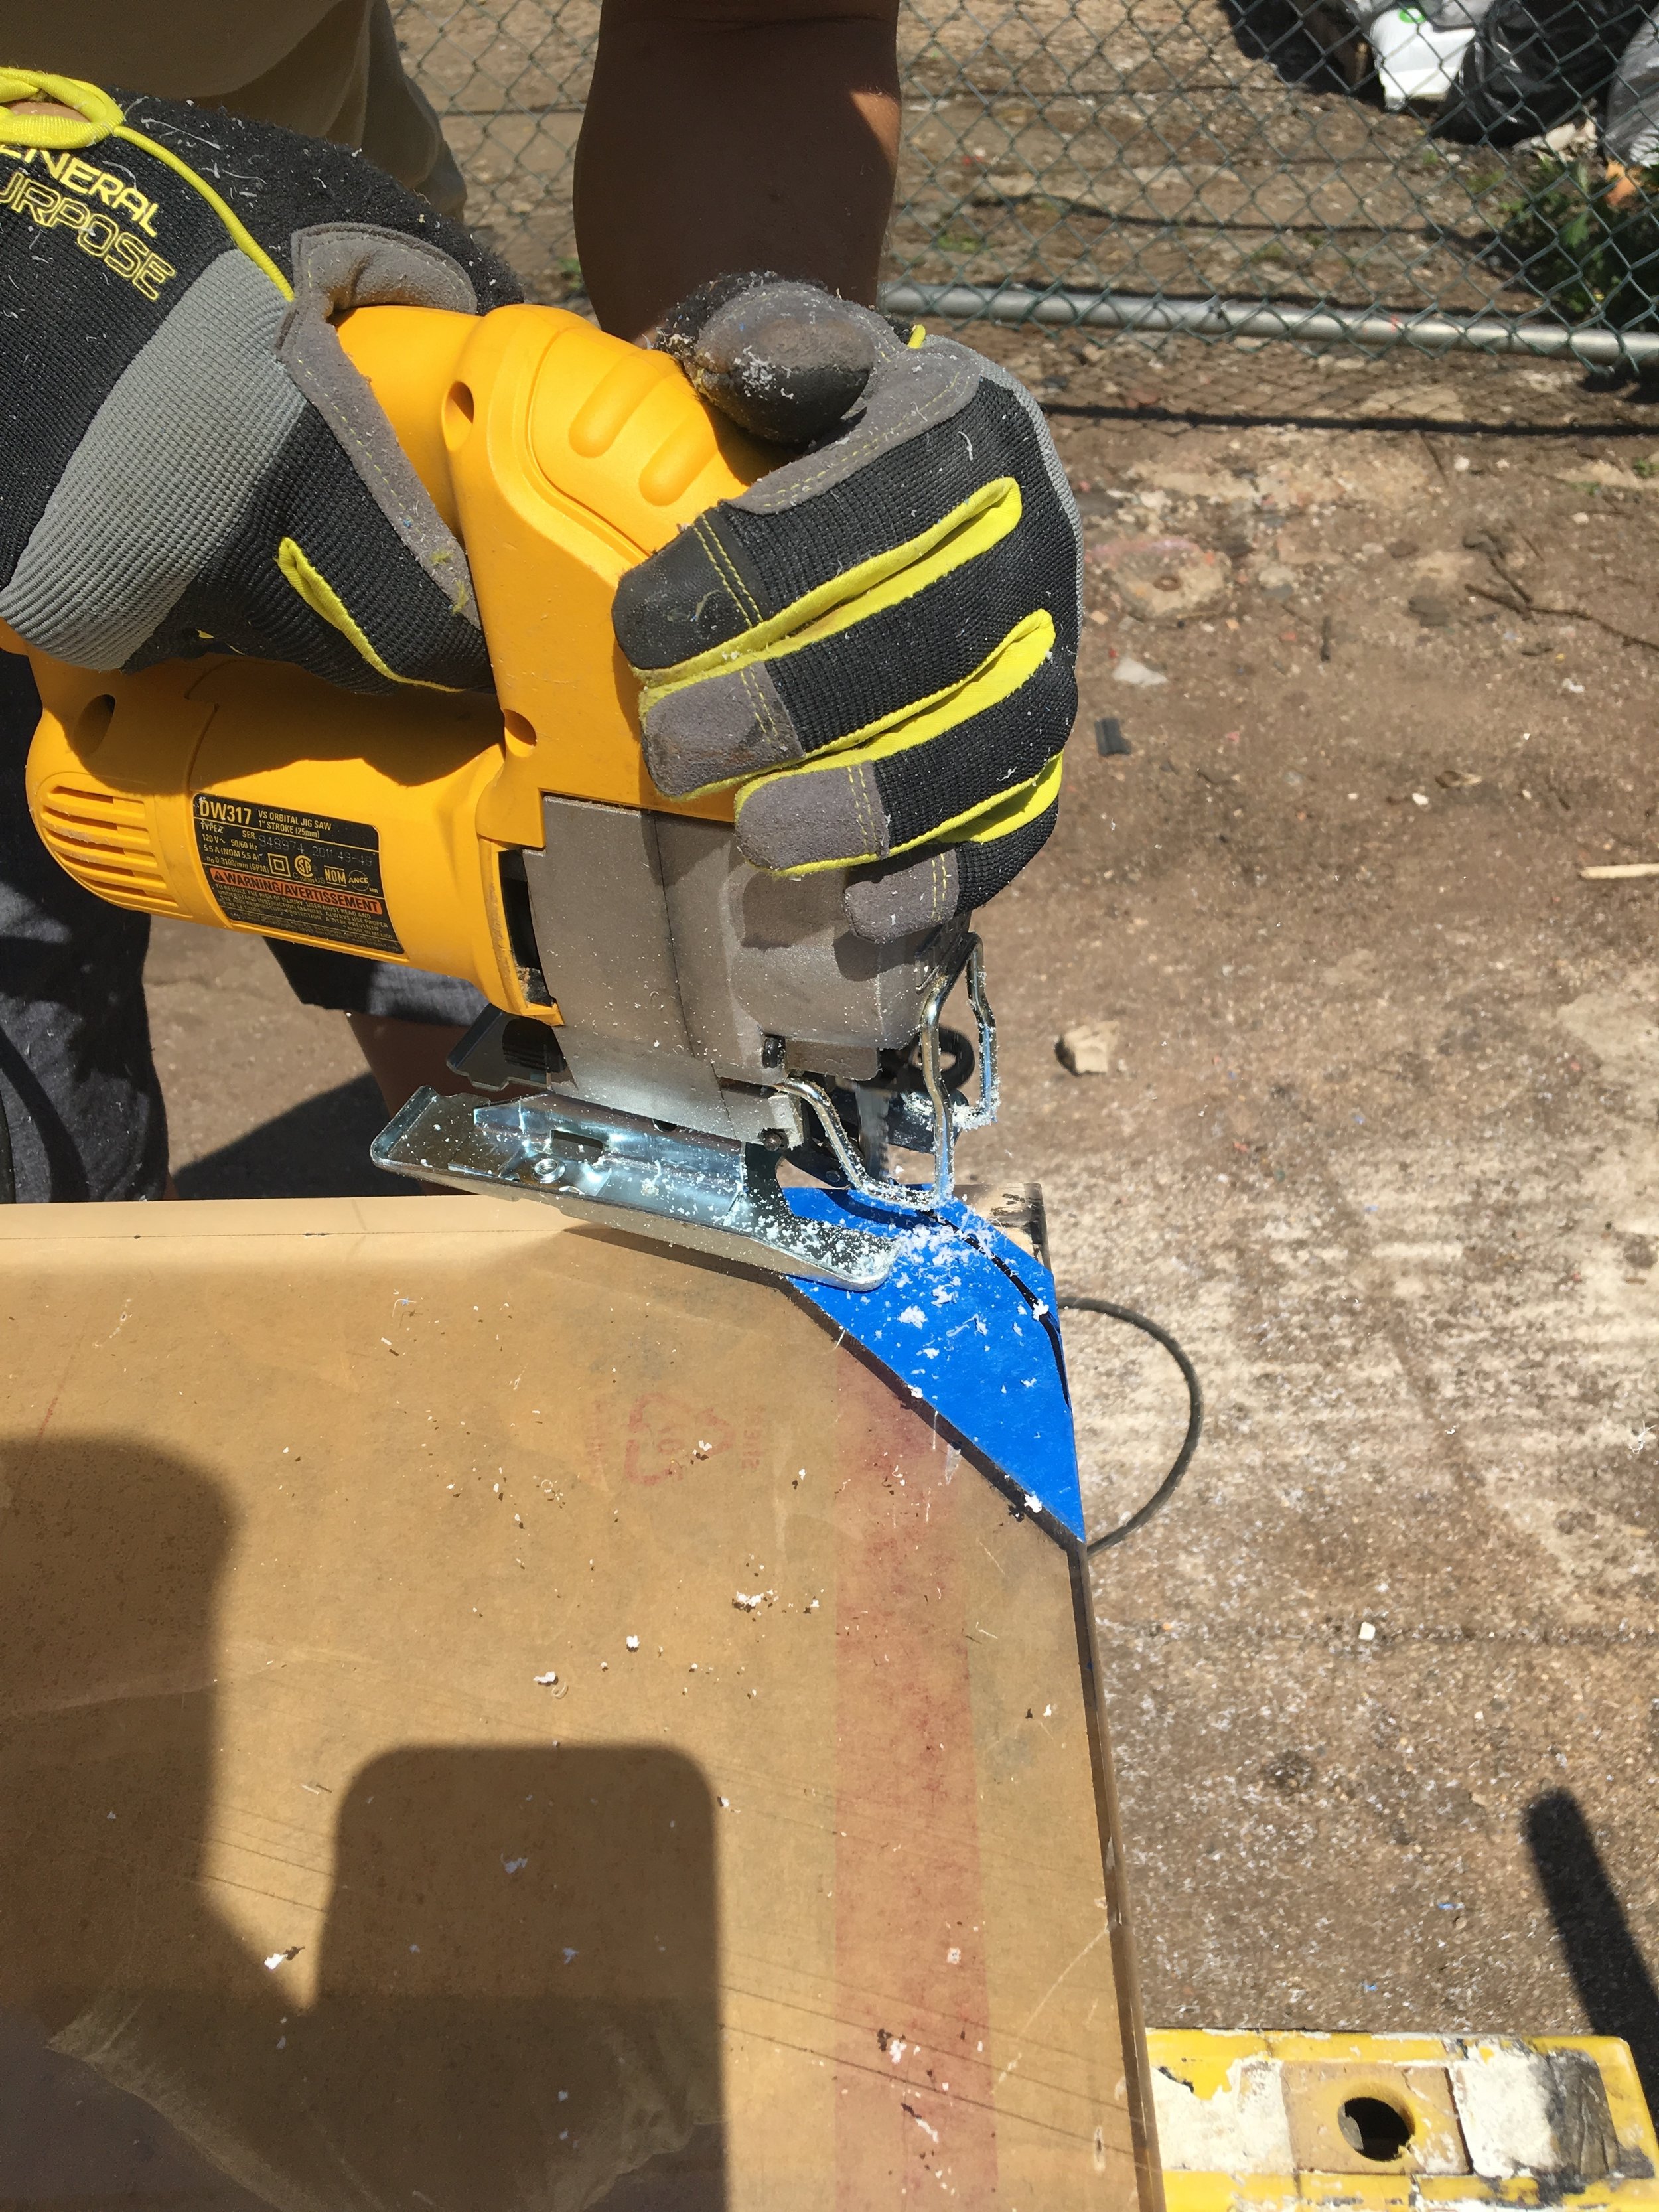
Chris decided he wanted a rectangular tabletop with rounded edges for his half of the lucite sheet. He'd made a cardboard template in the size he wanted which we simply placed atop and traced, so no intricate DIY compass situ required, lol. Similar to my tabletop, we taped down painters tape where our cut line would be to avoid sharpie ink on the actual lucite. He also used the pre-cut factory edge on one side of his piece of lucite in order to avoid having to make multiple cuts. He cut away the excess lucite edges using the circular saw, following the same method highlighted above for my tabletop.
With the excess lucite cut off and the template line(s) traced, Chris carefully trimmed the rounded edges using a jigsaw. Again, y'all, appropriate plastics blades were used on both tools used to cut the lucite.
Then we took a necessary moment to give y'all our LOOK...
Chris then got his life sanding and polishing his tabletop. He followed the same steps I detailed above, including the levels of sand paper grits, etc...though he used Novus 'step 1' cream/spray whereas I used Brillianize...
And then THIS HAPPENED, y'all:
OH MYYYYYYY CHICNESS!
So I hope this 'Tale of Two Coffee Tables' novella has inspired as well as given y'all some insight into how to cut & TURN OUT your very OWN lucite/acrylic tabletops or whatever lucite dreamzzz y'all are lookin' to fulfill! Now go get IT!