Previously on Blog-A-Dazzle, y'all were absolutely enraptured by my use of washi and artist tape in creating a collage/gallery wall for Carly's dressing room. There was an absolute frenzy of comments, concerns, quips...and then it went viral and shiot got REAL. I've been deluged with calls concerning inventory levels of washi and artist tape at various retailers. Even the manufacturers are concerned about keeping up with all this demand...but, whateve's, that's not gonna stop me from continuing on with even MORE scrumptious tape DIY action...y'all need to be satiated-- if that's EVEN POSSIBLE?! IS IT? Let's find out! Cut back to Carly's dressing room...here's what the closet looked like before:

I made some quick curtain panels in this 'licious pink:

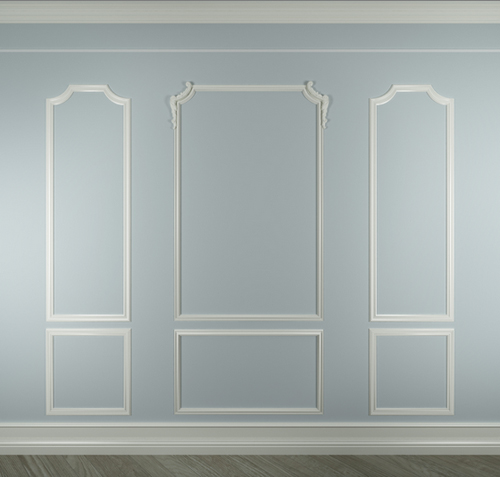
And adorbs as they are, that wasn't giving me enough...DRAMA. B/c of its' size and placement in the dressing room, the closet was already taking center stage-- but it needed more razzamatazz to get it to the next level. I immediately thought of picture moulding-- which is a fantastic way to create instant architectural detail in a space. Like this ex pic (from MT Luxury Homes):
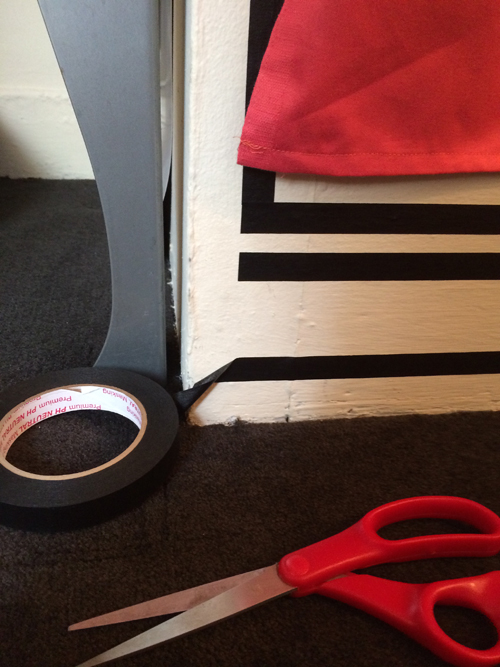
Now we didn't have the time or $$$ to get all into proper picture moulding shenanigans, but we sure did have time and $$$ for more artist tape! Yasssssss! I used black artist tape to create the look of picture moulding, like this:
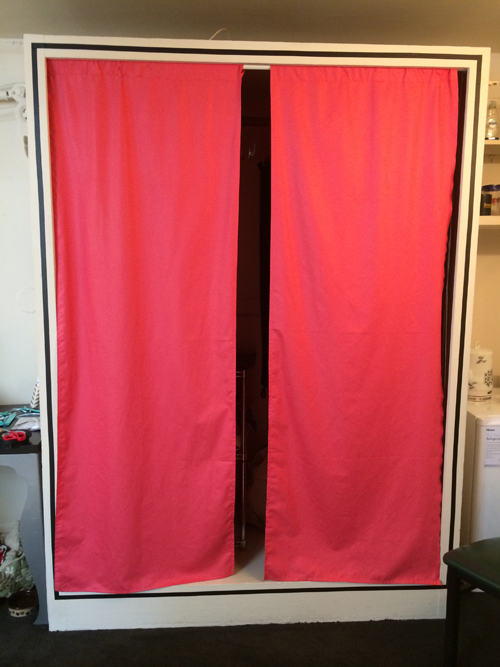
Instant visual interest- lurv! Then I taped out another box on the bottom for EVEN MORE DRAMA:
Here's Carly illustrating her 'hat hairstory' from her recent Playbill.com pictorial, but y'all can see the finished closet lookin' all HAWT in the background...WHAT?!

Pic by Carly Hughes
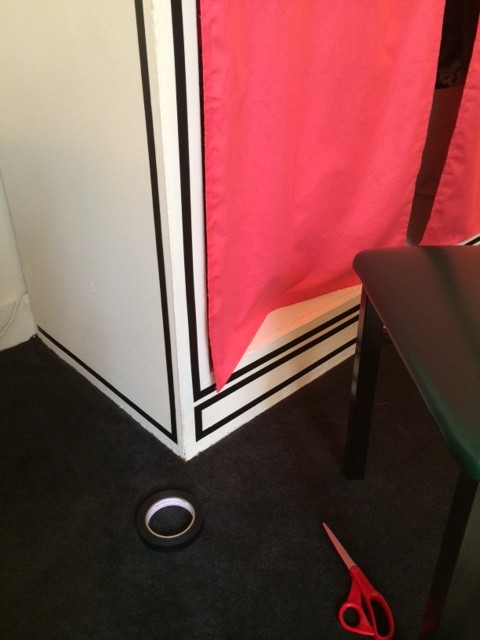
...I also taped out the sides of the closet too:
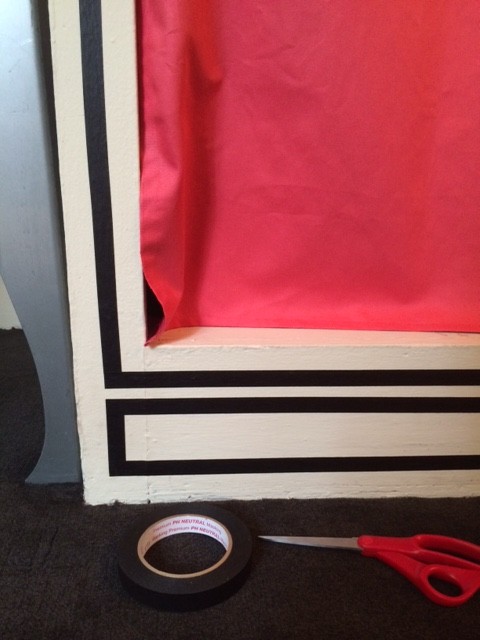
This process couldn't be any easier to execute. It really IS just cutting and applying the tape in straight lines. The trick is to try and cover one entire section with one continuous piece of tape, so you don't have cuts where a piece starts and stops, etc. Depending upon how much wall your trying to cover, it might be a good idea to have a helper. To create sharp corners, I always do my upper, horizontal line first. Then, making certain my tape has a straight edge, I layer it perpendicular to the top of the end of the horizontal tape line. Make sense? A right angle, dollbaby. Now, start your bottom horizontal line on top of the bottom of the corner piece you just smoothed in place. Like this:

Here's the bottom horizontal line meeting the other corner:
Now, repeat the step from above and lay one piece of tape over both the top and bottom horizontal lines to close out the box, like this:
I also did the same process on the existing dressing room table drawers...here's how that table situ looked before:
Blah...and then I got to tapin':

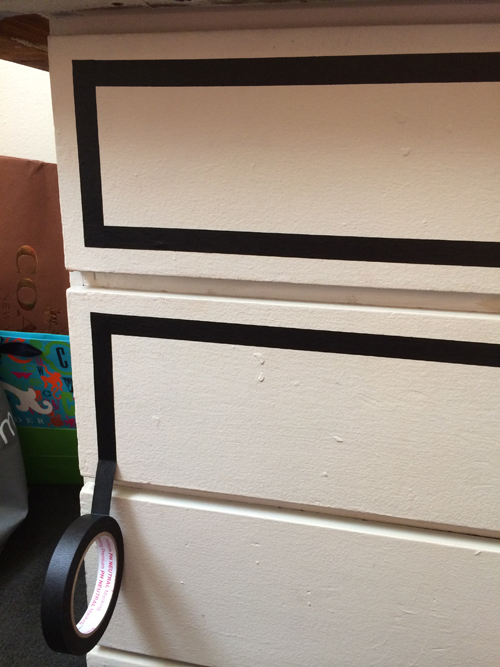
Here's the finished drawers providing the most elegant backdrop for Barnum...Carly's adorb dressing room roomie, also featured in the Playbill pictorial, link above:

Pic by Carly Hughes
How amazing are these drawers now?! From Blah to Beautiful! It's kinda hard to see b/c there isn't really a shot of both the dressing room drawers and the closet in one pic, but they both look so HAWT. Also, now there's more architectural interest in the room that's graphic and there's a real visual connectedness between the closet and dressing room drawers... they're speaking the same language, if you will, through TAPE! LURV it! Now go out and SPEAK, y'all-- you've all been schooled on TAPE-- and add some architectural interest of your own!