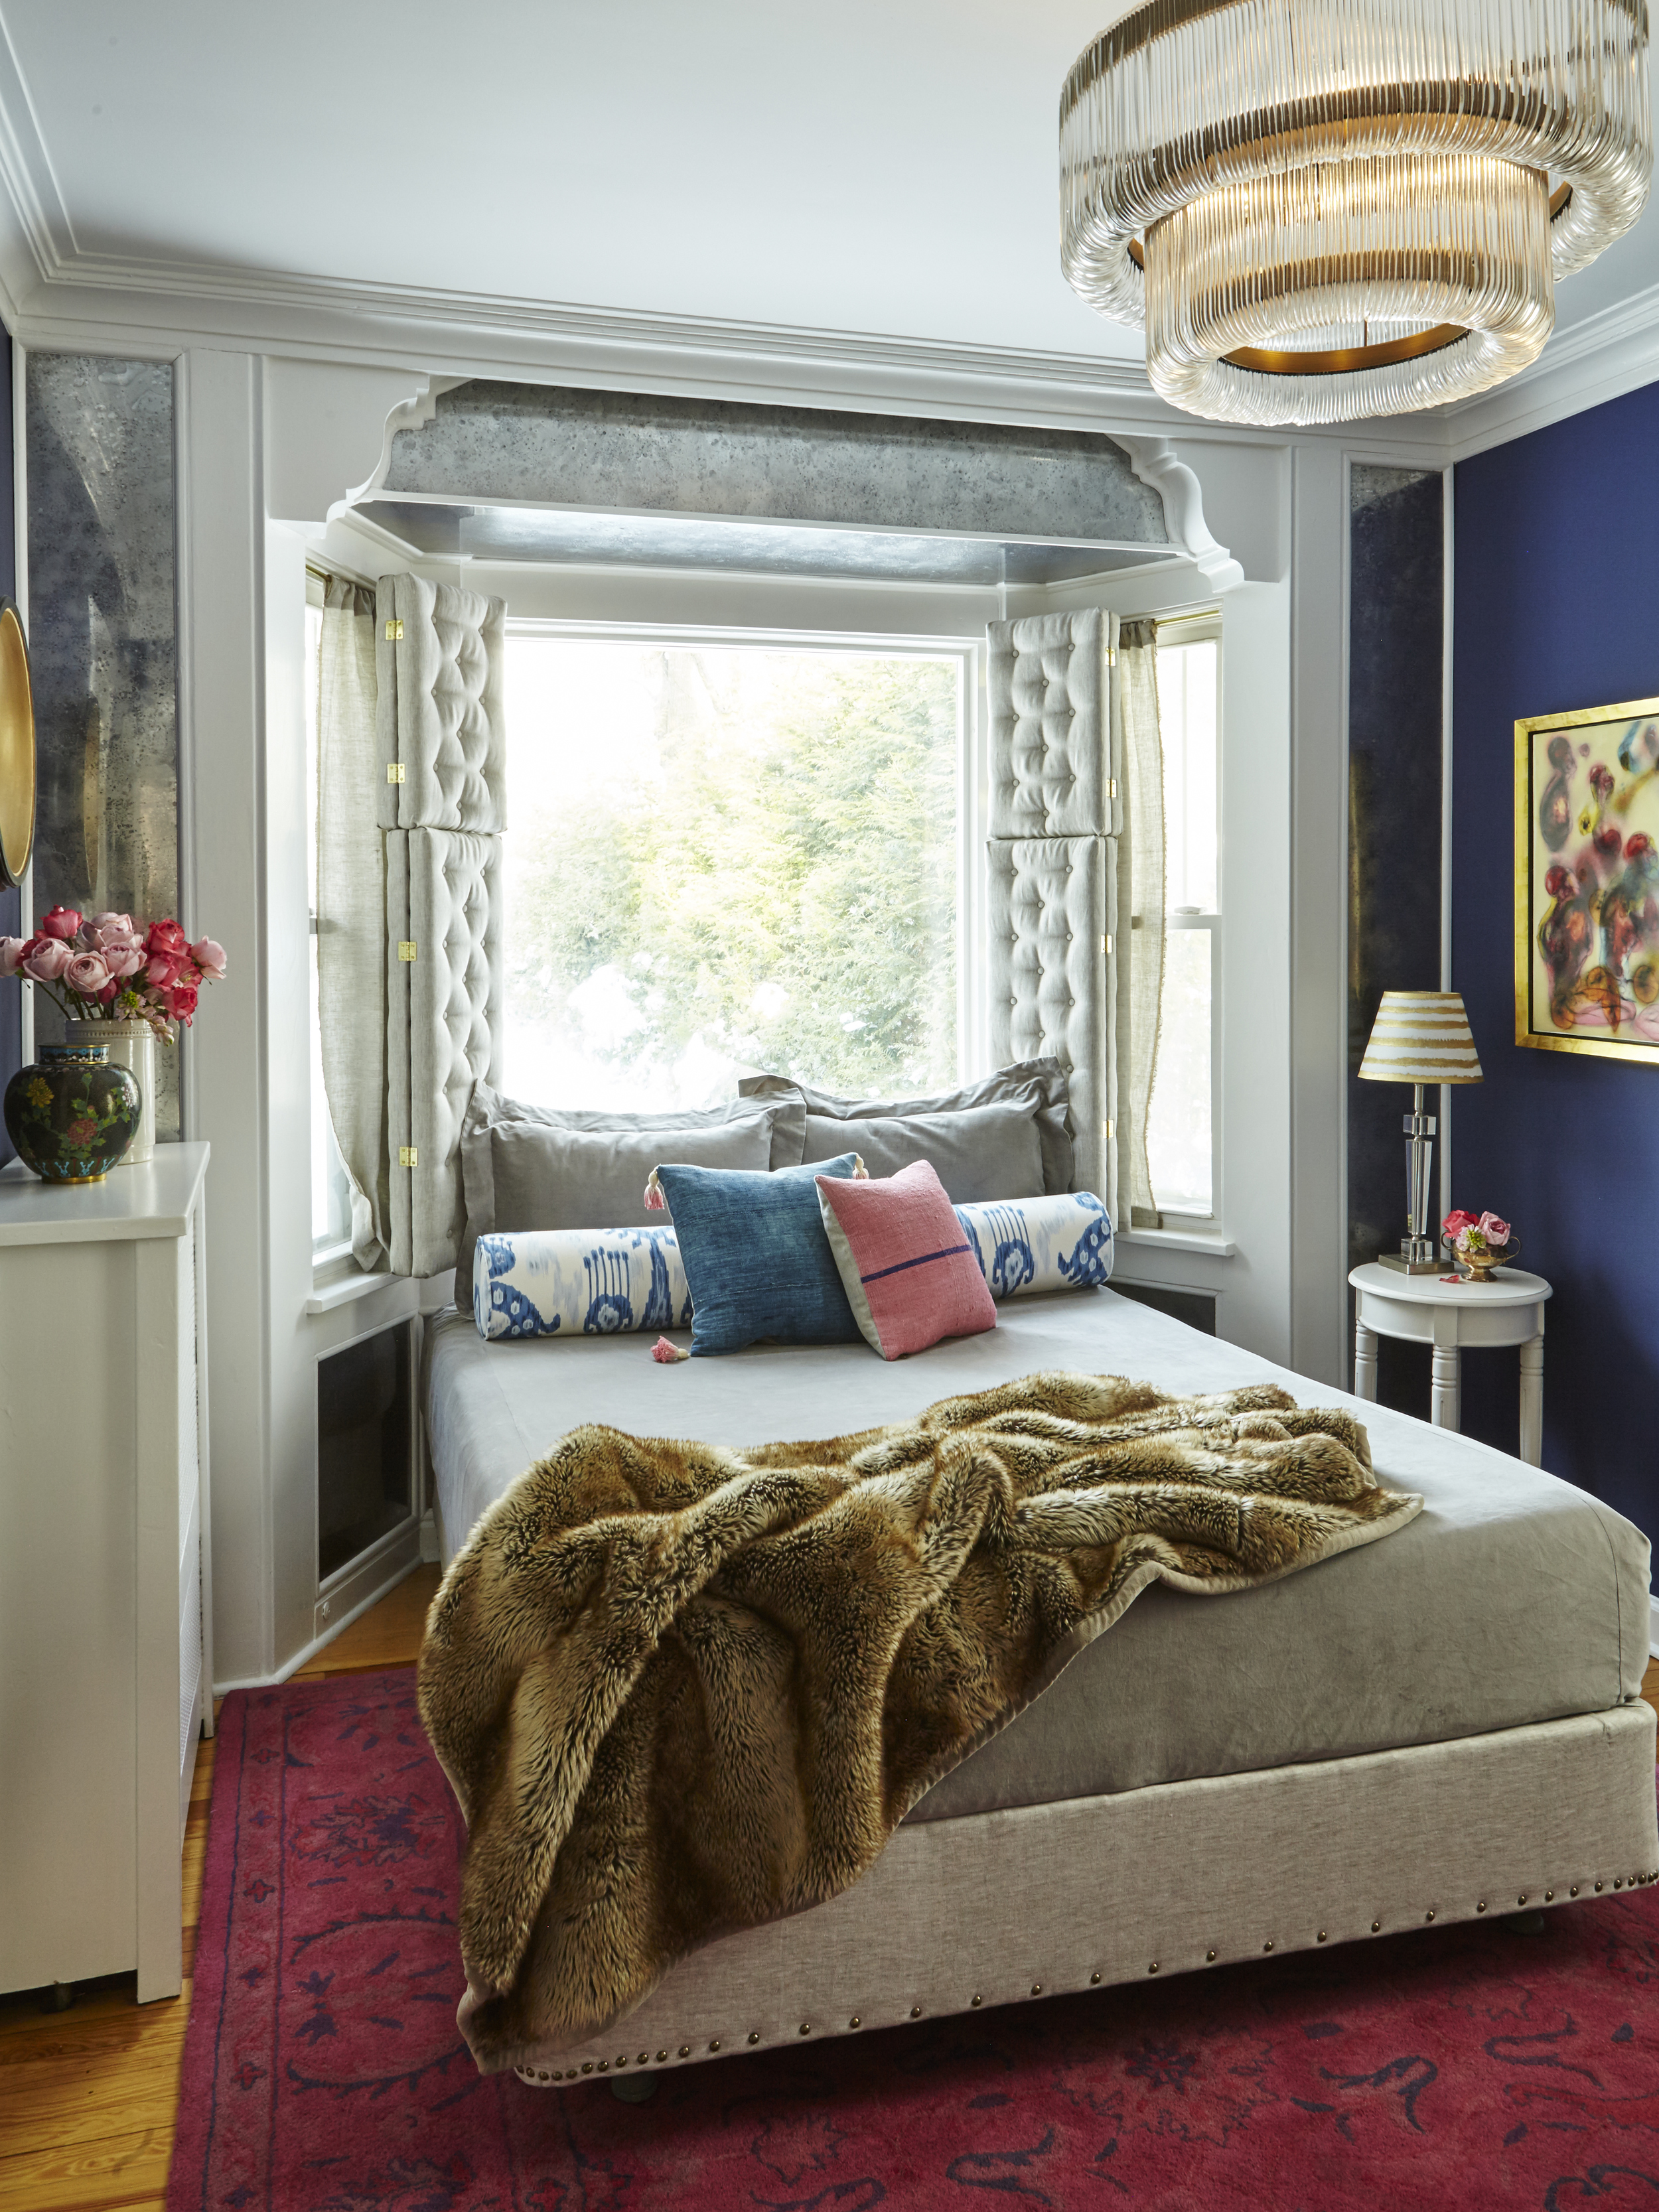
We've all seen it: boxspring & mattress just splayed out on the bedroom floor...no bed frame in sight. Don't judge y'all-- this phenomenon happens quite a bit for various legit reasons. Often peeps just get overwhelmed with the kajillions of bed frame options available & can't make a selection, or as is the case with my recent guest bedroom makeover, there isn't enough space for any kind of bed frame in the room. Time to get all PJ DIY in there...here's what I ended up with:

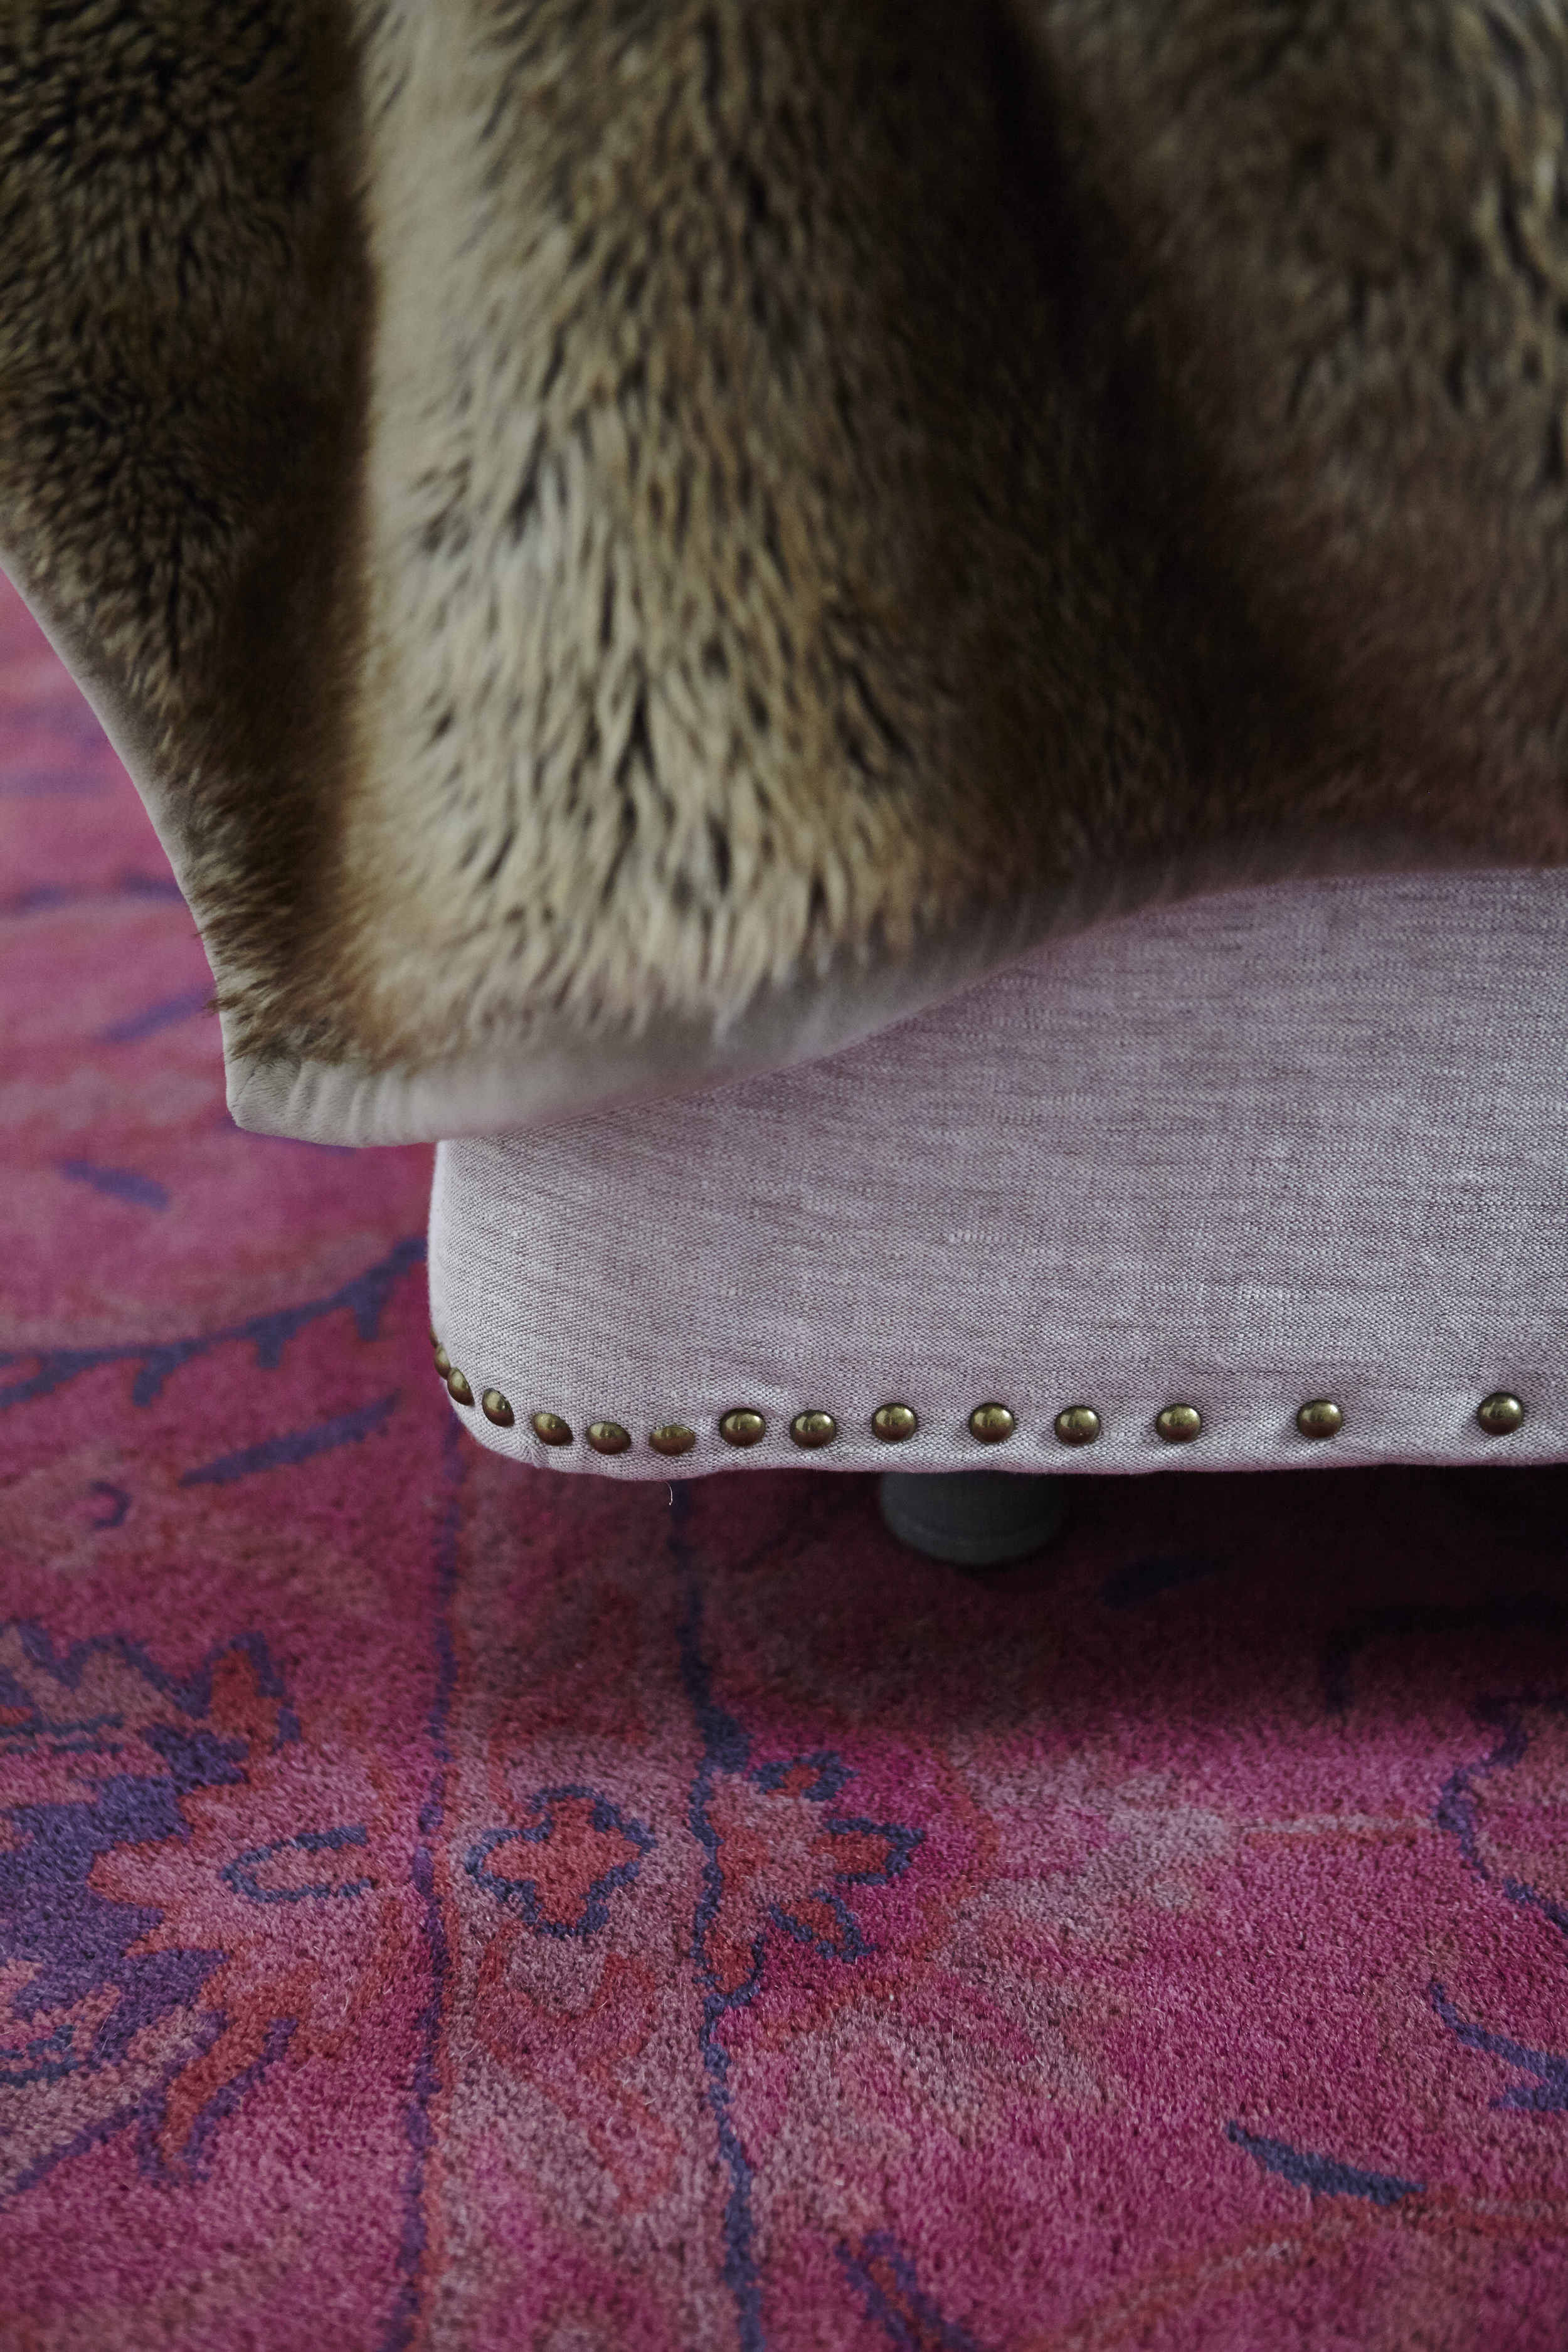
YASSSSS-- be sure to look r e a l closely, Gurl...she's givin' y'all a little curved leg action under all that brass linen studded REALNESS...
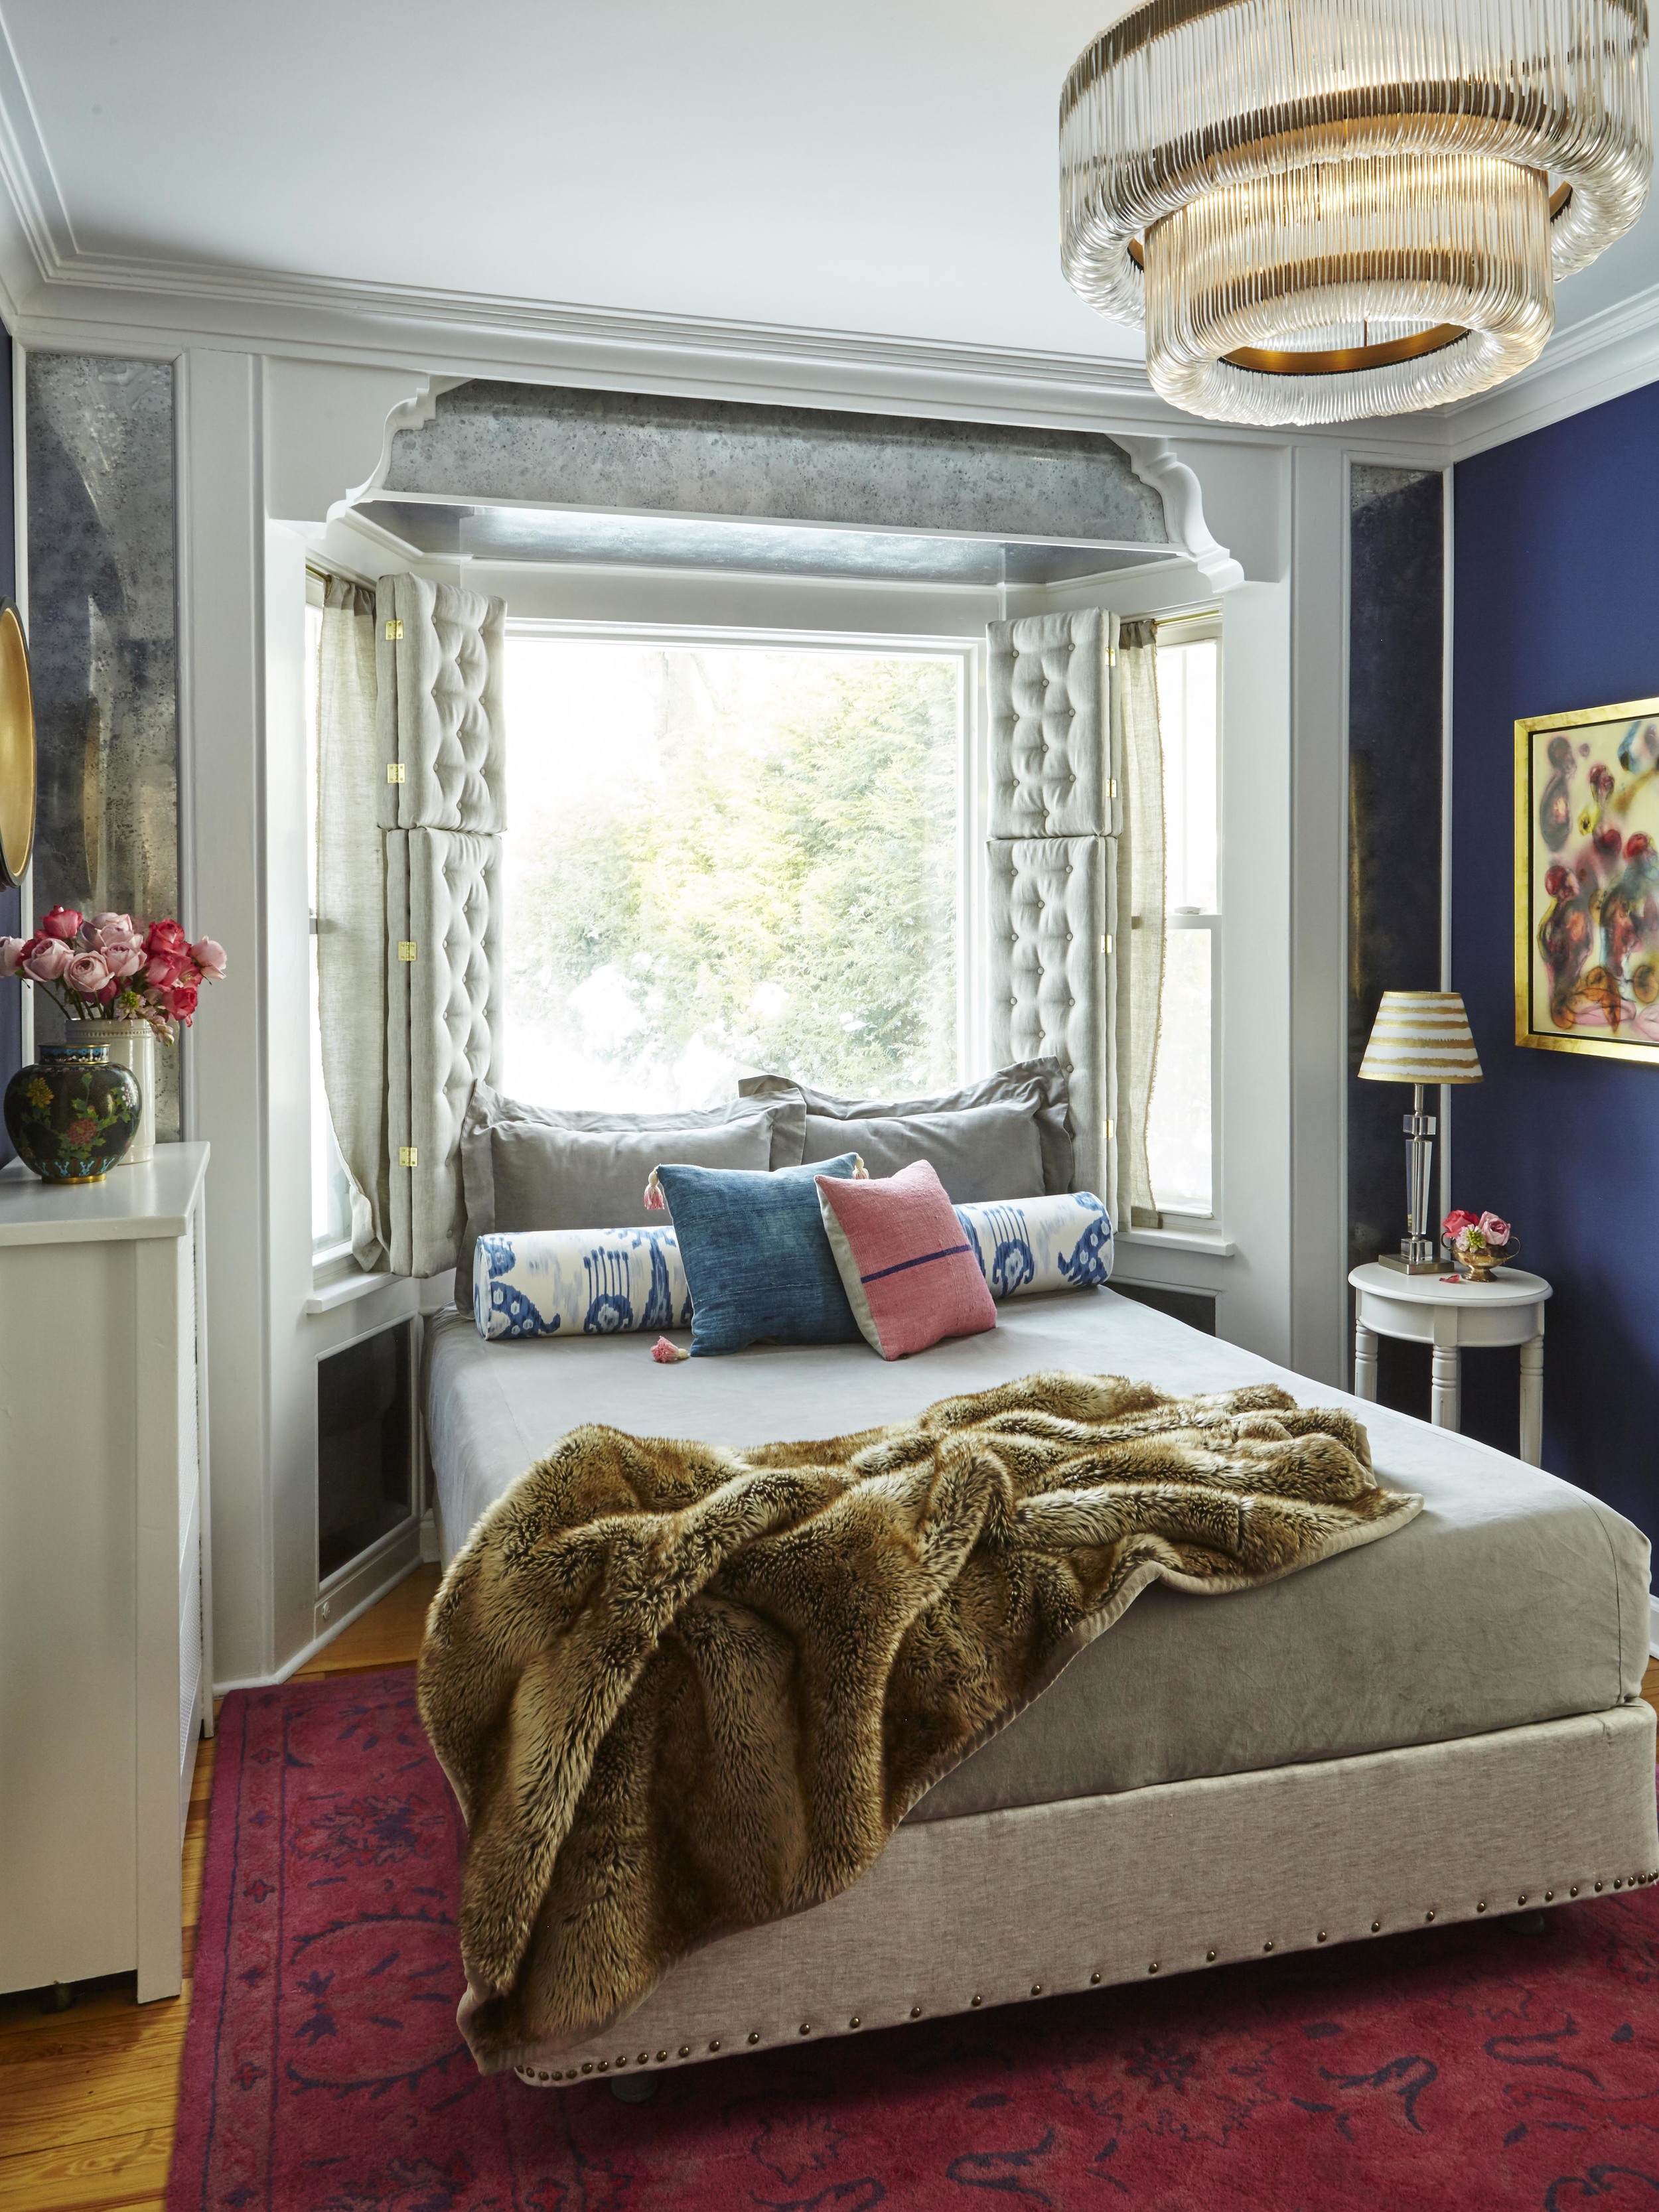
Just the hawtness, right? YES, that boxspring has been turnt out. It's upholstered with oatmeal linen (the same fabric on the upholstered shutters AND window treatments), has brass studs and turned legs for support/more drama. Here's how all that went down...DIY DISCLAIMER y'all- this project is sorta involved, but totally do-able, there's just lots of steps, so don't freak out here:
First: determine whether or not your boxspring has an inner wooden frame or metal frame, or a combo of both. In my case, this was a combo deal (wood AND metal). How to determine this? Flip the boxspring over & either carefully remove part of the bottom liner and look inside to see the inner workings, or just feel the boxspring up. Uh huh, I typed that. You can tell pretty quickly when palpitating the boxspring on the top, edges, sides, bottom edges what is wood and what is metal...Wood is awesome b/c y'all will have a frame with which to staple to. But don't fret, if like the one above, yours is a combo frame (wood on bottom/metal on top)...it's still pretty easy to tackle, just more steps.
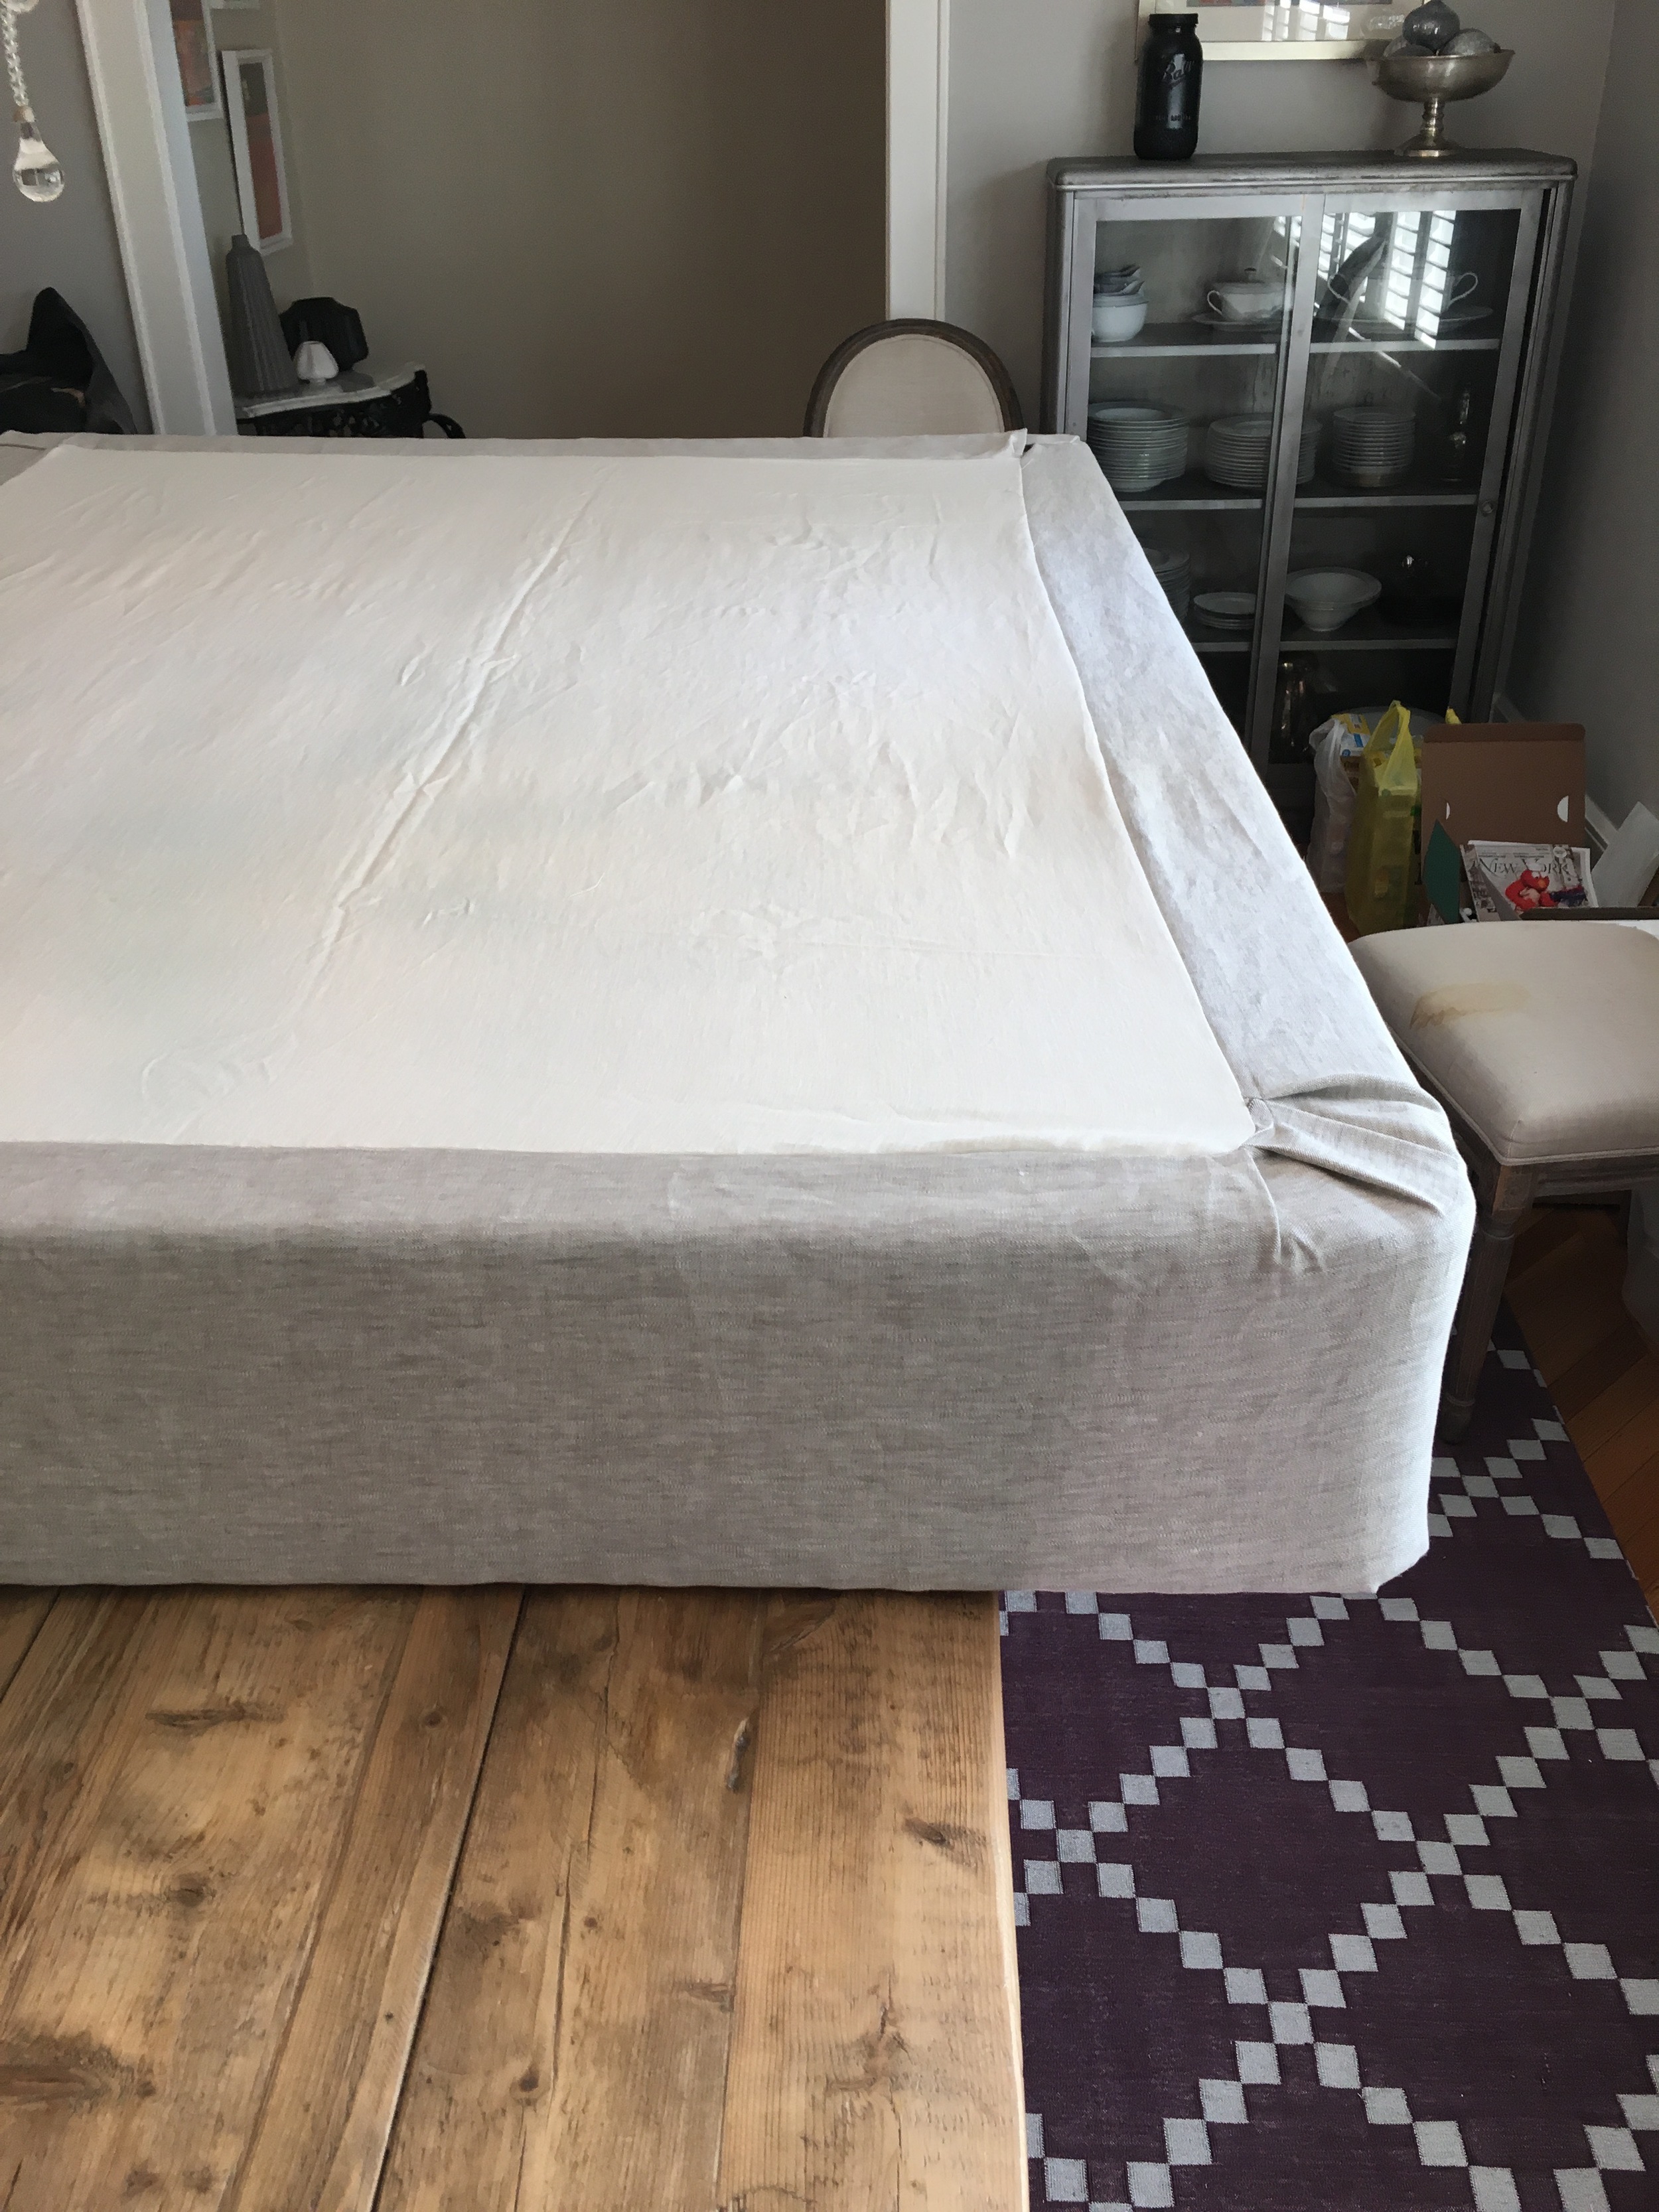
For combos, you basically have to make a cover for the entire boxspring-- like a fitted sheet. Reason? You can't staple your desired fabric to the top of a boxspring that has a metal interior edge-- there's nothing to staple to. If yours is all wood inside (top and bottom)-- hang tight-- I'll get to y'all in a minute**. So measure the width and length of top and cut fabric. I used a white linen as my top fabric:

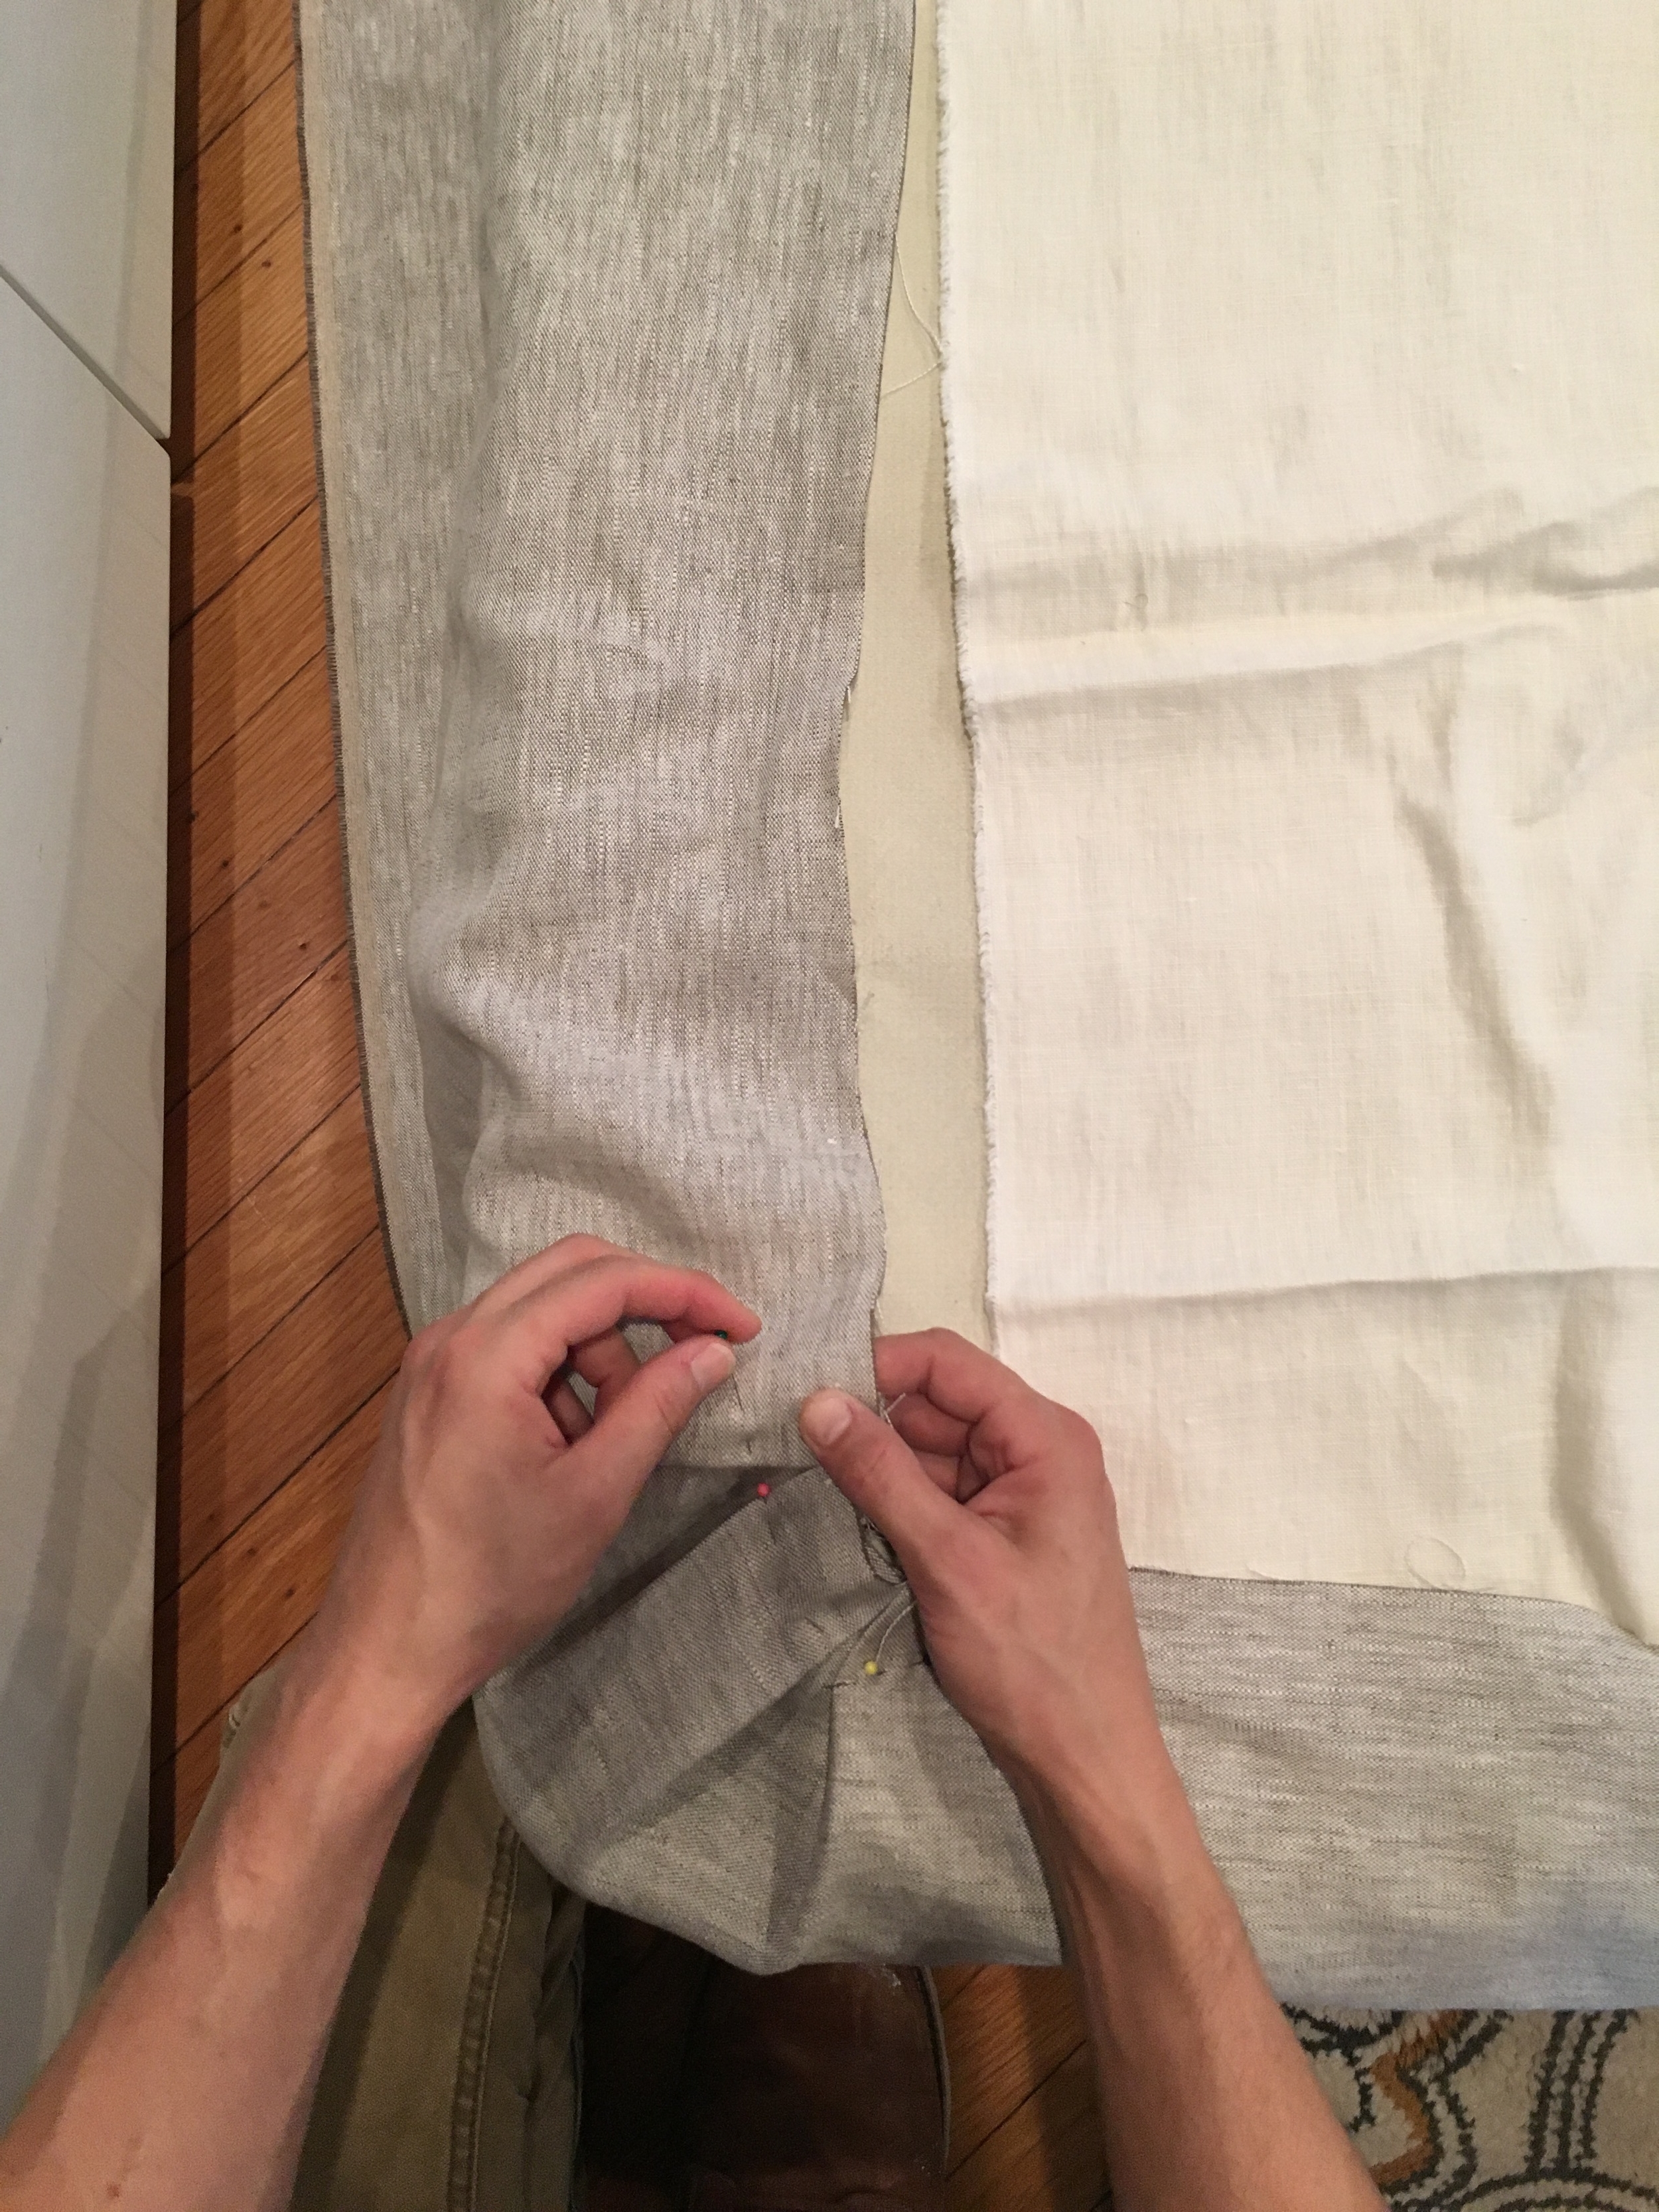
Y'all can also see I've cut & placed my desired fabric (oatmeal linen) all around the sides of boxspring. I allowed several inches of clearance/depth. Boxsprings range in height between 10"-14" but measure yours twice, before you cut your fabric! I didn't have enough continuous yardage of my linen to wrap entire perimeter with one piece, so I had to sew long pieces together to fit around perimeter of boxspring. There are seams in the middle on both sides, but it's not that obvious. Then I pinned the oatmeal linen to the white top fabric, including this fancy curved corner situ that 'expert in everything' Chris White walked me through (meaning he did it...thx....byeeeeeeeee):

He took a small amount of excess fabric from corner and folded it under. He then repeated that process working his way around curve until entire corner was completed, sort of like an inverted pinch pleat...

Then pinned in place...
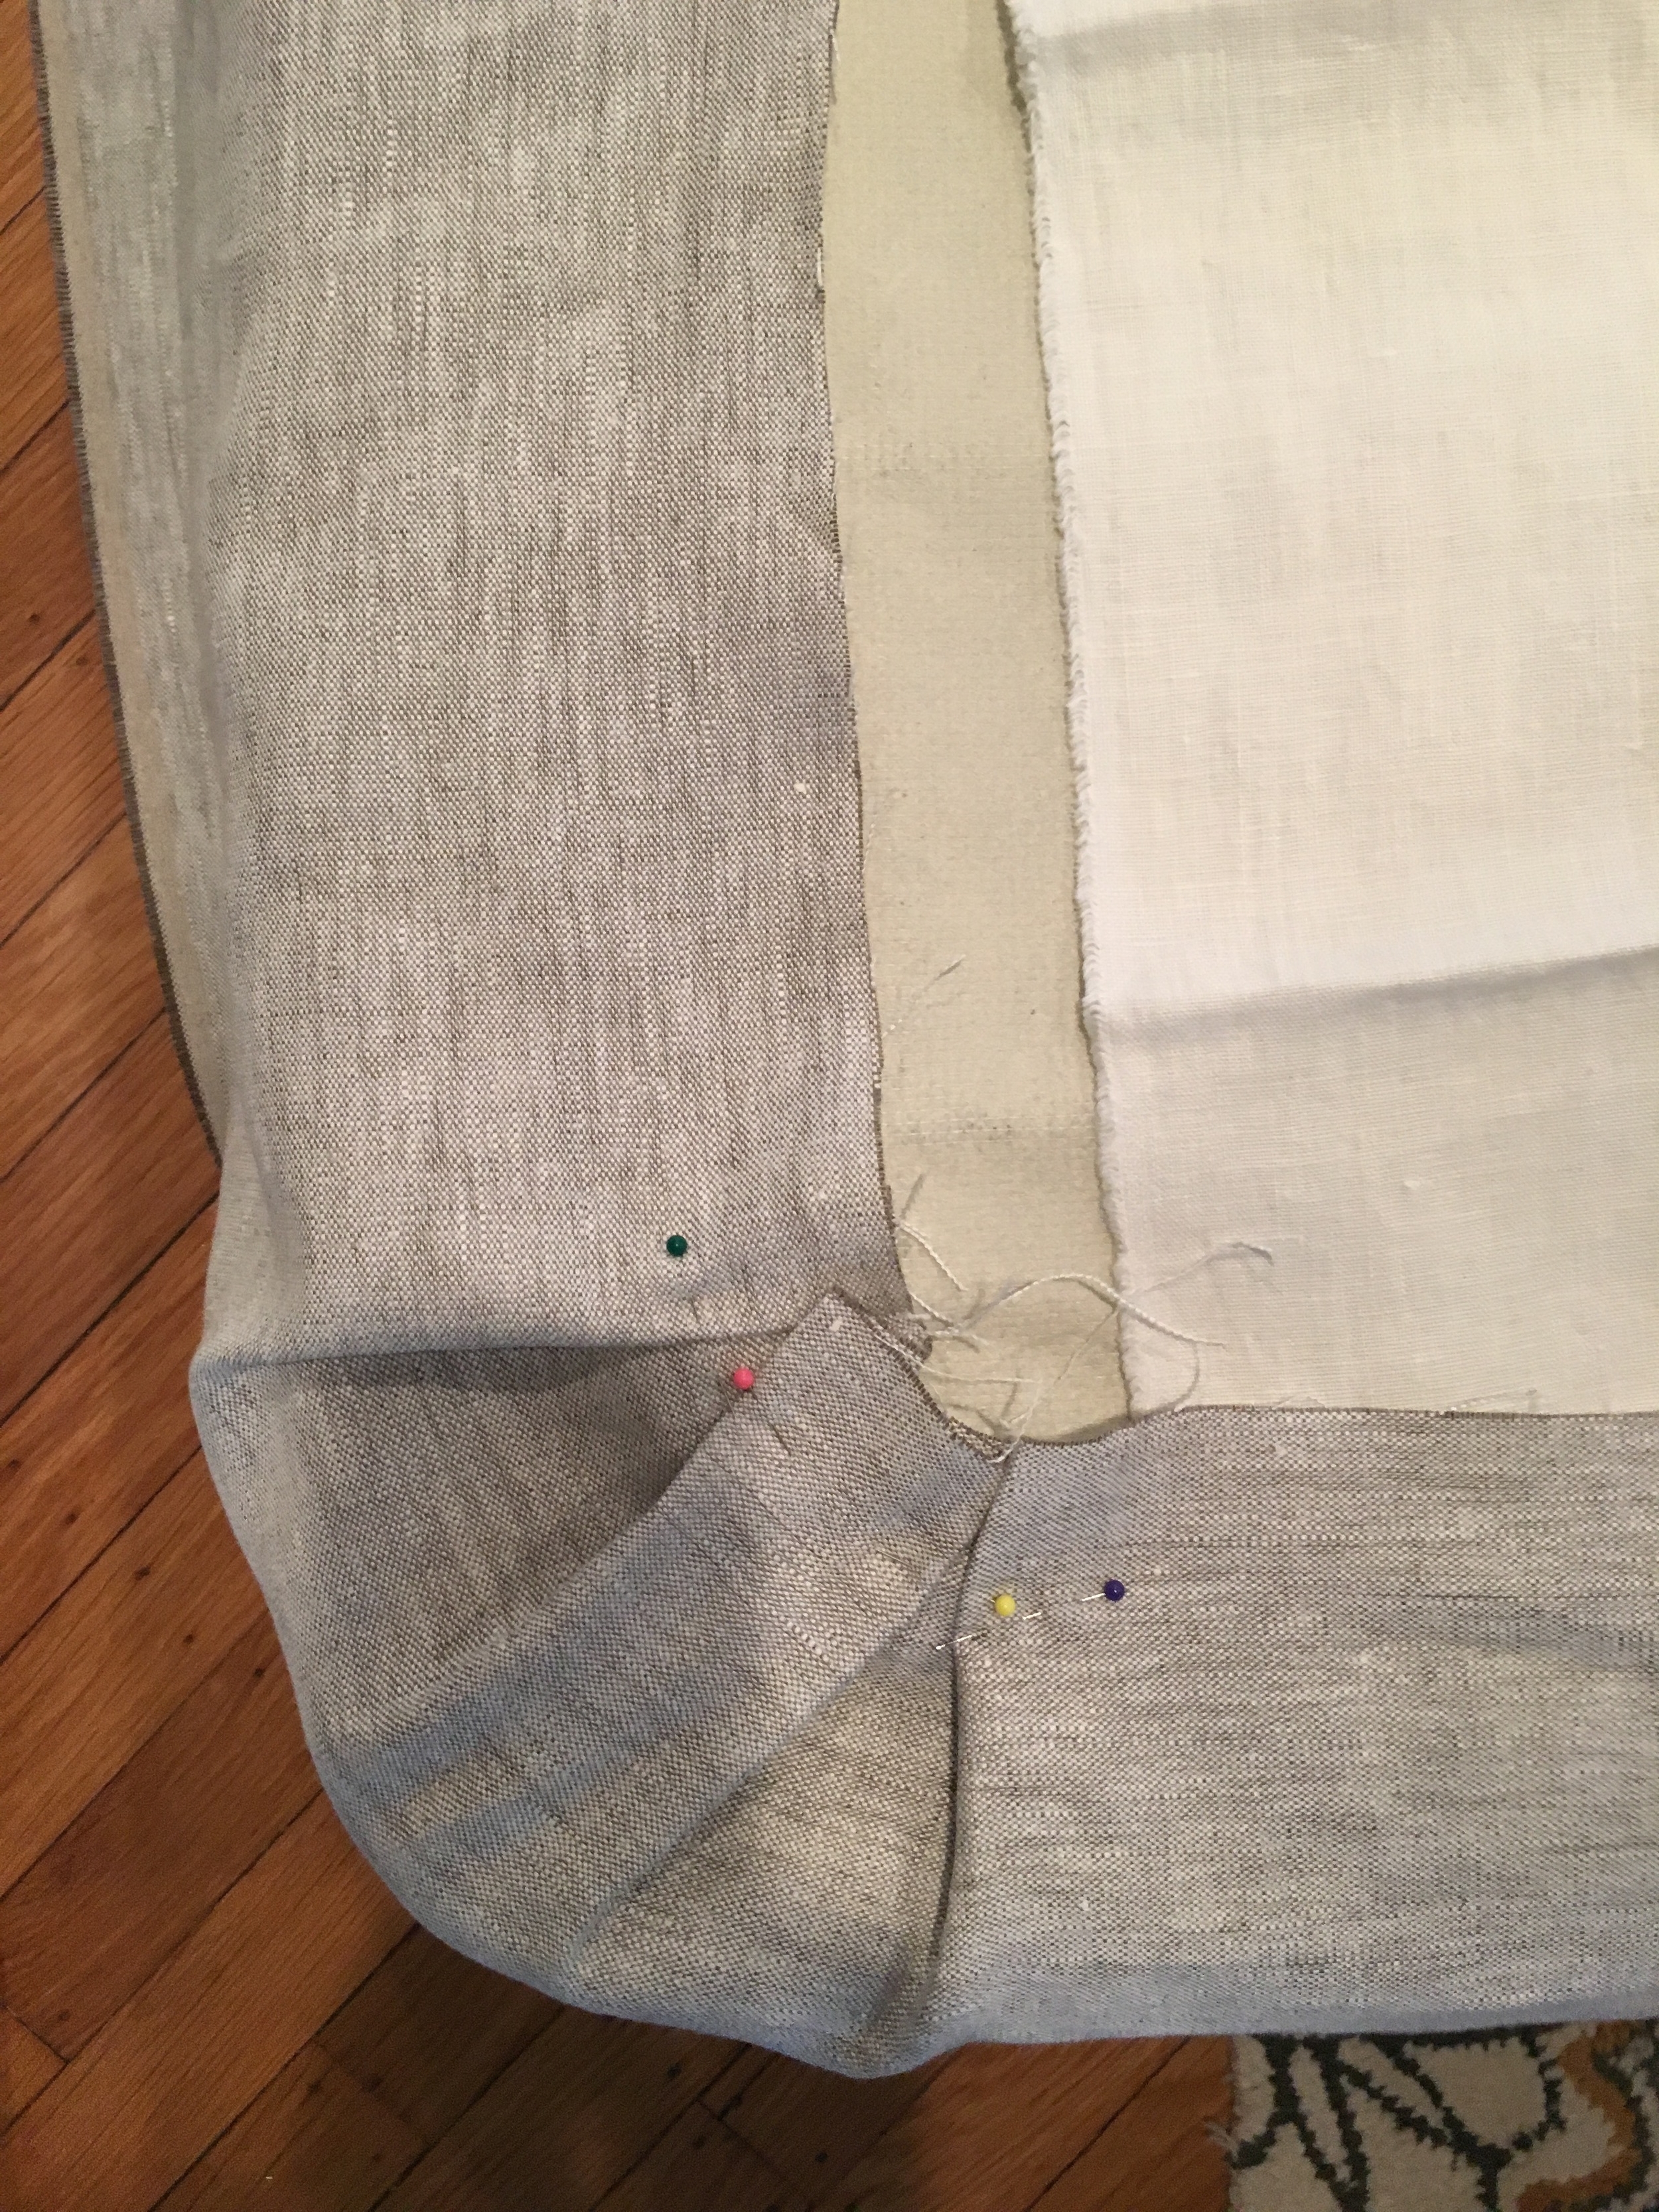
Once all the corners had been folded and pinned, the remainder of the oatmeal side fabric was pinned to the white top fabric, flipped over and sewn together...

Y'all still with me? Note in the above pic there's a separate panel of oatmeal fabric. We decided to build in an 'access panel' of sorts in case the client ever wants to remove the boxspring cover for cleaning, etc. Yes, there are more visible seams, but b/c this panel is at the head of the bed, facing a wall, it's not a concern. Now onto stapling.
**And for the peeps that have an all wood boxspring situ, y'all don't need to create a fitted sheet scenario. Your desired boxspring fabric (mine's oatmeal linen) in the proper yardage to wrap entire perimeter of boxspring is going to get stapled directly to the wood (on top AND underneath).
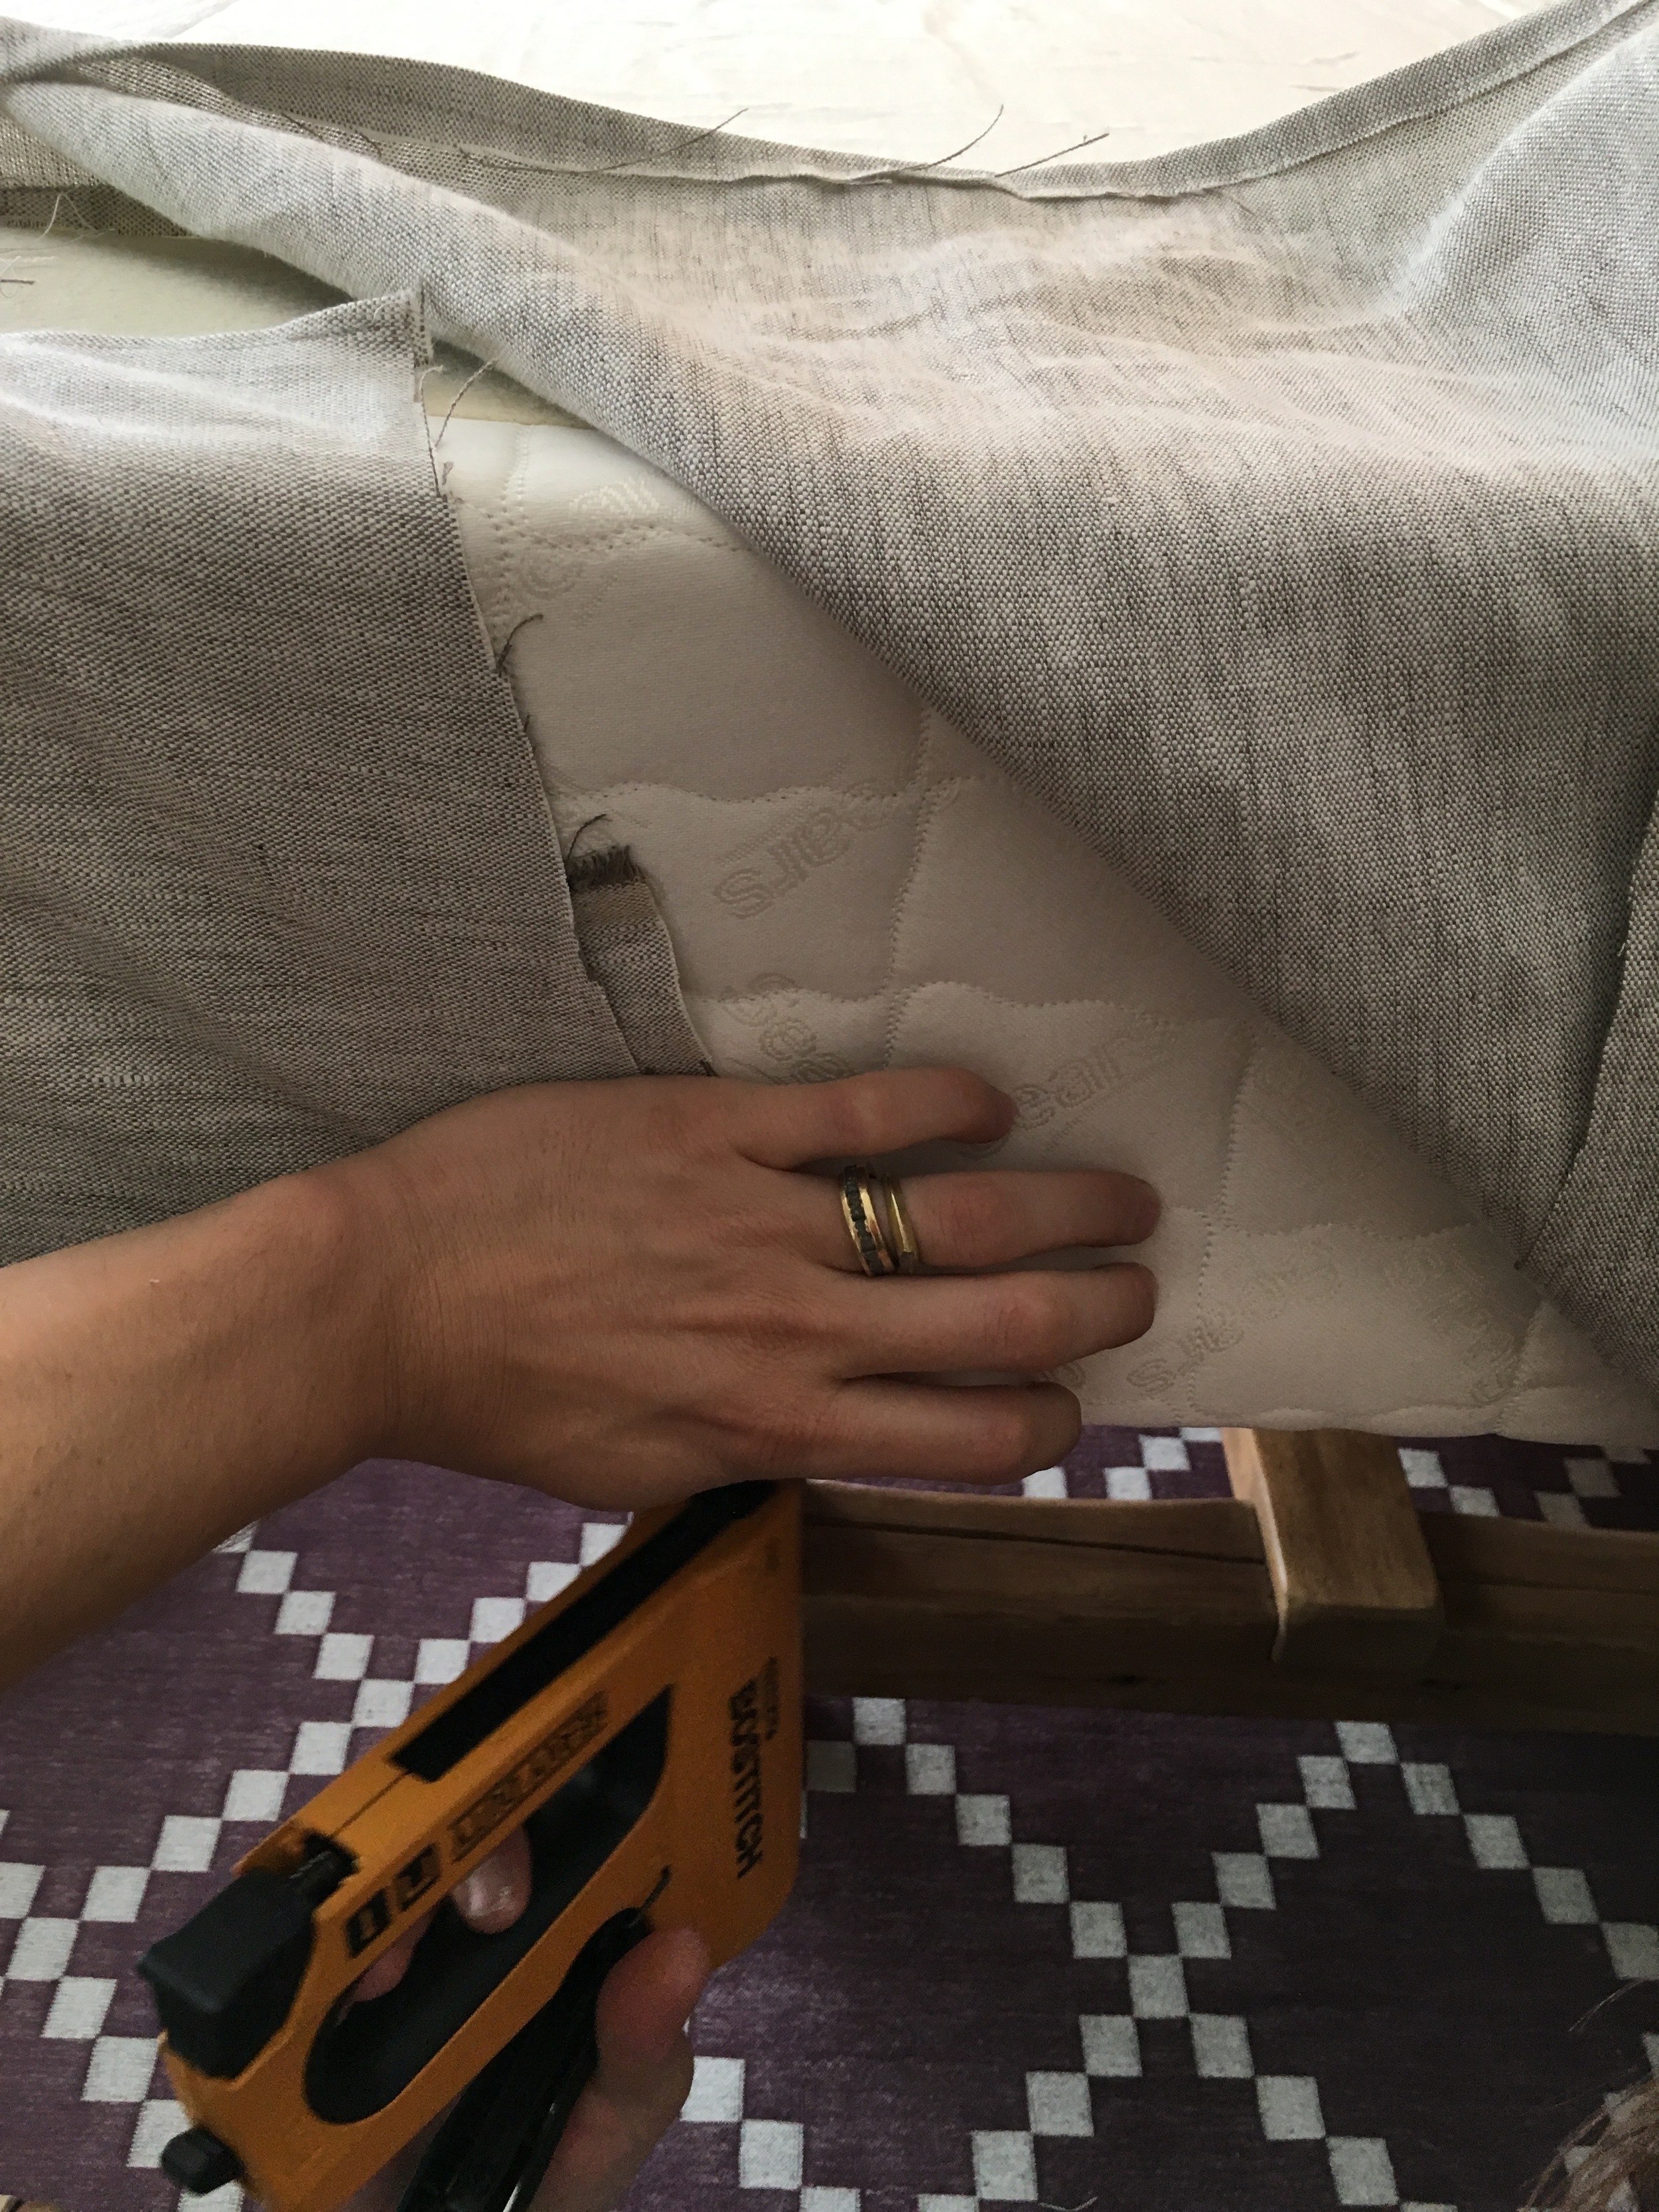
Locate the wood frame on top of your boxspring-- it's usually about 1-1.5" from edge-- use your staple gun to staple your boxspring fabric directly to the wood on top around the entire perimeter of boxspring. Be sure to pull taut (don't over do it here) & staple evenly as you go. Flip boxspring over to repeat process on underside.
For my combo peeps y'all are just stapling onto the underside of your boxspring (where the wood is)...looks like this:
Here's how it looks underneath...note the precise, evenly-spaced stapling job...wtf Chris...lolololololol
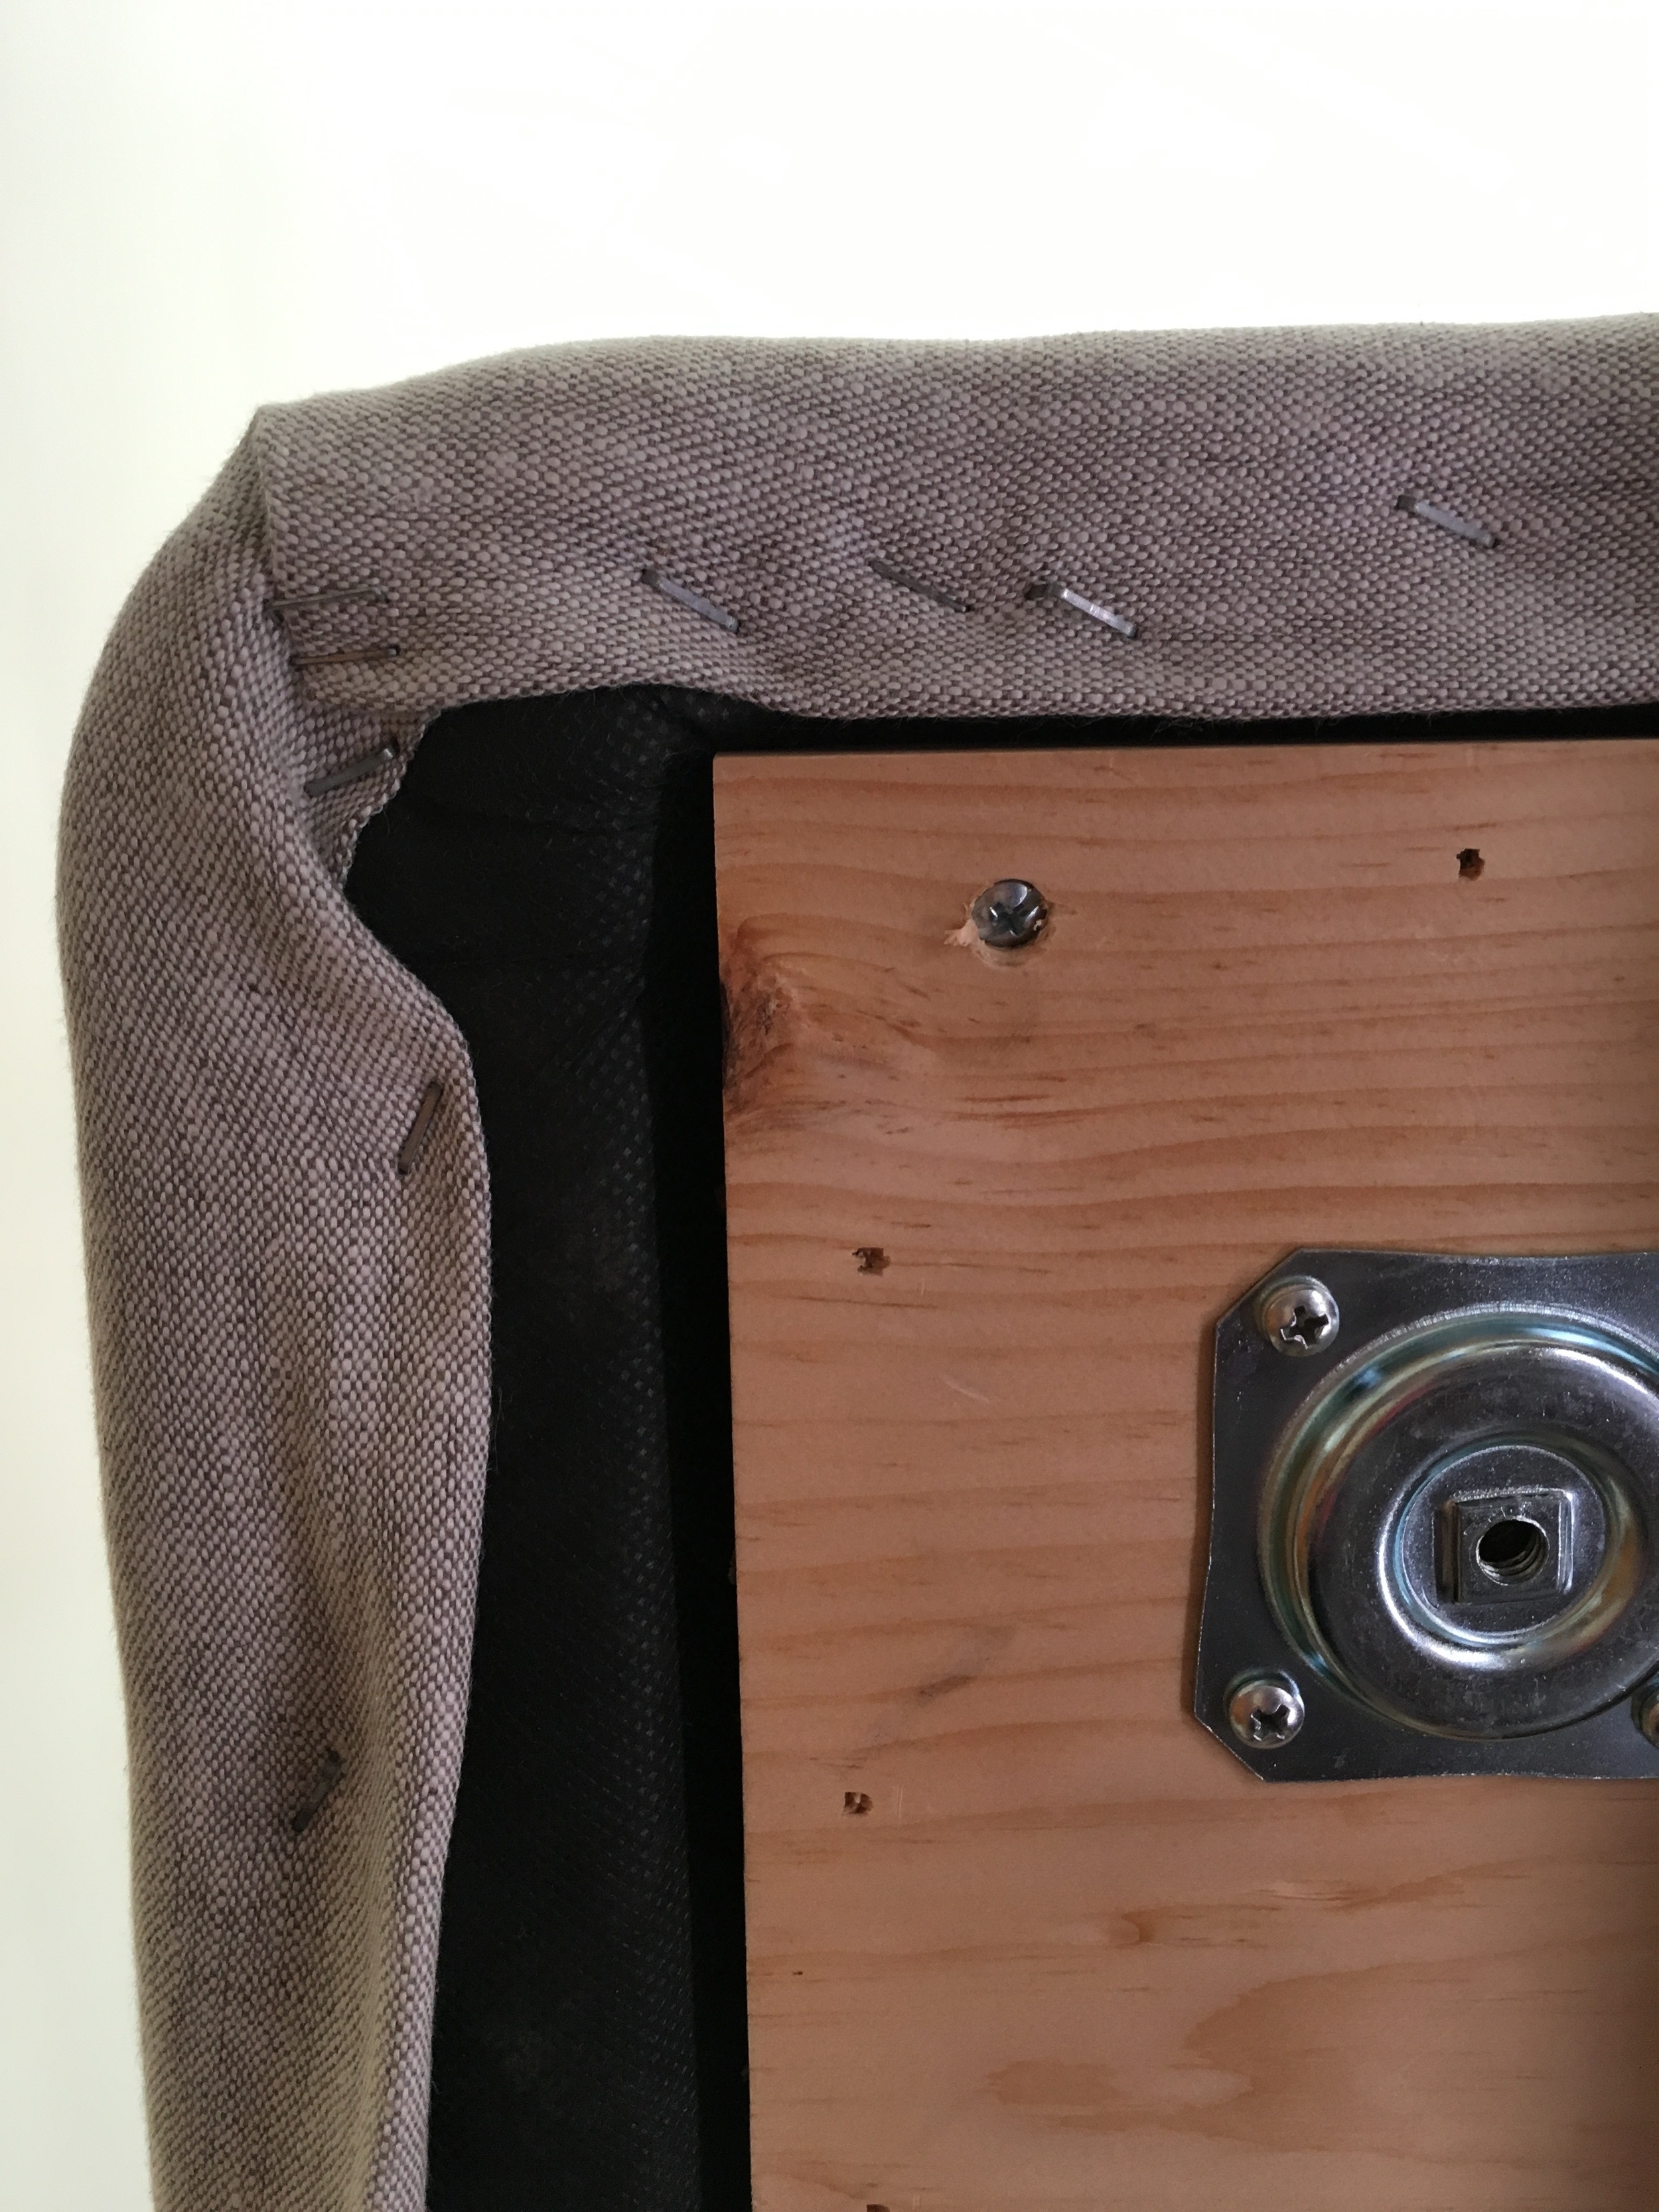
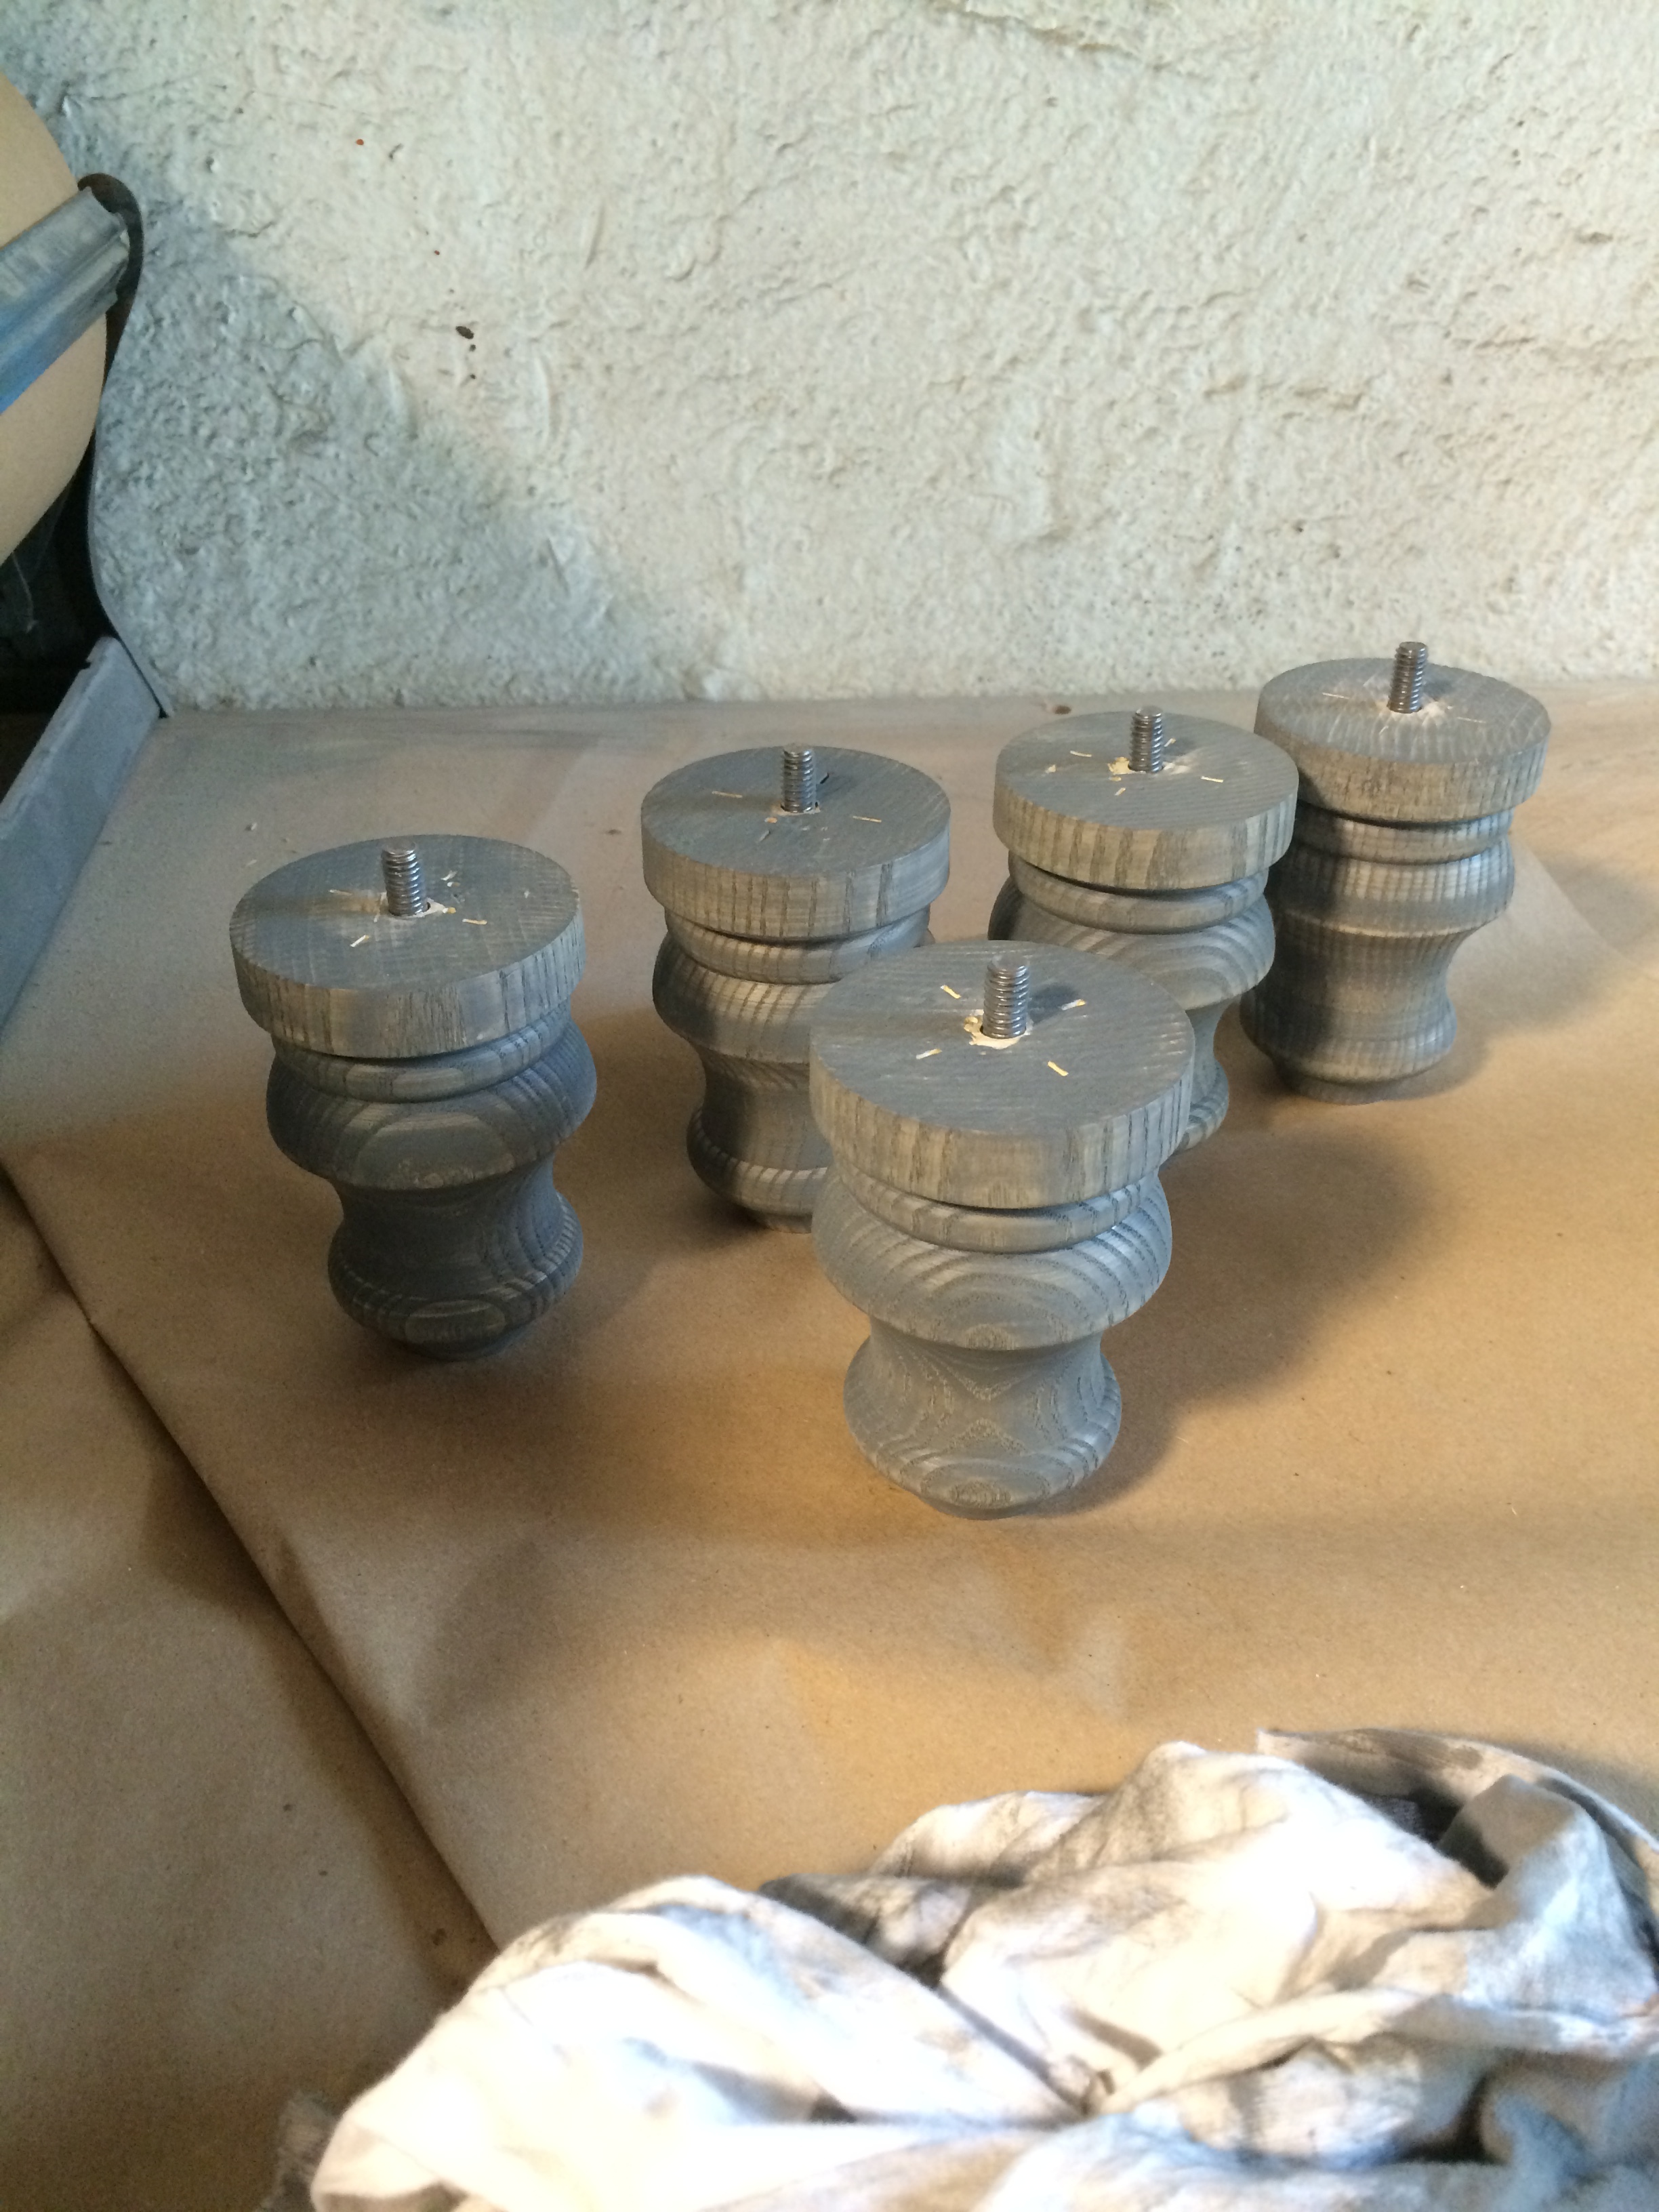
Another potential fun element of combo boxsprings, cause honestly y'all, this shiot hasn't been riotous up to this point, is that if y'all are interested in adding feet, like I did above, you may have to add corner supports to your boxspring to accommodate the brackets & legs/feet. Chris cut these triangles out of 1/2" pine & secured them with the nail gun, directly to the wood frame underneath on all four corners of boxspring and one in the center for added support. Then we screwed in the leg brackets. For those with all wood boxsprings you may not have to add corner/center triangle supports if you want to add legs...the existing wood frame may be suitable/strong enough to screw the leg brackets into. Suss that shiot out on your own. Next, we stained our legs in a pretty grey stain...
Now, here's our boxspring completely upholstered...pretty fancy huh?
Now, use a rubber mallet & add your brass upholstery studs/tacks in whatever pattern or design y'all prefer. We tried to make ours slightly organic/imperfect and went around the entire perimeter of the boxspring...I don't have process pics of this step or pics of us screwing the legs into the brackets, sorry folks, but those steps are pretty self-explanatory...here's a detail shot of the finished corner, which is quite lover-ly:
And here's more pictorial majesty:

Yassssssss! Though this was prob one of the longest, more involved DIY's in the history of blogging, EVER-- it's soooo worth it in the end! Most folks would never know this wasn't an actual upholstered bedframe...STYLESLAPPED!
All the pretty pics by the fab Kelly Marshall !